变量(Variables)
变量常以@作为名字开头,后接名字,如:
@width , @height , @kok , @length
演示中不会做太多讲解,因为less比较简单易用,只需看下代码演示,即可知道其中的真谛
入门实操演示
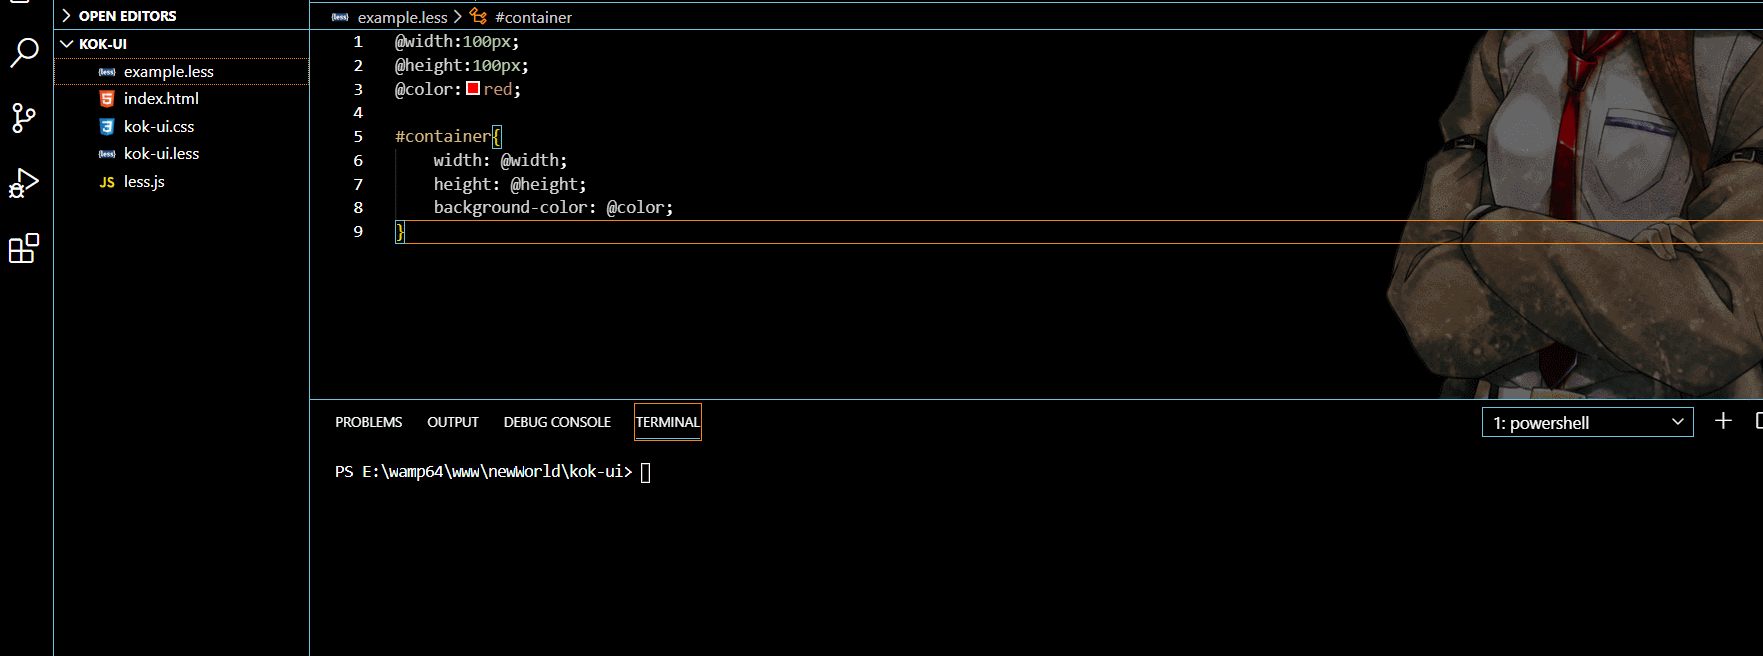
example.less文件
@width:100px;
@height:100px;
@color:red;

#container{
    width: @width;
    height: @height;
    background-color: @color;
}
编译完成后的example.css文件
#container {
  width: 100px;
  height: 100px;
  background-color: red;
}
 结果如图
结果如图

选择器
可以将变量设置为类选择器
@width:100px;
@height:100px;
@color:red;
@name:oneDiv;

.@{name}{
    width: @width;
    height: @height;
    background-color: @color;
}

URLs
可以将变量设置为url路径
@width:100px;
@height:100px;
@name:oneDiv;
@images:"../img";


.@{name}{
    width: @width;
    height: @height;
    background:url("@{images}/kok.png");
}

Properties
可以将变量设置为属性名
@width:100px;
@height:100px;
@name:oneDiv;
@images:"../img";
@imageName:image;


.@{name}{
    width: @width;
    height: @height;
    background-@{imageName}:url("@{images}/kok.png");
}

注意!这里的@imageName后面填写的值没有双引号 !!!,不要写引号,不然会编译报错
变量之变量
在less中,你可以定义用其他变量定义一个变量的名字,有点像C语言中指针的指针
@first: 10px;

.big{
    @width: first;
    .small{
        width: @@width;
    }
}
编译后
.big .small {
  width: 10px;
}

懒定义
变量可以不必在使用前声明
.big{
    width: @first;
}

@first: 10px;
 变量之变量这样用就不太一样了
.big{
    width: @first;
    @second:20vw;
}

@first: @second;
@second:0vw;

$Prop
你可以很容易的使用像$prop这样的语法,可以使代码更轻便
.father{
    color: red;
    background:$color;
}
编译后

当变量放在最后面的时候
.father{
    color: red;
    background:$color;
    .son{
        background-color:$color;
    }
    color:blue;
}

以上就是less的变量知识总结