1、创建department的mapper(注解版)

//指定这是一个操作数据库的mapper
@Mapper
public interface DepartmentMapper {

    @Select("select * from department where id = #{id}")
    public Department getDeptById(Integer id);

    @Delete("delete from department where id = #{id}")
    public int deleteDeptById(Integer id);

    @Insert("insert into department(departmentName) values(#{departmentName})")
    public int insertDept(Department department);

    @Update("update department set departmentName=#{departmentName} where id=#{id}")
    public int updateDept(Department department);
}
2、创建department的controller(这里都是get请求,直接访问链接即可,为了方便测试)
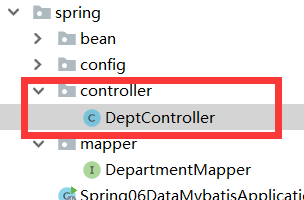
@RestController
public class DeptController {

    @Autowired
    DepartmentMapper departmentMapper;

    @GetMapping("/dept/{id}")
    public Department getDepartment(@PathVariable("id") Integer id){
        return departmentMapper.getDeptById(id);
    }

    @GetMapping("/dept")
    public Department insertDept(Department department){
        departmentMapper.insertDept(department);
        return department;
    }
}
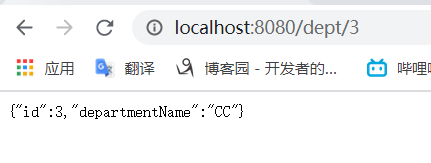
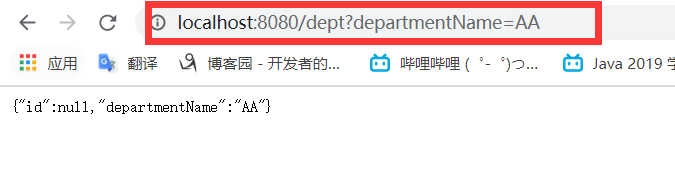
3、通过访问链接简单测试
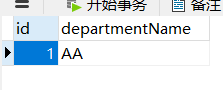
插入成功
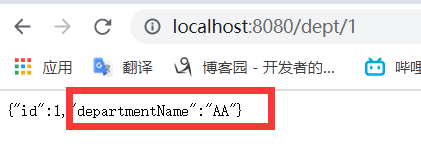
查询成功

4、解决插入成功后返回的id为null问题

修改department的mapper的插入方法;添加@Options(useGeneratedKeys = true,keyProperty = "id")配置,keyProperty的值是java类中主键的名称
        //配置@Options(useGeneratedKeys = true,keyProperty = "id")插入数据成功后可以的到插入时的id
        @Options(useGeneratedKeys = true,keyProperty = "id")
        @Insert("insert into department(departmentName) values(#{departmentName})")
        public int insertDept(Department department);
修改之后再插入数据就可以得到id了

5、mybatis的通过配置类开启驼峰命名法
我们把数据库的里department表的departmentName字段名改为department_name

再测试查询的时候发现查询出的departmentName为null;说明springboot整合mybatis时mybatis的驼峰命名法默认是关闭的

不用配置文件开启的话;需要创建Mybatis的配置类,即在容器中注册一个自定义配置类ConfigurationCustomizer

import org.mybatis.spring.boot.autoconfigure.ConfigurationCustomizer;
import org.springframework.context.annotation.Bean;
import org.springframework.context.annotation.Configuration;

@Configuration
public class MybatisConfig {
    @Bean
    public ConfigurationCustomizer configurationCustomizer(){
        return new ConfigurationCustomizer() {
            @Override
            public void customize(org.apache.ibatis.session.Configuration configuration) {
                //开启驼峰命名法
                configuration.setMapUnderscoreToCamelCase(true);
            }
        };
    }
}
配置完成后再次访问链接可以看到departmentName的值取到了,说明驼峰命名法配置开启成功
6、通过@MapperScan(value = "")配置代替@Mapper注解(即批量扫描mapper)
我们每写一个mapper映射接口都得加上@Mapper注解

如果mapper多了起来每次都得加上@Mapper这个注解会觉得麻烦;
这时只需要在配置类中(只要是加入到容器的配置类就行)加上@MapperScan(value = "")指定mapper的包路径,就不用每个mapper都得加@Mapper注解了
我们以把@MapperScan(value = "")加载mybatis的配置类为例:
@MapperScan(value = "com.atguigu.spring.mapper")
@Configuration
public class MybatisConfig {
    @Bean
    public ConfigurationCustomizer configurationCustomizer(){
        return new ConfigurationCustomizer() {
            @Override
            public void customize(org.apache.ibatis.session.Configuration configuration) {
                //开启驼峰命名法
                configuration.setMapUnderscoreToCamelCase(true);
            }
        };
    }
}
然后我们在注释掉mapper接口的@Mapper注解

重启应用再次测试发现mapper依然映射成功: