一連の記事の目次 (クリックして表示)
序文
すでにプロジェクト全体をある程度構成し、ルーティングを使用してページのリンクとコンポーネントを関連付ける方法を学習しました。今度はこの関連付けを強化し、ルーティングと eleemnt-plus コンポーネントを使用してプロジェクト全体を単純に構築します。
1.ログインページへログイン
ルーティング部分については前に説明したので、インターフェイス ジャンプを実現するには単純なログイン ページが必要ですが、現在、トークンはバックエンドに要求せずに単独で簡単に設定できます。

コード部分:
<template>
  <div class="login-main" v-loading="loading" element-loading-text="Logging in...">
    <div class="login-form">
      <div class="logo flex-c flex-align">
        <!-- <img style="height: 50px;" src="../../assets/logo.png" alt="logo" /> -->
      </div>
      <el-form :model="loginForm" label-position="left" label-width="100px">
        <el-form-item label="Username:">
          <el-input v-model="loginForm.username" />
        </el-form-item>
        <el-form-item label="Password:">
          <el-input type="password" v-model="loginForm.password" />
        </el-form-item>
      </el-form>
      <div class="footer-btn flex-c">
        <button class="login-btn" @click="loginClick">login</button>
      </div>
    </div>
  </div>
</template>

<script lang="ts" setup>
import {

     useRouter } from "vue-router";
import {

     Local } from "@/cache/index";
import {

     handleEnter } from "@/utils/tools";

const router = useRouter();

const loading = ref(false);

const loginForm = ref({


  username: "test",
  password: "1234",
});

const loginClick = () => {


  loading.value = true;
  const accessToken = Local.get("token");
  if (!accessToken) {


    Local.set("token", "abc");
    userLoginFunc();
  } else {


    userLoginFunc();
  }
};

const userLoginFunc = () => {


  loading.value = false;
  // userStore.SET_USER_INFO(res)
  router.push({

     path: "/home" });
};

onMounted(() => {


  handleEnter(loginClick);
});
</script>

<style lang="scss" scoped>
.logo {


  margin-bottom: 20px;

  span {


    margin-left: 8px;
    font-size: 20px;
    color: #003574;
    font-weight: 700;
  }
}

.login-main {


  display: flex;
  justify-content: center;
  align-items: center;
  height: 100vh;
  background: url('../../assets/login-bg.png') no-repeat;
  background-size: 100% 100%;
}

.login-form {


  position: relative;
  top: -110px;
  background: #000;
  border-radius: 8px;

  ::v-deep(.el-form-item__label) {


    color: #fff;
  }
}

.login-btn {


  position: relative;
  z-index: 1;
  display: inline-flex;
  justify-content: center;
  align-items: center;
  overflow: hidden;
  width: 100%;
  height: 40px;
  font-size: 14px;
  font-family: alliance, mono, sans-serif;
  color: #fff;
  background: transparent;
  border-radius: 0;
  transition:
    background 0.3s ease-in-out,
    border-color 0.3s ease-in-out,
    color 0.3s ease-in-out;
  font-weight: 600;
  line-height: 40px;
  letter-spacing: 0.07em;
  text-transform: uppercase;
  font-feature-settings: "salt" on, "ss01" on, "ss02" on;
  transition-property: background, border-color, color;
  transition-duration: 0.3s, 0.3s, 0.3s;
  transition-timing-function: ease-in-out, ease-in-out, ease-in-out;
}

.login-btn::before {


  position: absolute;
  top: 1px;
  left: 1px;
  z-index: -1;
  display: block;
  width: calc(100% - 2px);
  height: calc(100% - 2px);
  background: #000;
  transition: background 0.3s ease-in-out;
  content: "";
  transform: translate3d(0, 0, 0);
}

.login-btn::after {


  position: absolute;
  top: 0;
  left: 0;
  z-index: -3;
  display: block;
  width: 100%;
  height: 100%;
  background:
    linear-gradient(
      269.16deg,
      #9867f0 -15.83%,
      #3bf0e4 -4.97%,
      #33ce43 15.69%,
      #b2f4b6 32.43%,
      #ffe580 50.09%,
      #ff7571 67.47%,
      #ff7270 84.13%,
      #ea5dad 105.13%,
      #c2a0fd 123.24%
    );
  background-position: 58% 50%;
  background-size: 500%;
  content: "";
  transform: translate3d(0, 0, 0);
  backface-visibility: hidden;
  animation: gradient-shift 30s ease infinite;
}

@keyframes gradient-shift {


  0% {


    background-position: 58% 50%;
  }

  25% {


    background-position: 100% 0%;
  }

  75% {


    background-position: 10% 50%;
  }

  100% {


    background-position: 58% 50%;
  }
}

.login-btn:hover::before {


  background: transparent;
}

.login-btn:hover {


  cursor: pointer;
  color: #000;
}
</style>
ここで注目に値するのは、復帰イベント バインディングが追加されていることです。
/**
 * @description 文档注册enter事件
 * @param {any} cb
 * @return {void}
 */
export const handleEnter = (cb: Function): void => {


  document.onkeydown = e => {


    const ev: KeyboardEventInit = window.event || e;
    if (ev.keyCode === 13) {


      cb();
    }
  };
};

// 其中 KeyboardEventInit 为内置,以下是代码截取
interface KeyboardEventInit extends EventModifierInit {


    /** @deprecated */
    charCode?: number;
    code?: string;
    isComposing?: boolean;
    key?: string;
    /** @deprecated */
    keyCode?: number;
    location?: number;
    repeat?: boolean;
}
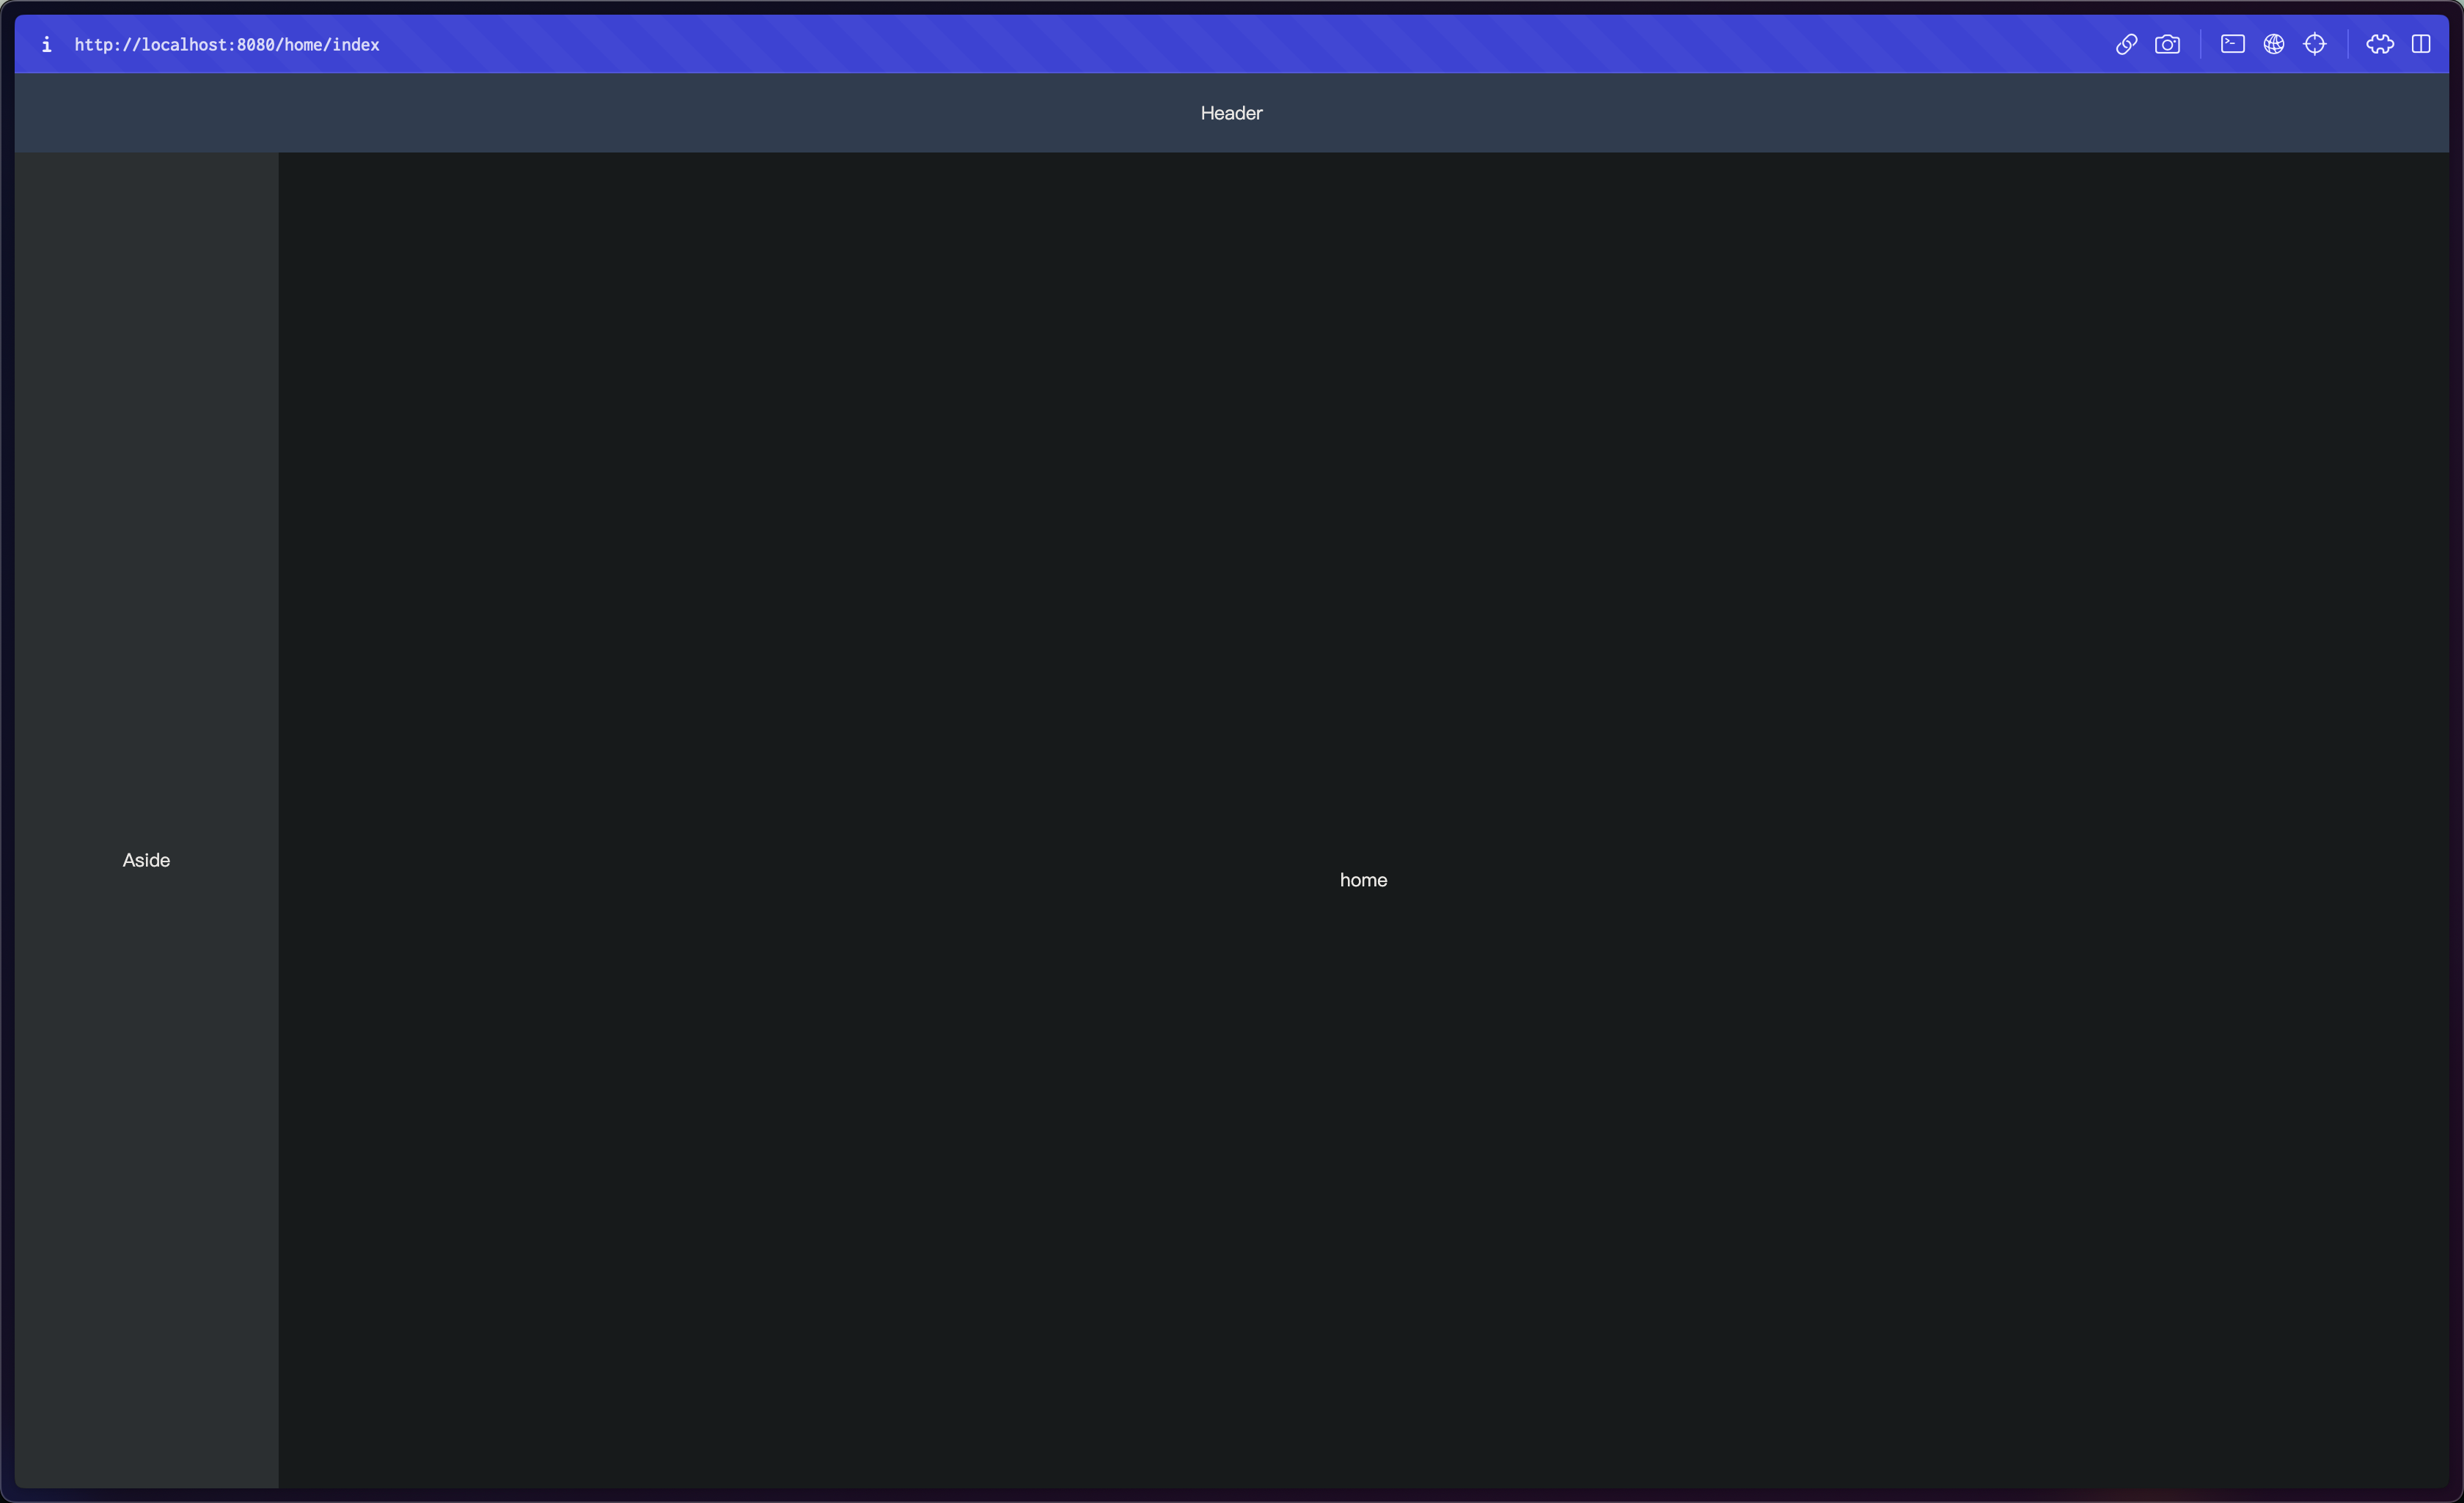
2. レイアウトコンポーネント
ここでは、Element-plus 公式 Web サイトが提供するコンポーネントと独自のプログラムのレイアウトに従って、レイアウト形式を選択できます。
<template>
  <div class="common-layout">
    <el-container>
      <el-header class="flex-c flex-align header"> Header </el-header>
      <el-container>
        <el-aside class="flex-c flex-align h-100 aside"> Aside </el-aside>
        <el-main>
          <router-view></router-view>
        </el-main>
      </el-container>
    </el-container>
  </div>
</template>

<script lang="ts" setup></script>

<style lang="scss" scoped>
.header {


  height: 60px;
  background-color: #b3c0d1;
}

.aside {


  background-color: #d3dce6;
  width: 200px;
}

.el-main {


  overflow: hidden;
  padding: 15px;
}
</style>
3. ルーティングを変更する
レイアウトコンポーネントをルートに追加する
route.ts 文件
{


    path: "/home",
    component: UserLayout,
    name: "Home",
    meta: {

     title: "home" },
    redirect: "/home/index",
    children: [
      {


        path: "index",
        component: () => import("@/views/home/index.vue"),
        name: "HomeIndex",
        meta: {

     title: "homeIndex" },
      }
    ]
  }
news.ts ファイル
import {
RouteRecordRaw } from 'vue-router';
const UserLayout = () => import('@/views/layout/index.vue')
const news: RouteRecordRaw = {
path: "/news",
component: UserLayout,
name: "News",
meta: {
title: "news" },
redirect: "/news/animal",
children: [
{
path: "animal",
component: () => import("@/views/news/animal.vue"),
name: "AnimalList",
meta: {
title: "animalList" },
},
{
path: "nature",
component: () => import("@/views/news/nature.vue"),
name: "NatureList",
meta: {
title: "natureList" },
},
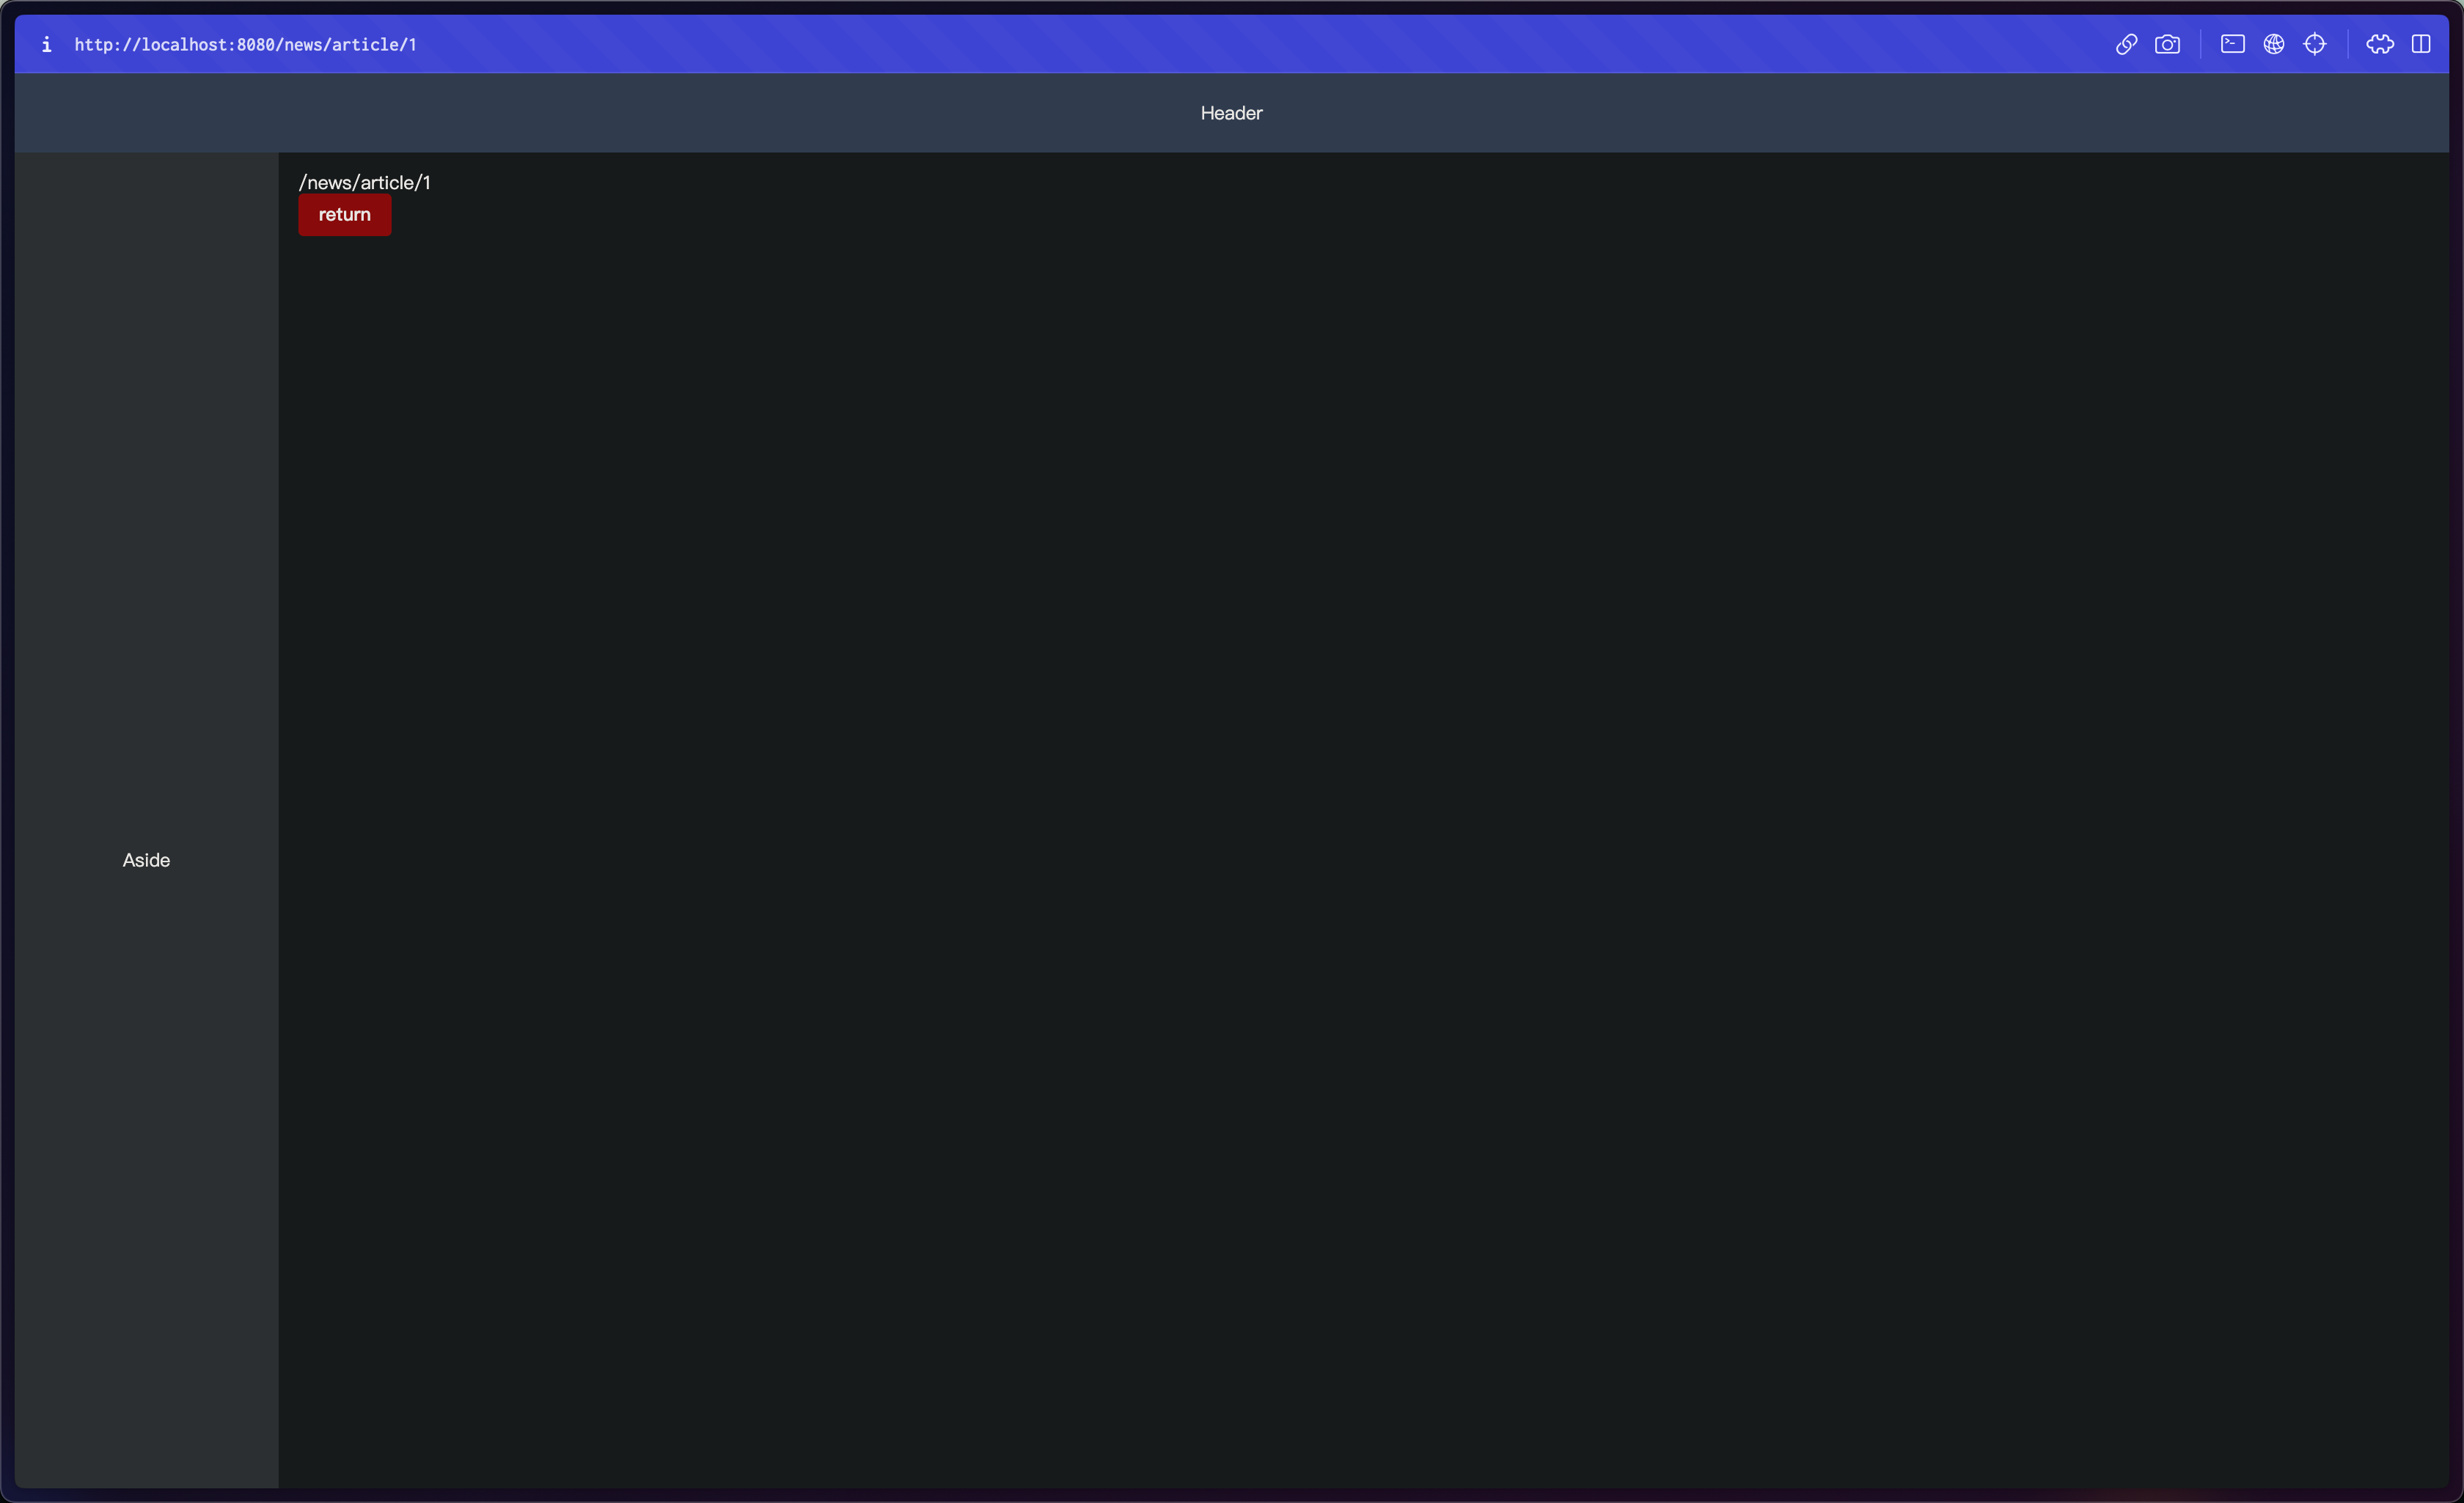
{
path: "article/:id",
component: () => import("@/views/news/article.vue"),
name: "Article",
meta: {
title: "article" },
},
],
};
export {
news }
user.ts ファイル
import {

     RouteRecordRaw } from 'vue-router';

const UserLayout = () => import('@/views/layout/index.vue')

const user: RouteRecordRaw = {


  path: "/user",
  component: UserLayout,
  name: "User",
  meta: {

     title: "user" },
  redirect: "/user/info",
  children: [
    {


      path: "info",
      component: () => import("@/views/user/info.vue"),
      name: "UserInfo",
      meta: {

     title: "userInfo" },
    },
  ],
};

export {

     user }
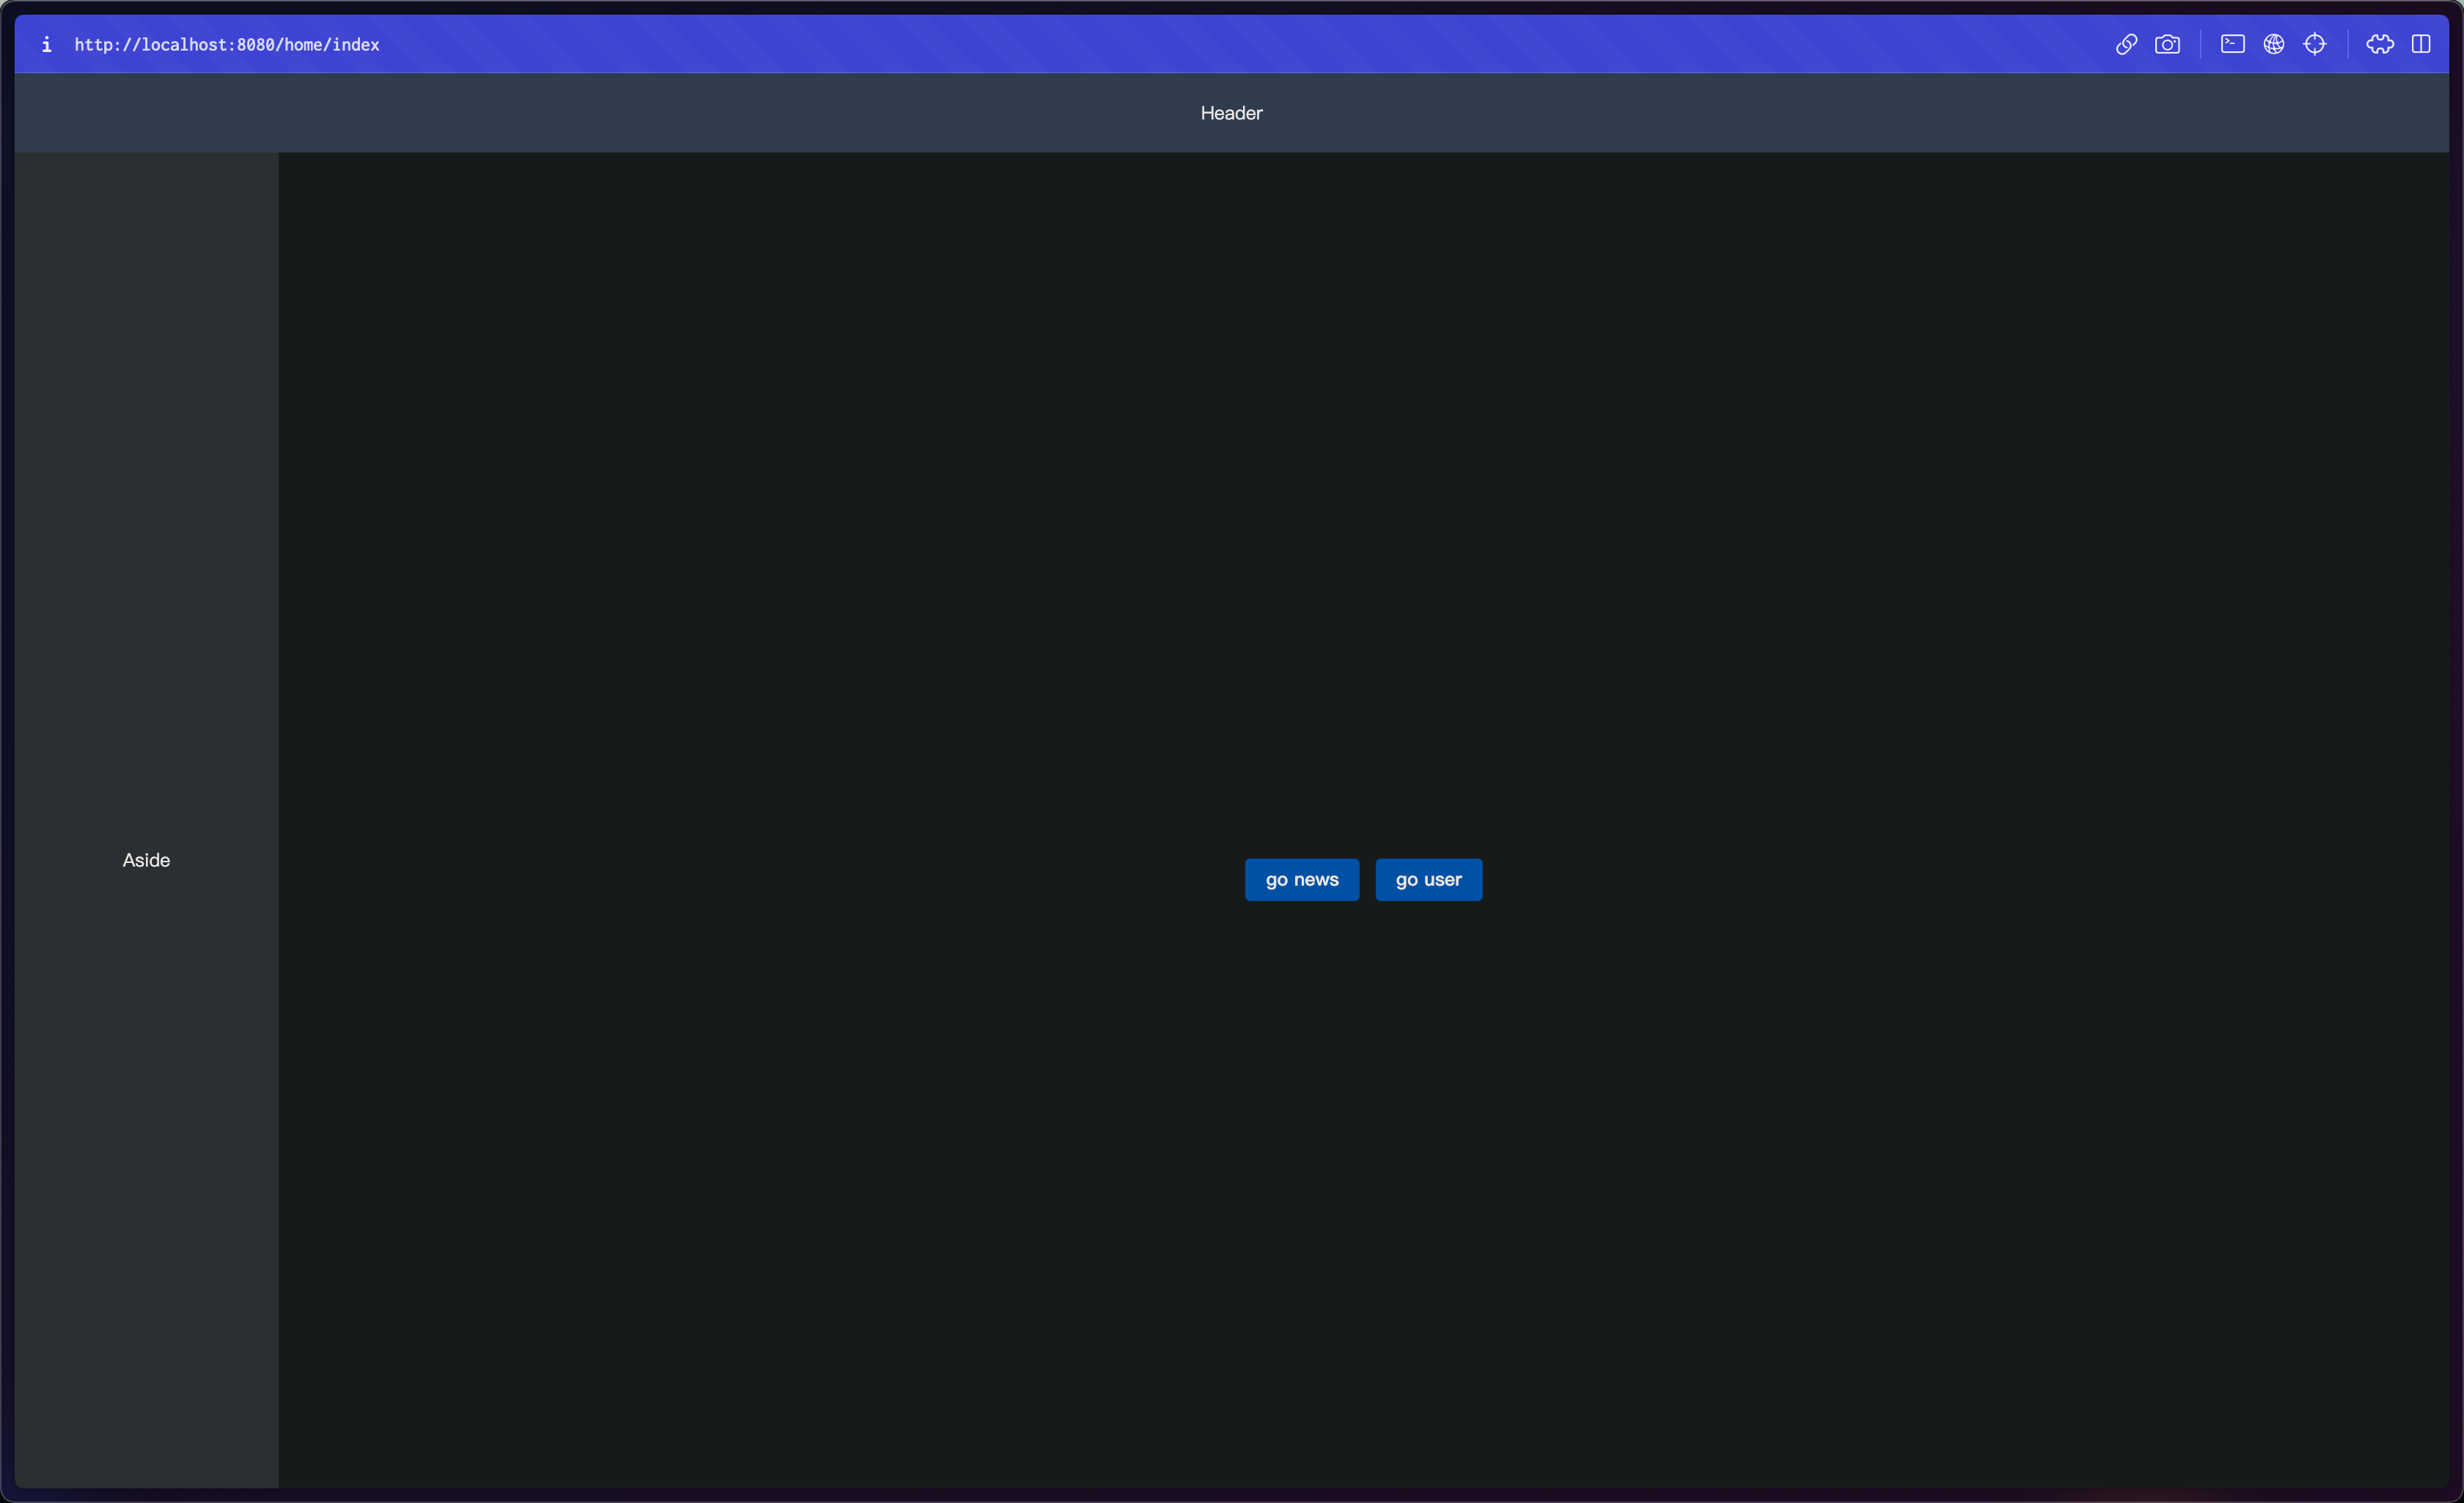
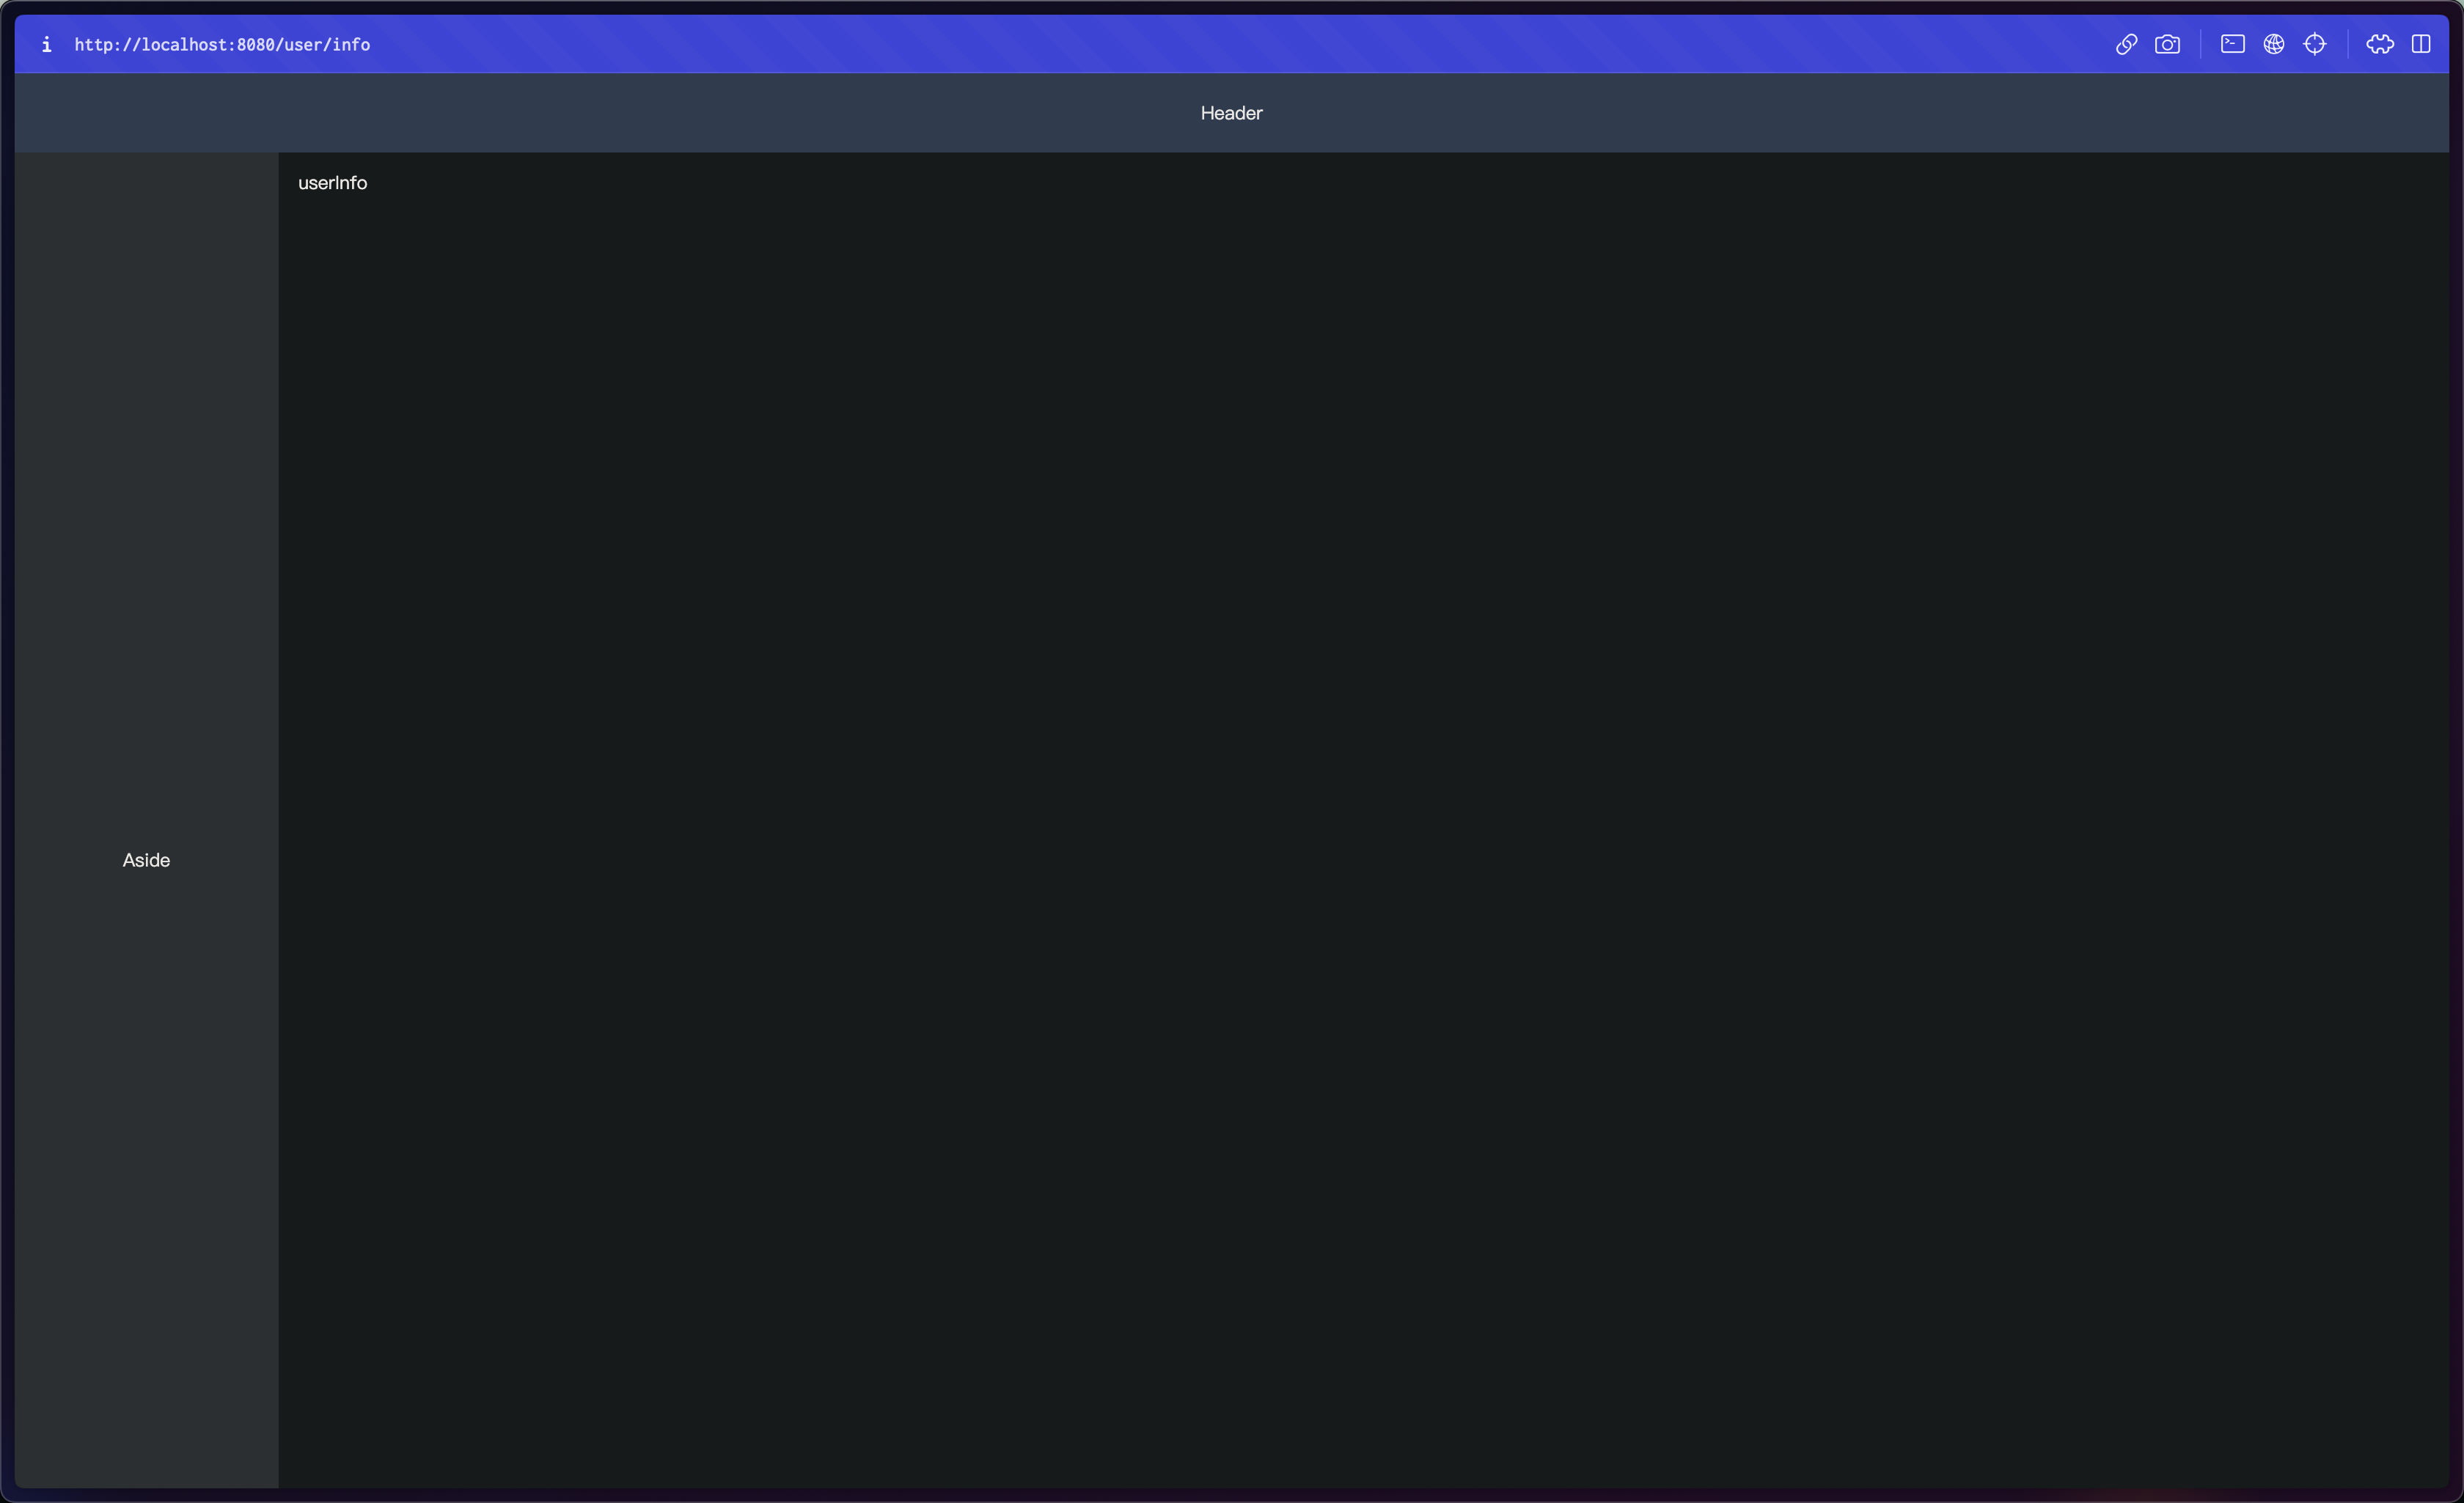
4. インターフェースのテスト
プロジェクトを実行し、ログイン ページからホームページにジャンプし、ニュース ページとユーザー ページへのルーティングを変更します。ここでは、ホームページに 2 つのボタンを追加するだけで、ルーティング ジャンプをテストできます。
ホームページのコード
<template>
  <div class="flex-c flex-align h-100">
    <el-button type="primary" @click="goRouter('/news')">go news</el-button>
    <el-button type="primary" @click="goRouter('/user')">go user</el-button>
  </div>
</template>

<script setup lang="ts">
import {

     useRouter } from 'vue-router'

const router = useRouter()

const goRouter = (path: string): void => {


  router.push(path)
}
</script>

要約する
この記事では、プロジェクトの開発を継続し、ログイン ページとレイアウト コンポーネントを追加し、ルーティング ジャンプを実装します。次に、メニューとビジネス ロジックを開発できますが、開発の前に、まず pinia を使用して管理する必要があります。プロジェクトのステータス。上記の構成コードは、 github ウェアハウス、ウェアハウス パス: https://github.com/SmallTeddy に直接copy置くことができます。 /music-explorer-web。