1. プロジェクトの初期化
npm install -g vite


npm init vite@latest threejs-vite-vue -- --template vue


cd threejs-vite-vue

npm install

npm run dev
プロジェクトは正常に作成されました。threejs
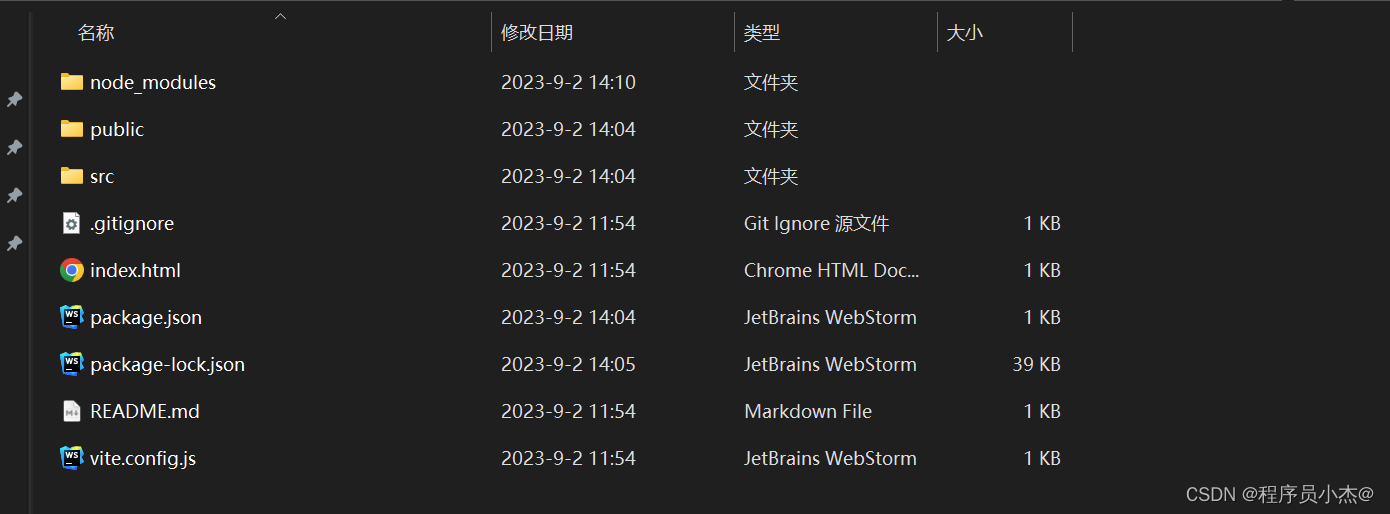 のバージョンに注目してください。
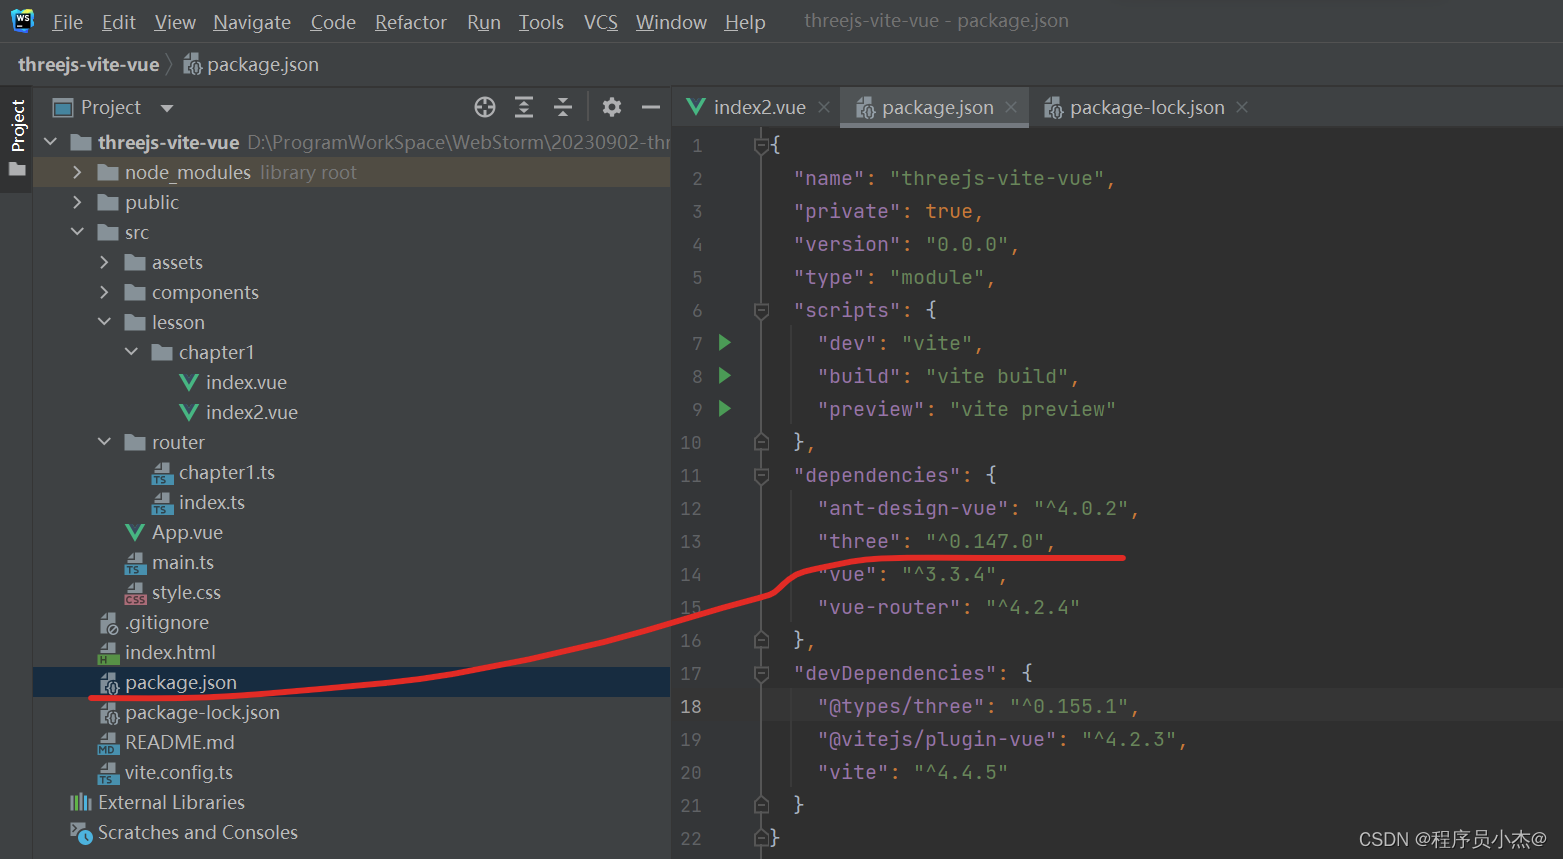
"@types/three": "^0.155.1",
プロジェクトが正常に作成され、プロジェクトが IDE にインポートされます。
1. いくつかの依存関係を追加します
npm install vue-router

npm install three

npm install @types/three -D

npm install ant-design-vue
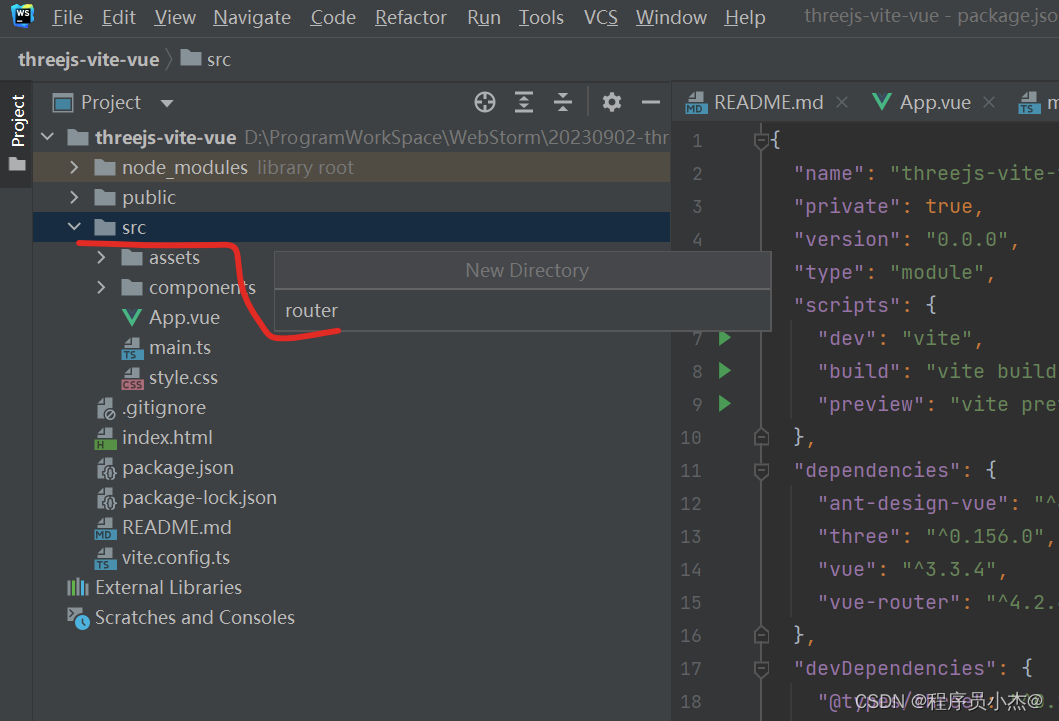
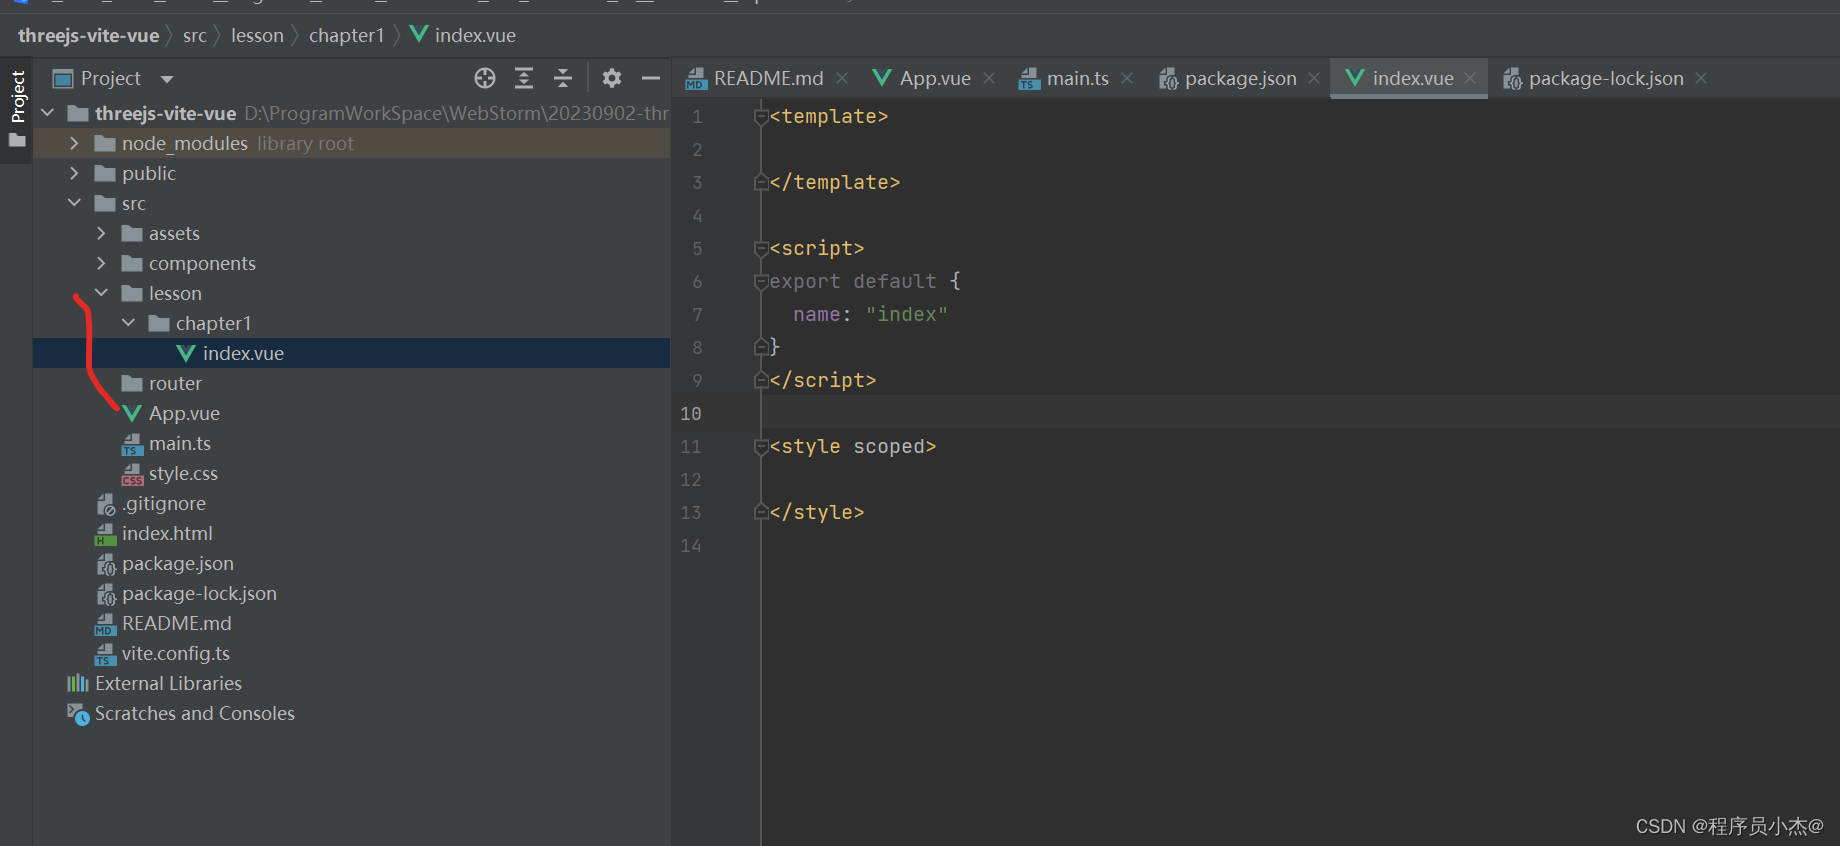
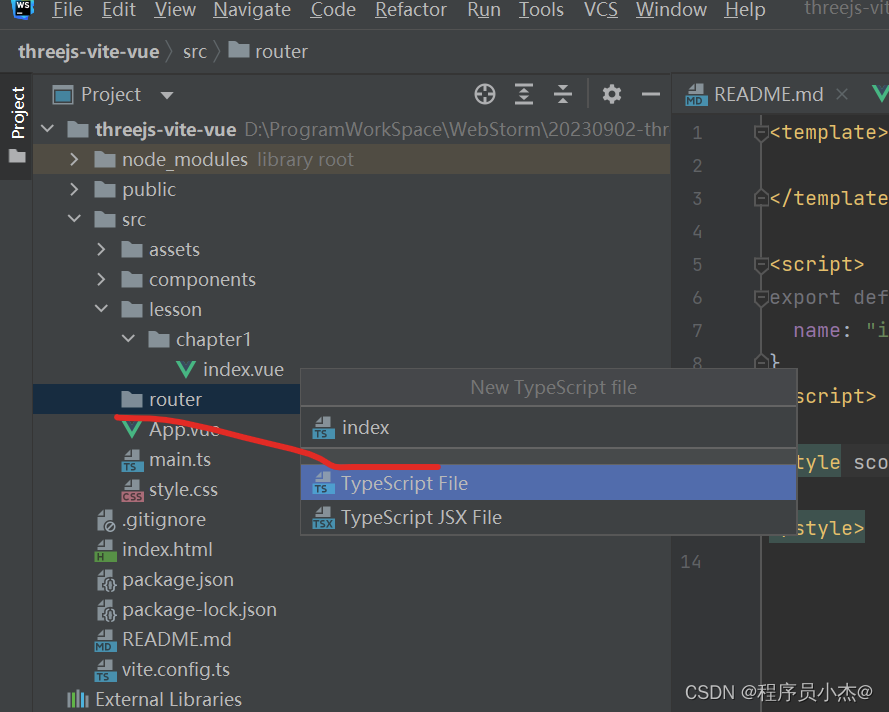
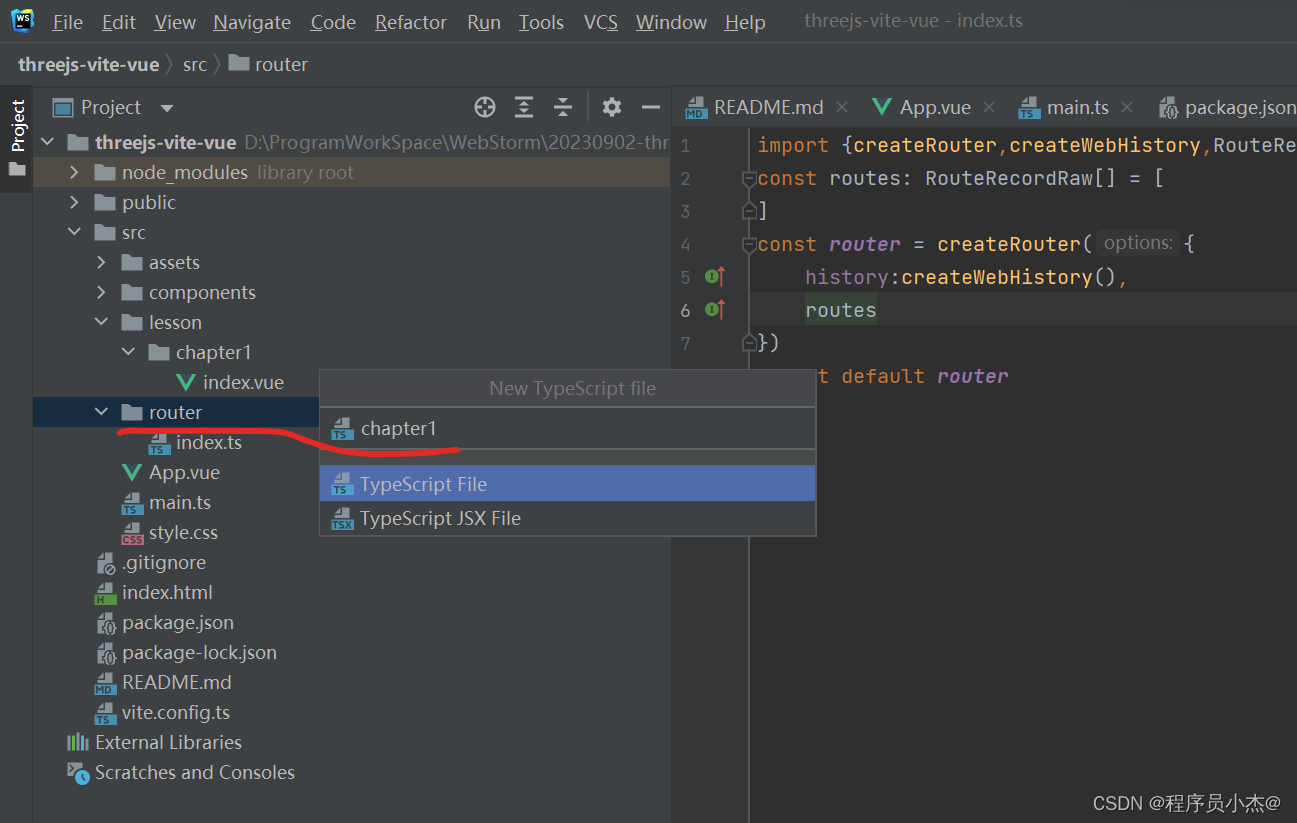
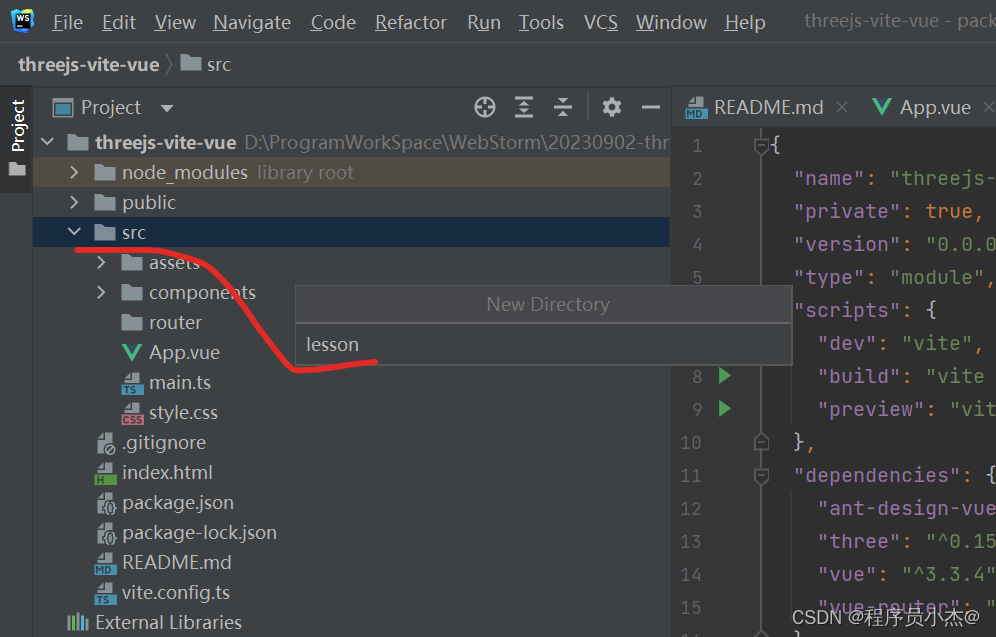 ルーティング関連の作成
import {

    createRouter,createWebHistory,RouteRecordRaw} from "vue-router";
const routes: RouteRecordRaw[] = [
]
const router = createRouter({


    history:createWebHistory(),
    routes
})
router.beforeEach((to)=>{


    document.title = 'three+vite+vue3'+to.meta.title as string
})

export default router
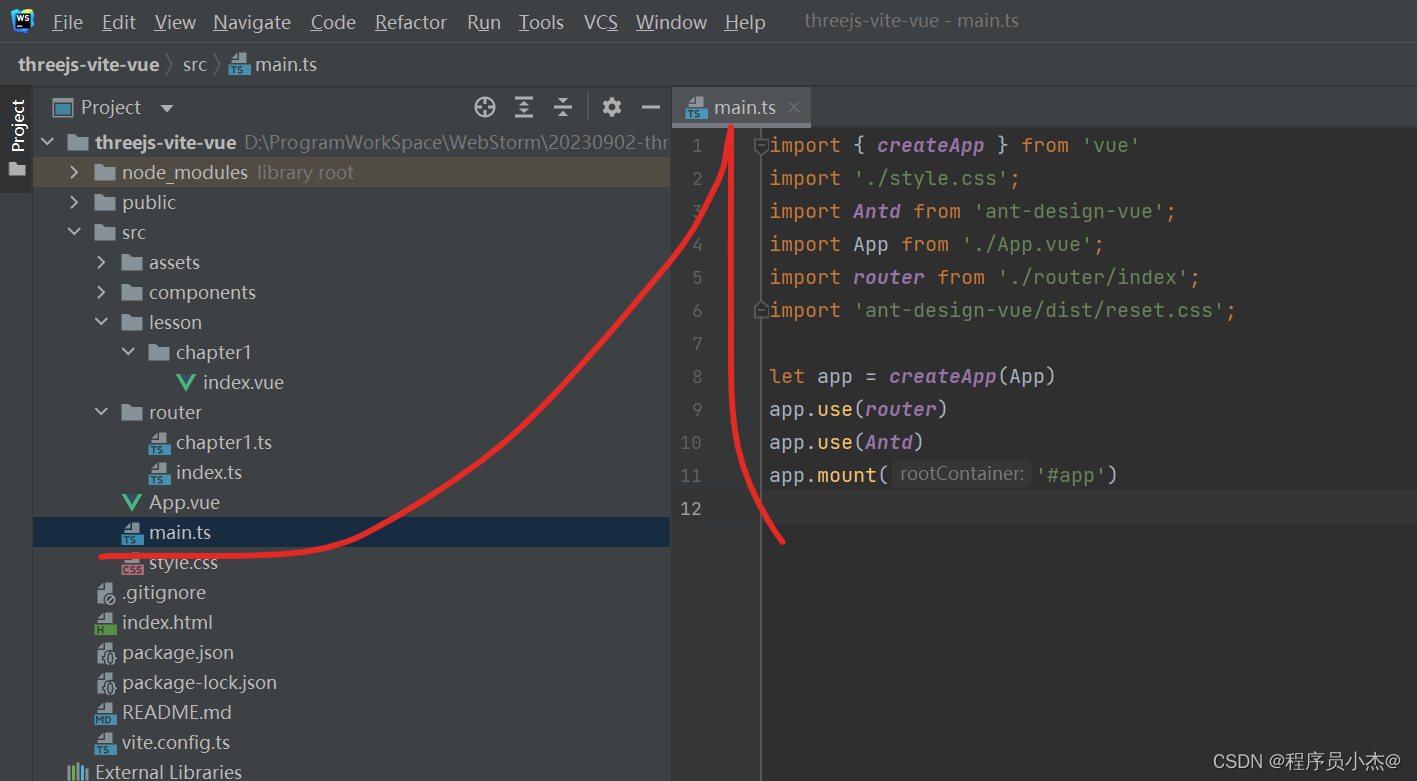
import {

     createApp } from 'vue'
import './style.css';
import Antd from 'ant-design-vue';
import App from './App.vue';
import router from './router/index';
import 'ant-design-vue/dist/reset.css';

let app = createApp(App)
app.use(router)
app.use(Antd)
app.mount('#app')

import {

    RouteRecordRaw} from "vue-router";
const chapter1 : RouteRecordRaw[] = [
]

export default chapter1;
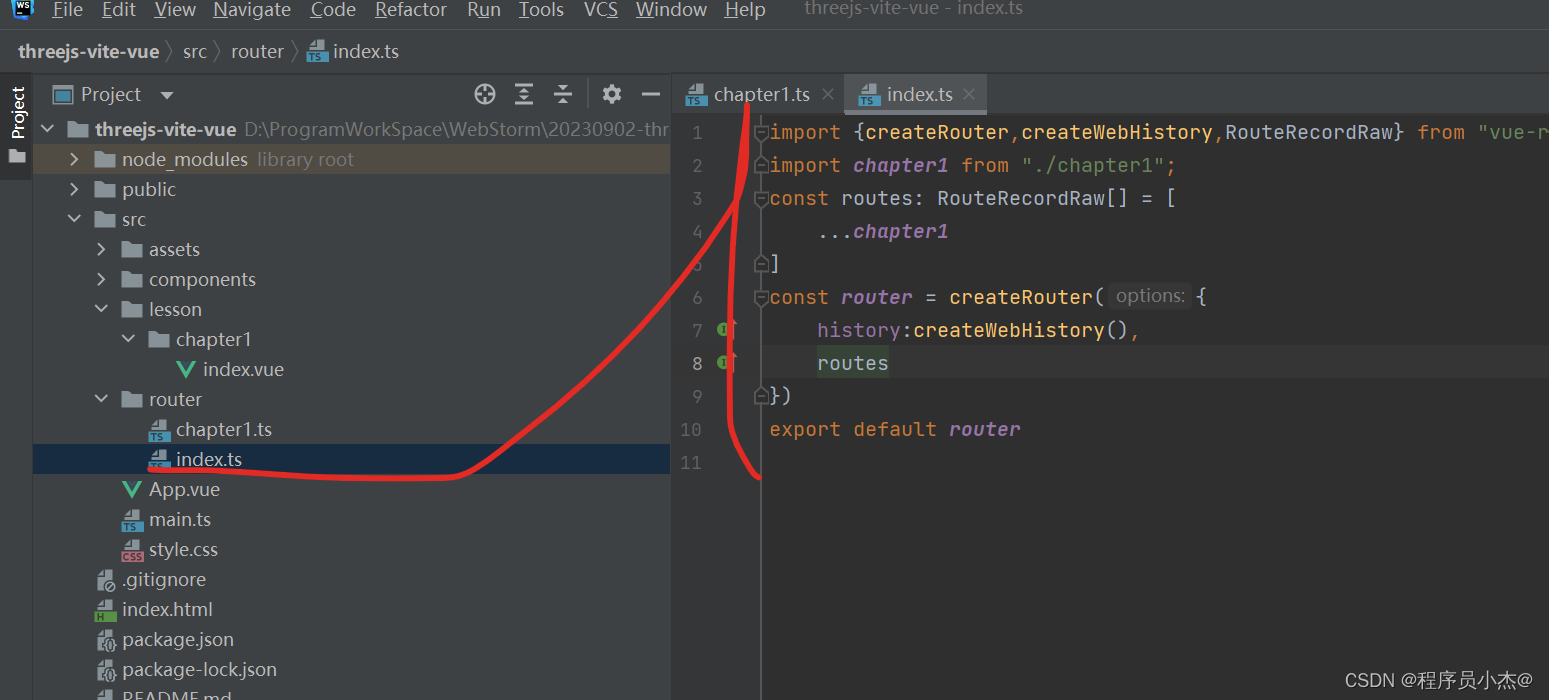
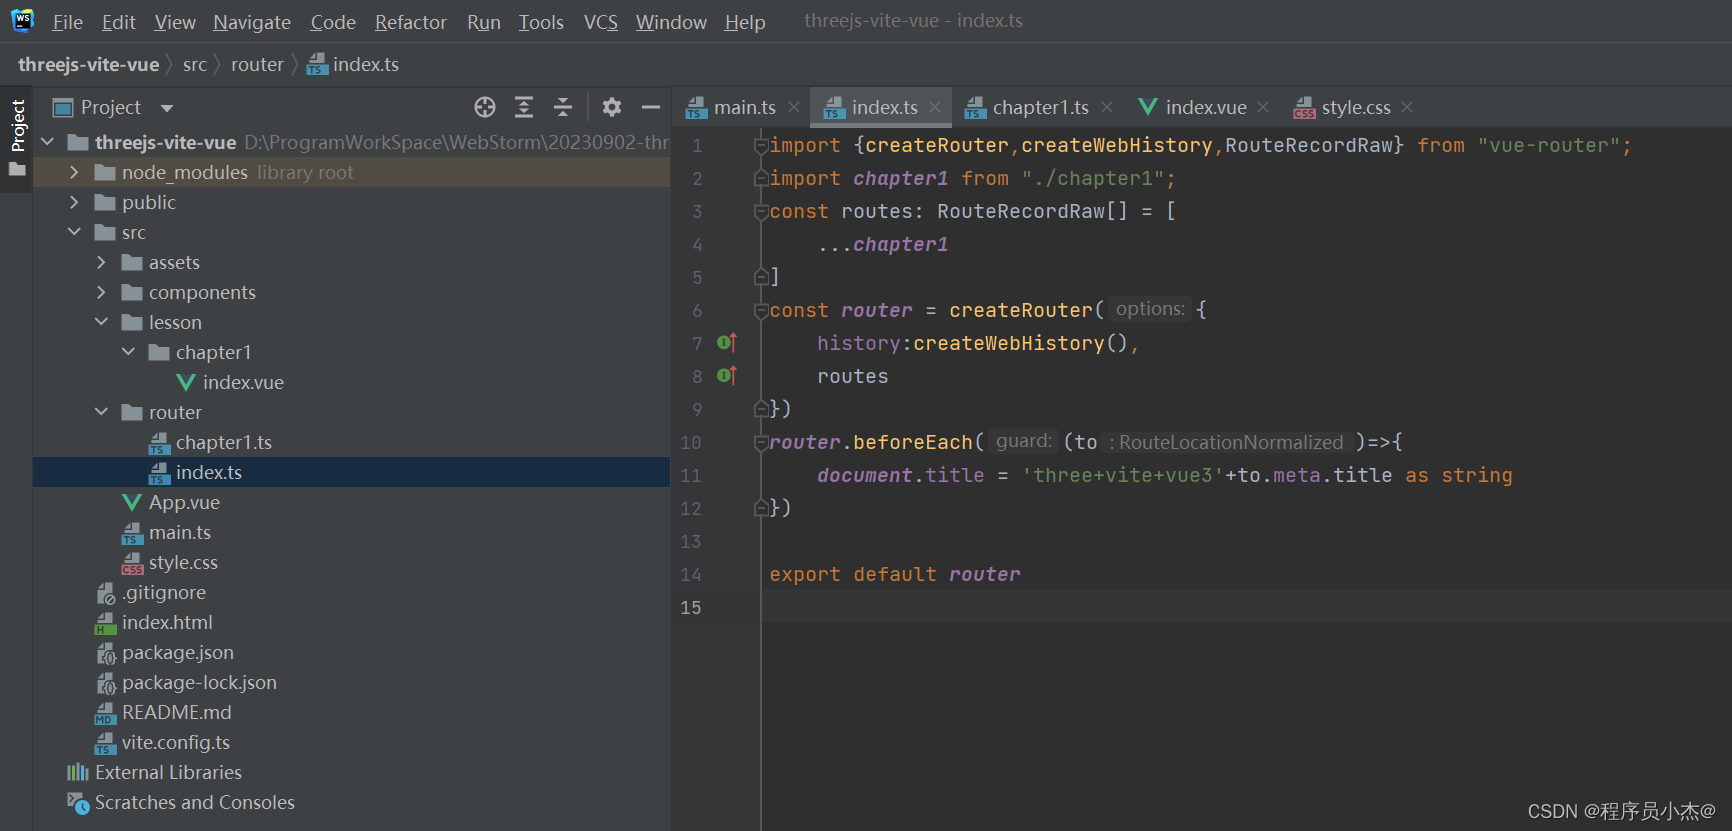
import {

    createRouter,createWebHistory,RouteRecordRaw} from "vue-router";
import chapter1 from "./chapter1";
const routes: RouteRecordRaw[] = [
    ...chapter1
]
const router = createRouter({


    history:createWebHistory(),
    routes
})
export default router
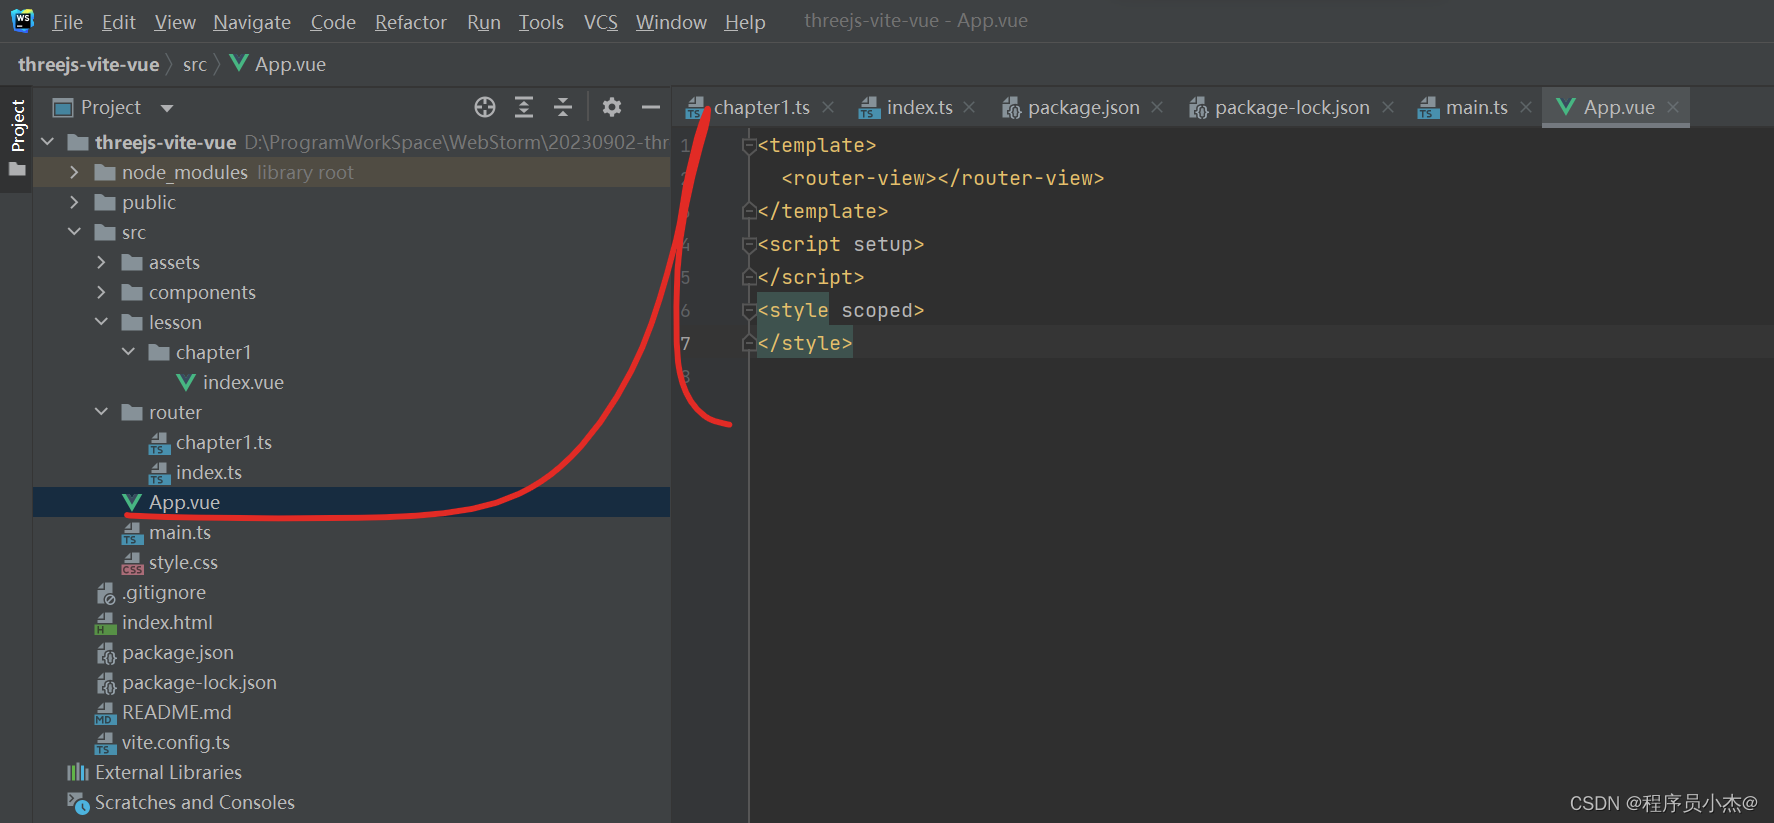
<template>
  <router-view></router-view>
</template>
<script setup>
</script>
<style scoped>
</style>
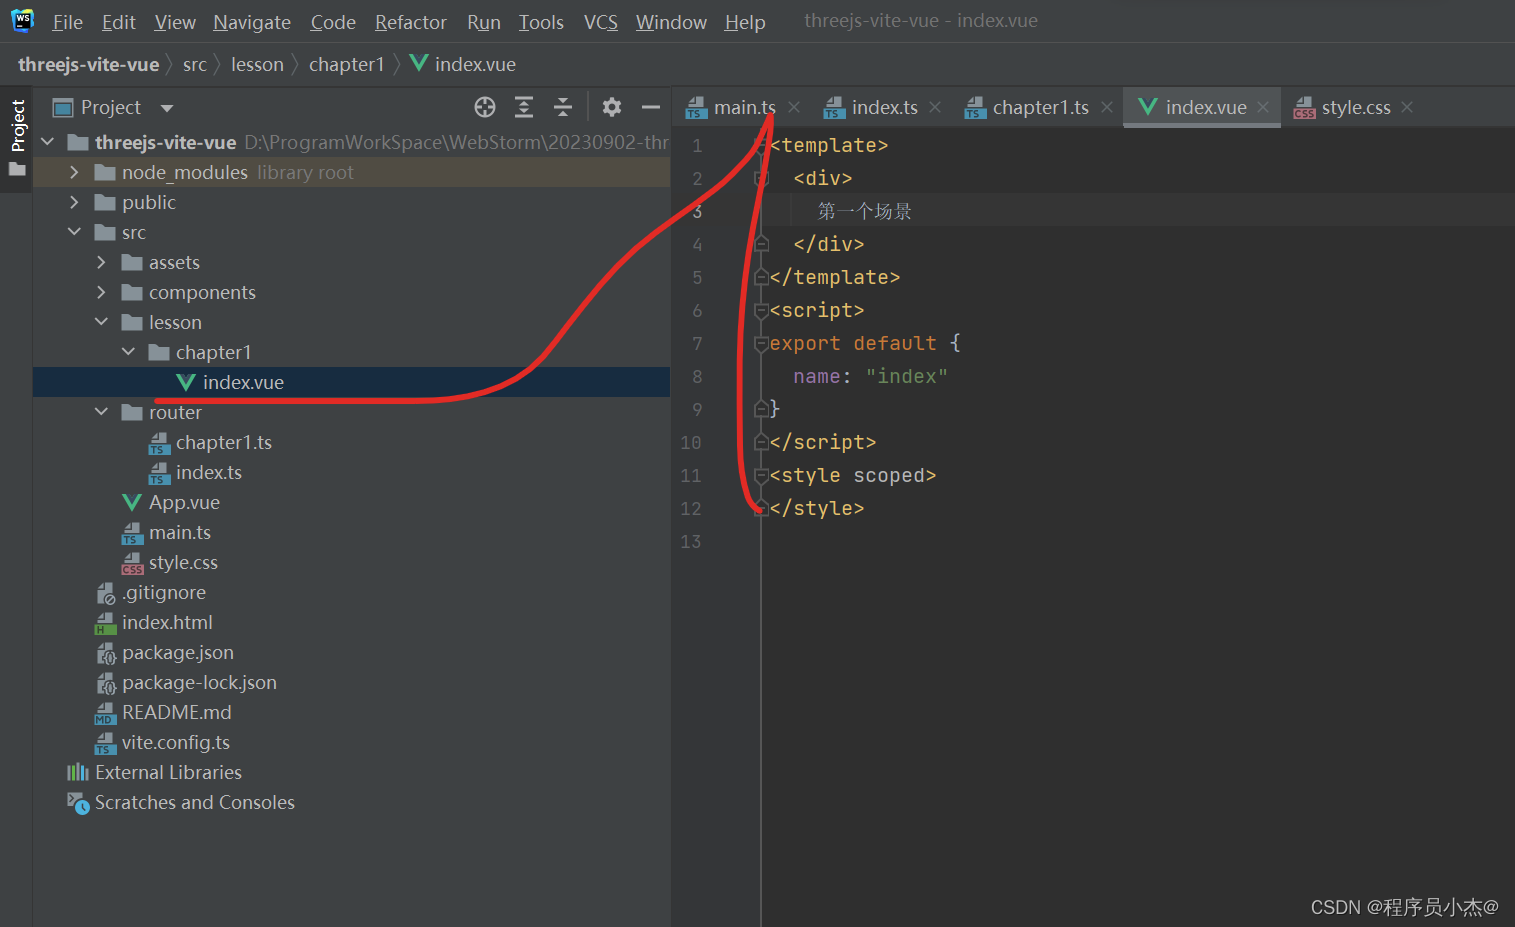
<template>
  <div>
    第一个场景
  </div>
</template>
<script>
export default {


  name: "index"
}
</script>
<style scoped>
</style>
2. 3Dの作成
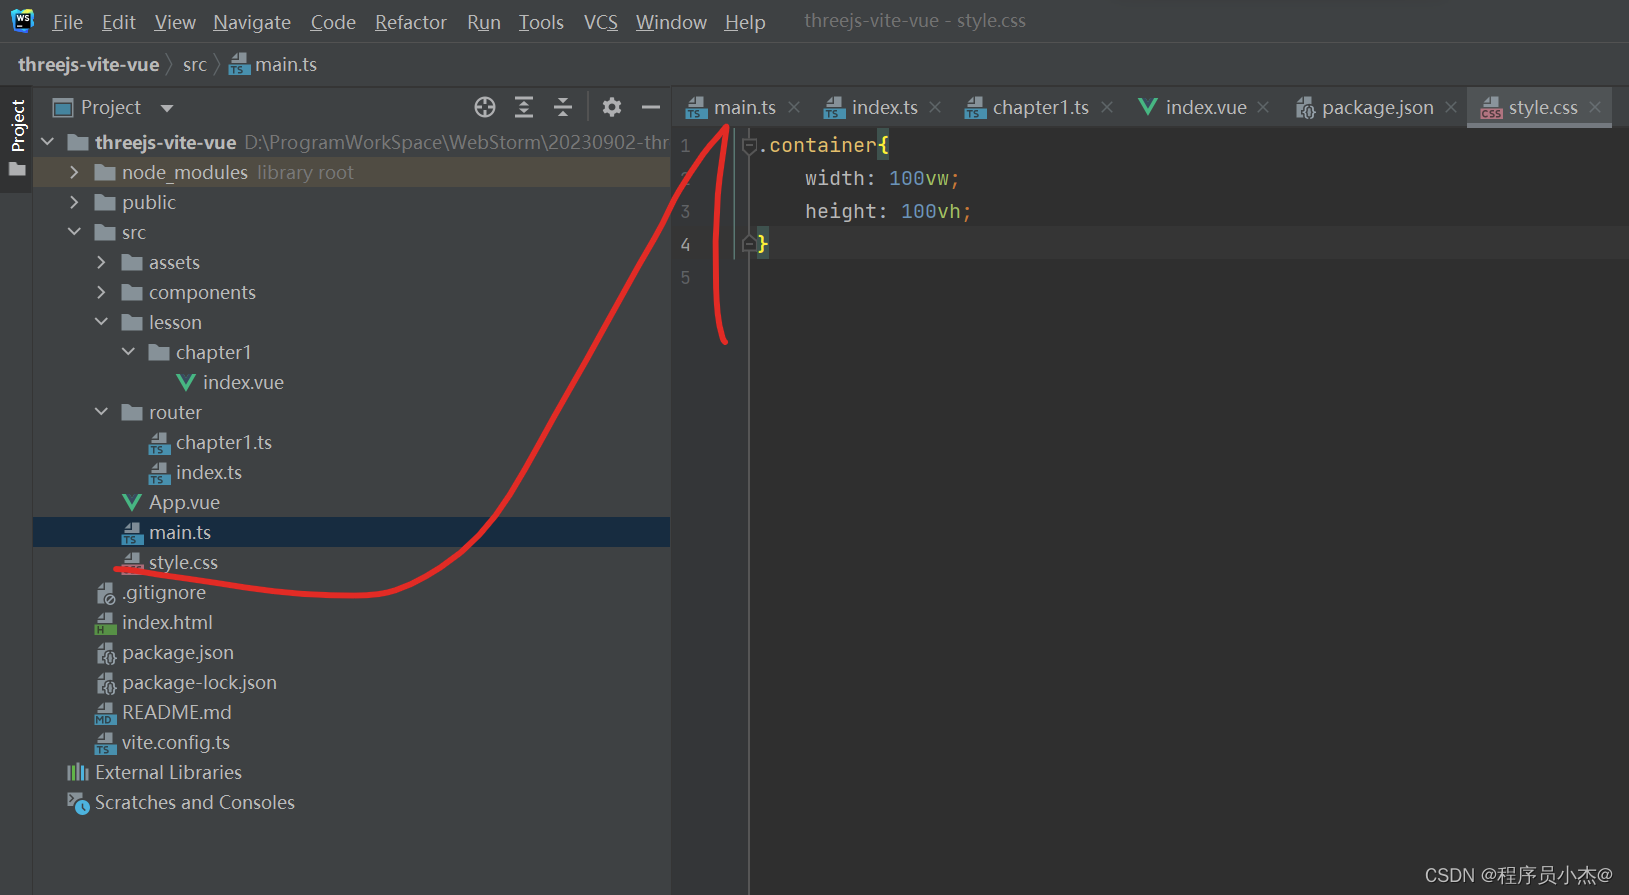
.container{


    width: 100vw;
    height: 100vh;
}
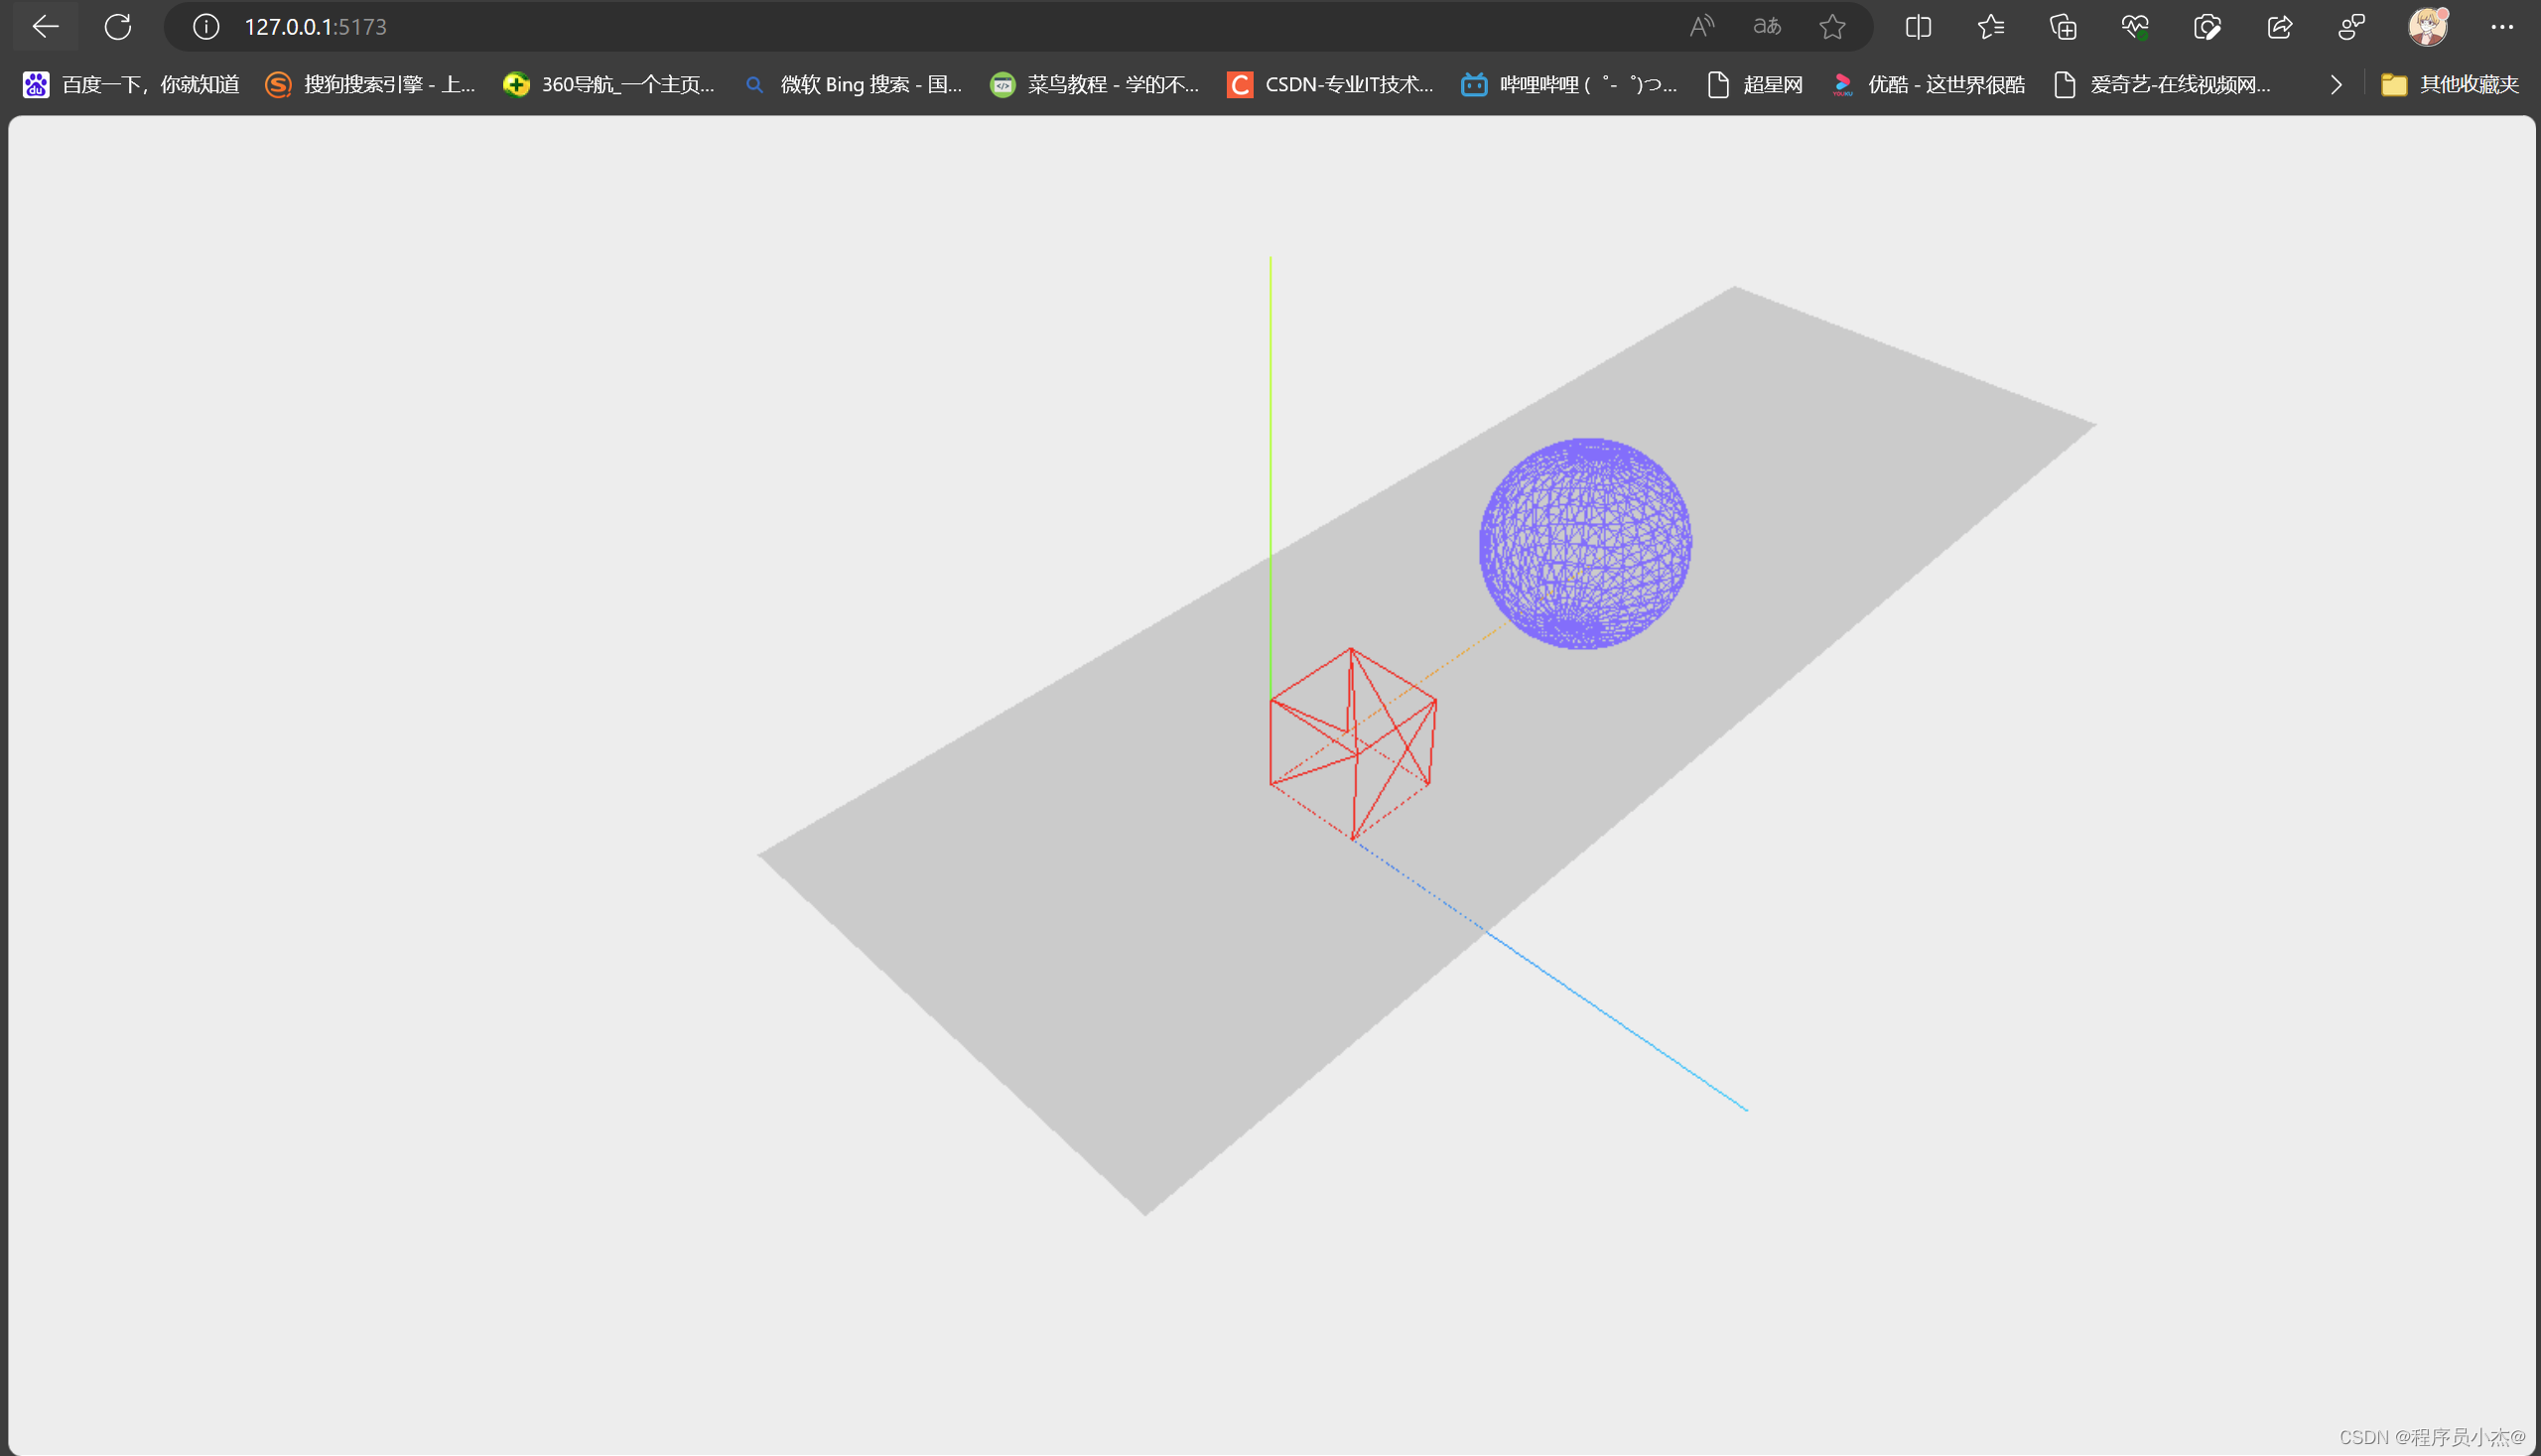
1. ボード、立方体、球を描く
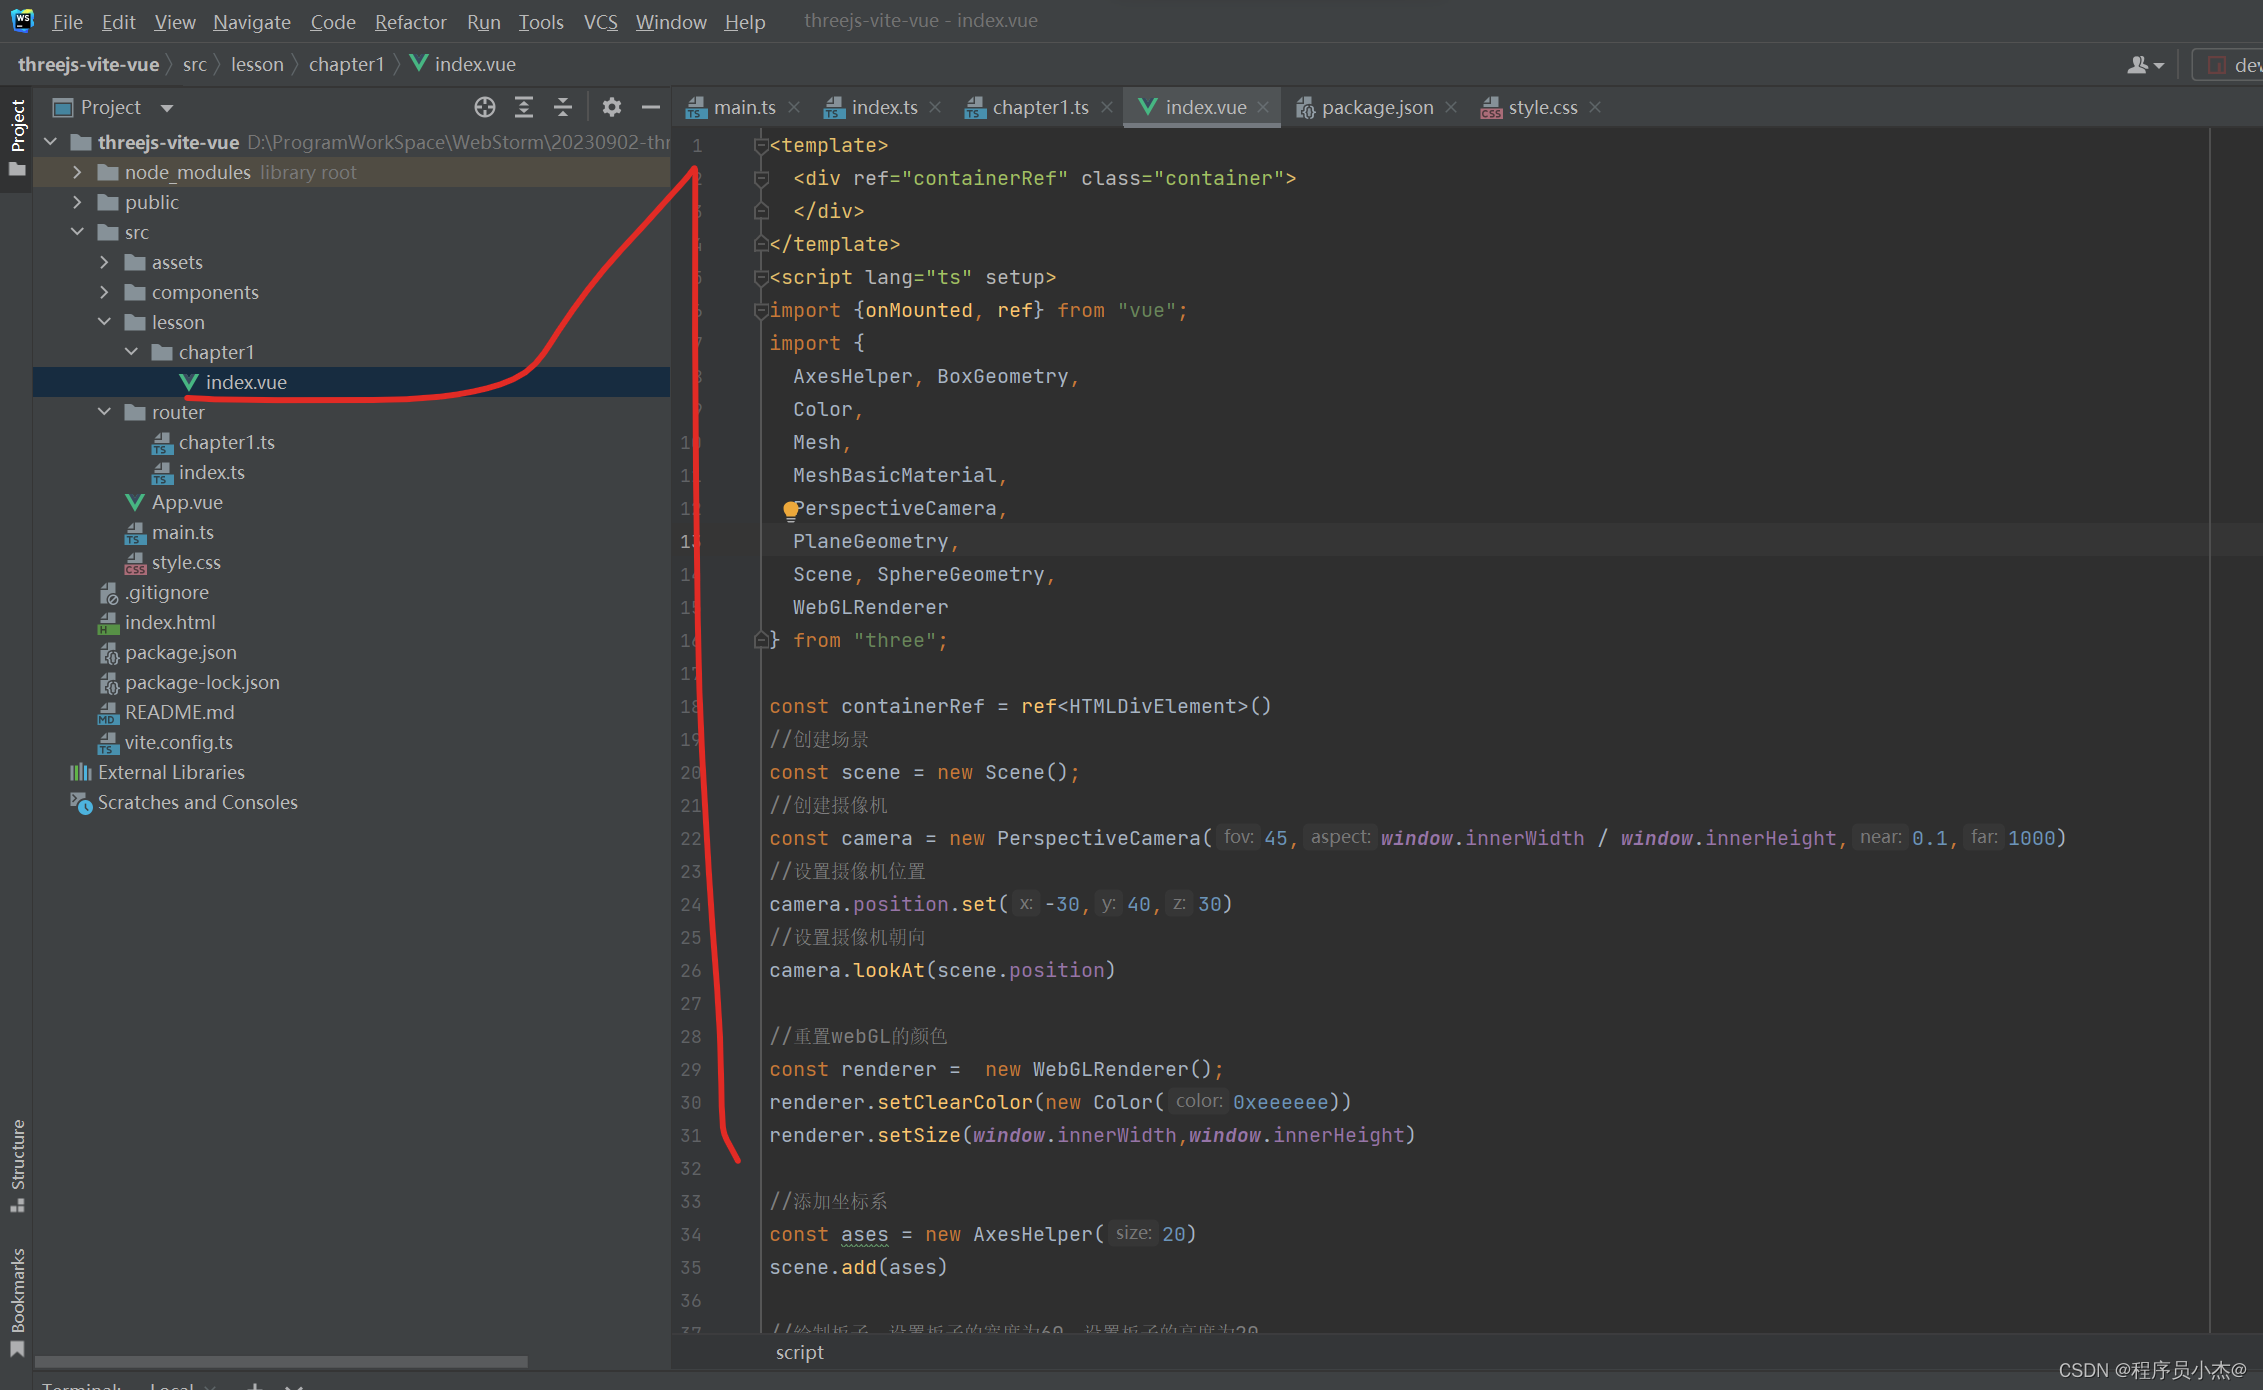
<template>
  <div ref="containerRef" class="container">
  </div>
</template>
<script lang="ts" setup>
import {

    onMounted, ref} from "vue";
import {


  AxesHelper, BoxGeometry,
  Color,
  Mesh,
  MeshBasicMaterial,
  PerspectiveCamera,
  PlaneGeometry,
  Scene, SphereGeometry,
  WebGLRenderer
} from "three";

const containerRef = ref<HTMLDivElement>()
//创建场景
const scene = new Scene();
//创建摄像机
const camera = new PerspectiveCamera(45,window.innerWidth / window.innerHeight,0.1,1000)
//设置摄像机位置
camera.position.set(-30,40,30)
//设置摄像机朝向
camera.lookAt(scene.position)

//重置webGL的颜色
const renderer =  new WebGLRenderer();
renderer.setClearColor(new Color(0xeeeeee))
renderer.setSize(window.innerWidth,window.innerHeight)

//添加坐标系
const ases = new AxesHelper(20)
scene.add(ases)

//绘制板子,设置板子的宽度为60,设置板子的高度为20
const planeGeometry = new PlaneGeometry(60,20);
const meshBasicMaterial = new MeshBasicMaterial({

    color:0xcccccc});//设置材质颜色
const plane = new Mesh(planeGeometry,meshBasicMaterial)

plane.rotation.x = -0.5 * Math.PI;
plane.position.x = 15
plane.position.y = 0
plane.position.z = 0
scene.add(plane)

//绘制立方体,设置板子的长宽高分别是4,4,4
const cubeGeometry = new BoxGeometry(4,4,4)
const cubeMaterial = new MeshBasicMaterial({

    color:0xff0000,wireframe:true})
const cube = new Mesh(cubeGeometry,cubeMaterial)
cube.position.set(2,2,2)
scene.add(cube)

//绘制球体,设置球体的半径为4
const sphereGeometry = new SphereGeometry(4)
const sphereMaterial = new MeshBasicMaterial({


  color: 0x7777ff,
  wireframe:true
})
const sphere = new Mesh(sphereGeometry,sphereMaterial)
sphere.position.x = 15
sphere.position.y = 4
sphere.position.z = 2
scene.add(sphere)

onMounted(()=>{


  //设置摄像头朝向
  containerRef.value?.appendChild(renderer.domElement)
  renderer.render(scene,camera)
})

</script>
<style scoped>

</style>
2. 素材と照明
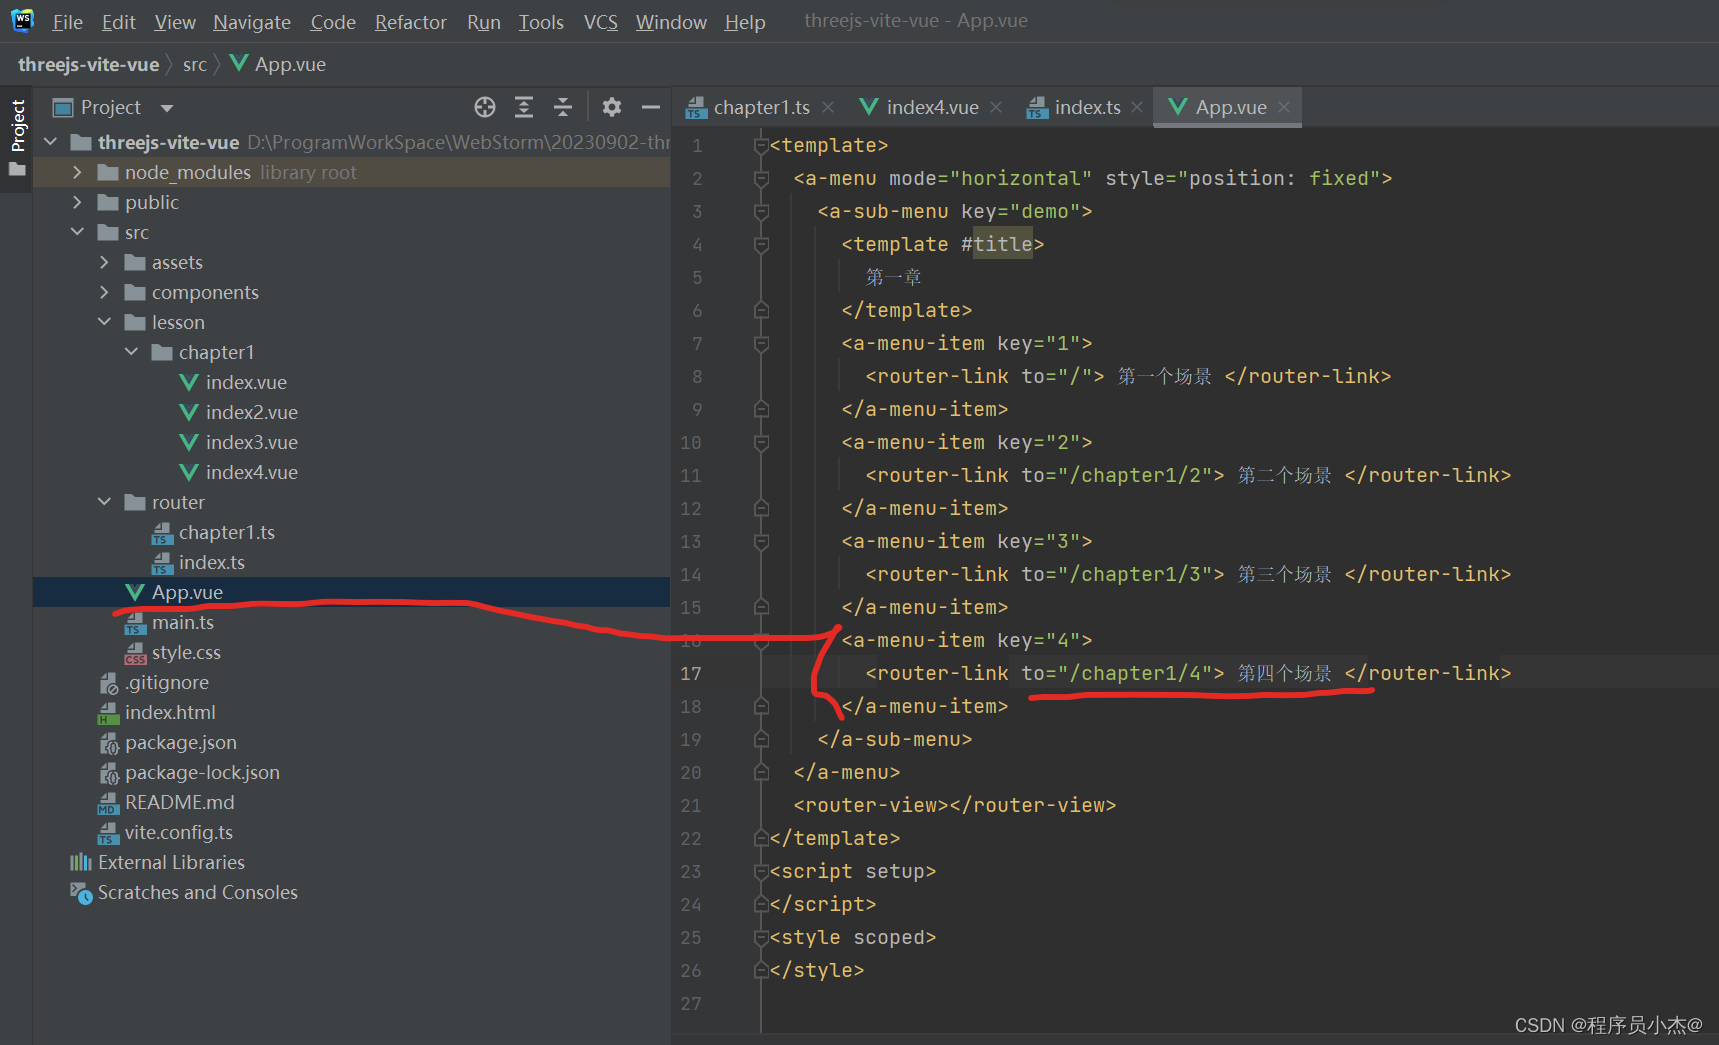
ナビゲーション メニュー コンポーネントを設定する
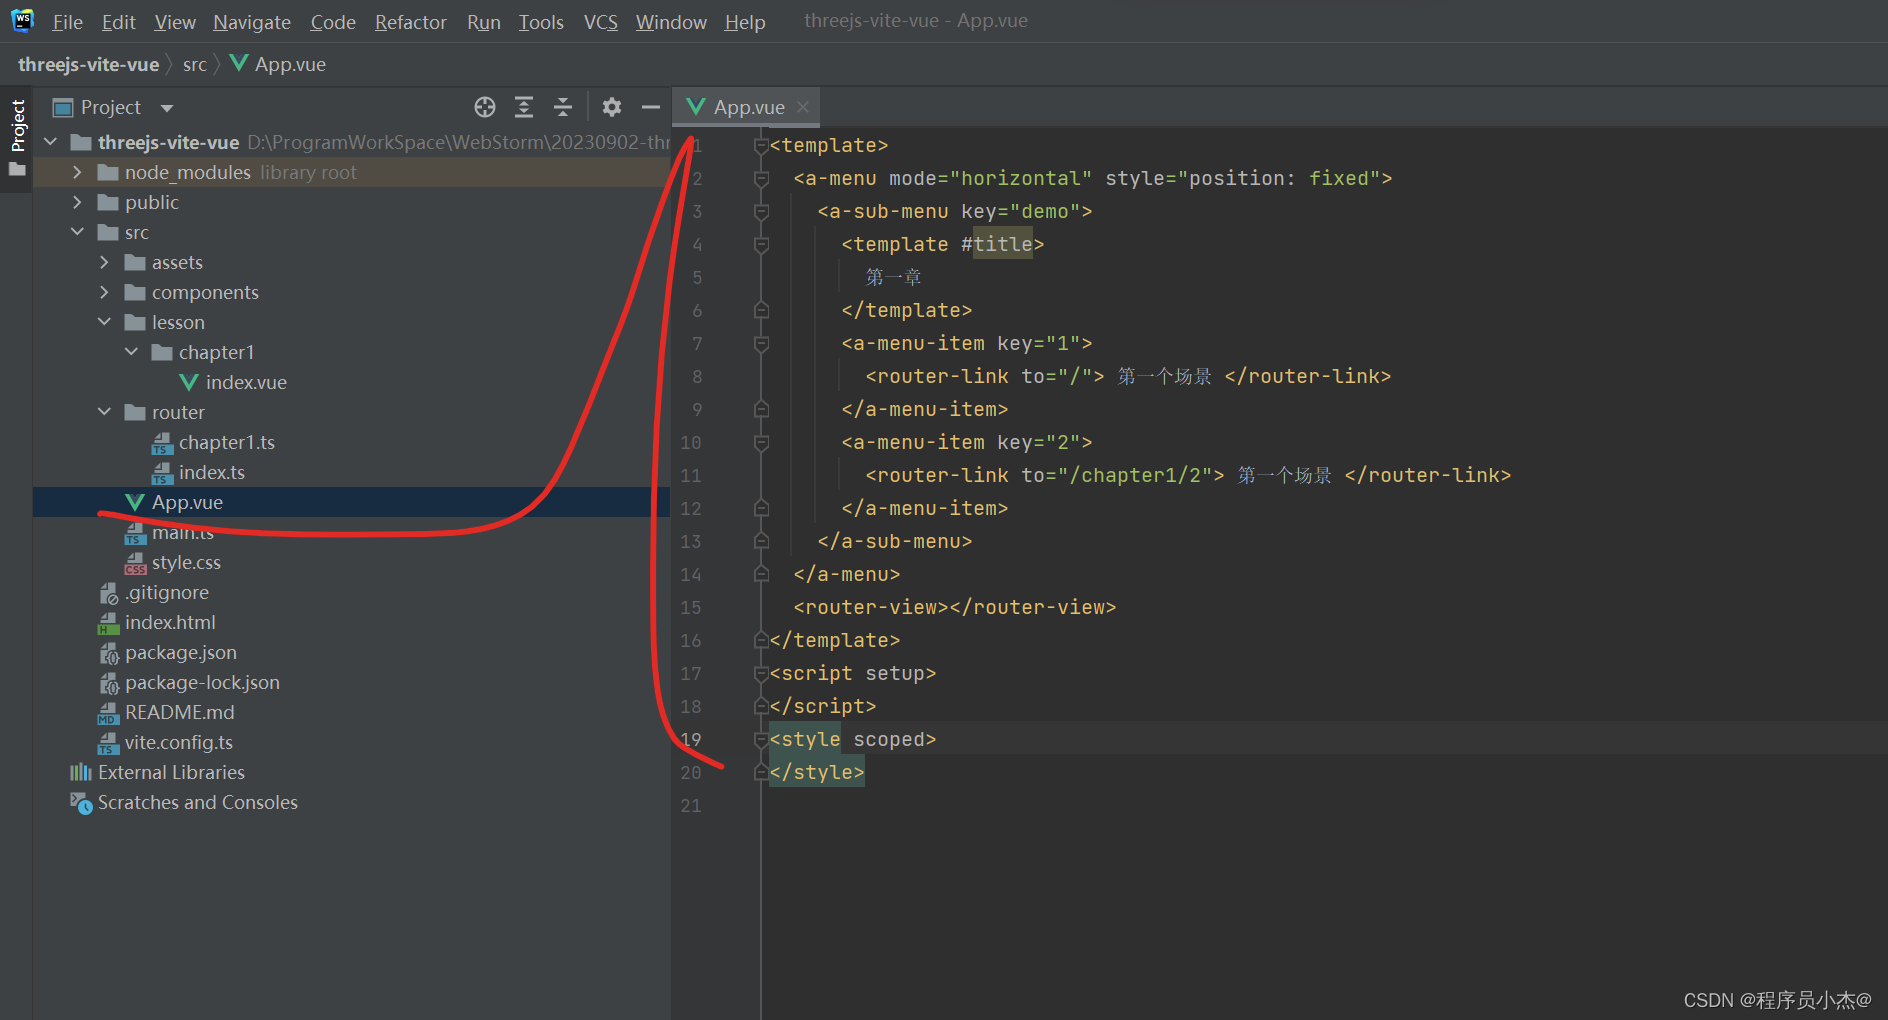
<template>
  <a-menu mode="horizontal" style="position: fixed">
    <a-sub-menu key="demo">
      <template #title>
        第一章
      </template>
      <a-menu-item key="1">
        <router-link to="/"> 第一个场景 </router-link>
      </a-menu-item>
      <a-menu-item key="2">
        <router-link to="/chapter1/2"> 第一个场景 </router-link>
      </a-menu-item>
    </a-sub-menu>
  </a-menu>
  <router-view></router-view>
</template>
<script setup>
</script>
<style scoped>
</style>
インデックスをコピーしてインデックス2を生成する
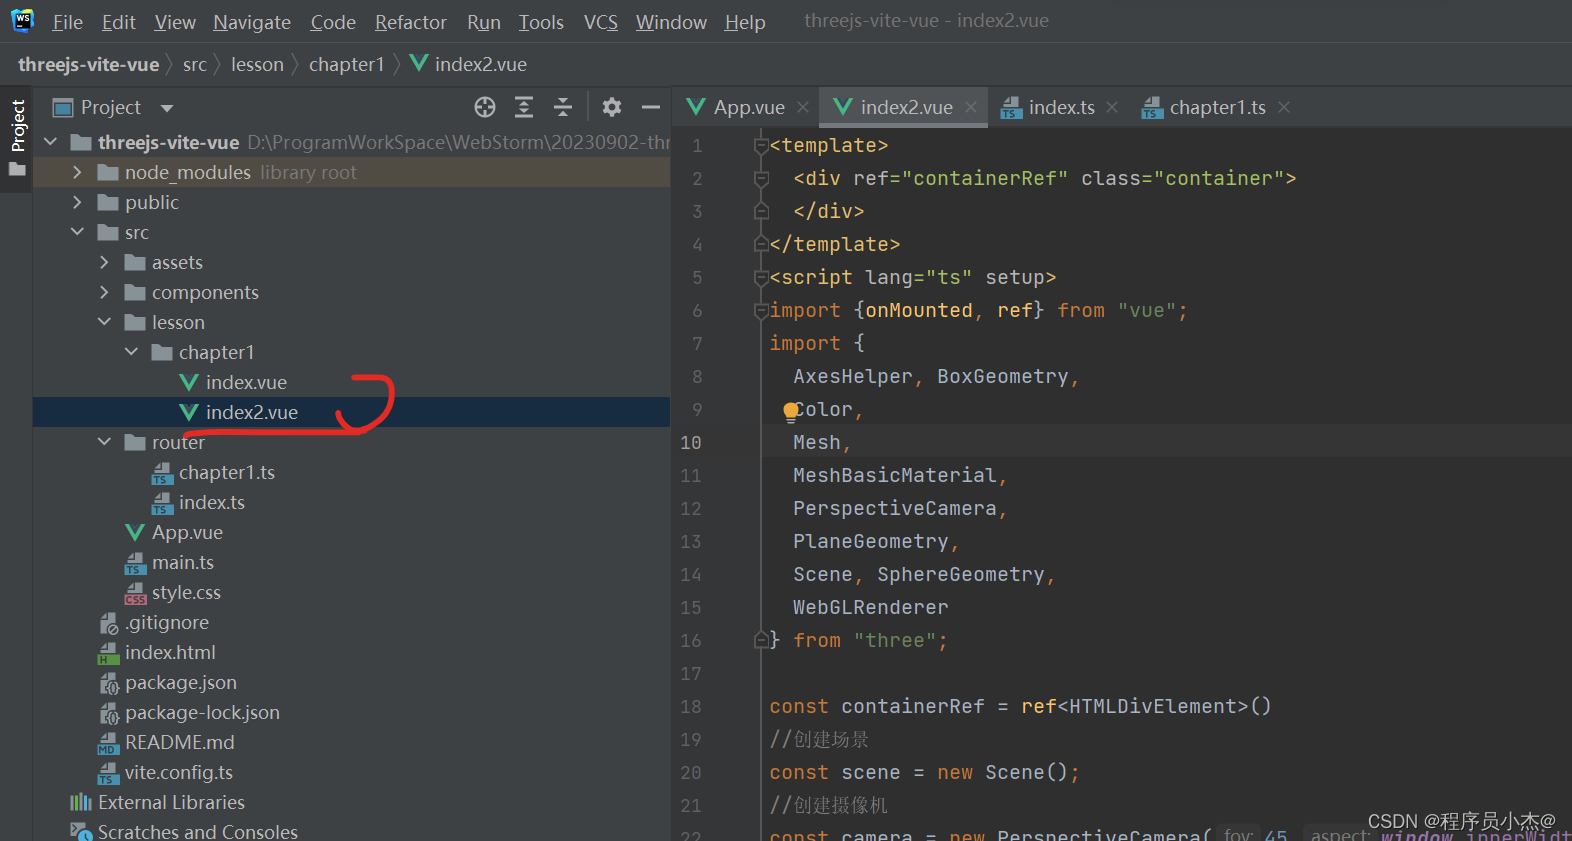
<template>
  <div ref="containerRef" class="container">
  </div>
</template>
<script lang="ts" setup>
import {

      onMounted, ref} from "vue";
import {


  AxesHelper, BoxGeometry,
  Color,
  Mesh,
  MeshBasicMaterial,
  PerspectiveCamera,
  PlaneGeometry,
  Scene, SphereGeometry,
  WebGLRenderer
} from "three";

const containerRef = ref<HTMLDivElement>()
//创建场景
const scene = new Scene();
//创建摄像机
const camera = new PerspectiveCamera(45,window.innerWidth / window.innerHeight,0.1,1000)
//设置摄像机位置
camera.position.set(-30,40,30)
//设置摄像机朝向
camera.lookAt(scene.position)

//重置webGL的颜色
const renderer =  new WebGLRenderer();
renderer.setClearColor(new Color(0xeeeeee))
renderer.setSize(window.innerWidth,window.innerHeight)

//添加坐标系
const ases = new AxesHelper(20)
scene.add(ases)

//绘制板子,设置板子的宽度为60,设置板子的高度为20
const planeGeometry = new PlaneGeometry(60,20);
const meshBasicMaterial = new MeshBasicMaterial({

      color:0xcccccc});//设置材质颜色
const plane = new Mesh(planeGeometry,meshBasicMaterial)

plane.rotation.x = -0.5 * Math.PI;
plane.position.x = 15
plane.position.y = 0
plane.position.z = 0
scene.add(plane)

//绘制立方体,设置板子的长宽高分别是4,4,4
const cubeGeometry = new BoxGeometry(4,4,4)
const cubeMaterial = new MeshBasicMaterial({

      color:0xff0000,wireframe:true})
const cube = new Mesh(cubeGeometry,cubeMaterial)
cube.position.set(2,2,2)
scene.add(cube)

//绘制球体,设置球体的半径为4
const sphereGeometry = new SphereGeometry(4)
const sphereMaterial = new MeshBasicMaterial({


  color: 0x7777ff,
  wireframe:true
})
const sphere = new Mesh(sphereGeometry,sphereMaterial)
sphere.position.x = 15
sphere.position.y = 4
sphere.position.z = 2
scene.add(sphere)

onMounted(()=>{


  //设置摄像头朝向
  containerRef.value?.appendChild(renderer.domElement)
  renderer.render(scene,camera)
})


</script>
<style scoped>

</style>
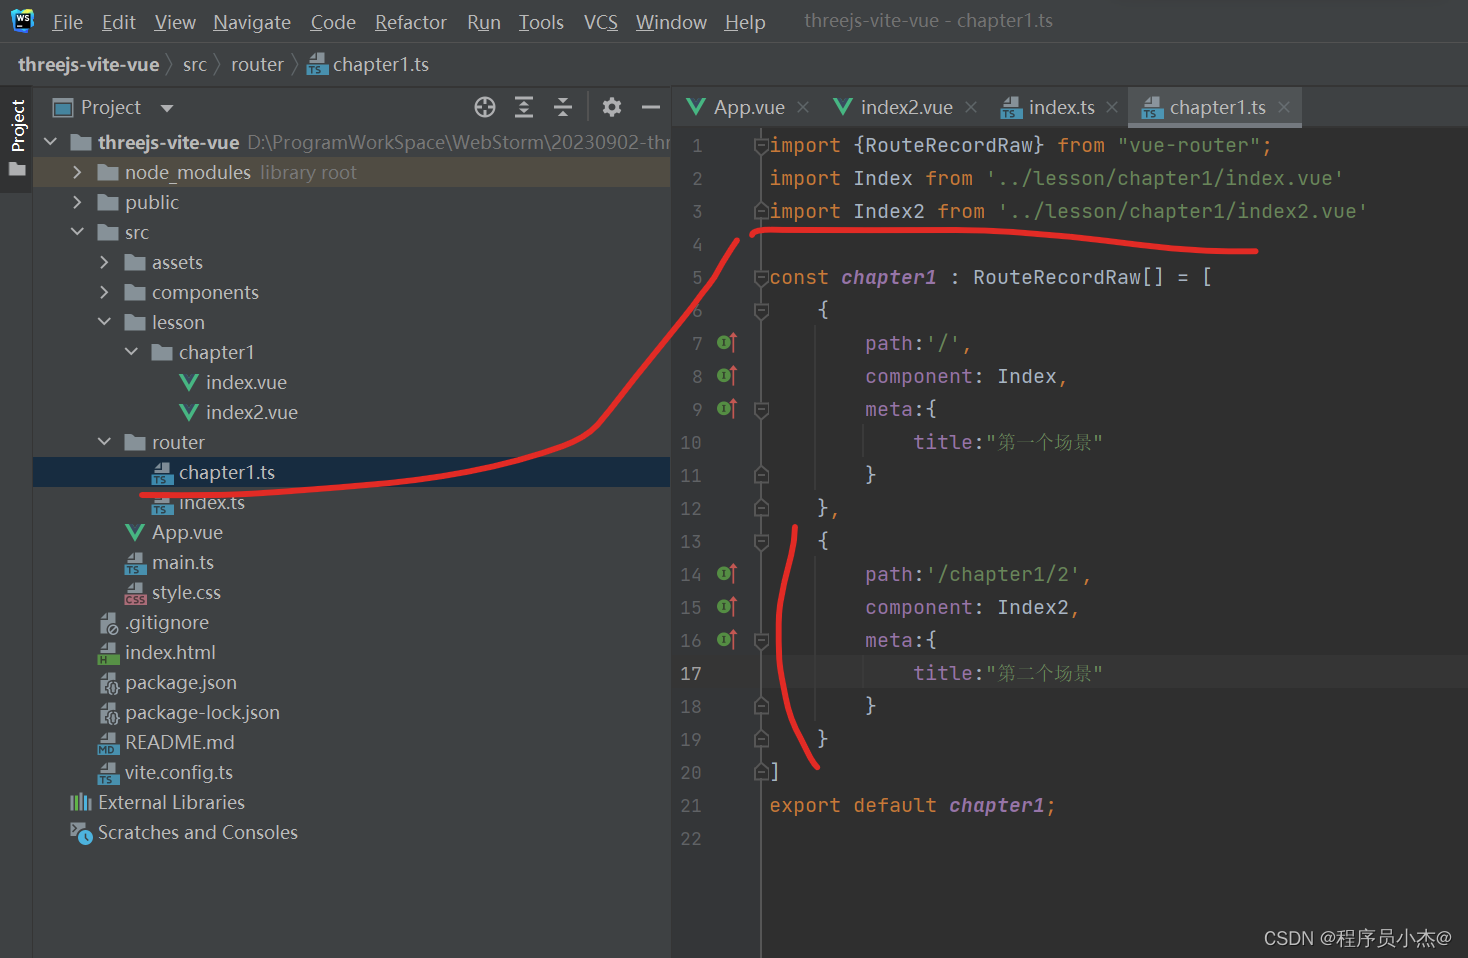
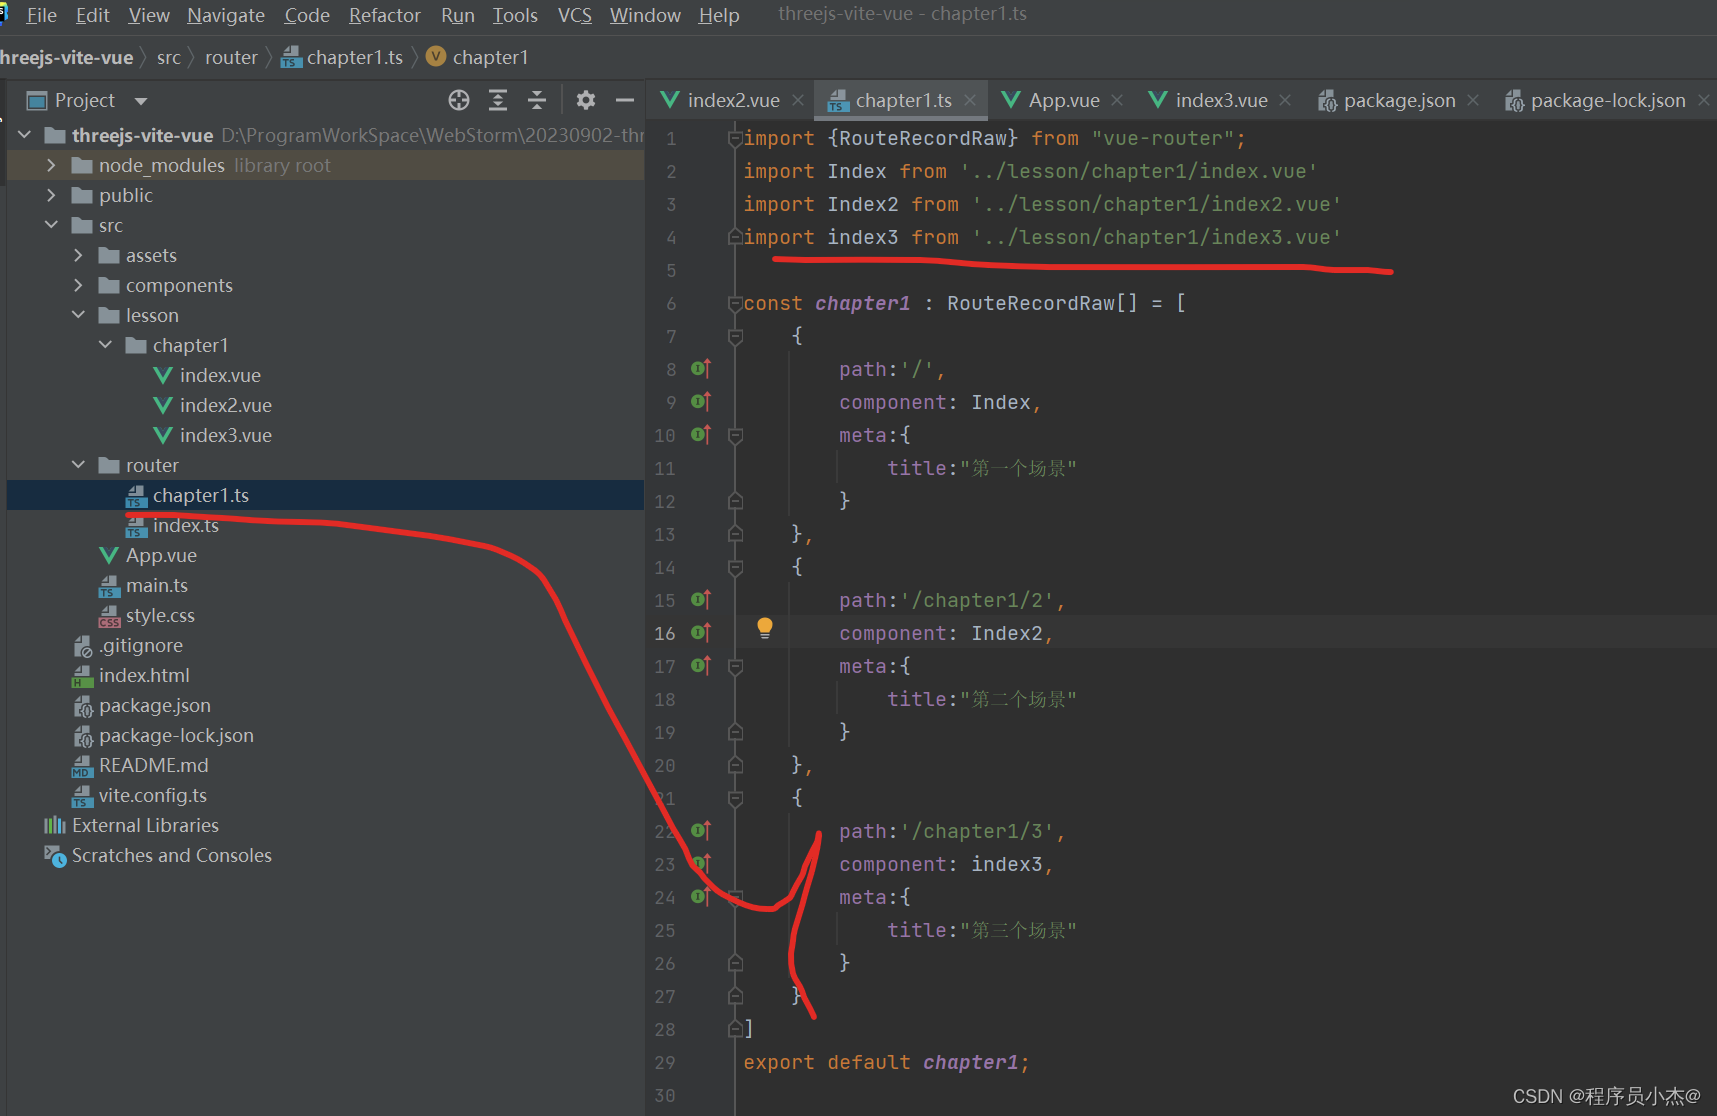
import {

    RouteRecordRaw} from "vue-router";
import Index from '../lesson/chapter1/index.vue'
import Index2 from '../lesson/chapter1/index2.vue'

const chapter1 : RouteRecordRaw[] = [
    {


        path:'/',
        component: Index,
        meta:{


            title:"第一个场景"
        }
    },
    {


        path:'/chapter1/2',
        component: Index2,
        meta:{


            title:"第二个场景"
        }
    }
]
export default chapter1;
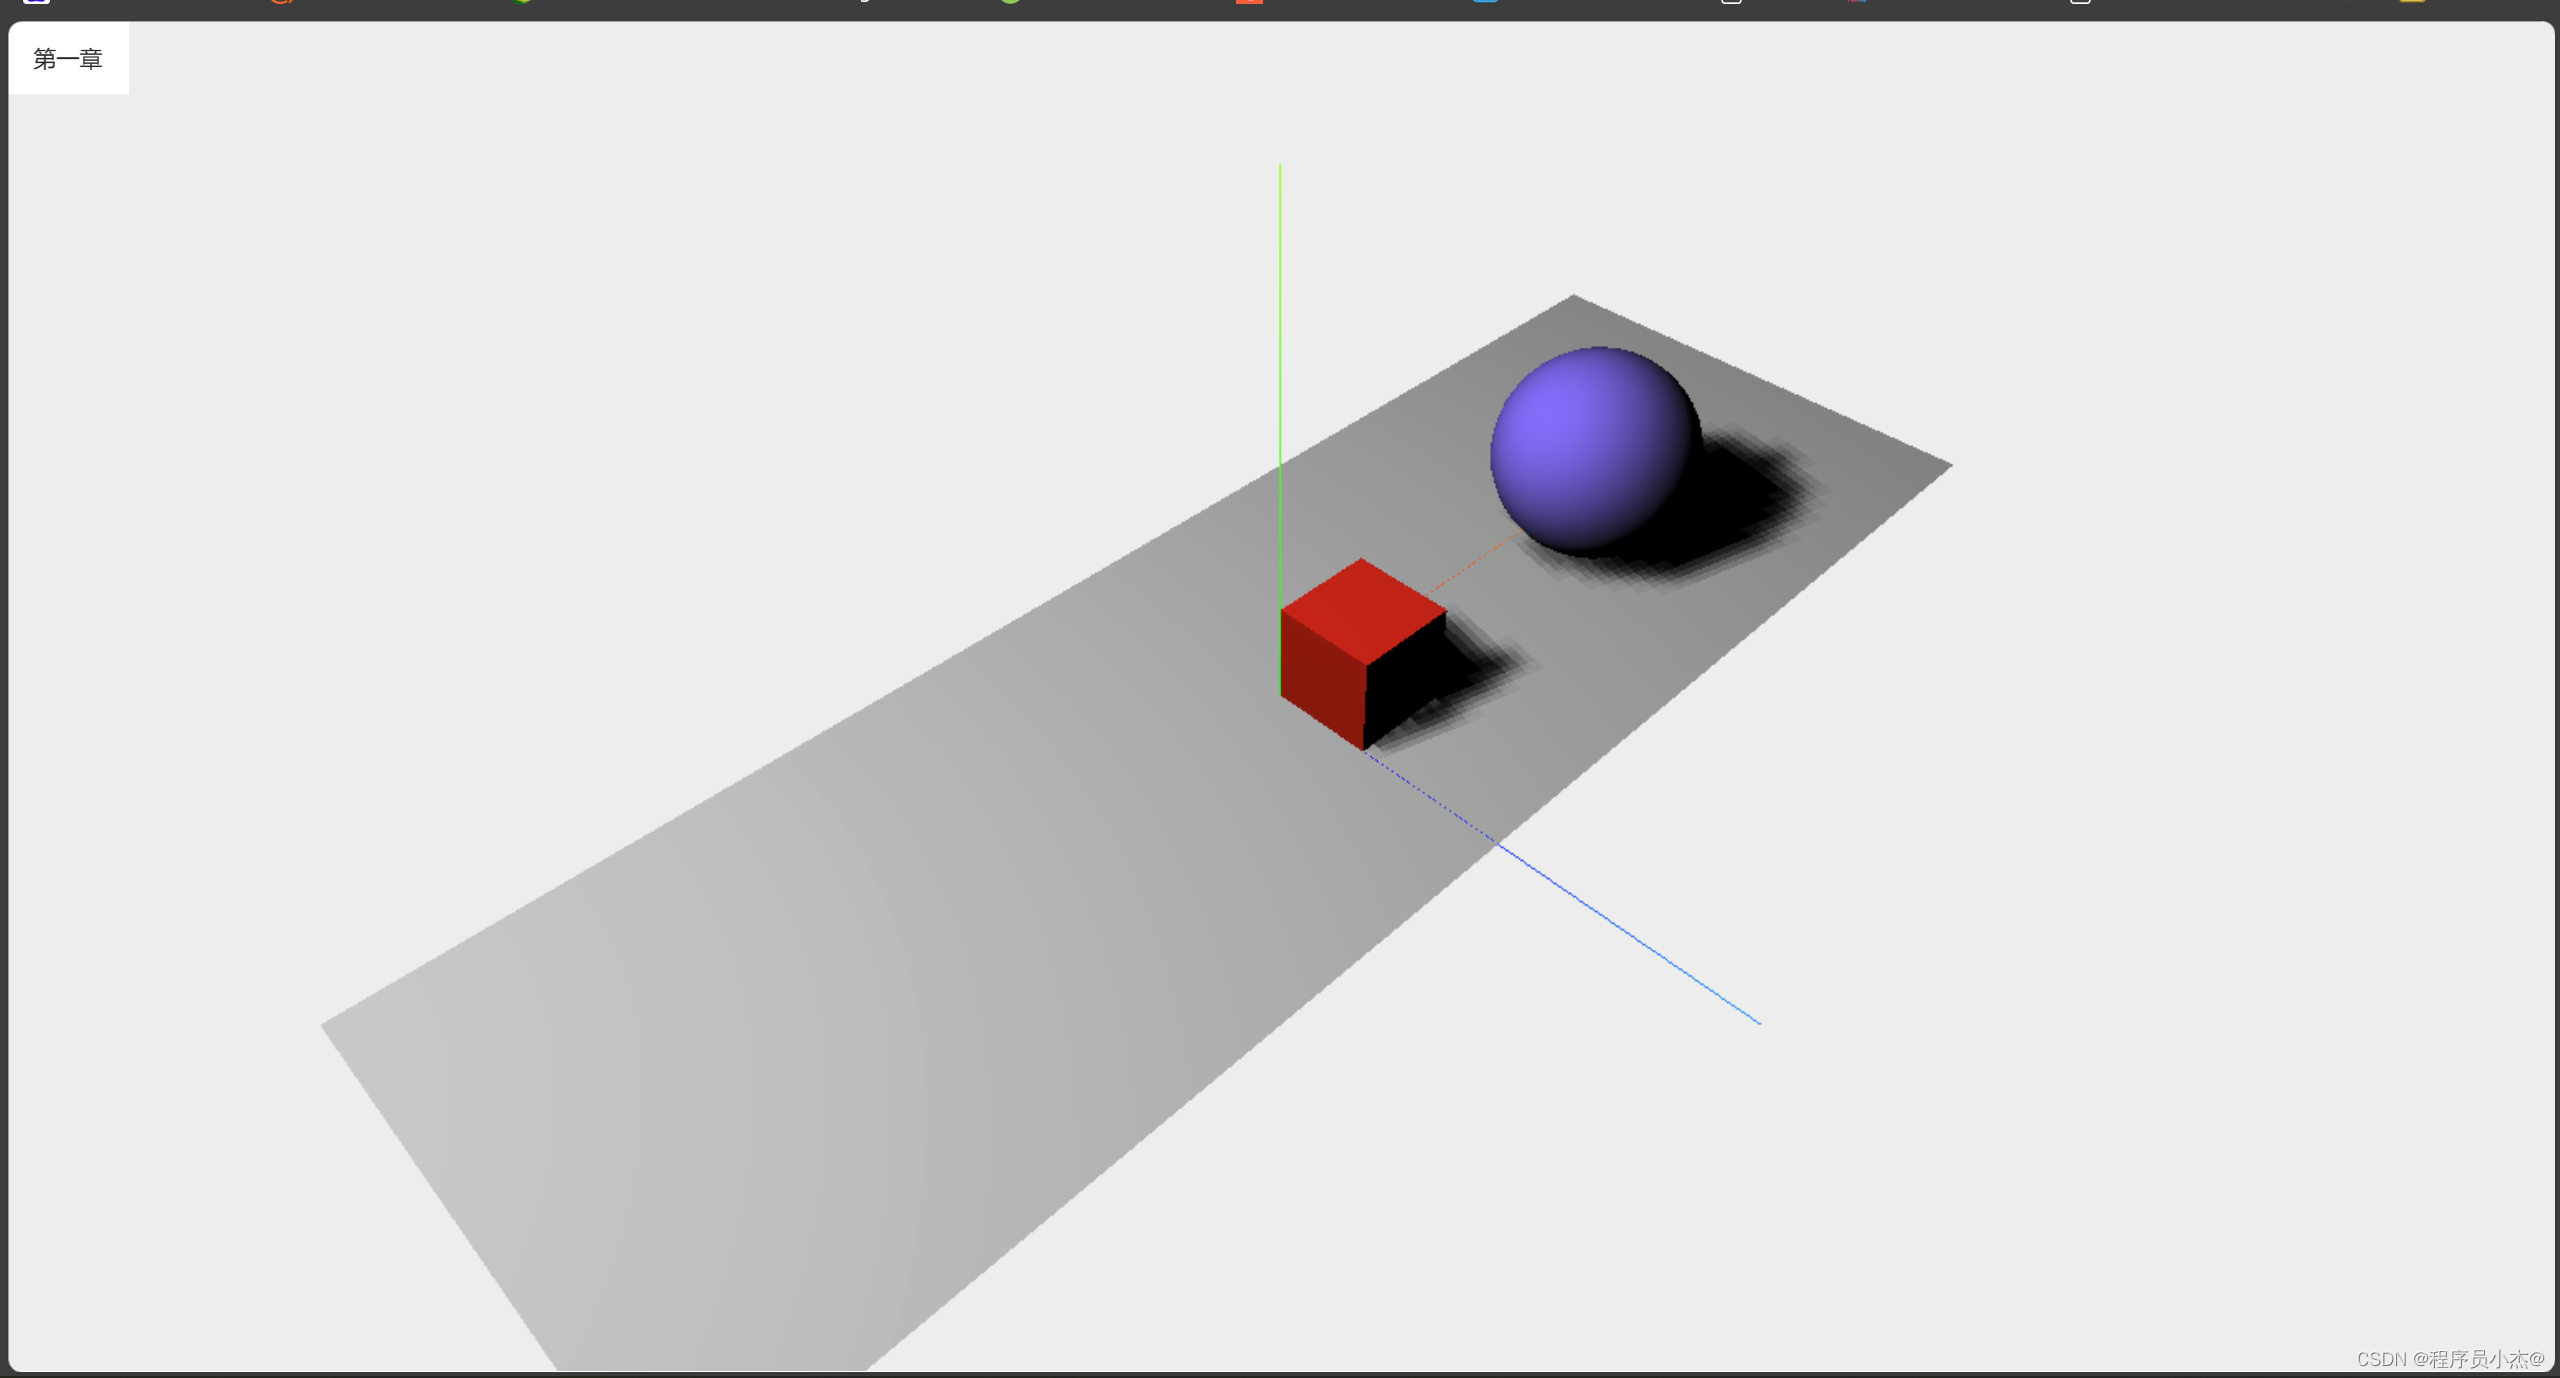
2 番目のシナリオを実装する
<template>
  <div ref="containerRef" class="container">
  </div>
</template>
<script lang="ts" setup>
import {

      onMounted, ref} from "vue";
import {


  AxesHelper, BoxGeometry,
  Color,
  Mesh,
  MeshBasicMaterial, MeshLambertMaterial,
  PerspectiveCamera,
  PlaneGeometry,
  Scene, SphereGeometry, SpotLight,
  WebGLRenderer
} from "three";

const containerRef = ref<HTMLDivElement>()
//创建场景
const scene = new Scene();
//创建摄像机
const camera = new PerspectiveCamera(45,window.innerWidth / window.innerHeight,0.1,1000)
//设置摄像机位置
camera.position.set(-30,40,30)
//设置摄像机朝向
camera.lookAt(scene.position)

//重置webGL的颜色
const renderer =  new WebGLRenderer();
renderer.setClearColor(new Color(0xeeeeee))
renderer.setSize(window.innerWidth,window.innerHeight)
renderer.shadowMap.enabled = true

const spotLight = new SpotLight(0xffffff)
spotLight.castShadow = true
spotLight.position.set(-40,60,-10)
scene.add(spotLight)

//添加坐标系
const axes = new AxesHelper(20)
scene.add(axes)

//绘制板子,设置板子的宽度为60,设置板子的高度为20
const planeGeometry = new PlaneGeometry(60,20);
const meshBasicMaterial = new MeshLambertMaterial({

      color:0xcccccc});//设置材质颜色
const plane = new Mesh(planeGeometry,meshBasicMaterial)
plane.receiveShadow = true //设置可以接收阴影
plane.rotation.x = -0.5 * Math.PI;
//plane.position.x = 15
//plane.position.y = 0
//plane.position.z = 0

scene.add(plane)


//绘制立方体,设置板子的长宽高分别是4,4,4
const cubeGeometry = new BoxGeometry(4,4,4)
const cubeMaterial = new MeshLambertMaterial({

      color:0xff0000,wireframe:false})
const cube = new Mesh(cubeGeometry,cubeMaterial)
cube.castShadow = true
cube.position.set(2,2,2)
scene.add(cube)

//绘制球体,设置球体的半径为4
const sphereGeometry = new SphereGeometry(4)
const sphereMaterial = new MeshLambertMaterial({


  color: 0x7777ff,
  wireframe:false
})

const sphere = new Mesh(sphereGeometry,sphereMaterial)
sphere.castShadow = true
sphere.position.x = 15
sphere.position.y = 4
sphere.position.z = 2
scene.add(sphere)

onMounted(()=>{


  //设置摄像头朝向
  containerRef.value?.appendChild(renderer.domElement)
  renderer.render(scene,camera)
})

</script>
<style scoped>

</style>
3. 素材、照明、アニメーション
インデックス 2 をコピーしてインデックス 3 を作成する
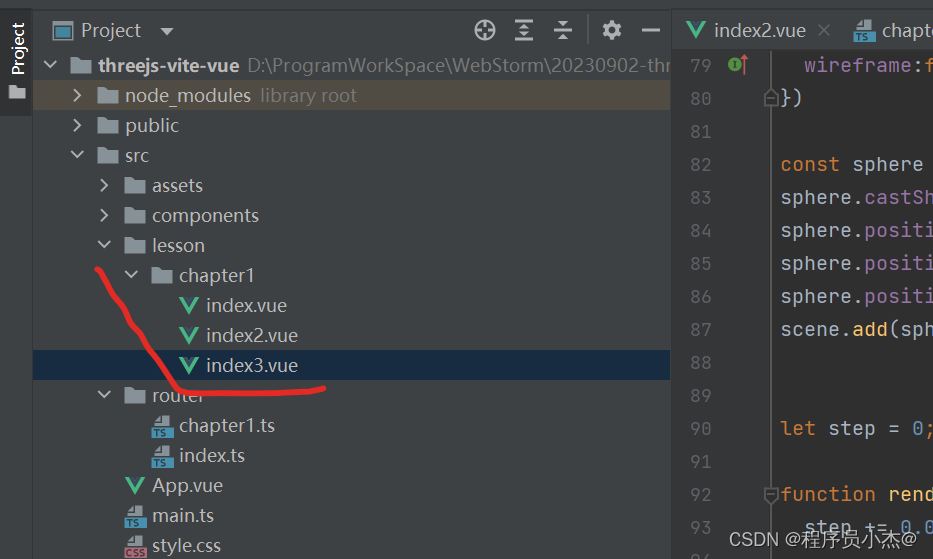

<template>
  <div ref="containerRef" class="container">
  </div>
</template>
<script lang="ts" setup>
import {

      onMounted, ref} from "vue";
import {


  AxesHelper, BoxGeometry,
  Color,
  Mesh,
  MeshBasicMaterial, MeshLambertMaterial,
  PerspectiveCamera,
  PlaneGeometry,
  Scene, SphereGeometry, SpotLight,
  WebGLRenderer
} from "three";

const containerRef = ref<HTMLDivElement>()
//创建场景
const scene = new Scene();
//创建摄像机
const camera = new PerspectiveCamera(45,window.innerWidth / window.innerHeight,0.1,1000)
//设置摄像机位置
camera.position.set(-30,40,30)
//设置摄像机朝向
camera.lookAt(scene.position)

//重置webGL的颜色
const renderer =  new WebGLRenderer();
renderer.setClearColor(new Color(0xeeeeee))
renderer.setSize(window.innerWidth,window.innerHeight)
renderer.shadowMap.enabled = true

const spotLight = new SpotLight(0xffffff)
spotLight.castShadow = true
spotLight.position.set(-40,60,-10)
scene.add(spotLight)

//添加坐标系
const axes = new AxesHelper(20)
scene.add(axes)

//绘制板子,设置板子的宽度为60,设置板子的高度为20
const planeGeometry = new PlaneGeometry(100,50);
const meshBasicMaterial = new MeshLambertMaterial({

      color:0xcccccc});//设置材质颜色
const plane = new Mesh(planeGeometry,meshBasicMaterial)
plane.receiveShadow = true //设置可以接收阴影
plane.rotation.x = -0.5 * Math.PI;
//plane.position.x = 15
//plane.position.y = 0
//plane.position.z = 0

scene.add(plane)


//绘制立方体,设置板子的长宽高分别是4,4,4
const cubeGeometry = new BoxGeometry(4,4,4)
const cubeMaterial = new MeshLambertMaterial({

      color:0xff0000,wireframe:false})
const cube = new Mesh(cubeGeometry,cubeMaterial)
cube.castShadow = true
cube.position.set(2,2,2)
scene.add(cube)


//绘制立方体,设置板子的长宽高分别是4,4,4
const cubeGeometry1 = new BoxGeometry(4,4,4)
const cubeMaterial1 = new MeshLambertMaterial({

      color:0xff0000,wireframe:false})
const cube1 = new Mesh(cubeGeometry1,cubeMaterial1)
cube1.castShadow = true
cube1.position.set(-10,2,2)
scene.add(cube1)


//绘制球体,设置球体的半径为4
const sphereGeometry = new SphereGeometry(4)
const sphereMaterial = new MeshLambertMaterial({


  color: 0x7777ff,
  wireframe:false
})

const sphere = new Mesh(sphereGeometry,sphereMaterial)
sphere.castShadow = true
sphere.position.x = 15
sphere.position.y = 4
sphere.position.z = 2
scene.add(sphere)


//控制物体运动
let step = 0;

function renderScene() {


  step += 0.04;

  cube.rotation.x += 0.02;
  cube.rotation.y += 0.02;
  cube.rotation.z += 0.02;

  cube1.rotation.x += -0.02;
  cube1.rotation.y += -0.02;
  cube1.rotation.z += -0.02;
  cube1.scale.set((2 + 1 * Math.cos(step)), (2 + 1 * Math.cos(step)), (2 + 1 * Math.cos(step)));

  //控制物体
  sphere.position.x = 20 + 10 * Math.cos(step); //cos为数据当中的函数 余弦函数
  sphere.position.y = 2 + 10 * Math.abs(Math.sin(step));  //abs为绝对值  sin为正弦函数

  requestAnimationFrame(renderScene)
  renderer.render(scene,camera)
}
renderScene()

onMounted(()=>{


  //设置摄像头朝向
  containerRef.value?.appendChild(renderer.domElement)
  renderer.render(scene,camera)
})

</script>
<style scoped>

</style>

4. パフォーマンスの監視
プラグインをインストールする
npm install stats.js
index3.vueをコピーしてindex4.vueを作成します
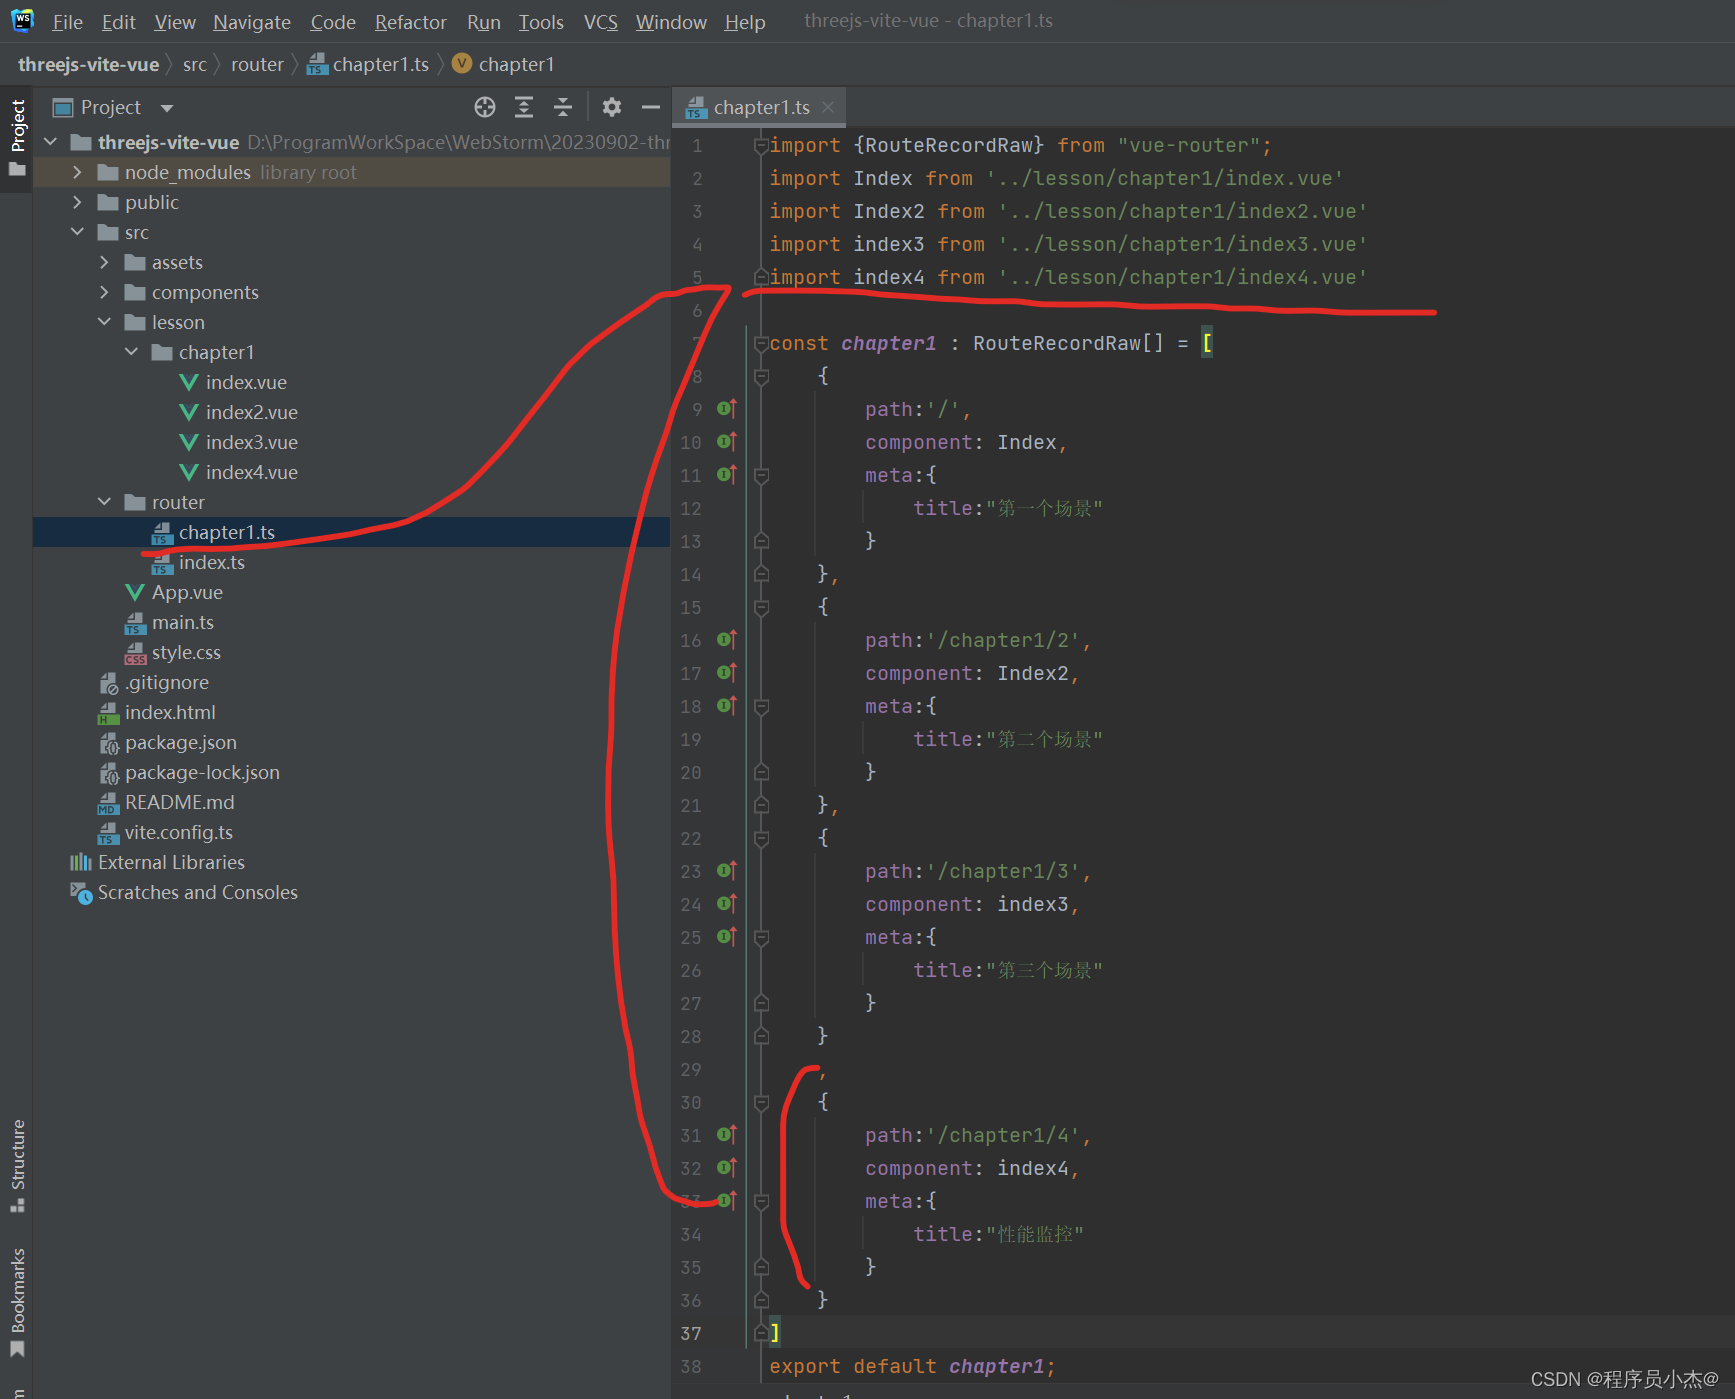
    import index4 from '../lesson/chapter1/index4.vue'

    ,
    {


        path:'/chapter1/4',
        component: index4,
        meta:{


            title:"性能监控"
        }
    }
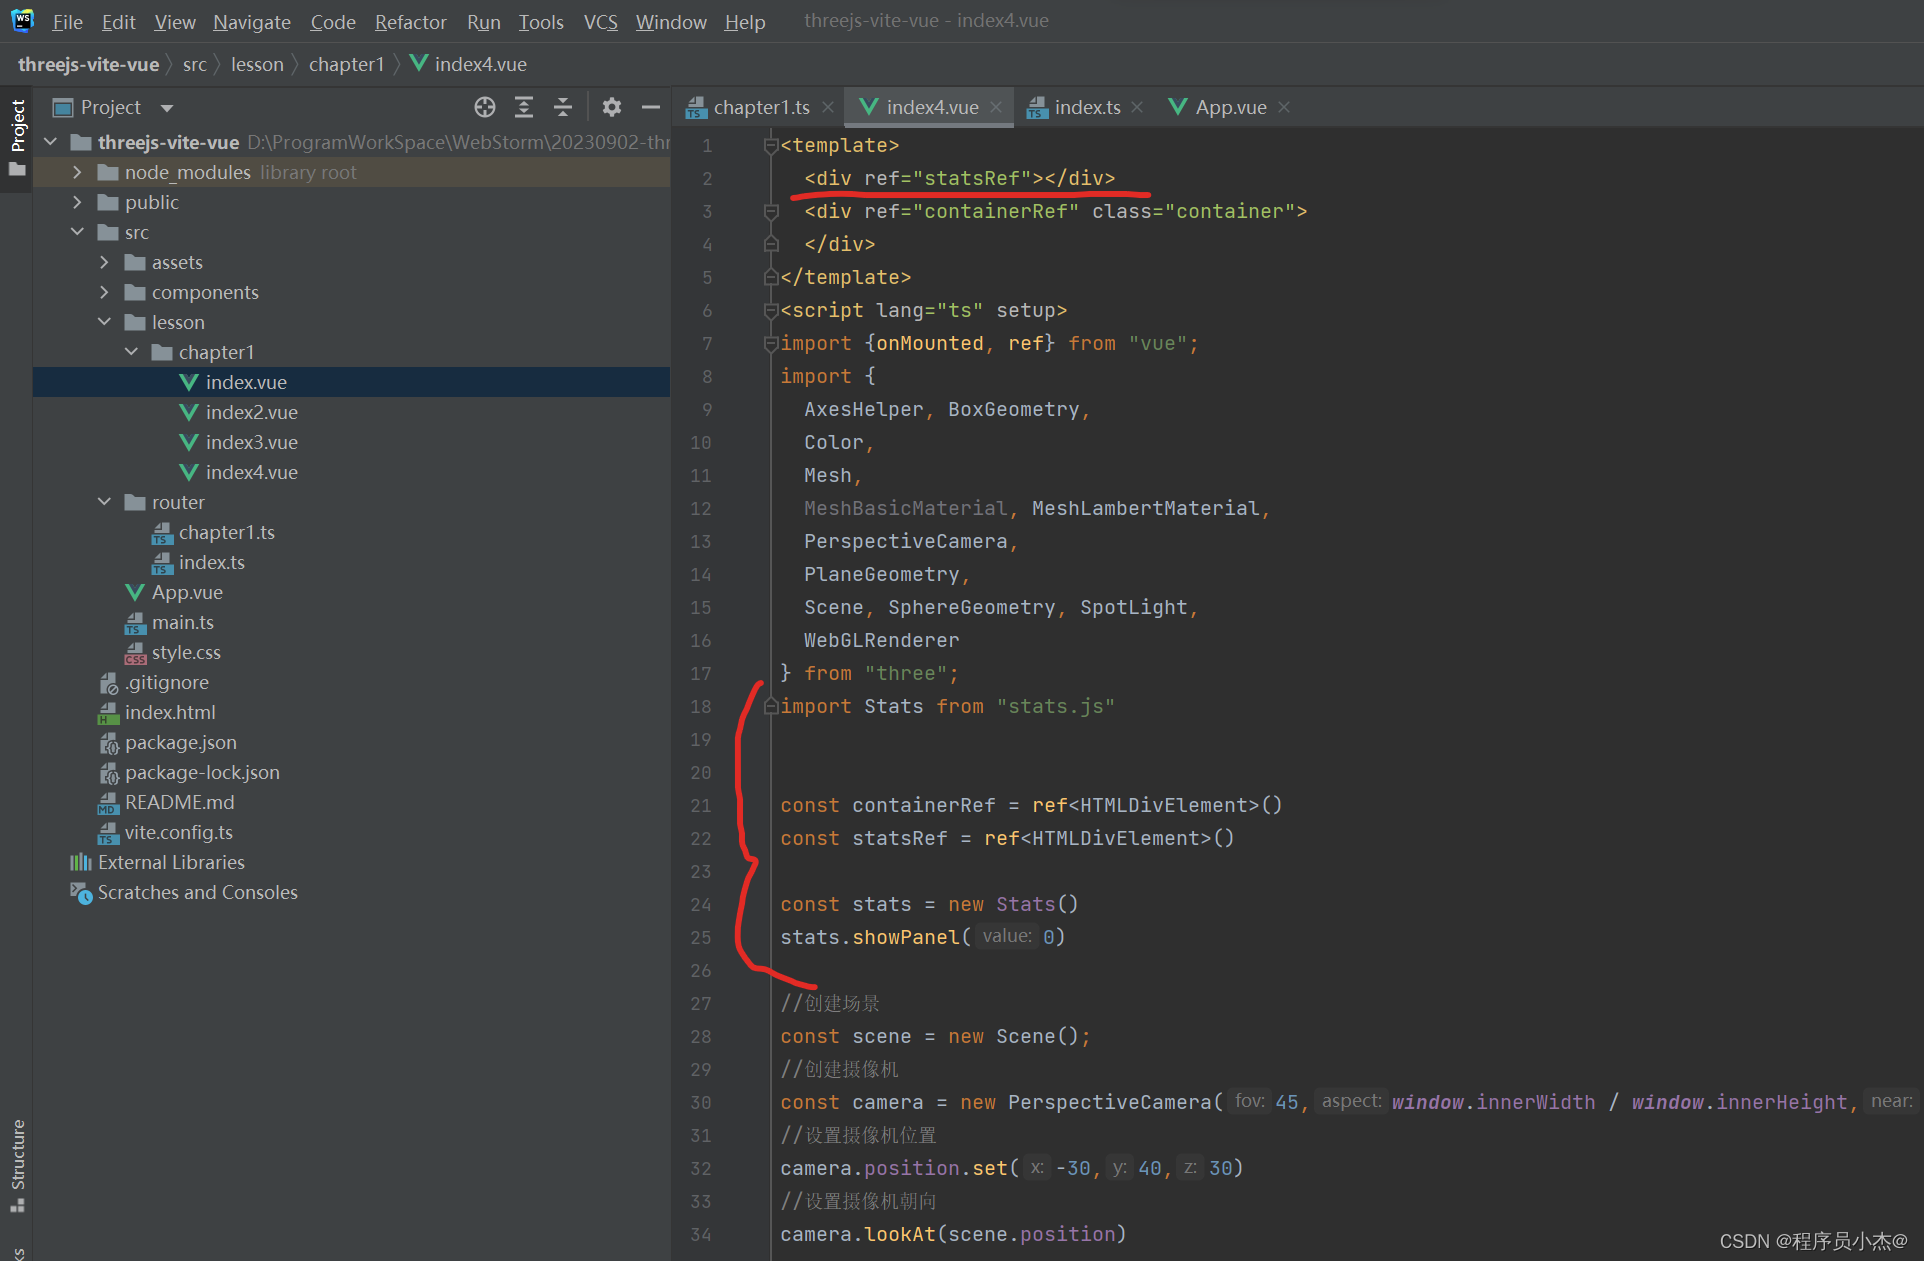
 <div ref="statsRef"></div>

const statsRef = ref<HTMLDivElement>()

const stats = new Stats()
stats.showPanel(0)
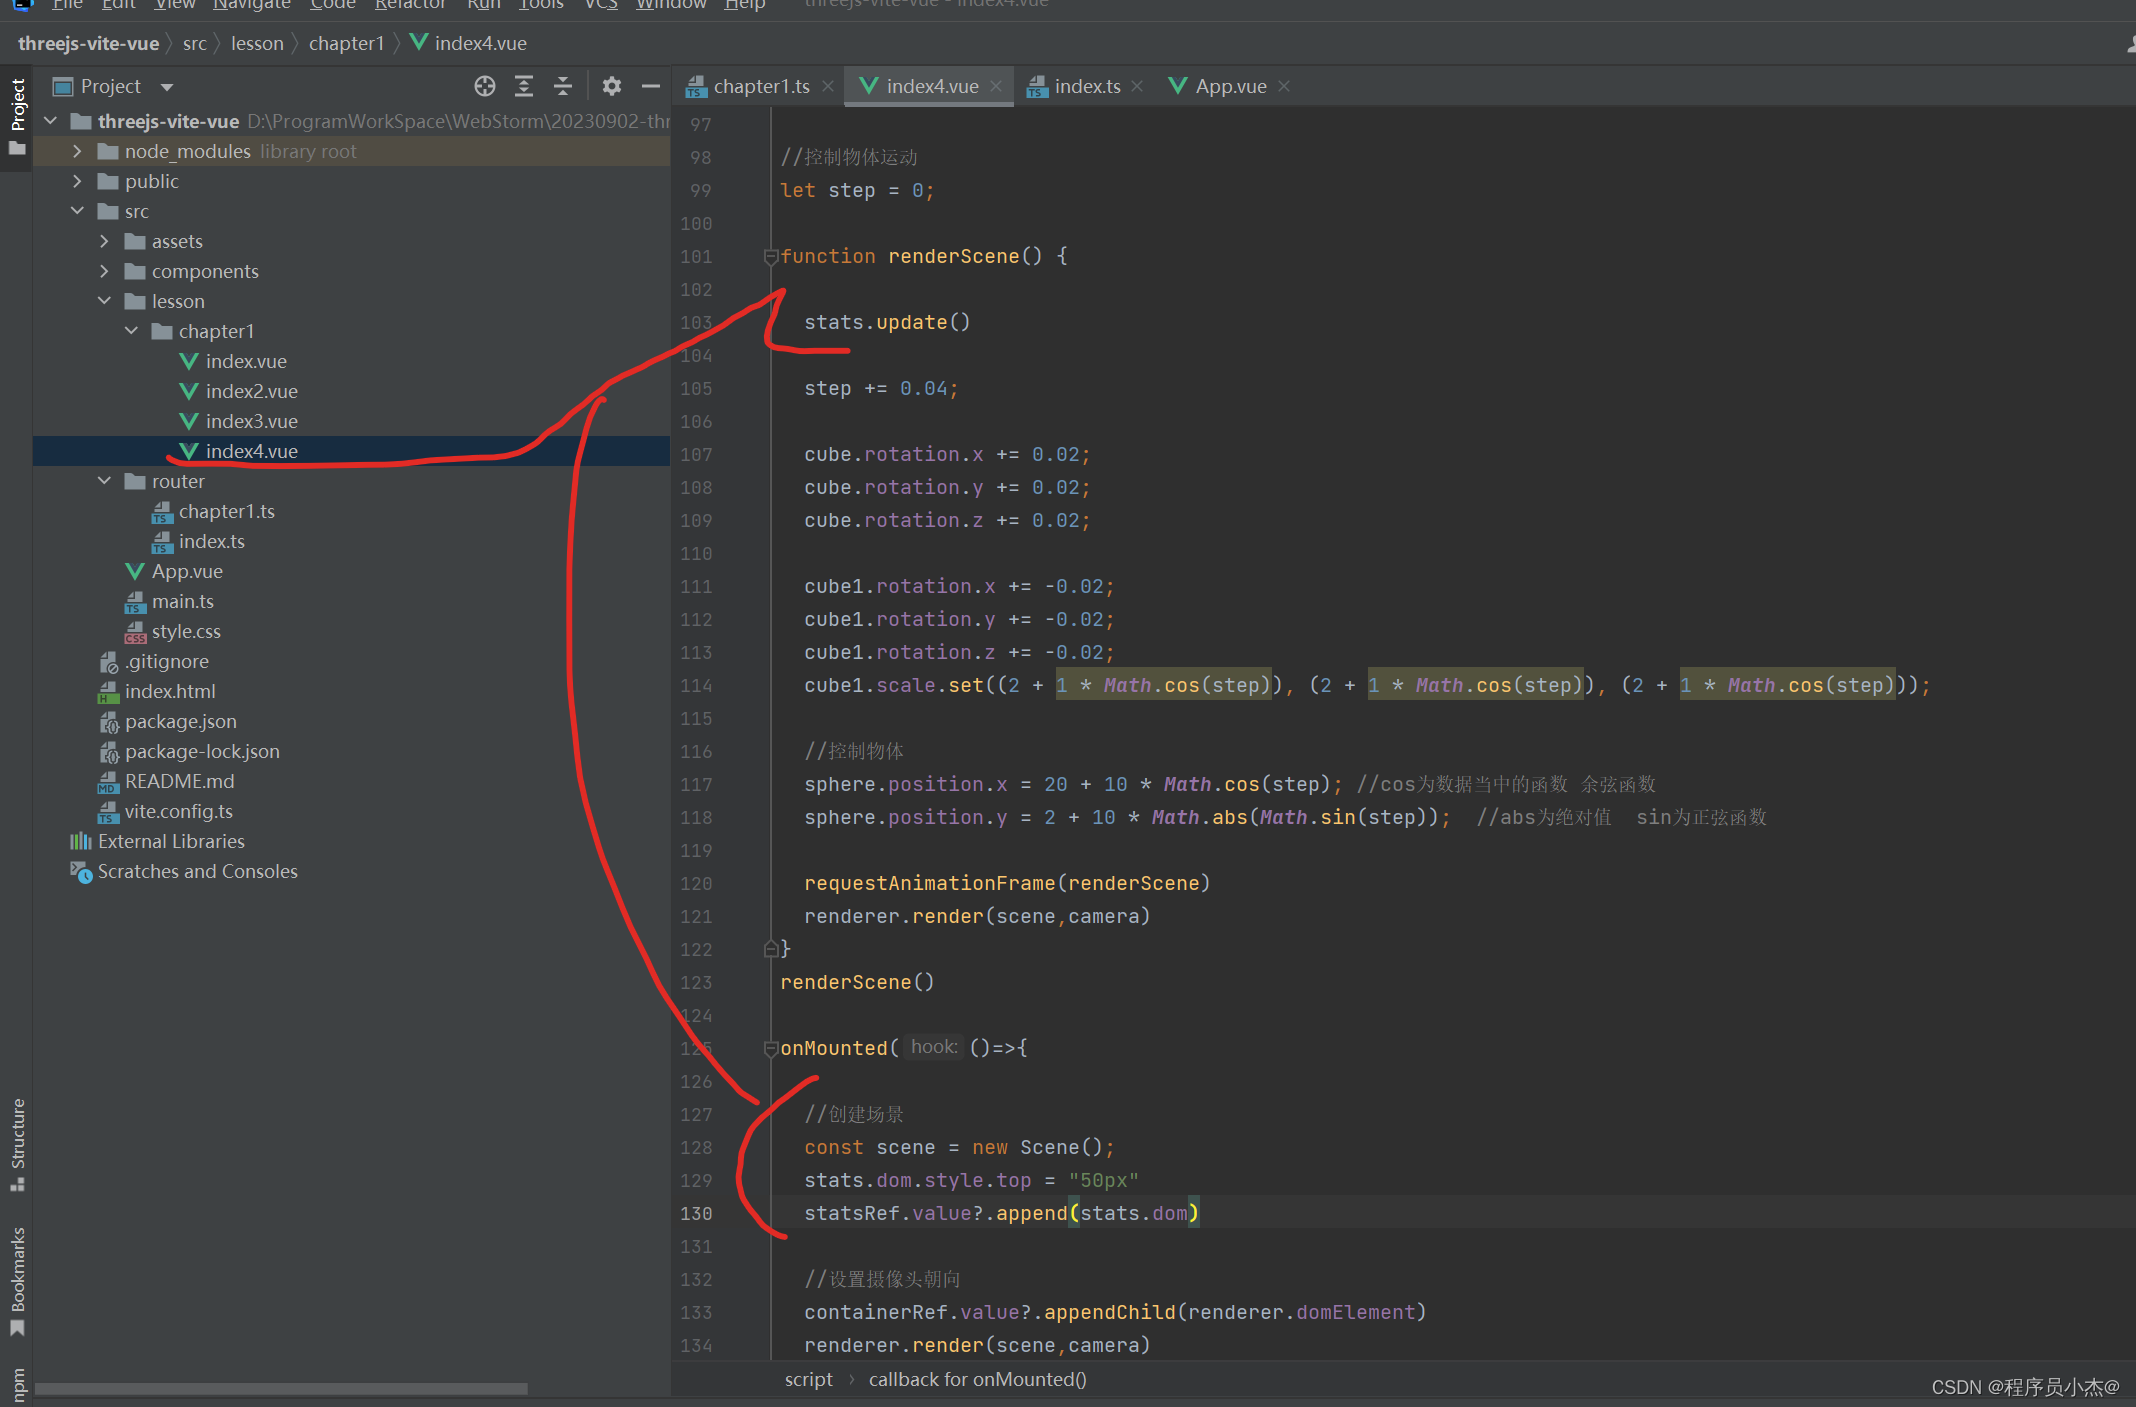
  stats.update()

  //创建场景
  const scene = new Scene();
  stats.dom.style.top = "50px"
  statsRef.value?.append(stats.dom)
4 番目のシーン
http://127.0.0.1:5173/chapter1/4にアクセスしてください。

5.対話型制御
index4.vueをindex5.vueにコピーします