質問
で、 ( ) 大きな画像Androidを取得しますが、正常にロードして表示する方法はありますか?1000*20000宽1000px,高20000pxOOM
分析する
Androidシステムはアプリケーションに特定のサイズのヒープ メモリを割り当てます
。高解像度の画像に遭遇した場合、その構成がARGB(各ピクセルが占有する4Byte)の場合
、消費するメモリは1000200004=800000000約 100 であり、80MB
メモリは簡単に使い果たされてしまいます。が現れますOOM。
もちろん、これはシステムのネイティブ メソッドで読み込まれます。ほとんどの場合、大きな画像の読み込みのためにある程度の処理を行う、 、 、 のようなサードパーティBitmapライブラリを使用しますが、それを使用するだけで終わるわけにはいきません。画像の読み込みの問題。GlideFresoPicassoOOM
この問題を解決するには 2 つの方法があります
- 画像サンプリングレートのスケーリング
BitmapRegionDecoder読み込んだ画像の一部を使用する
では、それについて話しましょう
解決策 1: 画像のサンプリング レートのスケーリング
この方法の原理は、画像を特定の比率で拡大縮小し、解像度を下げることでメモリ使用量を削減することです。ここでは特にBitmapFactory.Optionsオブジェクトを使用します。
BitmapFacotry.Options为BitmapFactory内部クラスであり、主にBitmapFactory画像の読み込みに関する情報を設定および保存するために使用されます。以下で使用する必要がある属性は
次のとおりです。Options
inJustDecodeBounds: に設定するとtrue、画像のピクセル配列はメモリにロードされません。outHeight: 画像の高さoutWidth: 画像の幅inSampleSize: この値を設定すると、このサンプリング レートに従って画像が読み込まれます。それより小さい数値には設定できません1。たとえば、 に設定した場合4、解像度、幅、高さは元の になります1/4。この時点で占有されている全体のメモリは元のものになります1/16
未満に設定されている場合
はとみなされ、倍数である場合は整数の倍数に切り捨てられることに注意してください(ただし、これはすべてのバージョンに当てはまるわけではありません)。inSampleSize1122Android
コード例
assetsまず、長い画像をフォルダーに配置し
、コードを通じてファイル ストリームを読み取る必要があります。
var inputStream = assets.open("image.jpg")
次に、BitmapFactory.Optionsを設定することでinJustDecodeBounds = true、画像をメモリに読み込まず、画像情報のみを読み取ります (これにより、読み取りプロセス中の発生を回避できますOOM)。これにより、画像の幅と高さを取得できます。
val opts = BitmapFactory.Options()
//注意这里是关键 --> 不读取图像到内存中,仅读取图片的信息
opts.inJustDecodeBounds = true
BitmapFactory.decodeStream(inputStream, null, opts)
//获取图片的宽高
val imgWidth = opts.outWidth
val imgHeight = opts.outHeight
次に、適切なサンプリング レートを計算する必要があります。
を渡すことで图片实际宽高 / 目标ImageView宽高、適切なサンプリング レートを取得できます。
最終的なサンプリング レートは最大方向の影響を受けます。
val targetImageWidth = targetImageView.width
val targetImageHeight = targetImageView.height
//计算采样率
val scaleX = imgWidth / targetImageWidth
val scaleY = imgHeight / targetImageHeight
//采样率依照最大的方向为准
var scale = max(scaleX, scaleY)
if (scale < 1) {


    scale = 1
}
最後に、長い画像のファイル ストリームを再度開き、指定されたサンプリング レートにinJustDecodeBounds設定してfalse、最終的にスケールされたビットマップを取得し、ImageView に表示します。inSampleSize
 // false表示读取图片像素数组到内存中,依照指定的采样率
opts.inJustDecodeBounds = false
opts.inSampleSize = scale
//由于流只能被使用一次,所以需要再次打开
inputStream = assets.open("image.jpg")
val bitmap = BitmapFactory.decodeStream(inputStream, null, opts)
targetImageView.setImageBitmap(bitmap)
完全なコードを見てみましょう
private fun loadBigImage(targetImageView: ImageView) {


    var inputStream = assets.open("image.jpg")
    val opts = BitmapFactory.Options()
    //注意这里是关键 --> 不读取图像到内存中,仅读取图片的信息
    opts.inJustDecodeBounds = true
    BitmapFactory.decodeStream(inputStream, null, opts)
    //获取图片的宽高
    val imgWidth = opts.outWidth
    val imgHeight = opts.outHeight
    val targetImageWidth = targetImageView.width
    val targetImageHeight = targetImageView.height
    //计算采样率
    val scaleX = imgWidth / targetImageWidth
    val scaleY = imgHeight / targetImageHeight
    //采样率依照最大的方向为准
    var scale = max(scaleX, scaleY)
    if (scale < 1) {


        scale = 1
    }
    Log.i(TAG, "loadBigImage:$scale")
    // false表示读取图片像素数组到内存中,依照指定的采样率
    opts.inJustDecodeBounds = false
    opts.inSampleSize = scale
    //由于流只能被使用一次,所以需要再次打开
    inputStream = assets.open("image.jpg")
    val bitmap = BitmapFactory.decodeStream(inputStream, null, opts)
    targetImageView.setImageBitmap(bitmap)
}
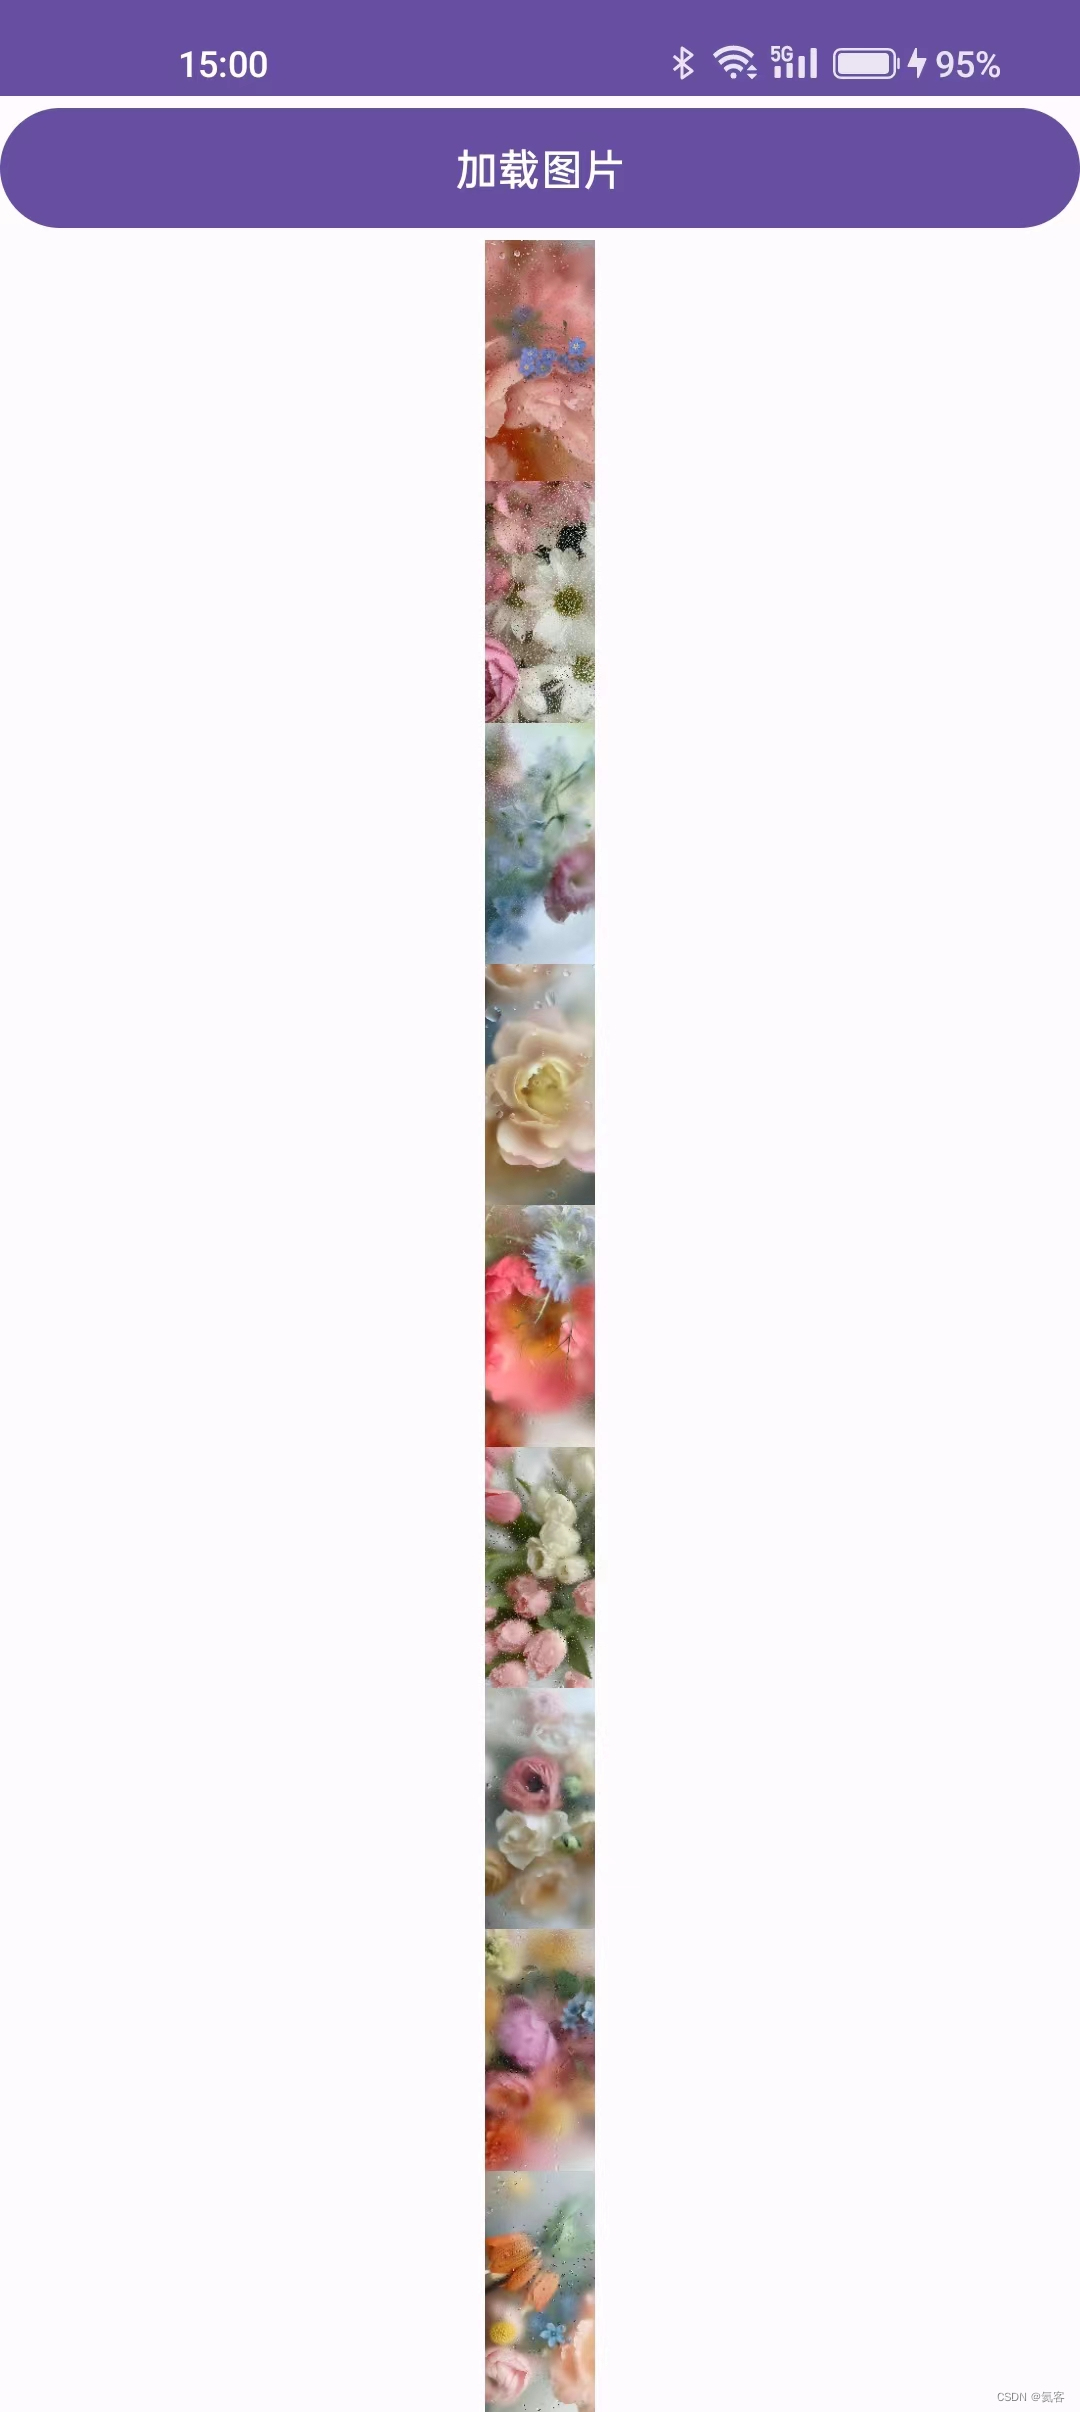
実行後の効果は以下の通り
解決策 2: 画像は地域ごとにロードされます
表示しないだけでなくOOM、圧縮して完全に表示しないことも必要な場合がありますが、この場合にはBitmapRegionDecoderクラスが使用されます。
    /**
     * 传入图片
     * BitmapRegionDecoder提供了一系列的newInstance方法来构造对象,
     * 支持传入文件路径,文件描述符,文件的inputStream等
     */
    BitmapRegionDecoder bitmapRegionDecoder = BitmapRegionDecoder.newInstance(inputStream,false);
    Rect rect = Rect();
    BitmapFactory.Options opetion = BitmapFactory.Options();
    /**
     * 指定显示图片的区域
     * 参数一很明显的rect //参数二是BitmapFactory.Options,
     * 你可以告诉图片的inSampleSize,inPreferredConfig等
     */
    bitmapRegionDecoder.decodeRegion(rect, opetion);
BitmapRegionDecoderこのクラスは主に画像の特定の長方形領域を表示するために使用され、分割された領域の読み込みや大きな画像の読み込みに非常に適しています。
全体像を部分表示とともに表示するには、上下にドラッグして表示できるようにジェスチャを追加する必要があります。
このように、コントロールをカスタマイズする必要がありますが、このコントロールをカスタマイズするという考え方も非常に簡単です。
- 画像を設定するためのエントリを提供します
- を書き換えて
onTouchEvent、ユーザーの特定のジェスチャに応じて表示領域のパラメータを更新します。 - エリアパラメータを更新しなかった後、それを呼び出し
invalidate、それをonDraw内部にregionDecoder.decodeRegion取得しBitmap、drawそれを描画します。
コード例
まず、カスタムを作成しますView。BigImageView
class BigImageView(context: Context, attrs: AttributeSet) : View(context, attrs) {

    }
次に、描画領域を表すために使用されるいくつかの定数を宣言します。これらは後で割り当てられ
ます。あれはrect
optionsBitmapFactory.Options
companion object {


	private var decoder: BitmapRegionDecoder? = null

	//图片的宽度和高度
	private var imageWidth: Int = 0
	private var imageHeight: Int = 0

	//绘制的区域
	private var rect = Rect()
	private val options = BitmapFactory.Options().apply {


	    inPreferredConfig = Bitmap.Config.RGB_565
	}
}
onTouchEventイベントでは、スライディング イベントが処理される
と、現在位置ACTION_DOWNが割り当てられます。移動する場合は、変更を呼び出す、、、、downYACTION_MOVErect.offsetrecttopleftrightbottom
var downX = 0F
var downY = 0F

override fun onTouchEvent(event: MotionEvent): Boolean {


    super.onTouchEvent(event)

    when (event.action) {


        MotionEvent.ACTION_DOWN -> {


            downX = event.x
            downY = event.y
        }

        MotionEvent.ACTION_MOVE -> {


            val dY = (event.y - downY).toInt()
            if (imageHeight > height) {


                rect.offset(0, -dY)
                checkHeight()
                invalidate()
            }
        }

        MotionEvent.ACTION_DOWN -> {

    }
    }

    return true
}
もちろん境界の判断や処理も必要ですが、未満の
場合は部品の高さとして割り当てられますrect.top0rect.top0rect.bottom
private fun checkHeight() {


    if (rect.bottom > imageHeight) {


        rect.bottom = imageHeight
        rect.top = imageHeight - height
    }
    if (rect.top < 0) {


        rect.top = 0
        rect.bottom = height
    }
}
次に、画像を渡す必要があります
fun setBitmap(inputStream: InputStream) {


    var tempOptions = BitmapFactory.Options()
    tempOptions.inJustDecodeBounds = true
    BitmapFactory.decodeStream(inputStream, null, tempOptions)
    imageWidth = tempOptions.outWidth
    imageHeight = tempOptions.outHeight
    decoder = BitmapRegionDecoder.newInstance(inputStream, false)
    requestLayout()
    invalidate()
}
その際は写真のサイズにonMeasure合わせてくださいrect
override fun onMeasure(widthMeasureSpec: Int, heightMeasureSpec: Int) {


    super.onMeasure(widthMeasureSpec, heightMeasureSpec)

    if (rect.right == 0 && rect.bottom == 0) {


        val width = measuredWidth
        val height = measuredHeight
        rect.left = 0
        rect.top = 0
        rect.right = rect.left + width
        rect.bottom = rect.top + height
    }
}
drawメソッド内で指定した領域を描画します
override fun onDraw(canvas: Canvas?) {


    super.onDraw(canvas)

    val bitmap = decoder?.decodeRegion(rect, options)
    if (bitmap != null) {


        canvas?.drawBitmap(bitmap, 0F, 0F, null)
    }
}
最後にActivity電話してみよう
val inputStream =  assets.open("image.jpg")
binding.bigImageView.setBitmap(inputStream)
完全なコードを見てみましょう
class BigImageView(context: Context, attrs: AttributeSet) : View(context, attrs) {


    companion object {


        private var decoder: BitmapRegionDecoder? = null

        //图片的宽度和高度
        private var imageWidth: Int = 0
        private var imageHeight: Int = 0

        //绘制的区域
        private var rect = Rect()
        private val options = BitmapFactory.Options().apply {


            inPreferredConfig = Bitmap.Config.RGB_565
        }
    }

    var downX = 0F
    var downY = 0F

    override fun onTouchEvent(event: MotionEvent): Boolean {


        super.onTouchEvent(event)

        when (event.action) {


            MotionEvent.ACTION_DOWN -> {


                downX = event.x
                downY = event.y
            }

            MotionEvent.ACTION_MOVE -> {


                val dY = (event.y - downY).toInt()
                if (imageHeight > height) {


                    rect.offset(0, -dY)
                    checkHeight()
                    invalidate()
                }
            }

            MotionEvent.ACTION_DOWN -> {

    }
        }

        return true
    }

    private fun checkHeight() {


        if (rect.bottom > imageHeight) {


            rect.bottom = imageHeight
            rect.top = imageHeight - height
        }
        if (rect.top < 0) {


            rect.top = 0
            rect.bottom = height
        }
    }

    override fun onDraw(canvas: Canvas?) {


        super.onDraw(canvas)

        val bitmap = decoder?.decodeRegion(rect, options)
        if (bitmap != null) {


            canvas?.drawBitmap(bitmap, 0F, 0F, null)
        }
    }

    override fun onMeasure(widthMeasureSpec: Int, heightMeasureSpec: Int) {


        super.onMeasure(widthMeasureSpec, heightMeasureSpec)

        if (rect.right == 0 && rect.bottom == 0) {


            val width = measuredWidth
            val height = measuredHeight
            rect.left = 0
            rect.top = 0
            rect.right = rect.left + width
            rect.bottom = rect.top + height
        }
    }

    fun setBitmap(inputStream: InputStream) {


        var tempOptions = BitmapFactory.Options()
        tempOptions.inJustDecodeBounds = true
        BitmapFactory.decodeStream(inputStream, null, tempOptions)
        imageWidth = tempOptions.outWidth
        imageHeight = tempOptions.outHeight
        decoder = BitmapRegionDecoder.newInstance(inputStream, false)
        requestLayout()
        invalidate()
    }
}
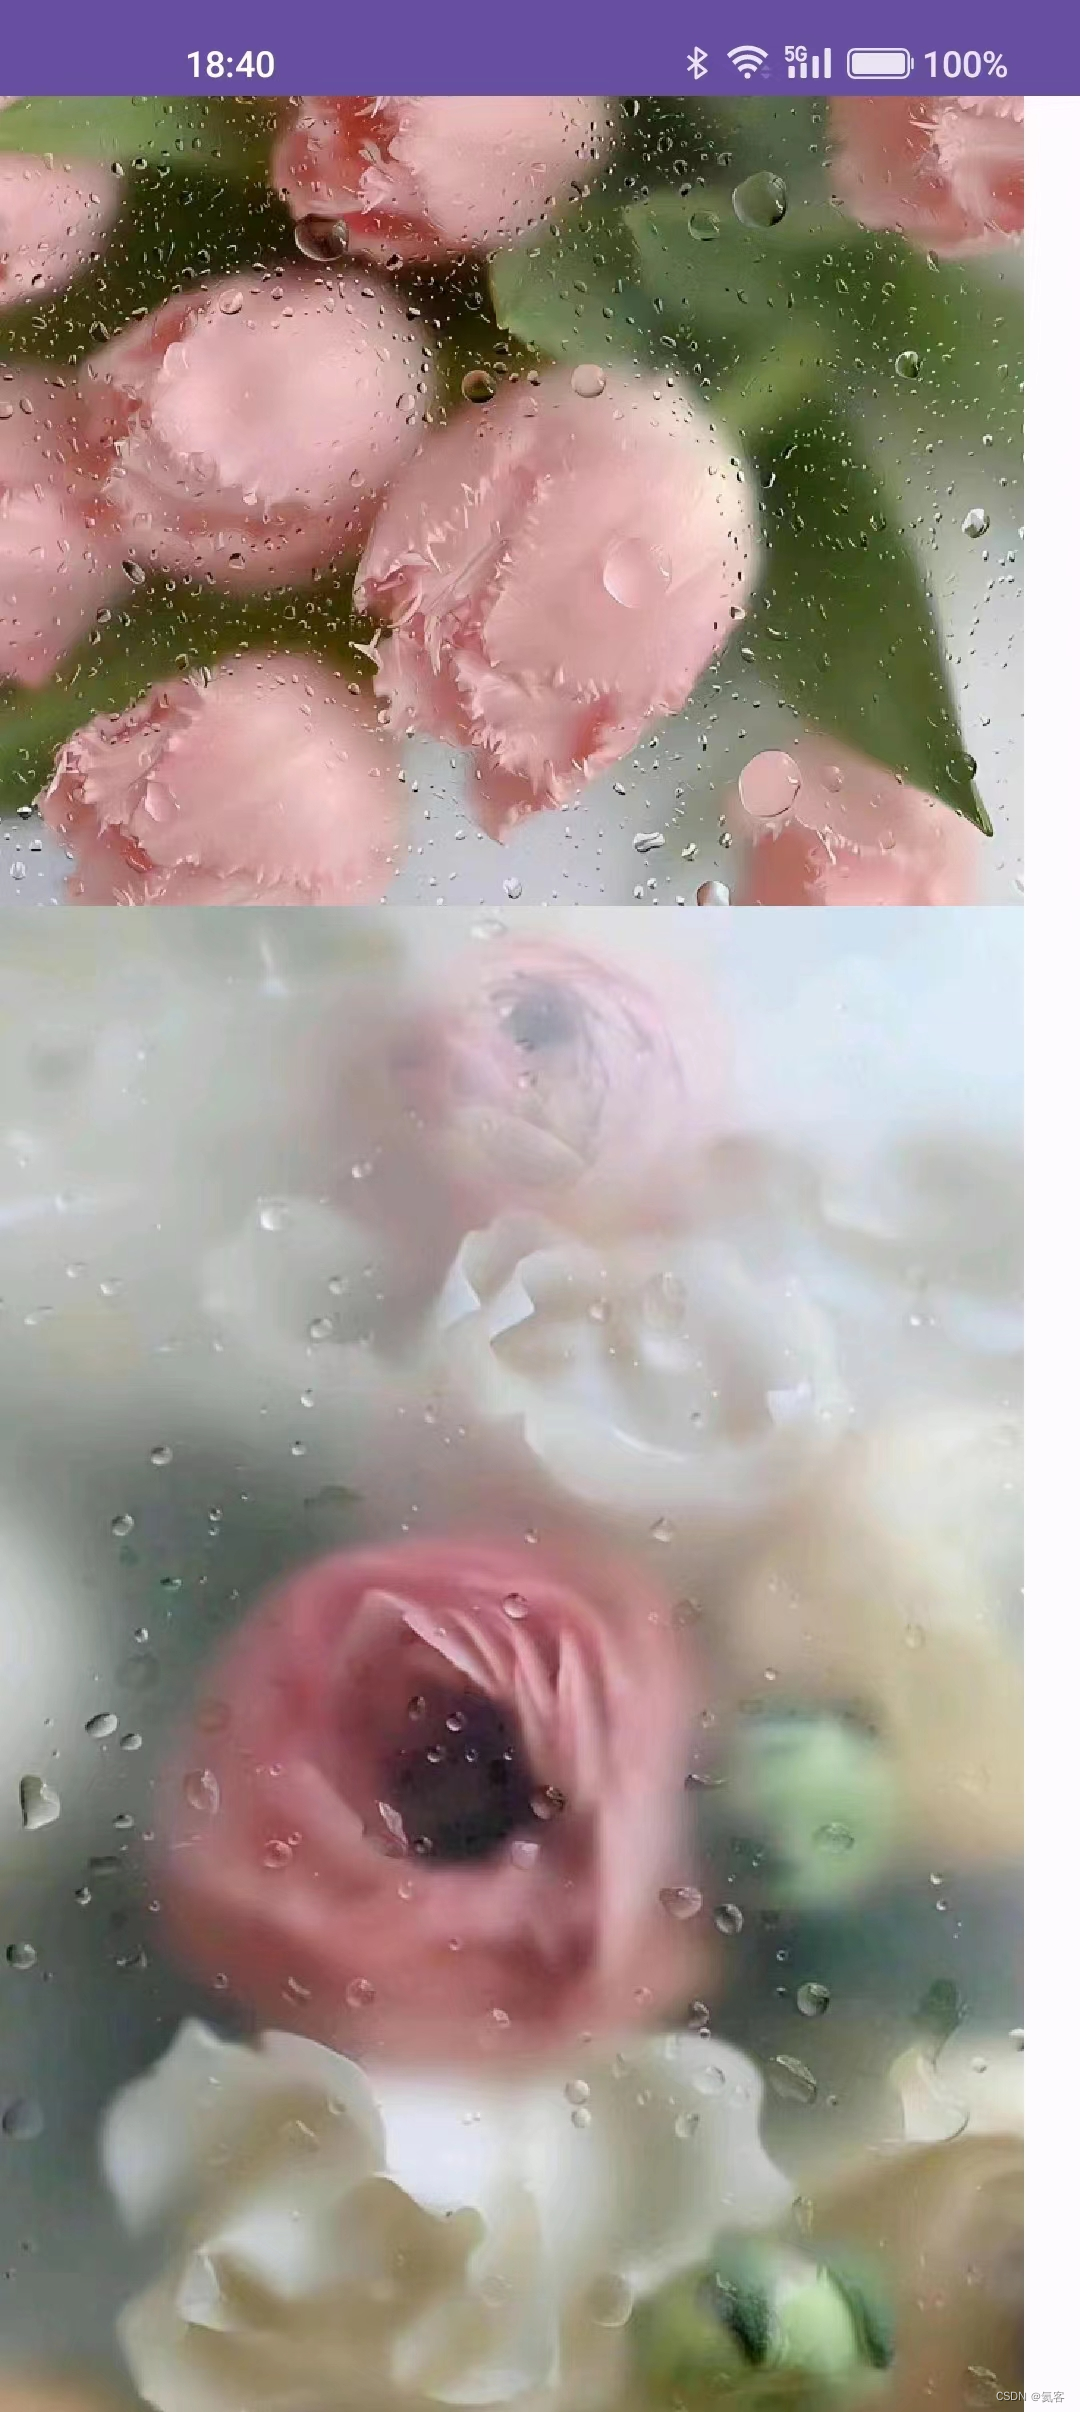
効果は以下の通りです
まとめ
Androidここまでで、大きな画像をロードする方法を理解しました。
- 解決策 1: 画像のサンプリング レートのスケーリング:最初に画像の幅と高さを取得し、次に
BitmapFactory.Options.inJustDecodeBoundsサンプリング レートを設定してinSampleSize画像サイズを縮小し、画像サイズを縮小するという目的を達成します。 - 解決策 2: 画像を領域ごとにロードする:
bitmapRegionDecoder.decodeRegion画像の指定した領域を描画することで、画像全体を一度にロードすることを回避し、画面に必要な画像のみが表示されるため、OOM
この記事のソース コードをダウンロード: Android で大きな画像を読み込むデモ