
Como se muestra en la imagen de arriba, las coordenadas proyectadas del archivo tif deben convertirse a coordenadas geográficas
Abra arcgis, cargue el archivo tif, seleccione Herramientas de administración de datos -> Proyección y transformación -> Ráster -> Ráster de proyección
Seleccione el sistema de coordenadas geográficas wgs84, guarde

Después del procesamiento, exportar

Elimine el archivo .tfw, luego publíquelo en geoserver


resuelto con éxito
Script de python de liberación por lotes adjunto
#--*--coding:utf-8--*--
#使用说明:
#只需要调用下面的autoPush这个函数,修改里面的两个参数
#参数说明:geoserverWorkeName为geoserver工作空间名称,fileName为tif存放文件夹名称
import os


def autoPush(geoserverWorkeName,fileName):
    namespace = geoserverWorkeName
    # 要发布的文件夹名称
    train_path = fileName
    # 遍历文件夹中为.tif后缀的文件,获取其路径
    tif_list = [os.path.join(train_path, i) for i in os.listdir(train_path) if i.endswith('.tif')]
    for onetif in tif_list:
        fpname=onetif
        fname = os.path.split(fpname)[-1]  #获取每个tif的名字
        # os.system('curl -v -u admin:geoserver -XPOST -H "Content-type: text/xml" -d "<workspace><name>'+namespace+'</name></workspace>" http://localhost:8080/geoserver/rest/workspaces')
        # 发布tif
        os.system('curl -u admin:geoserver -XPUT -H "Content-type:image/tiff" --data-binary @'+fpname+' http://localhost:8080/geoserver/rest/workspaces/'+namespace+'/coveragestores/'+fname+'/file.geotiff')
        # url = 'http://localhost:8083/geoserver/'+namespace+'/wms?service=WMS&version=1.1.0&request=GetMap&layers='+namespace+':'+fname+'&styles=&bbox=395085.0,5292585.0,630615.0,5531415.0&width=757&height=768&srs=EPSG:32653&format=application/openlayers'

print('333')
autoPush("fz1004",r'D:\GeroServer\geoserver-2.18.0-bin\data_dir\data\mymap\影像\中国L12级30米分辨率')
C# Agregue scripts de capa a grupos de capas en lotes
using System;
using System.Collections.Generic;
using System.IO;
using System.Linq;
using System.Text;
using System.Threading.Tasks;
using System.Xml;
using static System.Net.WebRequestMethods;

namespace ConsoleApp1
{
    internal class Program
    {

        static string WebApiConfigPath = "D:\\GeroServer\\geoserver-2.18.0-bin\\data_dir\\layergroups\\fz_layers.xml";
        static void Main(string[] args)
        {
            string s = null;
            DirectoryInfo d = new DirectoryInfo("D:\\GeroServer\\geoserver-2.18.0-bin\\data_dir\\gwc-layers");
            FileInfo[] files = d.GetFiles("*.xml");
            List<string> lstr = new List<string>();

            foreach (FileInfo file in files)
            {
                s = file.Name.Replace(".xml", "");
                s = s.Replace("_", ":");

                if (s.Contains("LayerInfoImpl") && !s.Contains("--"))
                {
                    lstr.Add(s);
                }
            }

            //LayerInfoImpl-62bb30a8_183a2cb7f9a_-7ffc
            //LayerInfoImpl-62bb30a8:183a2cb7f9a:-7ffc
            XmlDocument xmlDoc = new XmlDocument();
            xmlDoc.Load(WebApiConfigPath);
            XmlNode root = xmlDoc.SelectSingleNode("layerGroup");

            //foreach (string strname in lstr)
            for (int i = 0; i < lstr.Count; i++)
            {
                //if (i < 1)
                {
                    foreach (XmlNode nodec in root)
                    {
                        if (nodec.Name == "publishables")
                        {

                            XmlElement publishabElement = xmlDoc.CreateElement("published");
                            publishabElement.SetAttribute("type", "layer");
                            XmlElement idElement = xmlDoc.CreateElement("id");

                            //string sss = lstr[i];
                            idElement.InnerXml = lstr[i];

                            publishabElement.AppendChild(idElement);
                            nodec.AppendChild(publishabElement);
                        }
                        if (nodec.Name == "styles")
                        {

                            XmlElement styleElement = xmlDoc.CreateElement("style");
                            XmlElement idElement = xmlDoc.CreateElement("id");
                            idElement.InnerXml = "StyleInfoImpl--570ae188:124761b8d78:-7fe2";

                            styleElement.AppendChild(idElement);
                            nodec.AppendChild(styleElement);
                        }
                    }
                }
            }
            //需要保存修改的值
            xmlDoc.Save(WebApiConfigPath);
            xmlDoc = null;
        }
    }
}
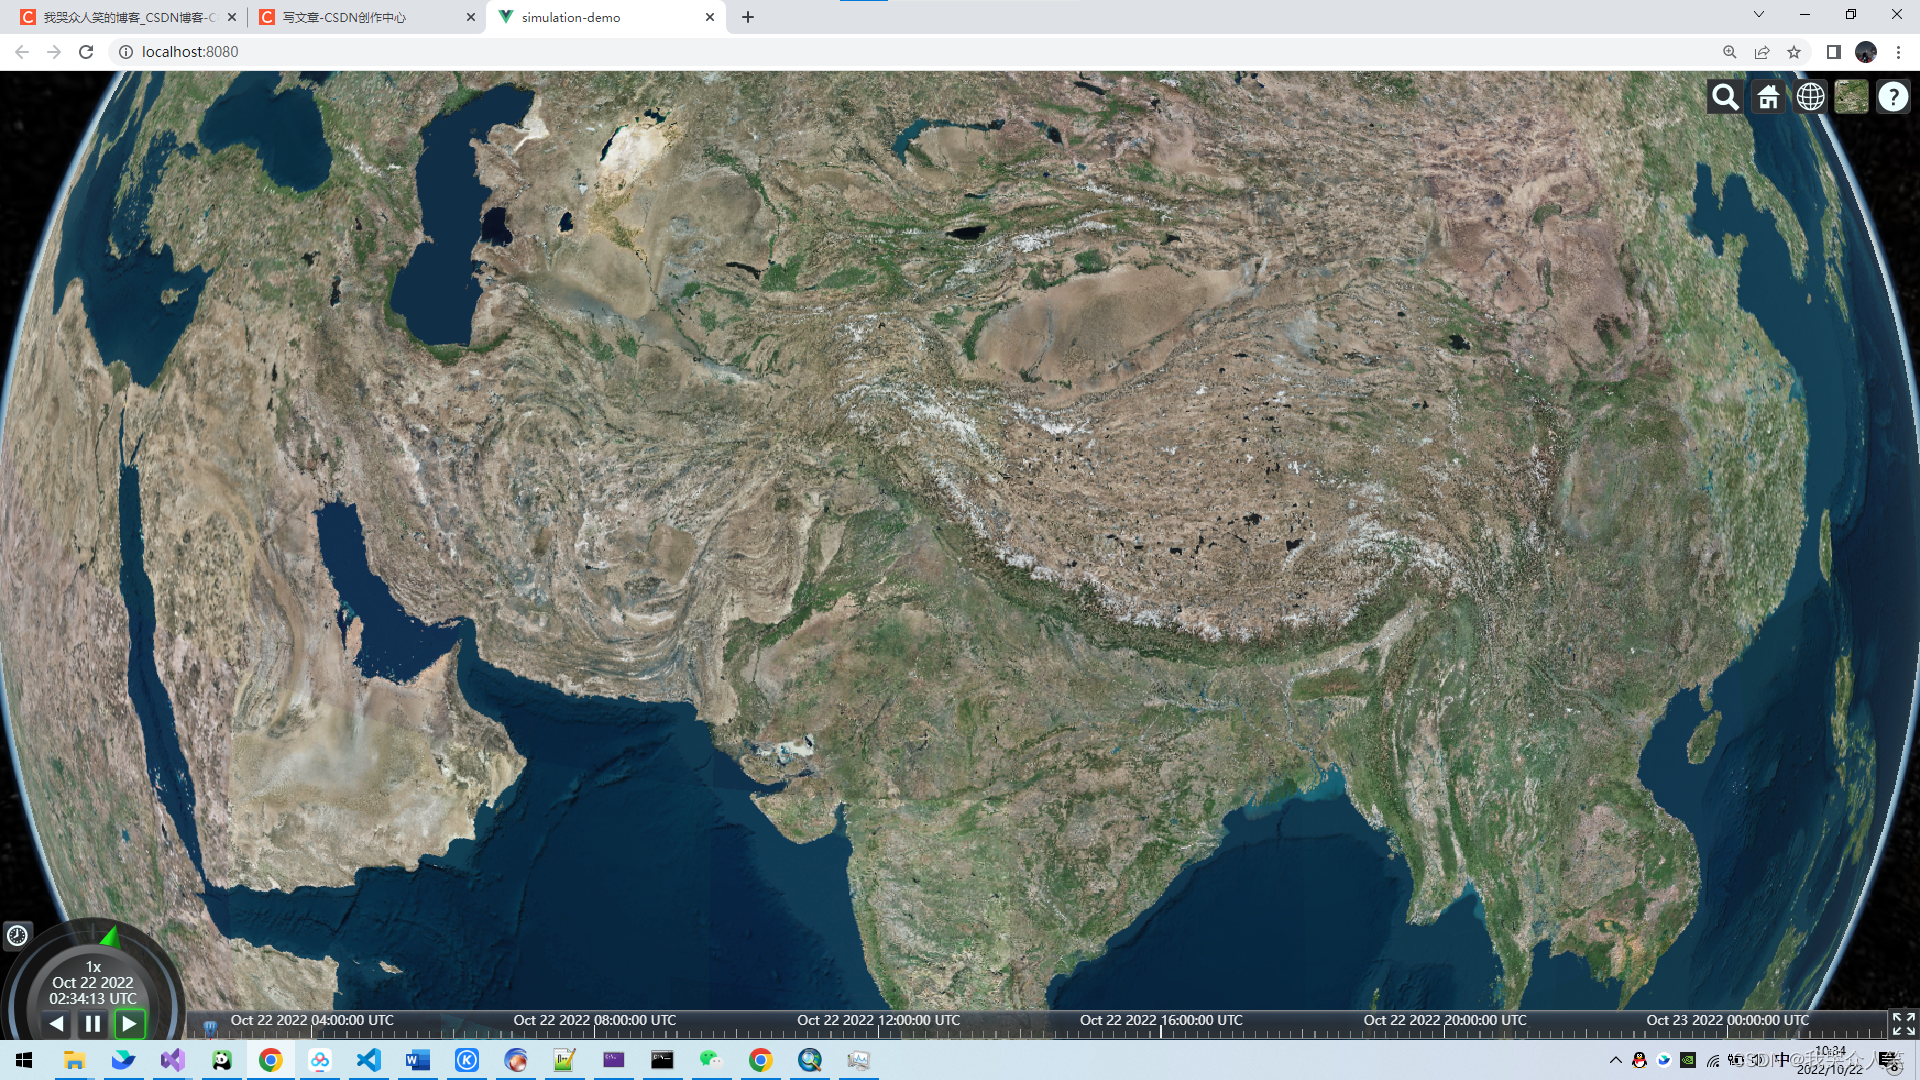
Después de que se carga el caché de teselas del geoservidor, cesio, puede ver la imagen