Table of contents
How to achieve free unlimited traffic cloud synchronization note-taking software Obsidian?
Software feature demonstration:
2. Use free Synology virtual machines to build Synology Drive service to achieve LAN synchronization
1 Install and set up Synology Drive package
2 File synchronization test within LAN
3. The intranet penetrates Synology Drive to achieve remote multi-end synchronization.
Steps to install Cpolar on Windows:
4. Realize fixed TCP address synchronization
Preface
A few days ago, I discovered a giant artificial intelligence learning website. It is easy to understand and humorous. I couldn’t help but share it with everyone. Click to jump to the website
How to achieve free unlimited traffic cloud synchronization note-taking software Obsidian?
1. Introduction
The previous tutorial introduced how to synchronize Zotero scientific research literature management software with multiple terminals for free . In the article, I shared the Synology Nas virtual machine installation package and used Synology's WebDav function to achieve multi-terminal cloud synchronization. This issue will demonstrate the implementation using Synology Drive. Sync note files.
When we use Zotero to read literature and draw key points ( input ), we need a multi-functional note-taking software to organize what we have learned, and make a series of scientific research plans, Todolist, organize research ideas, etc. ( output ). And also supports Markdown syntax.
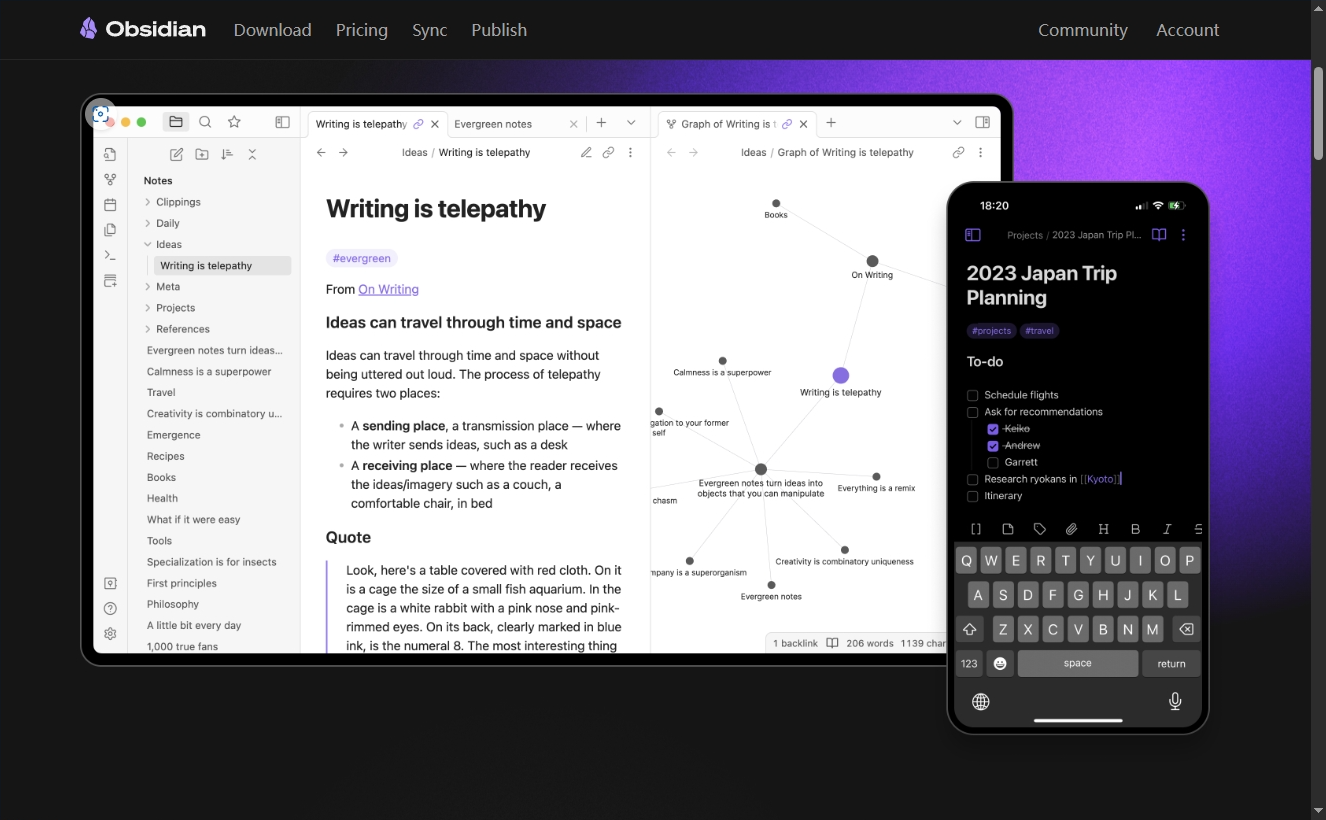
Here I recommend Obsidian , a powerful note-taking software . It is a purely offline note-taking software (you can use all functions without logging in. I will introduce how to cloud synchronize later ). Its biggest feature is that it can establish two-way links . You can freely create links to other notes, and this link can point directly to a certain title/block of text . In this way, when reviewing the study notes written before, if you forget a certain knowledge point, you can review it immediately without clicking on it. The cool knowledge network established can also be displayed dynamically and visually .
- Download address: Obsidian – Sharpen your thinking
- Just install it by default

Establish a complete knowledge network , and if you find something in the global search , it will affect the whole body, (@^0^@).
Software feature demonstration:
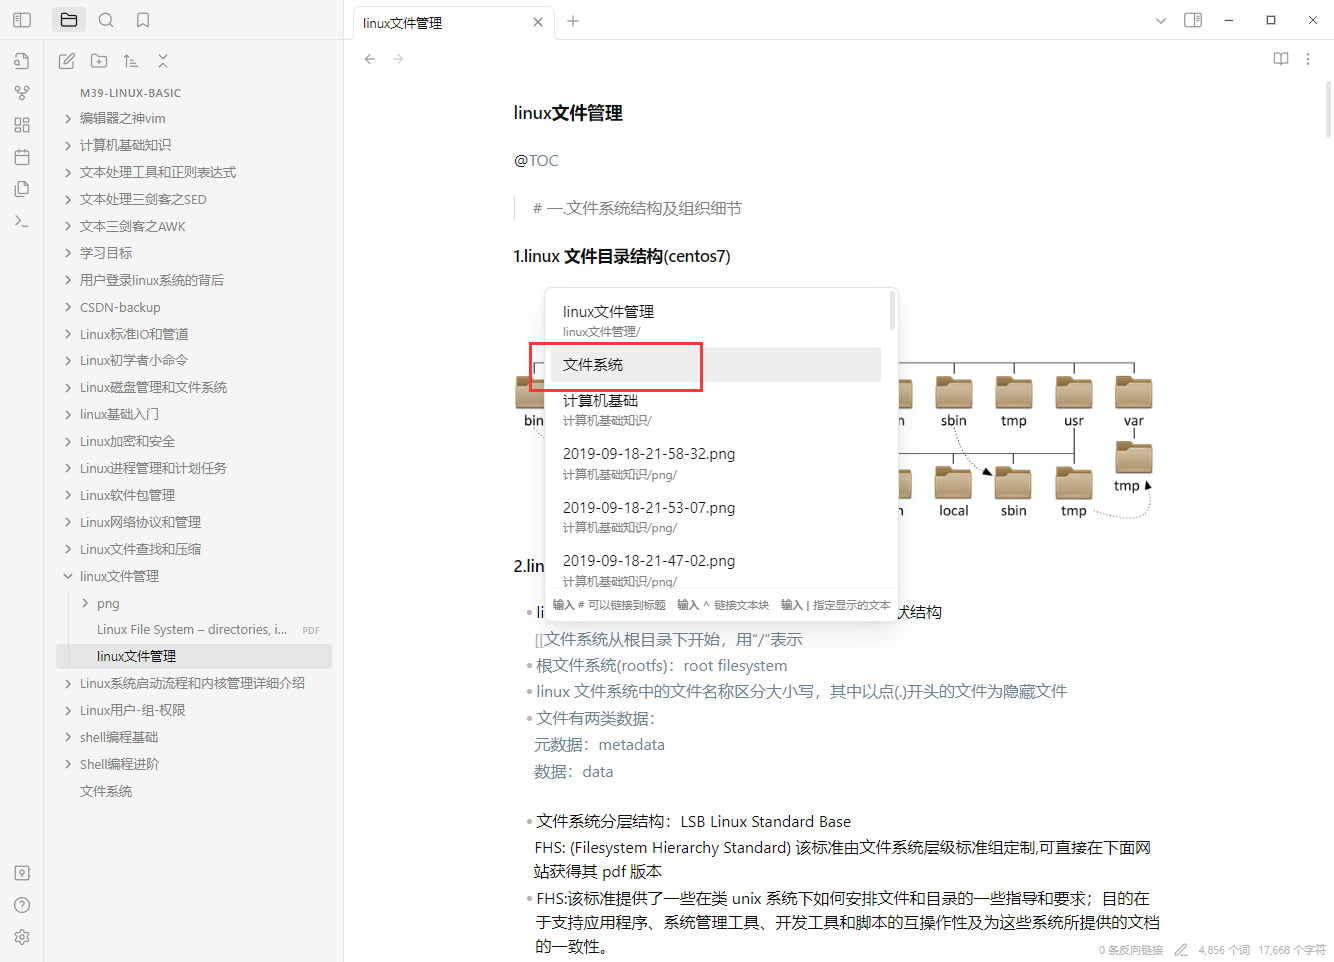
Use [[ ]] double brackets to enclose the place where you want to establish a link. We will demonstrate how to frame the four words file system. If we forget what a file system is when we review later, click on the link to jump directly to the relevant notes we took before .
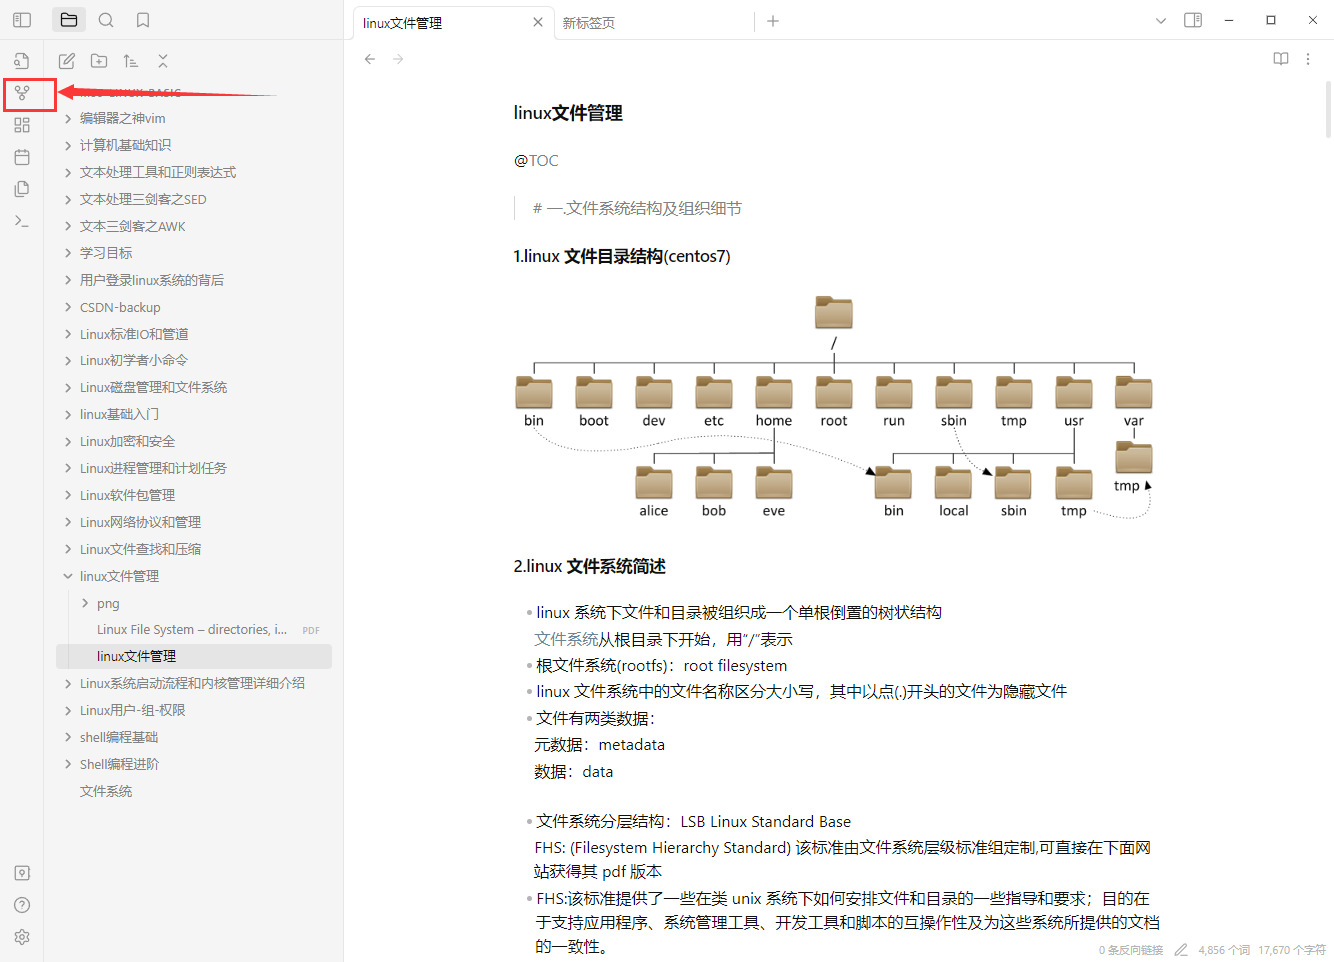
After it is built, click on the symbol on the left to enter the network diagram:
As shown in the figure, a link has been established with the file system text block. When reviewing the concept of file system, you can use the link to see how to apply it. On the contrary, when reviewing the file system application, you can use the link to view this concept.
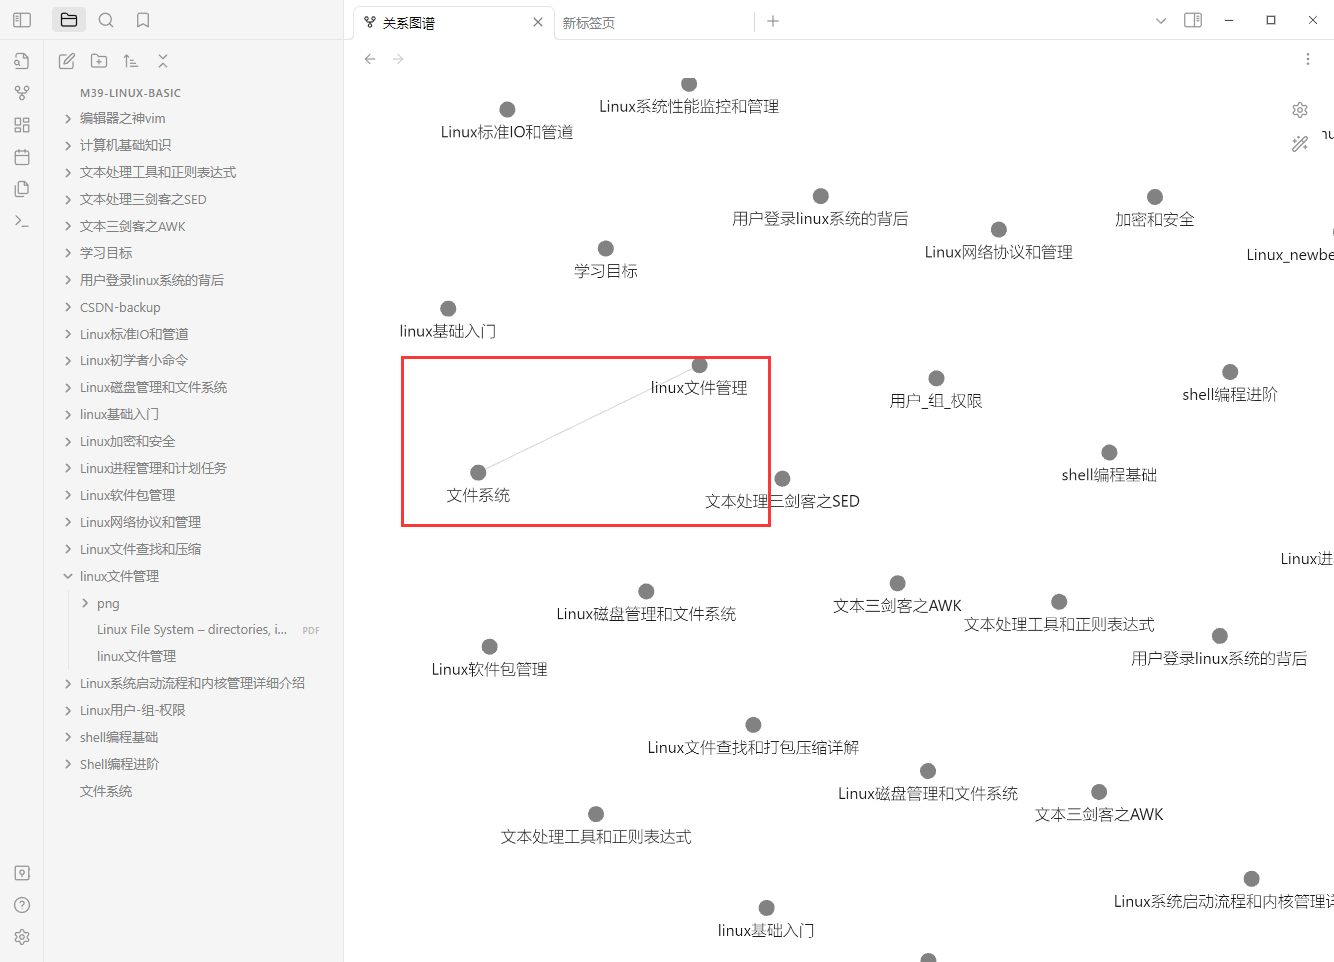
If we use this software to go through the entire learning process, we will build a large knowledge network to sort out the knowledge context.

There are many bloggers who introduce how to use Obsidian. This article will not list how to use this powerful software one by one. The focus of this article is how to synchronize Obsidian's note folder .
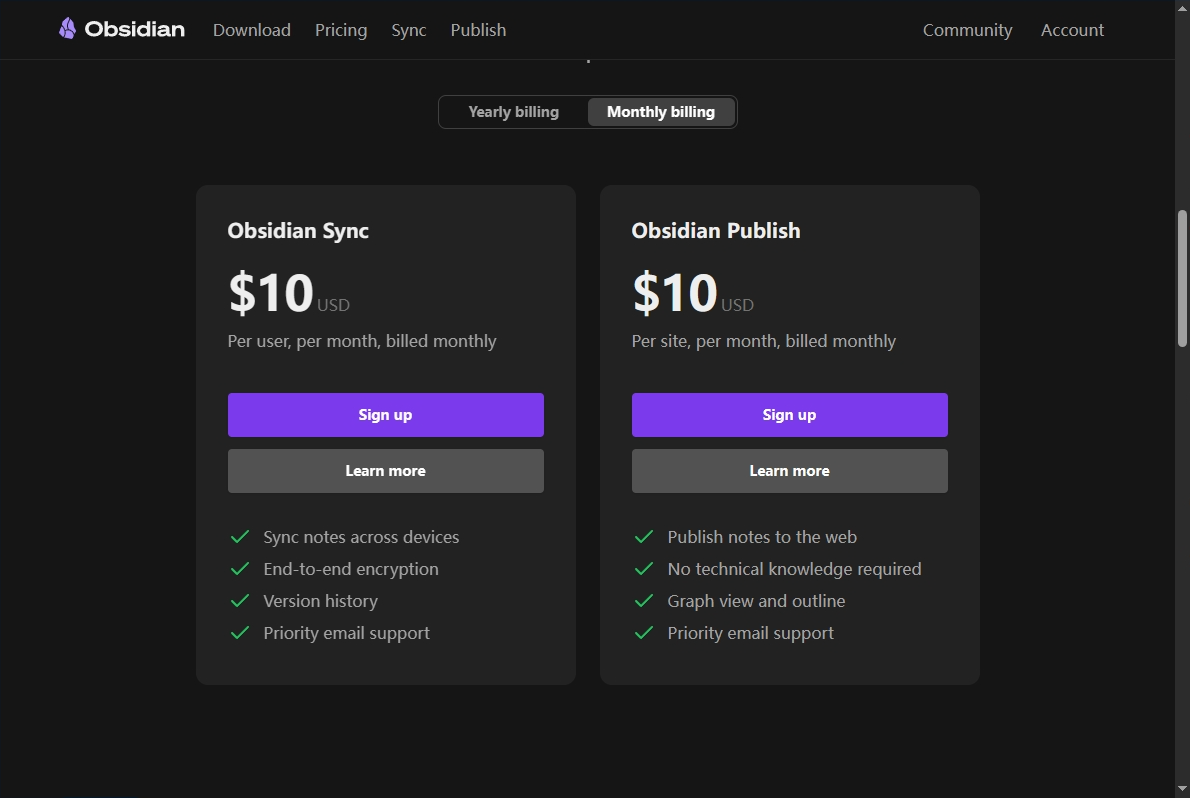
Although the Obsidian personal version is free to use, the price of cloud synchronization is relatively high and the capacity is limited, so establishing a personal cloud synchronization service and storing synchronized files locally is a very cost-effective option.
As mentioned earlier, this software is purely offline and you can use all functions without logging in. This means that we only need to set up a cloud synchronization server and synchronize the Obsidian warehouse folder to achieve multi-end synchronization. Next, we will continue to use the previous tutorial. Use Synology Virtual Machine to build a private cloud synchronization service.
- Previous tutorial:

2. Use free Synology virtual machines to build Synology Drive service to achieve LAN synchronization
1 Install and set up Synology Drive package
First install the Synology Drive package:
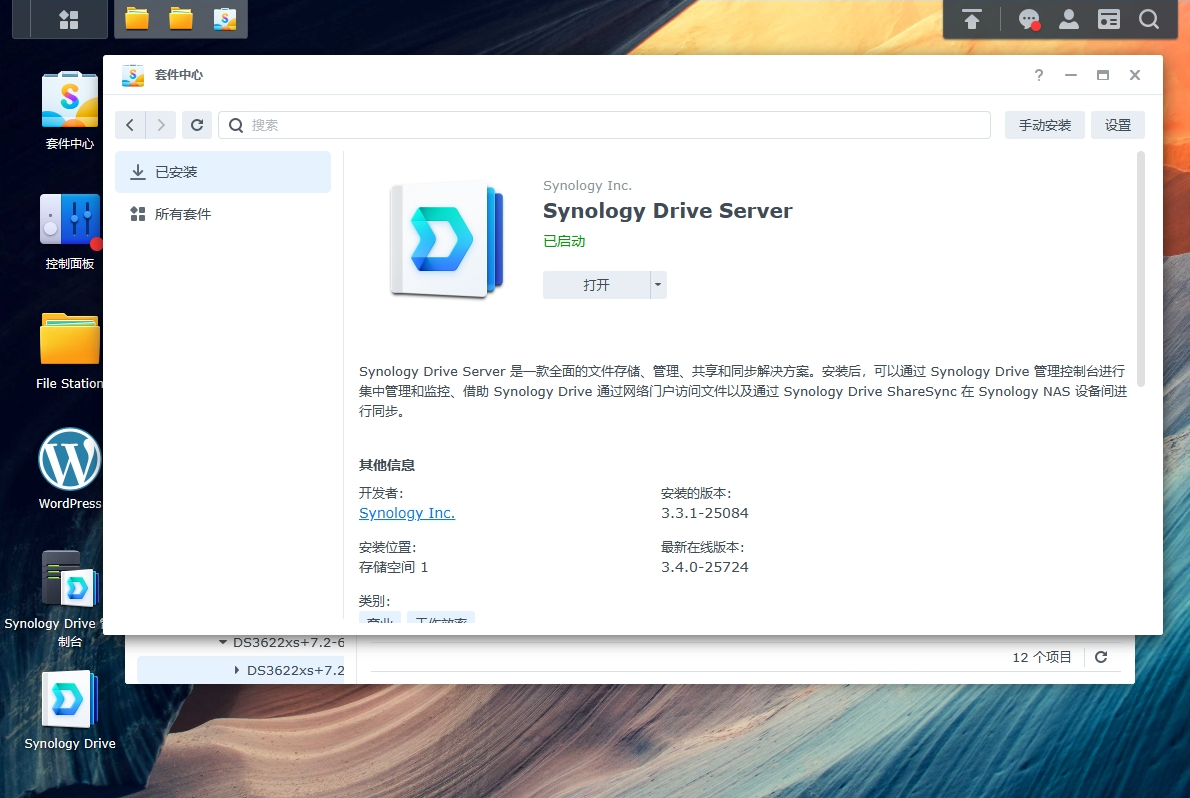
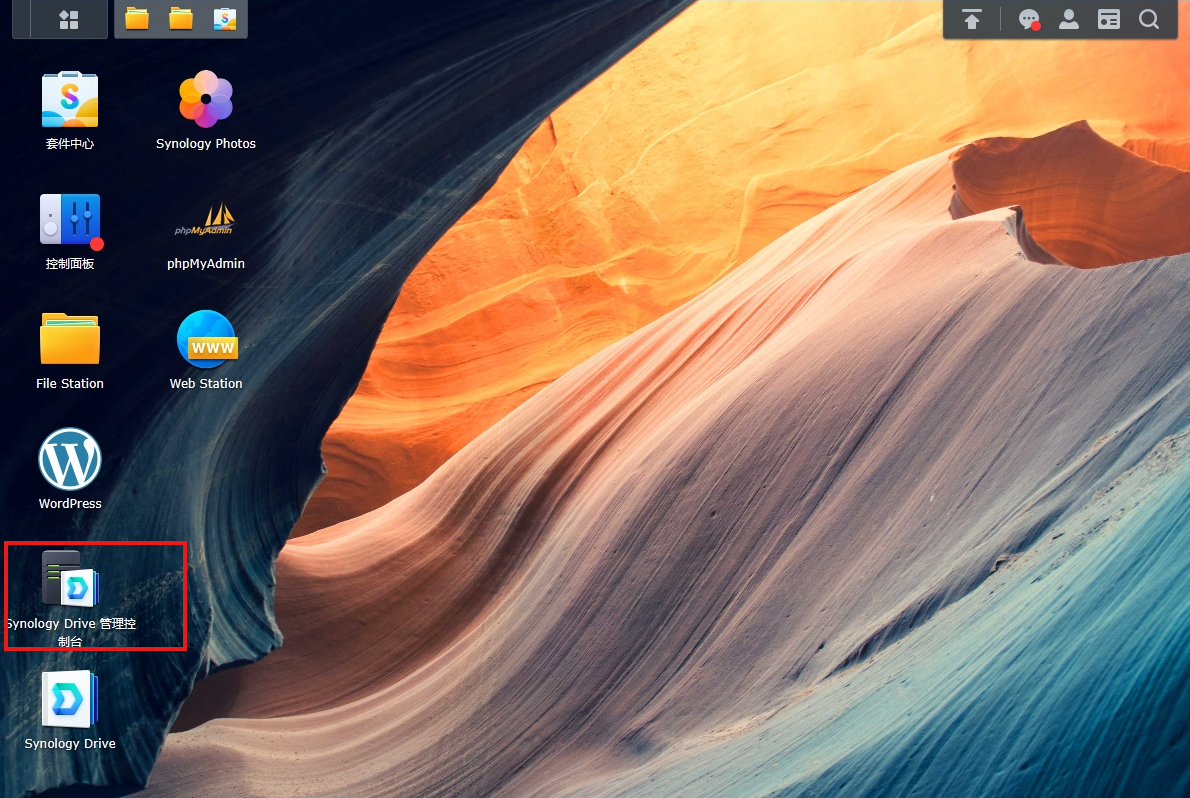
Open the Synology Drive console:
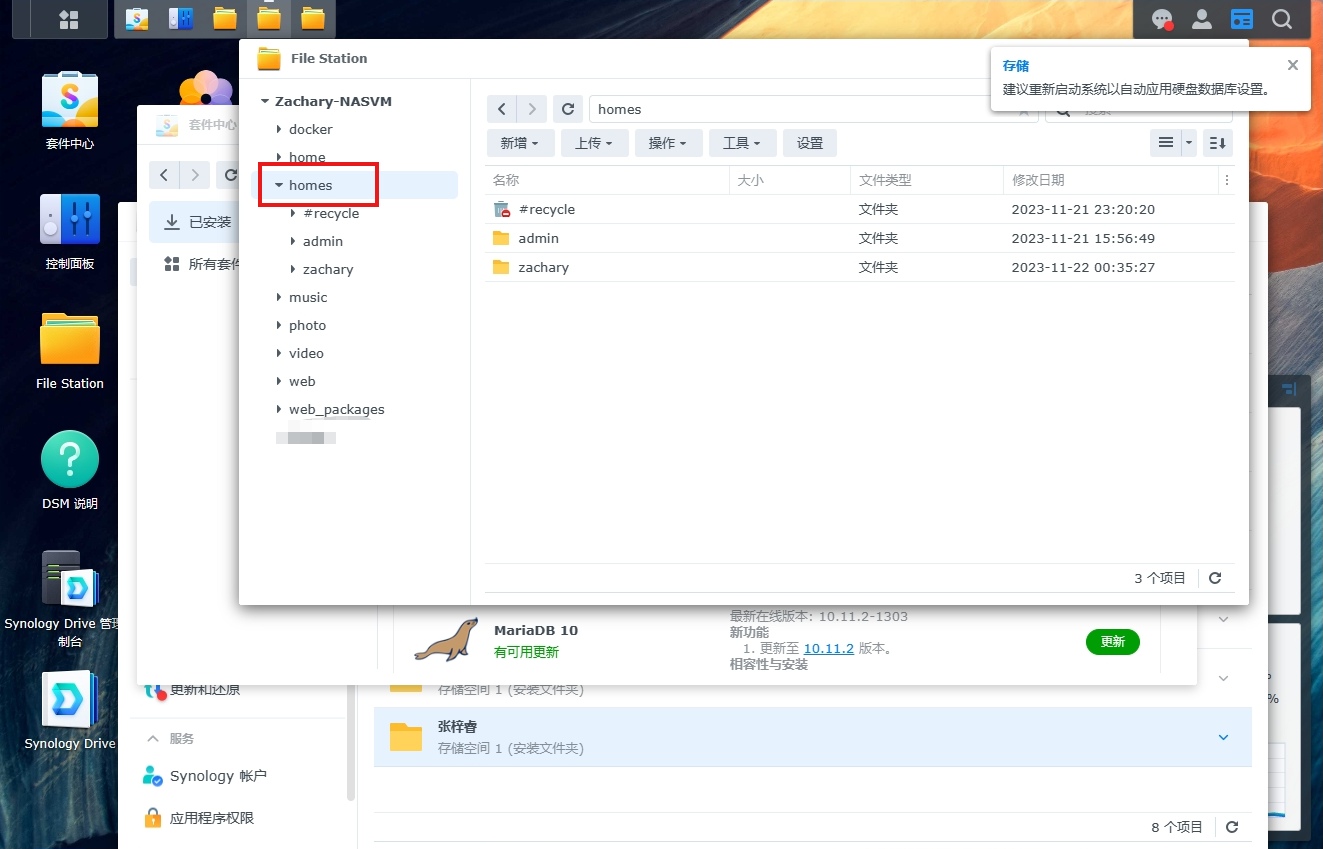
After clicking the "Enable" button, Synology Drive will guide us to enable the user home directory service. We click the "Yes" button according to the pop-up window guidance, and then install it by default according to the guidance.
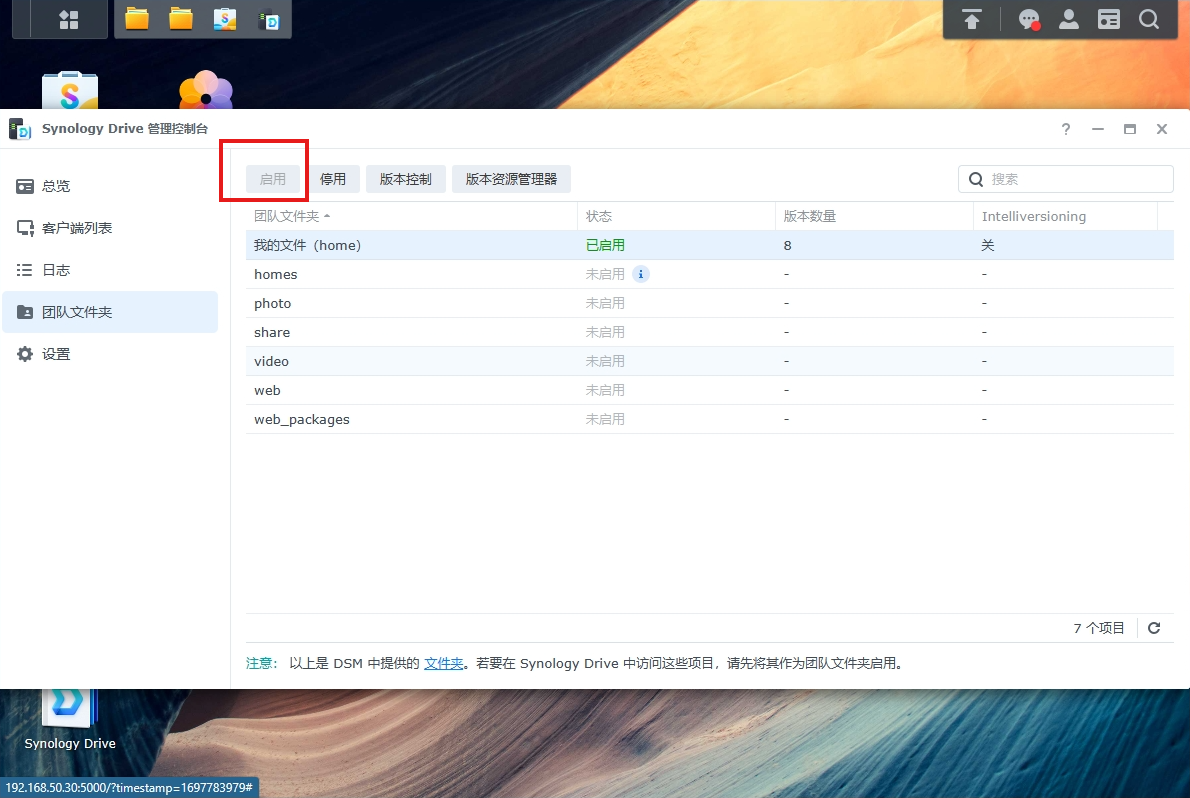
After completing the above steps, the system will automatically generate a folder named "homes". Synology will default this folder as the synchronization folder. Of course, you can also modify it yourself.
2 File synchronization test within LAN
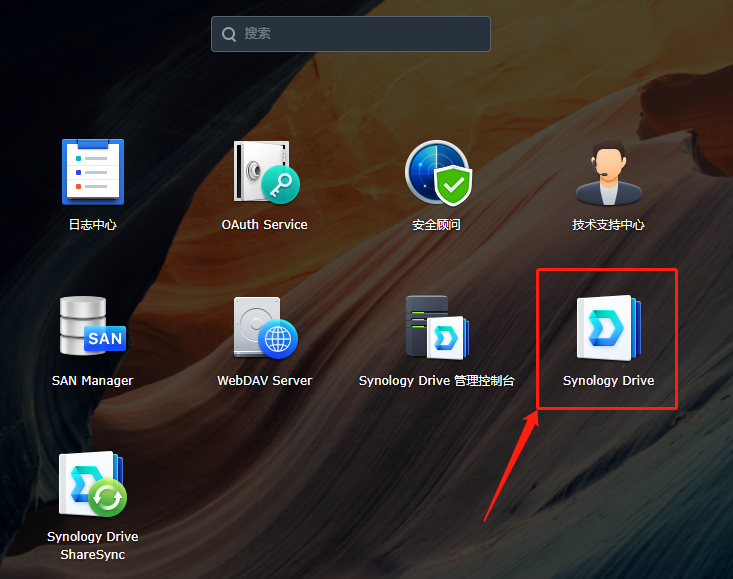
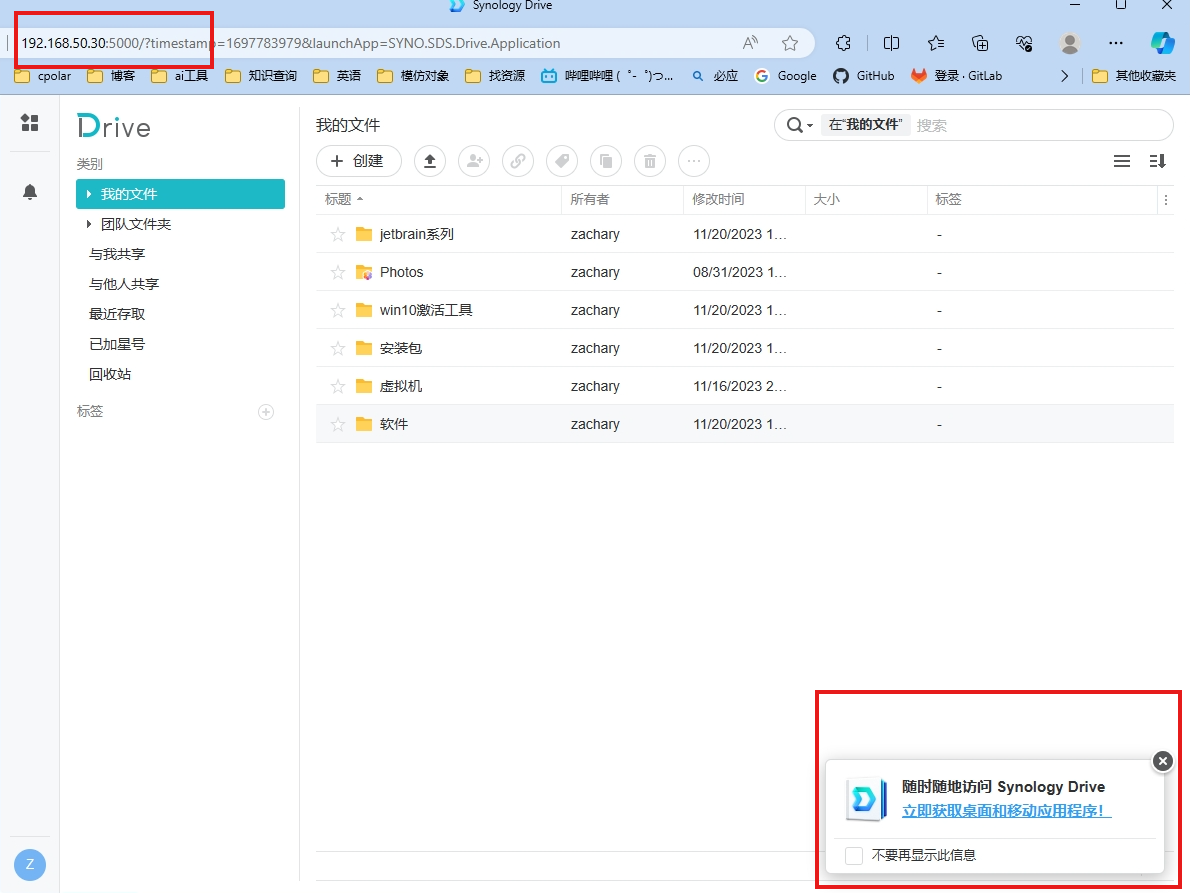
Open Synology Drive:
The browser automatically jumps to the Synology Drive web page. For convenience, we directly click on the lower right corner to install the Synology official synchronization software:
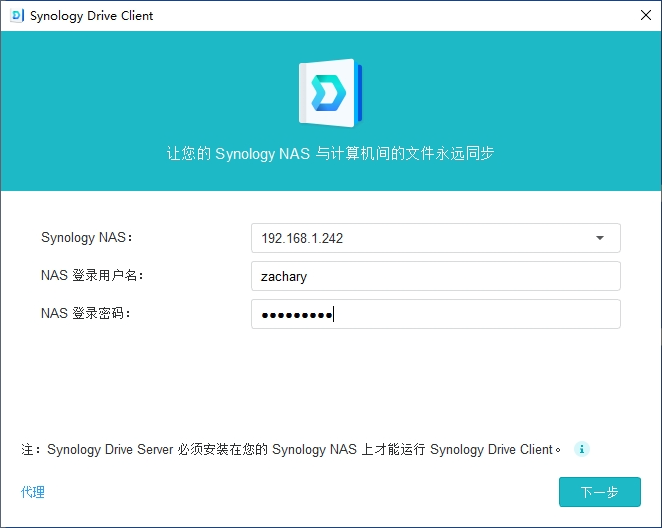
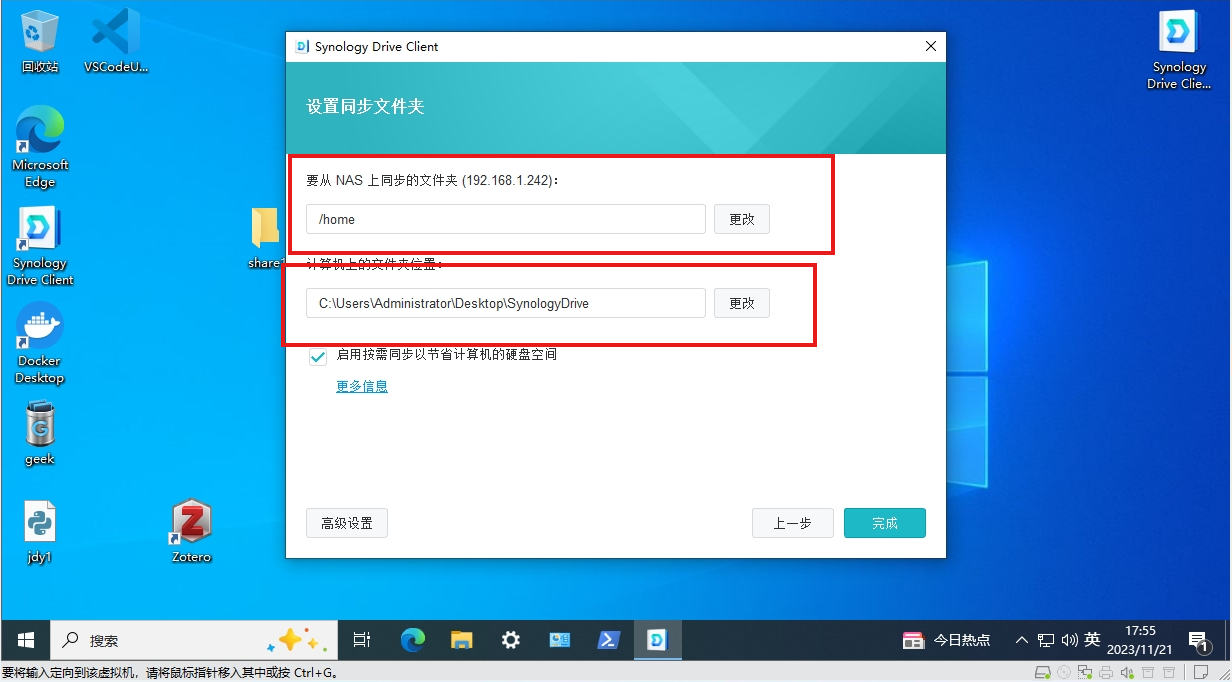
Download the installer and enter the local address of Synology
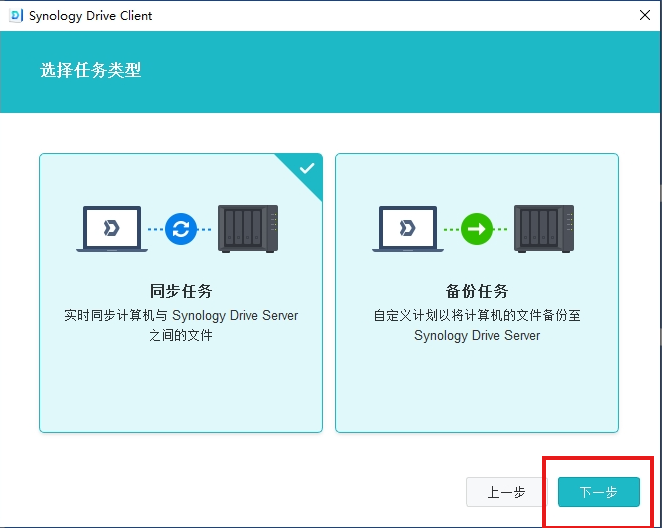
Select a sync task
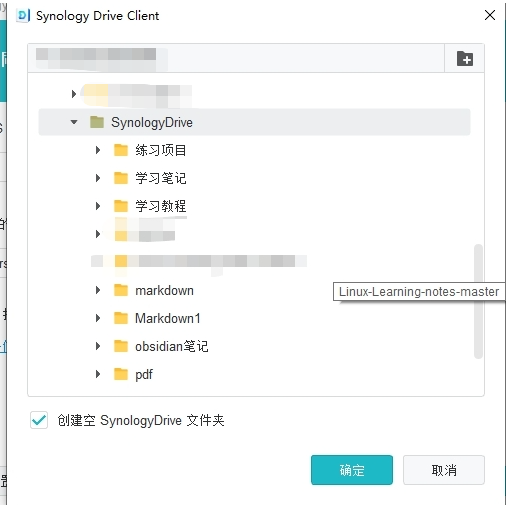
Select the folder where the Obsidian warehouse is located:
After clicking OK, the synchronization process begins. You can click on the lower right corner to view the synchronized folder.

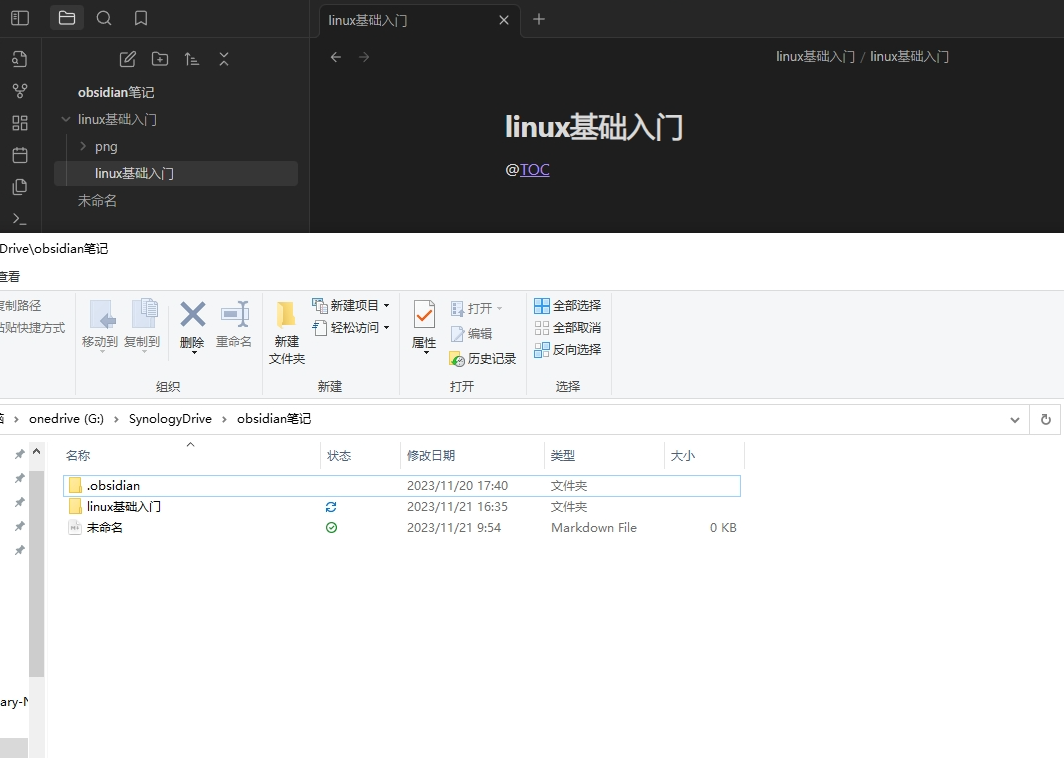
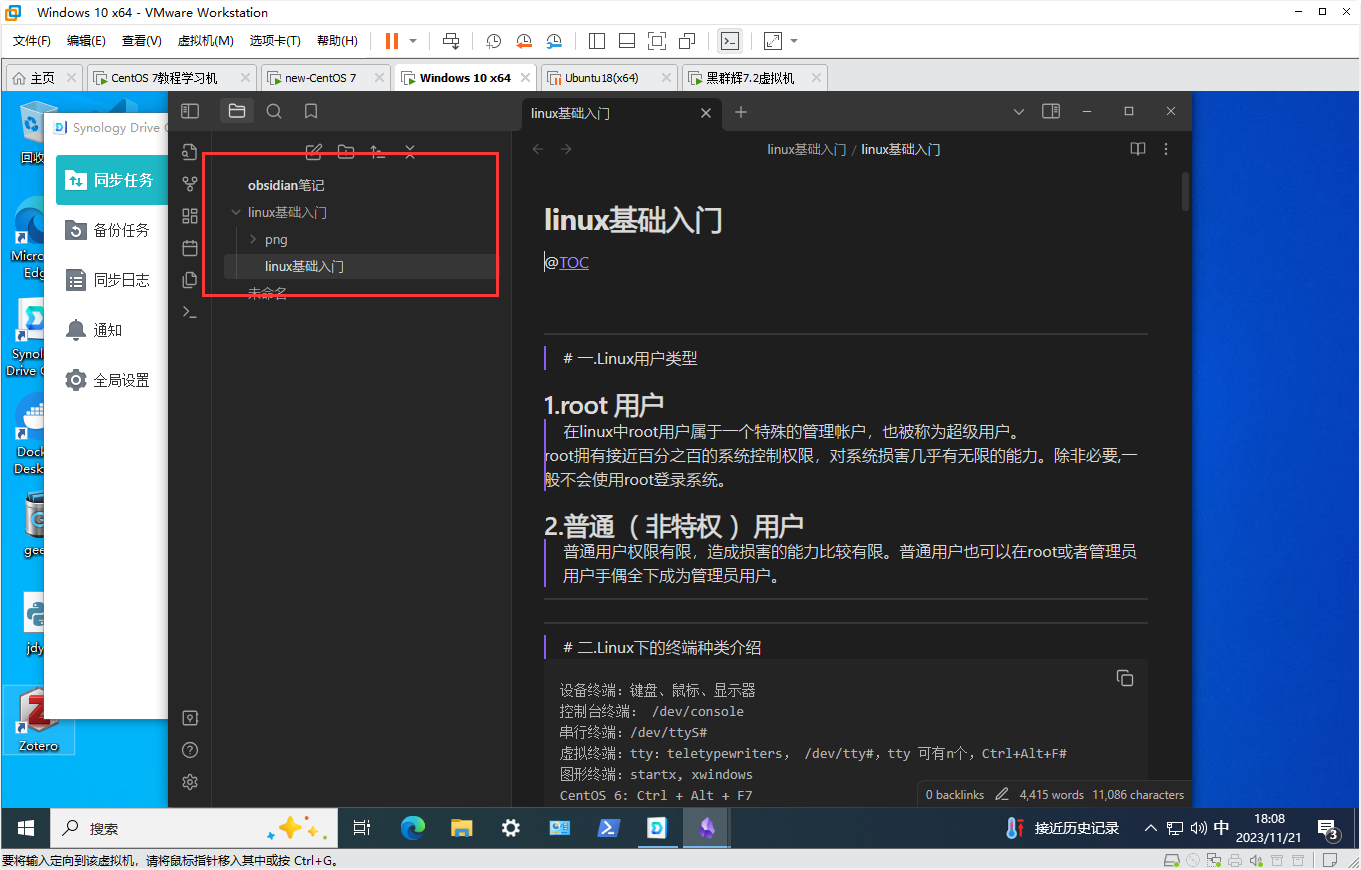
Back to Obsidian, switch to the sync folder we selected:
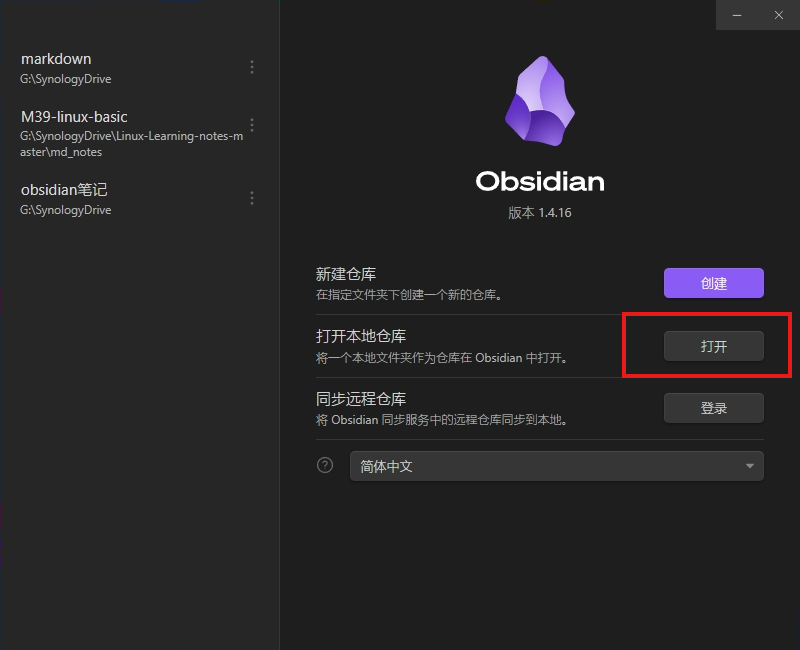
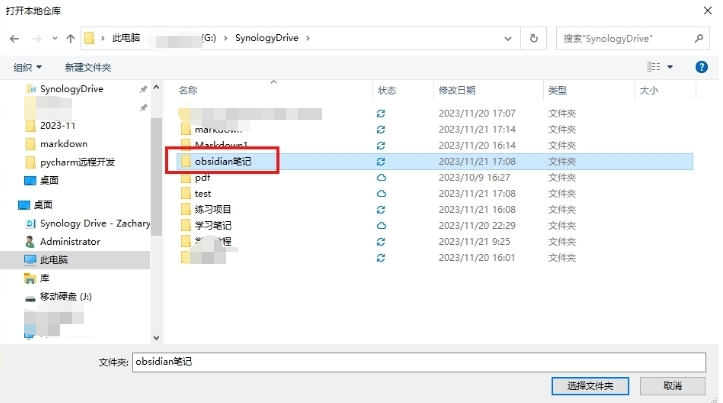
My notes are stored in G:\Synology Drive\obsidian notes, so I directly use Obsidian to open the Obsidian notes folder in the folder synchronized by Synology Drive. After that, other computers can log in to Synology Drive to synchronize, and then they can use Obsidian. Open this notes folder.
Open this note repository:
Download and install Synology Drive on another computer in the LAN:
[Enterprise network disk | Synology Drive_Private cloud to access data at any time for multiple people to share and collaborate | Synology Inc.](https://www.synology.cn/zh-cn/dsm/feature/Synology Drive)
The operation is the same as above. Log in to your Synology Nas account and select a local folder as the synchronization folder:
Synchronization completed:

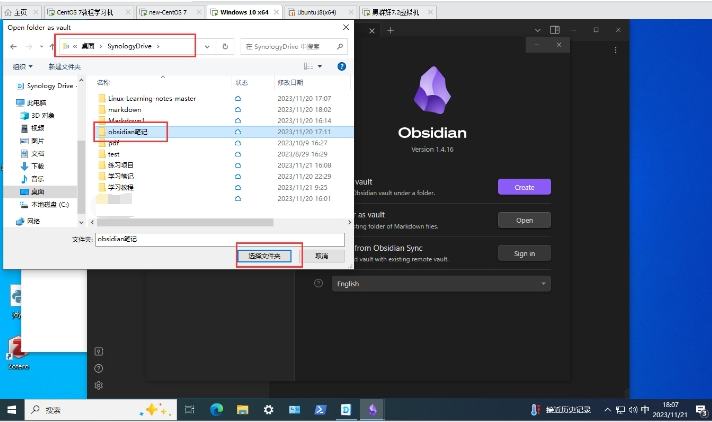
Open Obsidian and click this button in the lower left corner to switch the file warehouse.
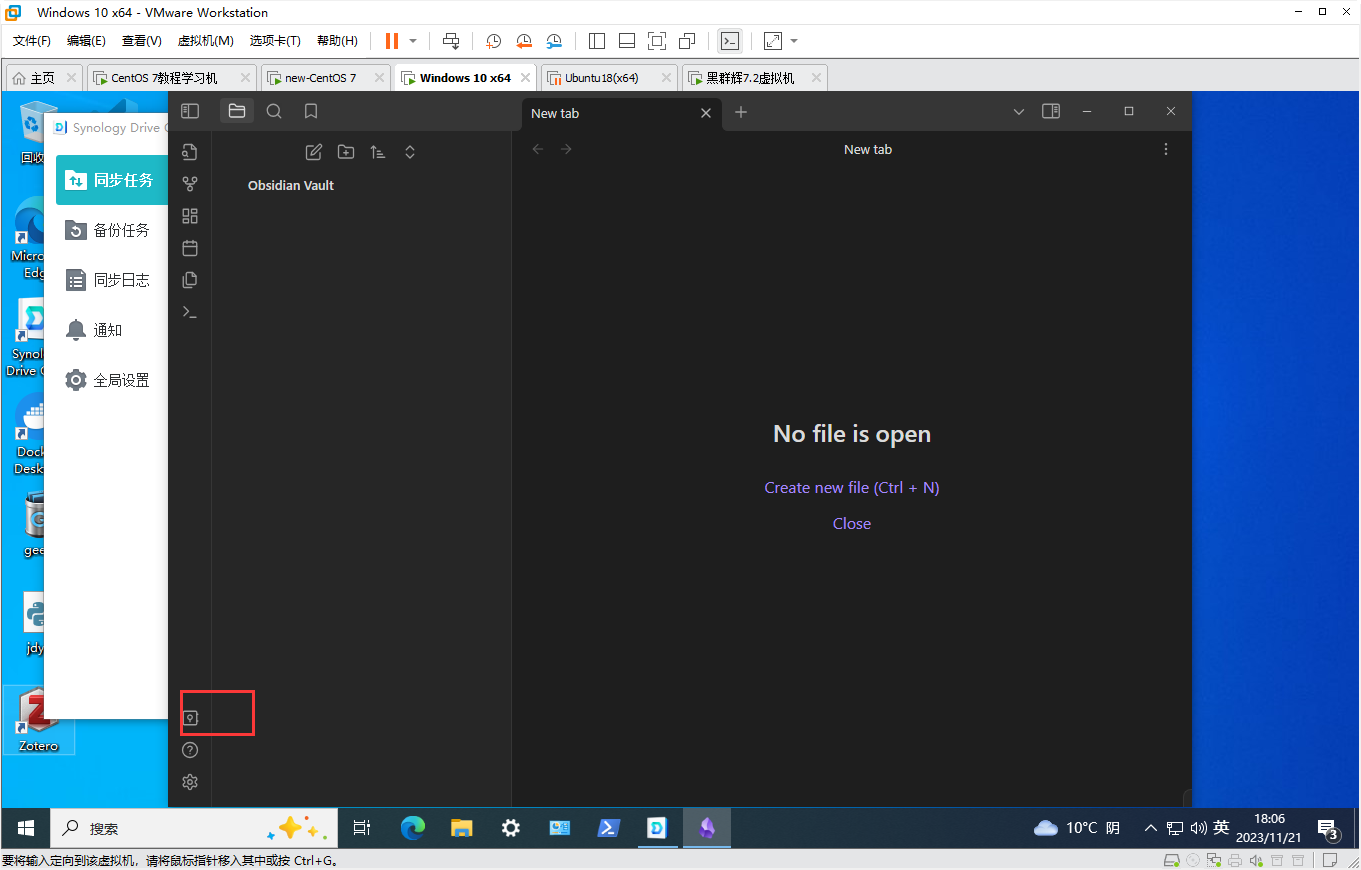
Open the notes folder we want to sync:
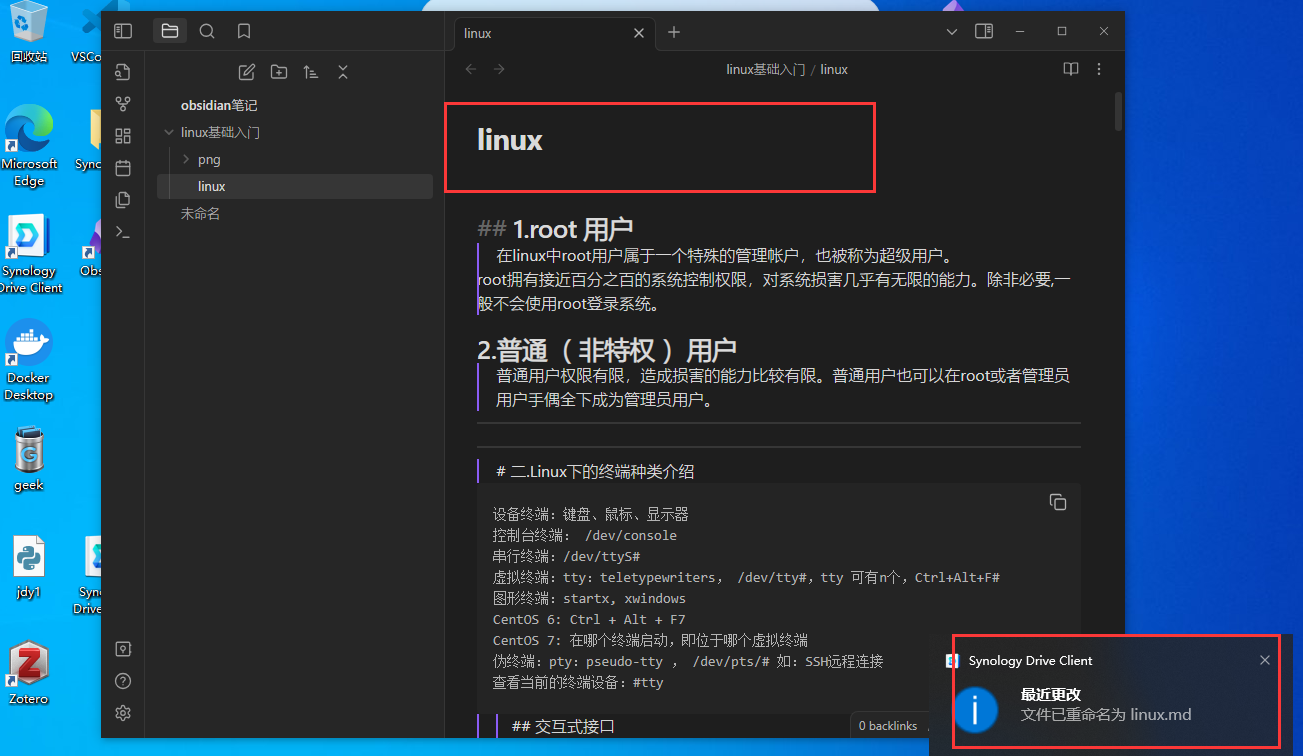
Opened successfully, now we modify the document to test the synchronization function:
After modification, a prompt to modify the file will pop up in the lower right corner (if not needed, you can cancel it in the settings)
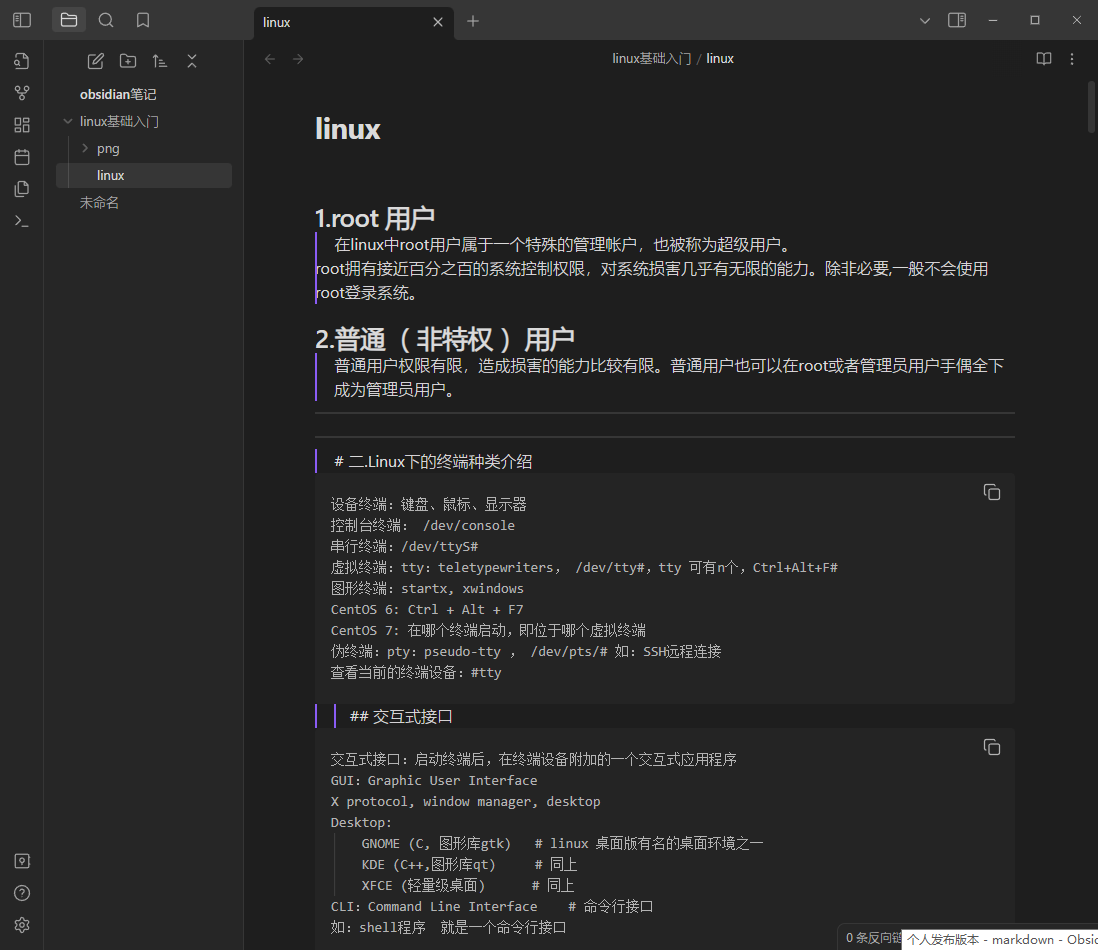
Wait a short while and the other end will sync:
3. The intranet penetrates Synology Drive to achieve remote multi-end synchronization.
If you want to access a locally built synchronization server in a remote location, you need intranet penetration software. Here I use the free unlimited traffic Cpolar: https://www.cpolar.com
First, we need to install Cpolar in the server and map the local address to the public network so that it can be accessed anytime and anywhere.
hint:
Because I am using a Synology virtual machine in this tutorial, I installed cpolar on the Windows machine to map the ports in the virtual machine. If you are using a physical NAS, you need to install the Cpolar package in the NAS to map the ports in the NAS. Synchronization function port.
Install Cpolar on Synology: How to install cpolar on Synology system (Synology 7.X version) – cpolar Jidianyun
Steps to install Cpolar on Windows:
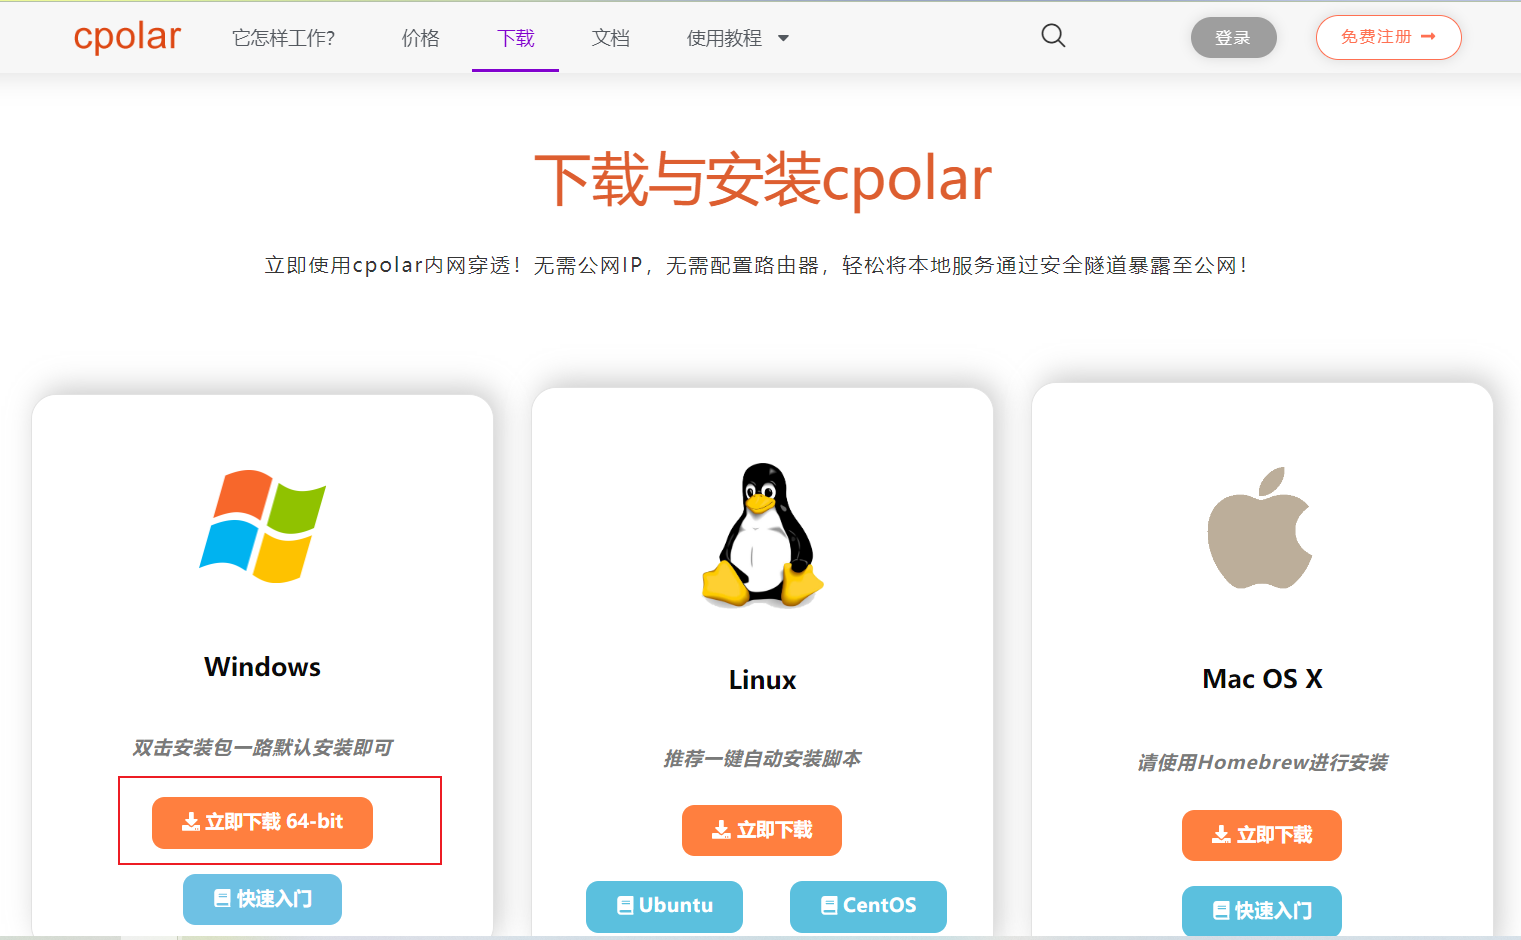
Visit the cpolar official website, register an account, and then download and install the client. For specific installation instructions, please refer to the official website documentation tutorial.
Cpolar official website: downloadDownload-cpolar pole cloud official website
- Windows system: After downloading the installation package from the official website, double-click the installation package and install it by default.
Note! After Cpolar is successfully installed, the default Cpolar web interface access port is also 9200.
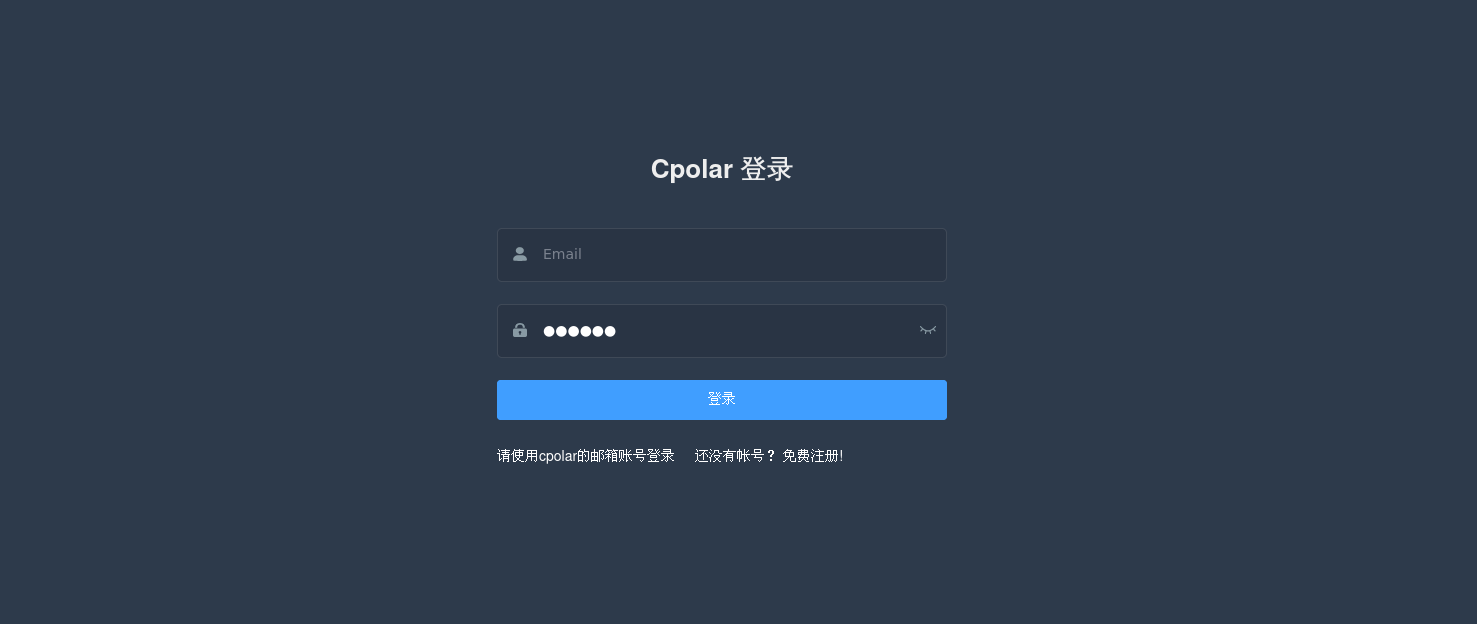
Then enter it in the browser localhost:9200to access the Cpolar Web UI management interface. Enter the account registered on the official website to log in.
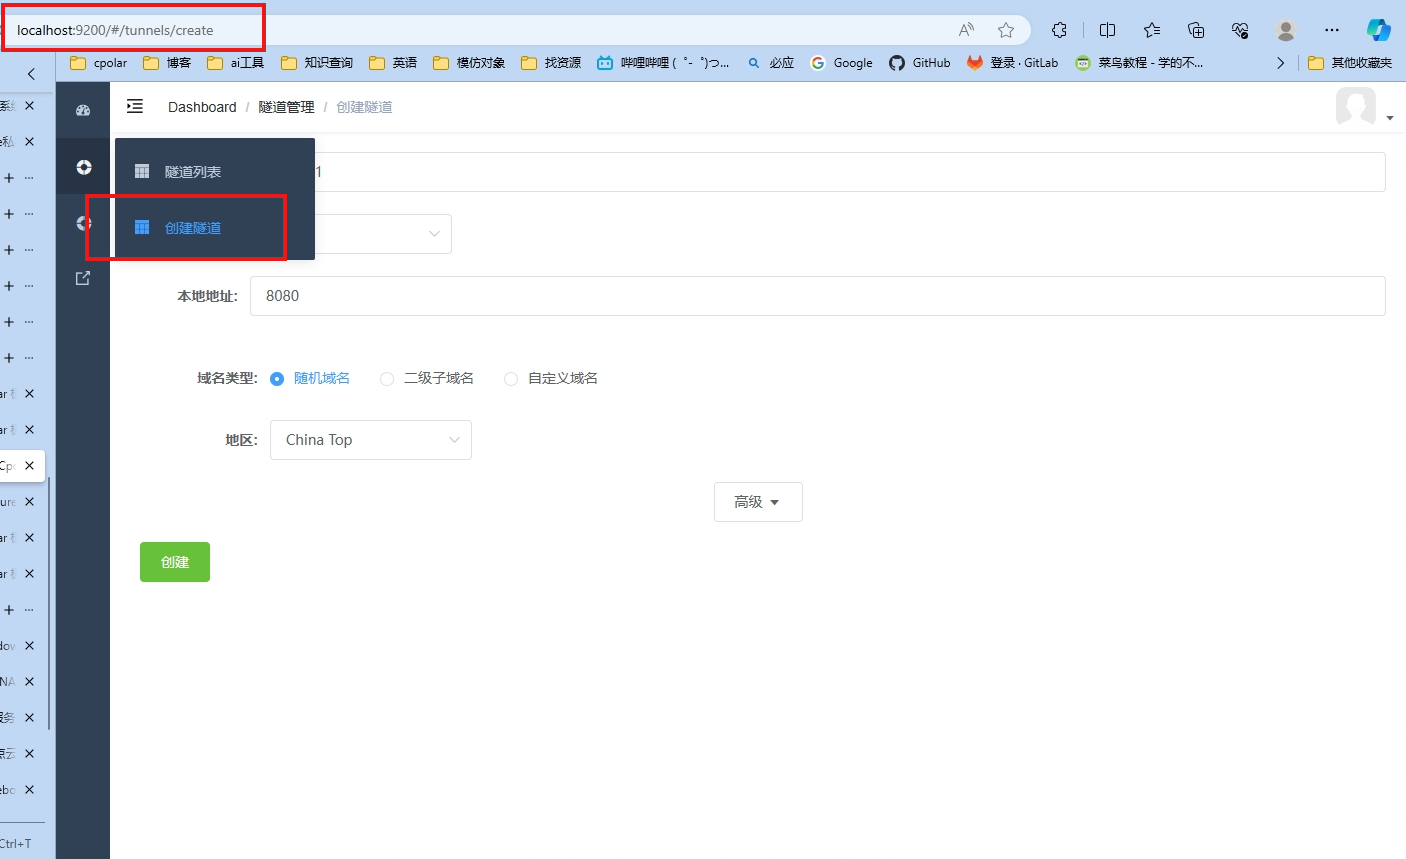
Click - Create Tunnel:
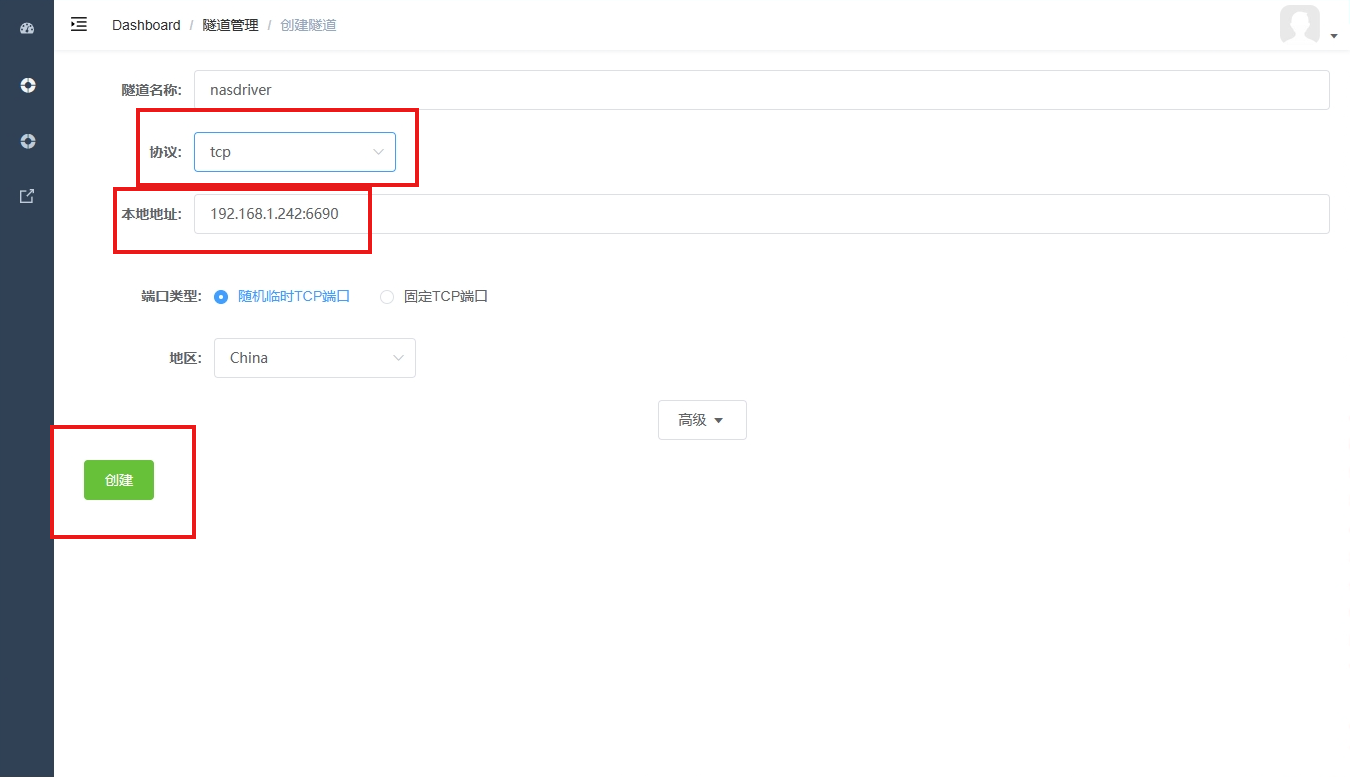
- Tunnel name: You can customize the name. Be careful not to duplicate the existing tunnel name.
- Protocol: select tcp
- Local address: Synology virtual machine/physical Synology LAN IP: 6690 (default port number of Synology Drive)
- Domain name type: random port
- Region: Select China
After the tunnel is successfully created, click Status on the left - Online Tunnel List to view the generated public network access address.

Copy this TCP address: tcp://1.tcp.cpolar.cn:22615
On the other end of the Synology Driver click the edit link
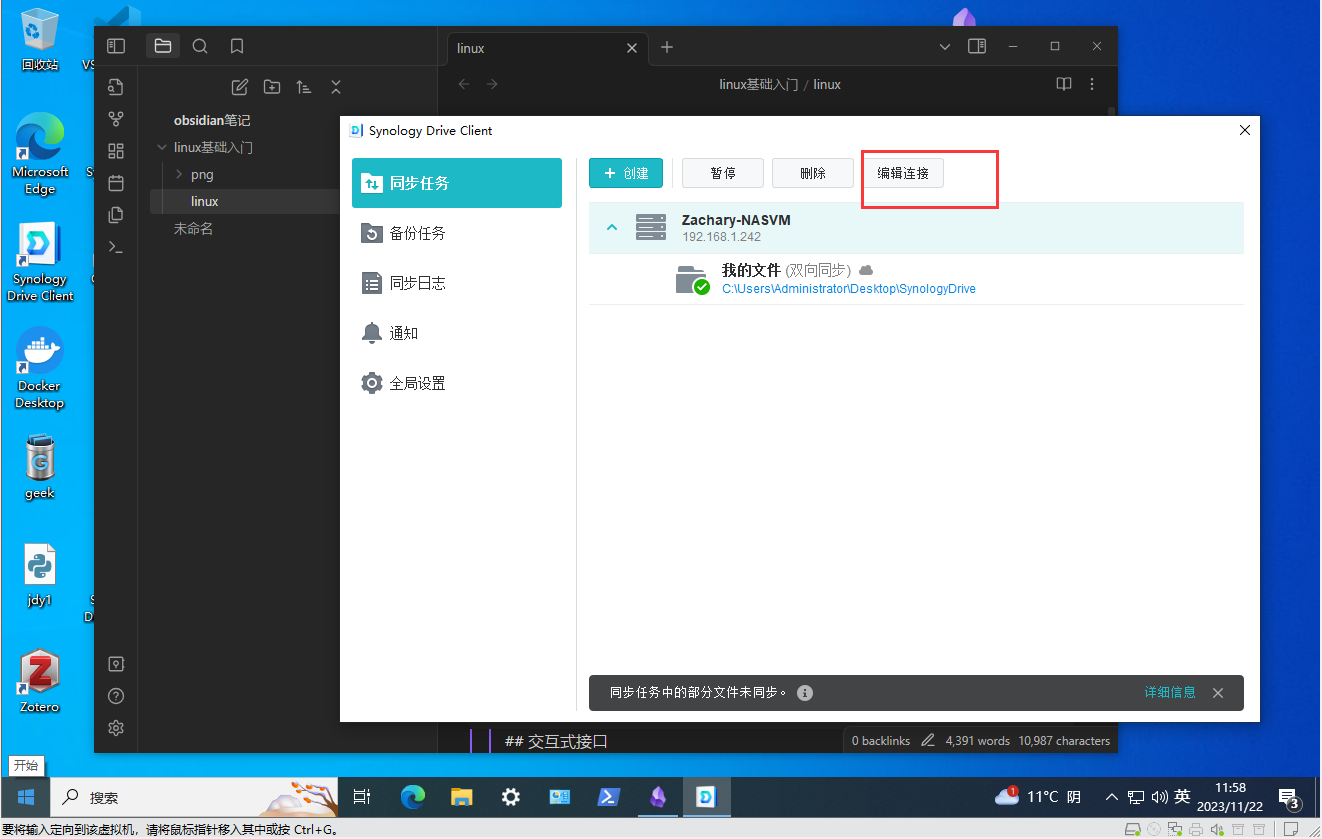
Modify the original LAN NAS address to the public TCP address mapped by Cpolar

Successfully linked, so that we can use this public network link in a remote location to synchronize notes with Synology Drive on the LAN.

4. Realize fixed TCP address synchronization
In order to better demonstrate, we used the tunnel generated by Cpolar in the aforementioned process, and its public network address was randomly generated. For example, 3ad5da5.r10.Cpolar.top . If you log in from another device, you still need to check this address. Moreover, the random domain name still changes 24 hours a day. When you log in the next day, you need to check the newly generated address.
Therefore, I usually configure a fixed TCP address on the official website in advance. It is easier to remember. After the computer is turned on, you can log in and start synchronizing folders without having to reconfigure the address.
Official website control panel, retain TCP:
Cpolar – secure introspectable tunnels to localhost
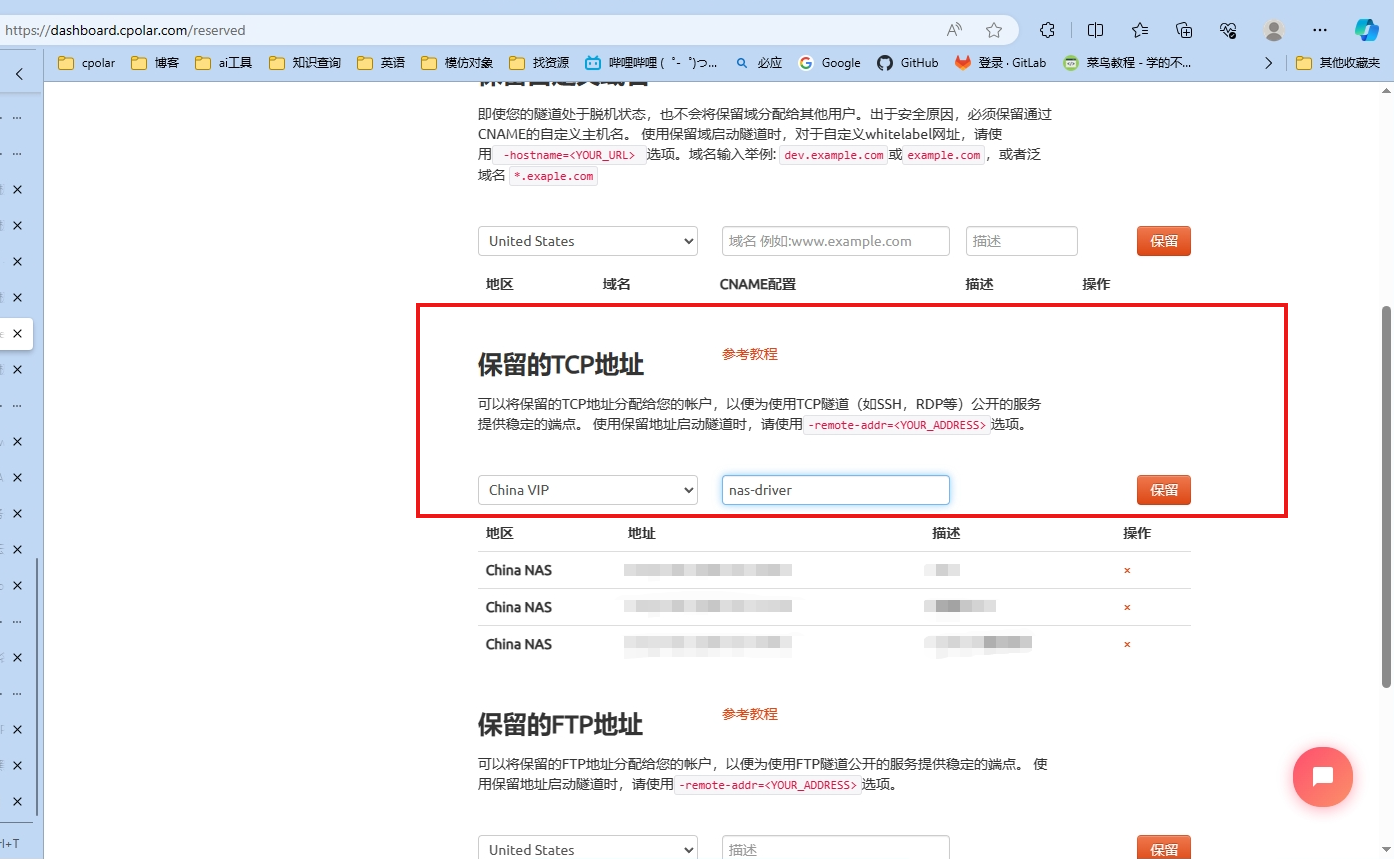
After clicking Save , the generated TCP address is fixed and permanent and does not need to be changed every day.
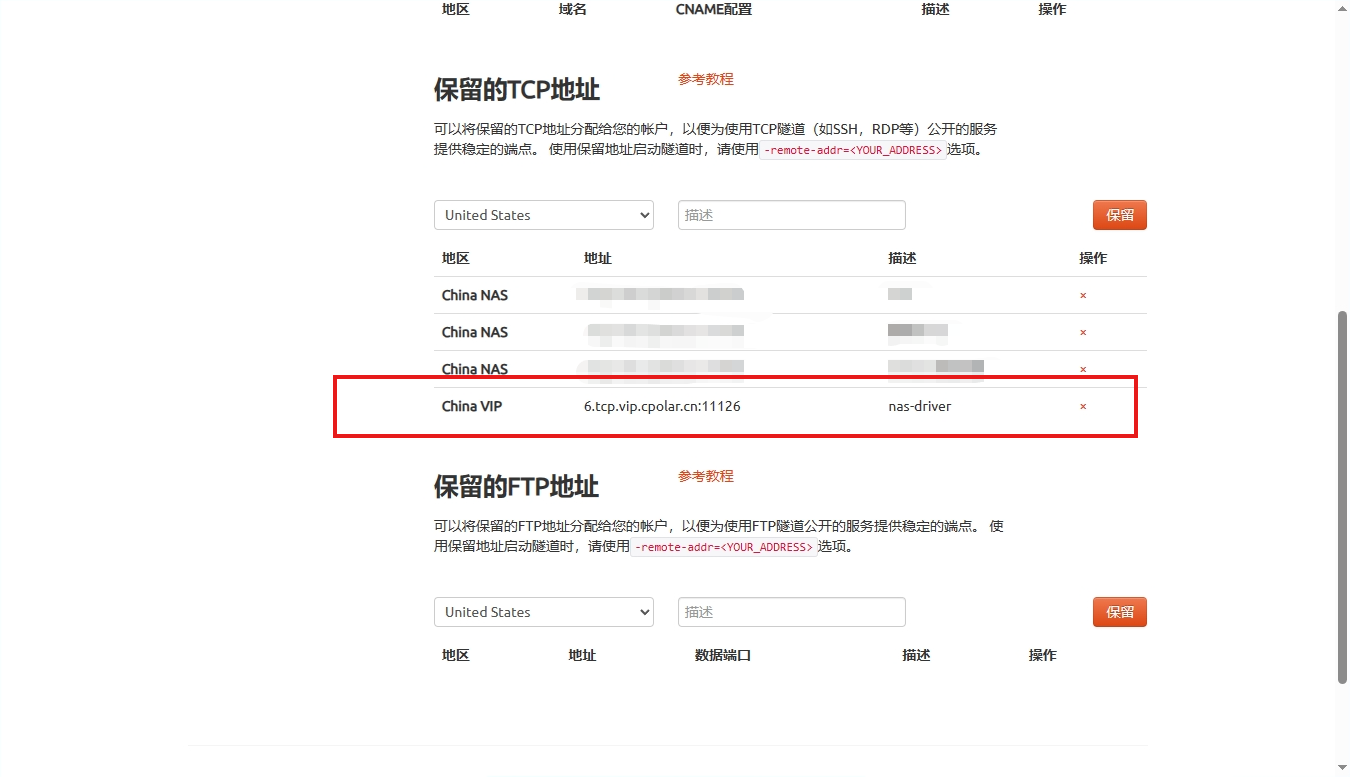
Address: Select China VIP / China VIP Top , remember what you selected, and select the same one for the update tunnel.
Return to the WebUI interface and modify the configuration:
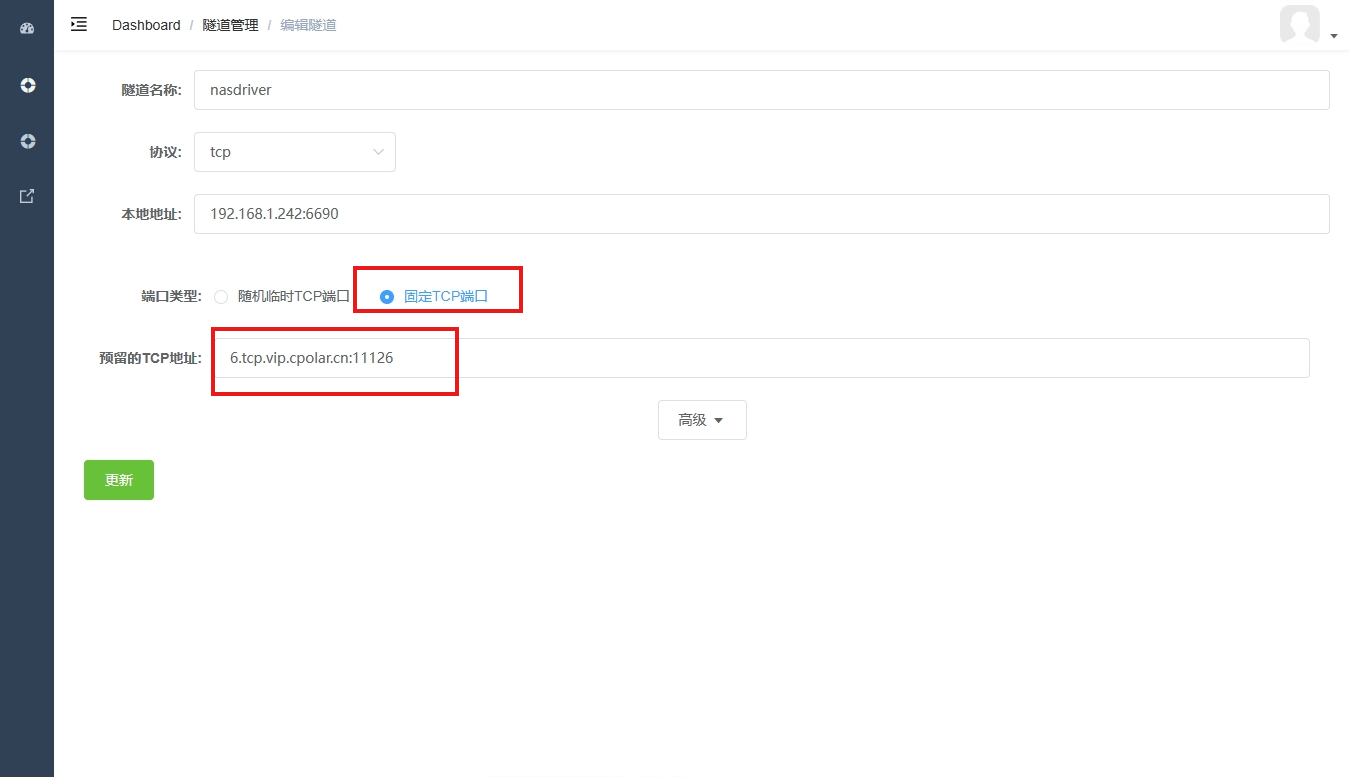
- Tunnel name: You can customize the name. Be careful not to duplicate the existing tunnel name.
- Agreement: unchanged
- Local address: unchanged
- Domain name type: Fixed TCP
- Reserved TCP address: Fill in the address just reserved on the Cpolar official website , so that we can use this address reserved in advance to map the Synology Drive port.
Click更新
After the tunnel is updated, click Status on the left - Online Tunnel List to view the generated fixed public network address.

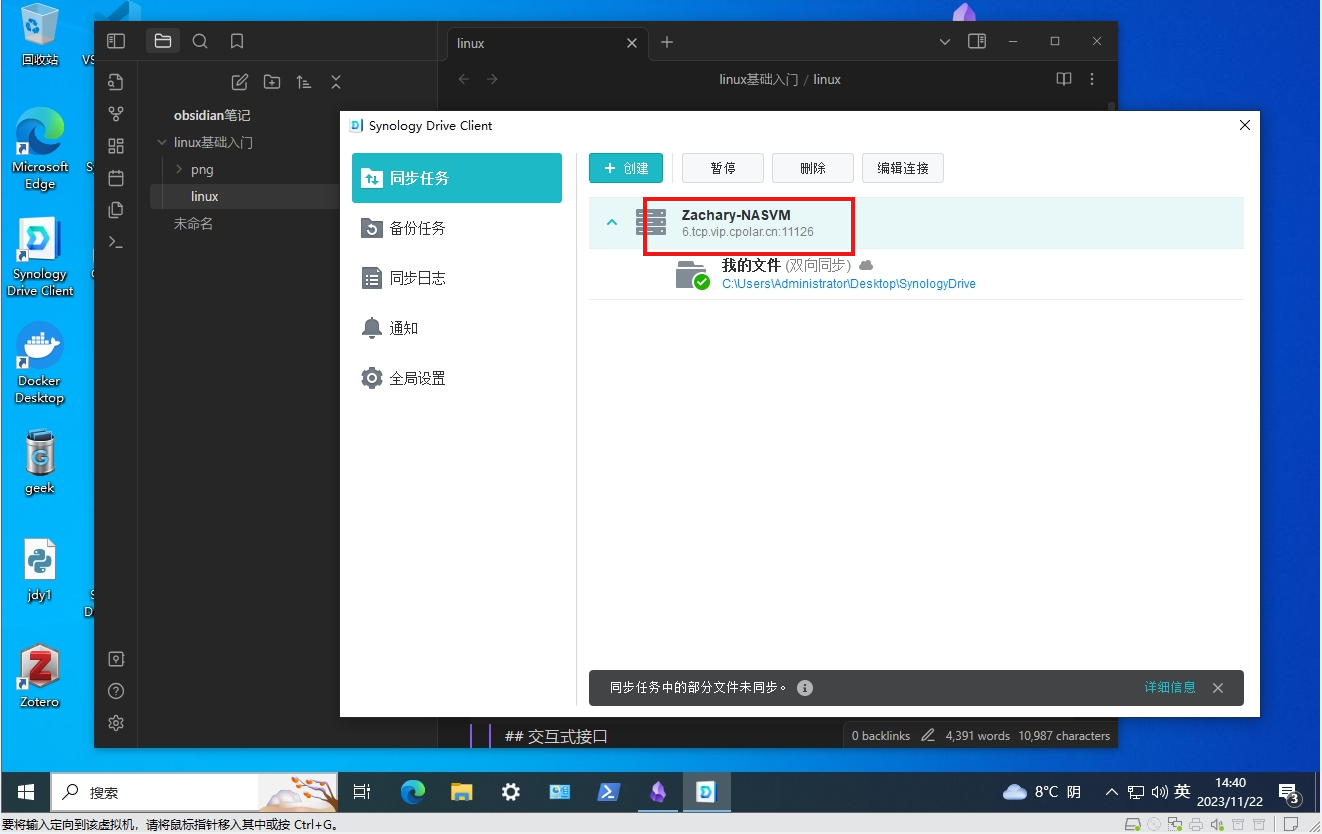
Duplicate parts of my frame, starting with the numbers:
6.tcp.vip.cpolar.cn:11126
The operation is the same as above, but change to a fixed TCP address:
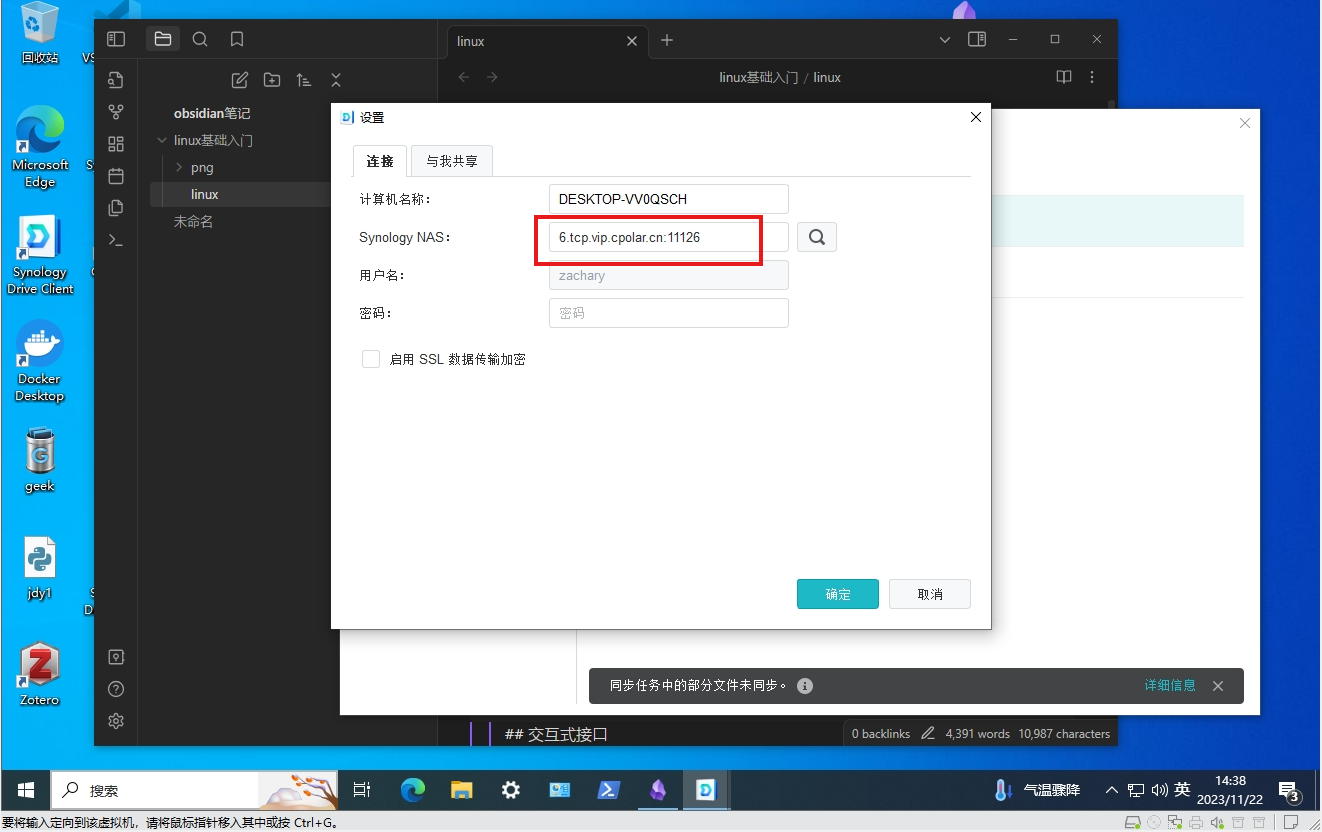
All operations are completed, and there is no need to bother with configuration in the future. When you need to synchronize, open the Synology Drive software and you can synchronize the note folder. Click Pause - Resume to control the synchronization process.
After the operation of this article, we use Synology Drive as the file synchronization server, and use Cpolar to map the port to the public network for remote synchronization. In this way, all our personal notes can be stored locally without uploading to the cloud disk , and there is no need to worry about rogue software. distressed.