Preface
Video editing and restoration are indeed skills that are becoming more and more important as electronics become more popular. There are many video editing tools that can help people easily complete these tasks such as: Adobe Premiere Pro, Final Cut Pro X, Davinci Resolve, HitFilm Express. They all provide some video repair functions, but they are not suitable for users without much professional skills.
As for advanced functions such as video target removal, watermark removal, mask completion, and video expansion, you usually need to use more professional image processing tools, such as Adobe After Effects or Adobe Photoshop, and these tools require a certain learning curve.
ProPainter is an intelligent video repair algorithm developed by the S-Lab team of Nanyang Technological University. ProPainter completes many practical functions such as video target removal, video watermark removal, video mask completion, and video external expansion!
1. Algorithm analysis
1.Project address
Project homepage: https://shangchenzhou.com/projects/ProPainter/Paper
link: https://arxiv.org/abs/2309.03897
Code link: https://github.com/sczhou/ProPainter
Official project effect:
Video target removal/video watermark removal/video mask completion
If the project git or model cannot be downloaded, you can use the resources uploaded by csdn: https://download.csdn.net/download/matt45m/88385370
2. Video repair
Video repair is a task that aims to repair damaged or missing parts of a video by filling in missing areas or removing unwanted content. This field can be divided into two main directions: object removal and object completion.
- Object Removal : This is an important aspect of video repair and is usually used to remove unwanted objects in the video, such as watermarks, unwanted elements or interfering objects. Traditional methods can use texture synthesis techniques, while deep learning methods can achieve object removal by learning how to fill in missing areas.
- Object Inpainting : Object Inpainting is the process of filling in missing areas in a video, usually used to repair damaged video frames or restore damaged parts. This is useful for restoring old movies, repairing corrupted surveillance footage, or working with incomplete video streams.
In video restoration, there are two main algorithmic methods: traditional methods and deep learning methods. Traditional methods rely on texture synthesis techniques, which fill missing areas by copying texture information from surrounding video frames. On the other hand are deep learning methods, which have made significant progress in video restoration. Neural network architectures such as generative adversarial networks (GANs), variational autoencoders (VAEs), and Transformers have been widely used in video restoration tasks. These methods can automatically learn mapping relationships to generate high-quality inpainting results from input videos, making the inpainting process more intelligent.
3. Introduction to algorithm
Stream propagation and spatiotemporal Transformer are the two main mechanisms in video repair tasks. Although they are very useful in video repair, there are still some limitations that have an impact on their performance. Traditional propagation-based methods are usually performed in the image or feature domain, which may lead to spatial misalignment issues due to inaccurate optical flow. Furthermore, memory and computational resource constraints may limit feature propagation and the temporal scope of the video Transformer, thus preventing the exploration of corresponding information for remote frames.
To cope with these limitations, the ProPainter algorithm came into being. The algorithm includes enhanced stream propagation and efficient Transformer components to improve video repair performance. The ProPainter algorithm consists of three components:
Cyclic Flow Completion : First, ProPainter uses an efficient cyclic flow completion network to repair the damaged optical flow field. This helps deal with inaccuracies in optical flow information and ensures that accurate flow field information is available in video restoration.
Bimodal Propagation : Next, propagation is performed in the image and feature domains, and these two domains are jointly trained. This approach allows the algorithm to explore correspondences from global and local time frames, providing more reliable and efficient propagation. This joint domain propagation helps to better understand and repair the content in the video.
Mask-Guided Sparse Transformer : Finally, ProPainter introduces the Mask-Guided Sparse Transformer block to optimize feature propagation. These blocks use spatiotemporal attention to optimize propagated features and employ a sparse strategy that only considers a subset of tokens. This is done to improve the efficiency of the algorithm and reduce memory consumption while maintaining high performance levels.
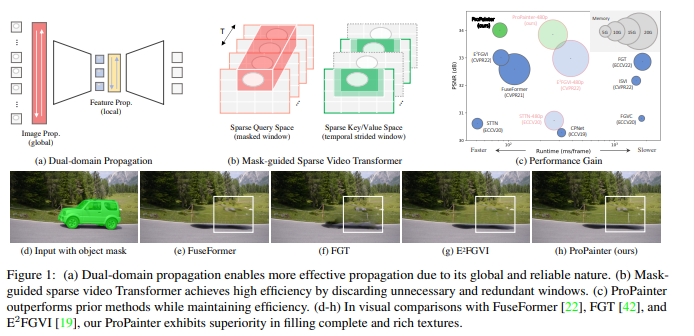
From the paper, we can know that these figures describe the key advantages and performance of the ProPainter algorithm. Here is a brief explanation of each figure:
- Figure (a) illustrates the advantages of dual-domain propagation because it is global and reliable, enabling more effective information dissemination. This shows that the ProPainter algorithm has advantages in exploiting the joint propagation of image and feature domains.
- Figure (b) shows how the mask-guided sparse video converter improves the processing efficiency of the algorithm by discarding unnecessary and redundant windows. This means that the ProPainter algorithm is more efficient in terms of resource utilization.
- © The figure shows the high performance of the ProPainter algorithm on the PSNR metric, while also showing the short running time. This shows that ProPainter is able to speed up the repair process while maintaining high-quality repairs.
- Figure (dh) shows the results of a visual comparison of the ProPainter algorithm with other methods (FuseFormer, FGT and E2FGVI). These comparisons show that ProPainter excels in filling complete and rich textures, demonstrating its superior performance in video repair tasks.
4. Algorithm processing flow

From the paper, you can see the workflow of the ProPainter algorithm:
- Circular flow completion network: ProPainter first uses an efficient circular flow completion network to repair the damaged optical flow field. This helps ensure that accurate flow field information is available in video restoration to better understand the motion between video frames.
- Image and feature domain propagation: Next, ProPainter propagates in the image and feature domains, which are jointly trained. This approach allows algorithms to explore correspondences from global and local time frames to achieve more reliable and efficient information dissemination.
- Encoder encoder and local Feature Prop: By sending the output image after the image propagation operation to the Encoder encoder, ProPainter obtains the local Feature Prop. This helps further process and optimize the propagated features.
- Mask-guided sparse Transformer block: Finally, ProPainter uses a mask-guided sparse Transformer block to fine-tune the propagated features. These blocks use spatiotemporal attention for optimization and adopt a sparse strategy that only considers a specific subset. This helps improve the efficiency of the algorithm and reduce memory consumption while maintaining high performance levels.
2. Project deployment
1. Deployment environment
The system I tested and deployed here is win 10, cuda 11.8, cudnn 8.5, the GPU is RTX 3060, 8G video memory, and conda is used to create a virtual environment.
Official environment configuration:
CUDA >= 9.2
PyTorch >= 1.7.1
Torchvision >= 0.8.2
Create and activate a virtual environment:
conda create -n ProPainter python==3.8
activate ProPainter
Download project:
git clone https://github.com/sczhou/ProPainter.git
In order to avoid the problem of incompatibility between Pytorch and GPU, install torch separately here:
conda install pytorch2.0.0 torchvision0.15.0 torchaudio==2.0.0 pytorch-cuda=11.8 -c pytorch -c nvidia
pip install -r requirements.txt
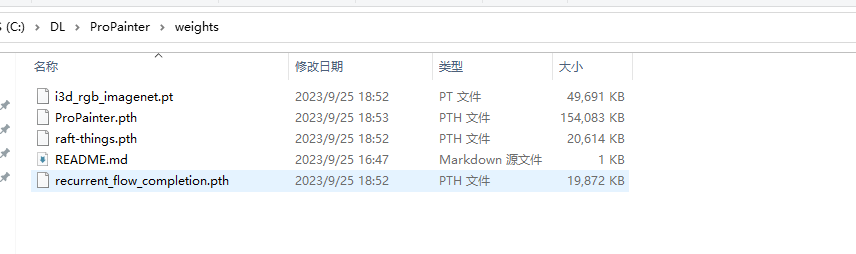
Model download:
https://github.com/sczhou/ProPainter/releases/tag/v0.1.0
After downloading, put it into the project:
2. Target removal
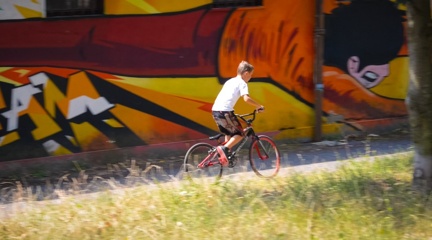
From the official test, you can see that the official split the video into frame-by-frame images, plus the mask image to remove the target. The format is as follows: The
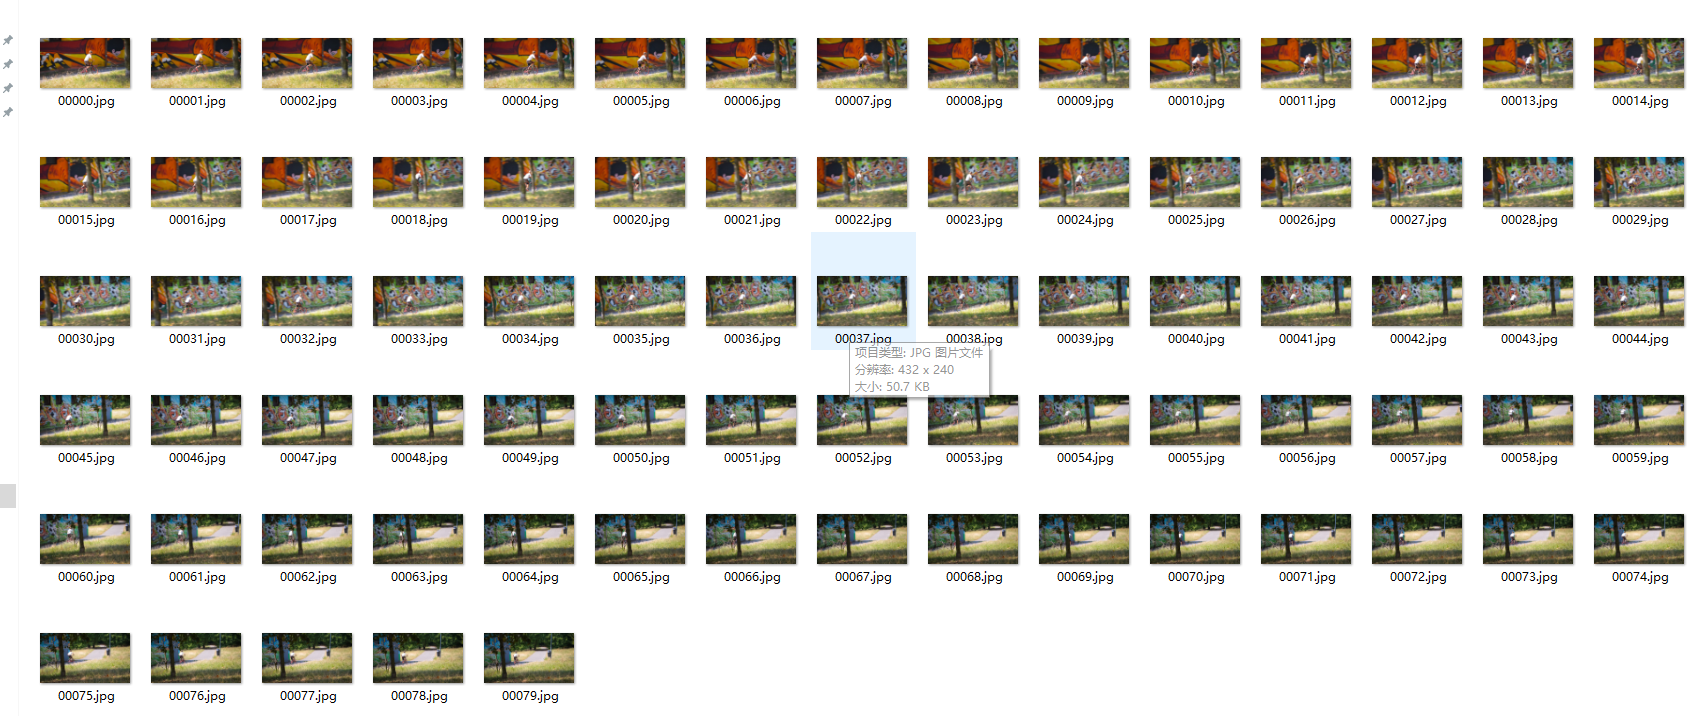
single image is as follows:
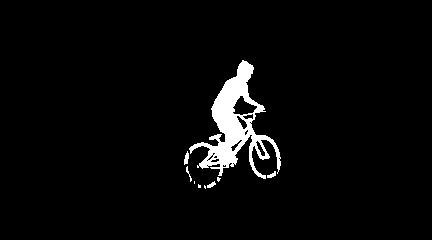
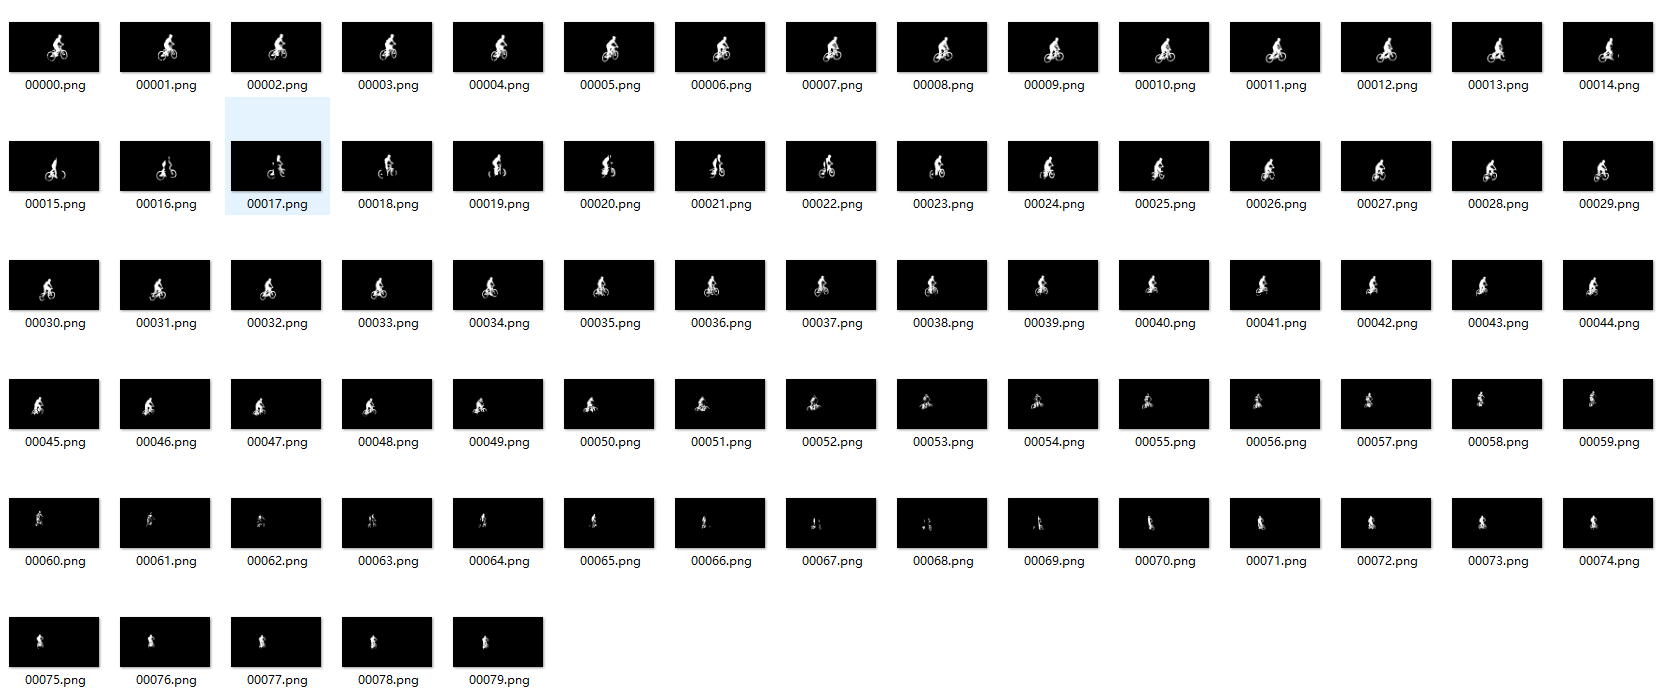
This step can be completed with the help of the Segment-and-Track Anything algorithm Regarding the use and environment deployment of Segment-and-Track Anything, you can read my previous blog . Whether the image transferred by Segment-and-Track Anything is a black and white mask image, you can use the following code to convert it:
Then change the mask into black and white
import os
import numpy as np
import cv2
from glob import glob
from tqdm import tqdm

root_dir = 'xxx/xxxx/data/'
name = 'tao'

msk_folder = f'{

      root_dir}/{

      name}/{

      name}_masks'
img_folder = f'{

      root_dir}/{

      name}/{

      name}'
frg_mask_folder = f'{

      root_dir}/{

      name}/{

      name}_masks_0'
bkg_mask_folder = f'{

      root_dir}/{

      name}/{

      name}_masks_1'
os.makedirs(frg_mask_folder, exist_ok=True)
os.makedirs(bkg_mask_folder, exist_ok=True)

files = glob(msk_folder + '/*.png')
num = len(files)

for i in tqdm(range(num)):
    file_n = os.path.basename(files[i])
    mask = cv2.imread(os.path.join(msk_folder, file_n), 0)
    mask[mask > 0] = 1
    cv2.imwrite(os.path.join(frg_mask_folder, file_n), mask * 255)

    bg_mask = mask.copy()
    bg_mask[bg_mask == 0] = 127
    bg_mask[bg_mask == 255] = 0
    bg_mask[bg_mask == 127] = 255
    cv2.imwrite(os.path.join(bkg_mask_folder, file_n), bg_mask)
Then execute the test code:
python inference_propainter.py --video inputs/object_removal/bmx-trees --mask inputs/object_removal/bmx-trees_mask
If the image is too large and memory explodes, specify the compression size:
python inference_propainter.py --video inputs/object_removal/bmx-trees --mask inputs/object_removal/bmx-trees_mask --height 240 --width 432
Video watermark removal
Segment the mask image of the watermark position. This step can be completed using the Segment Anything project:
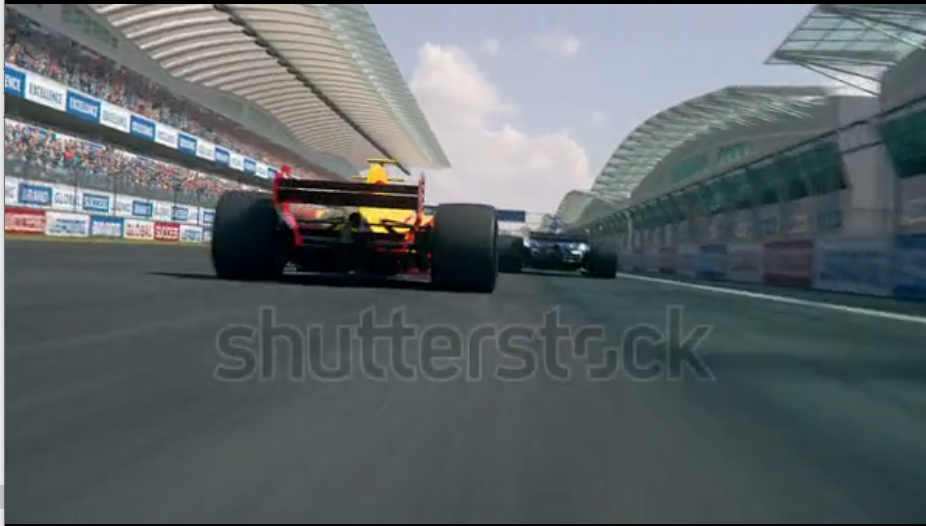

Then execute:
python inference_propainter.py --video inputs/video_completion/running_car.mp4 --mask inputs/video_completion/mask_square.png --height 240 --width 432
Test results:
Video target movement and watermark removal