Welcome to the Introductory Photoshop tutorials, where you'll learn the basic tools and techniques of Photoshop. I'll introduce you to the Photoshop workspace and show you how to use it to zoom and pan an image.
Learn how to zoom and pan images
Change the view of the image.
When working with images in Photoshop, it is often necessary to zoom and pan the image, so let's learn how to use the zoom and pan controls.
Open this exercise file, or open a large-scale image of your own. Zooming refers to changing the magnification of an image, just like using a telescope to look at something, you may want to zoom in on the image to see a certain part of the image, or zoom out to see more of the content on the screen.

The most direct way to zoom is to use the zoom tool. It's at the bottom of the tools panel, after selecting the zoom tool here, go to the options bar and there you'll see a plus icon that zooms in on the image. There is also a minus icon, which is used to shrink the image.
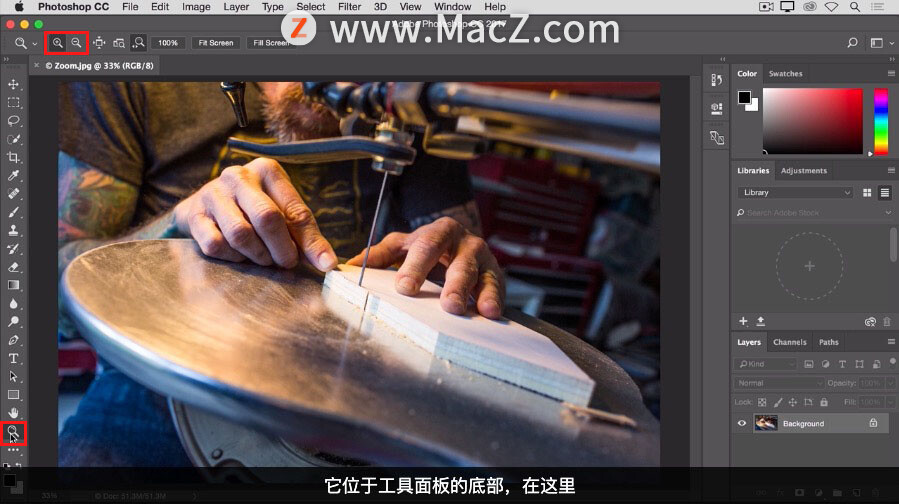
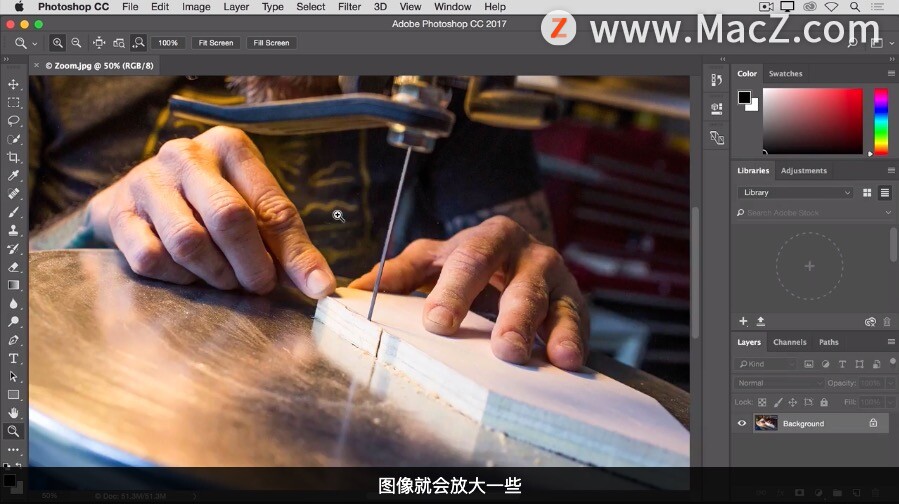
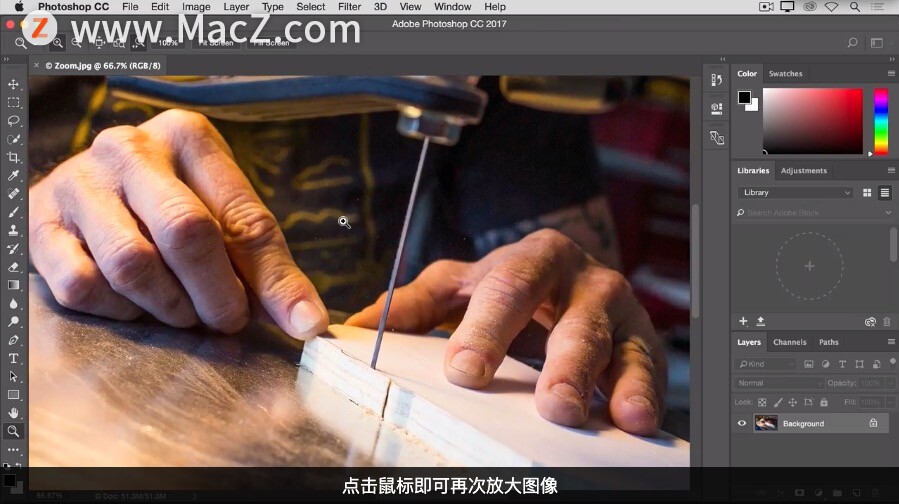
Let's first look at the zoom mode, which is also the default setting. Move the mouse over the image and click the mouse. Each time the mouse is clicked, the image will be enlarged a little bit.
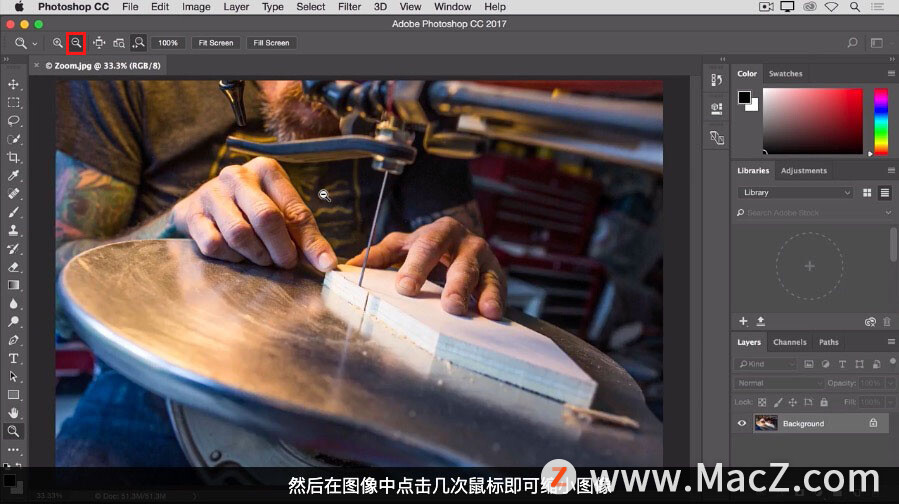
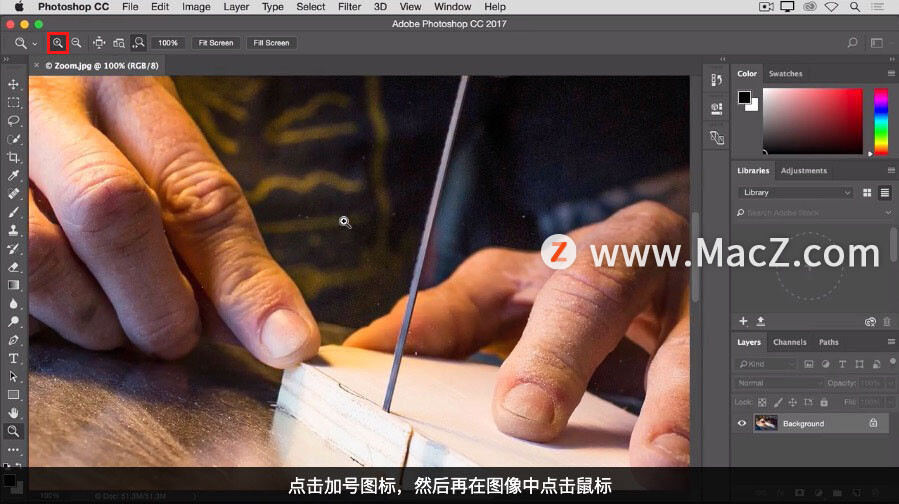
If you want to return to the previous size, you can go back to the options bar, select the minus icon, and click a few times in the image to shrink the image. If you want to zoom in again, you need to go back to the options bar, click the plus icon, and then click the mouse in the image.
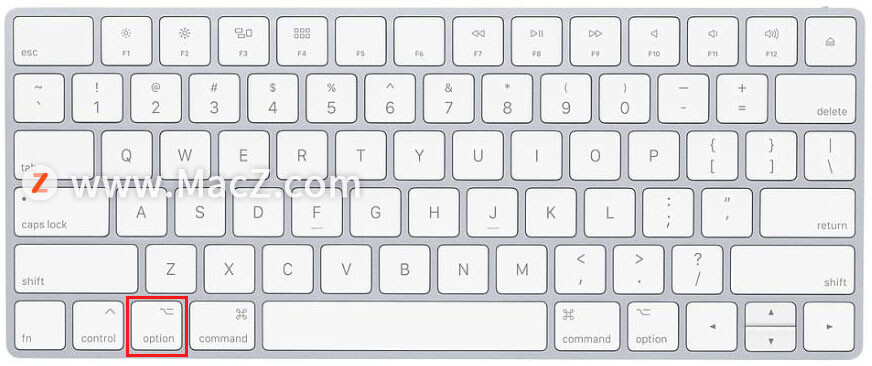
You may be tired of going to the options bar every time you switch between zoom in and zoom out modes, there is a shortcut to help you. When in zoom-in mode, you can switch to zoom-out mode by holding down the Option key on the keyboard, hold down the Option key and click the mouse in the image, so that the image will zoom out. Release the Option key to return to zoom mode, and click the mouse to zoom in on the image again.

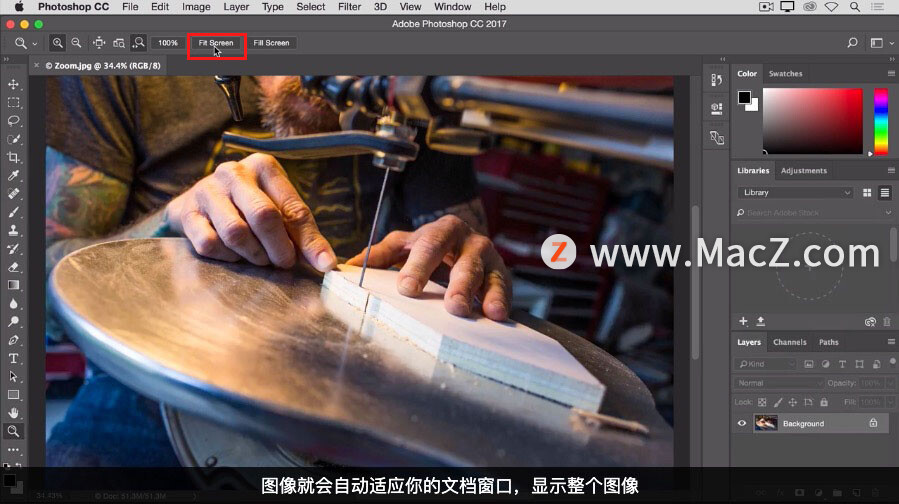
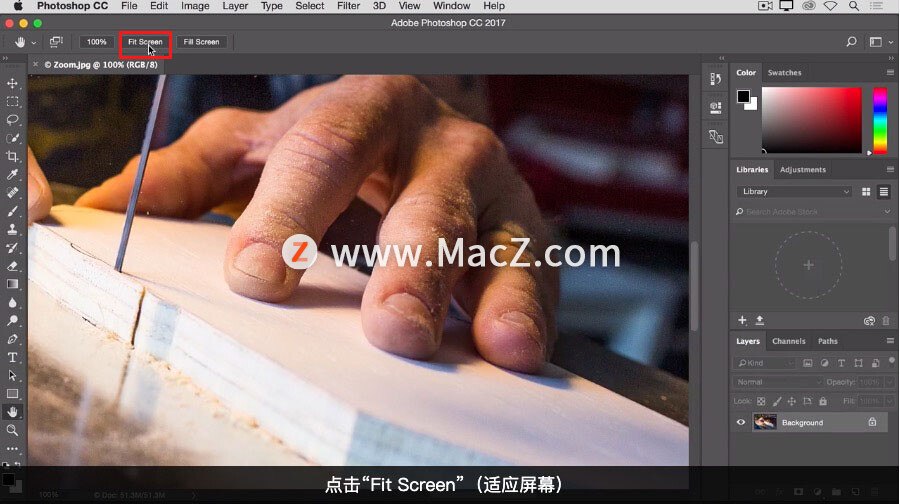
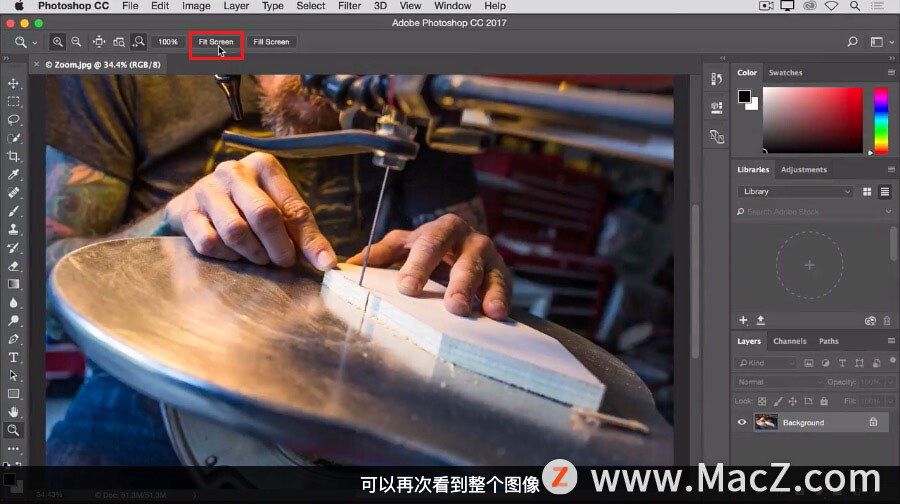
The zoom tool has several options in the options bar that you can use to quickly apply the zoom levels you use most often. For example, the "Fit Screen" (adapt to the screen) option located at this position in the options bar. This option is very useful when you zoom in on the image and want to see the entire image again. Just click the "Fit Screen" (adapt to the screen) option, The image will automatically fit in your document window, displaying the entire image.
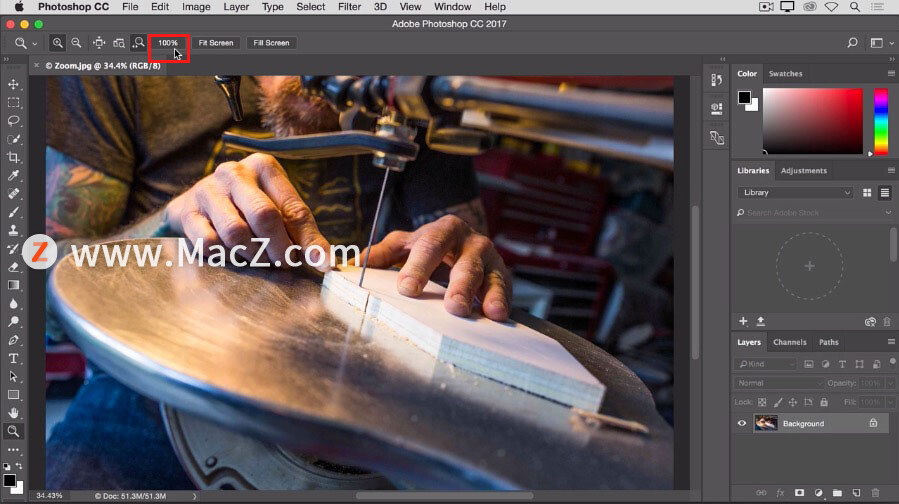
Another very useful option is this 100% option. Clicking this option will automatically enlarge the image by 100%. This is the best way to check the image clarity.
I have a small screen and the image is very large so when I zoom in to 100% I can't see the whole image on the screen. But if you have a larger monitor, you won't have this problem.

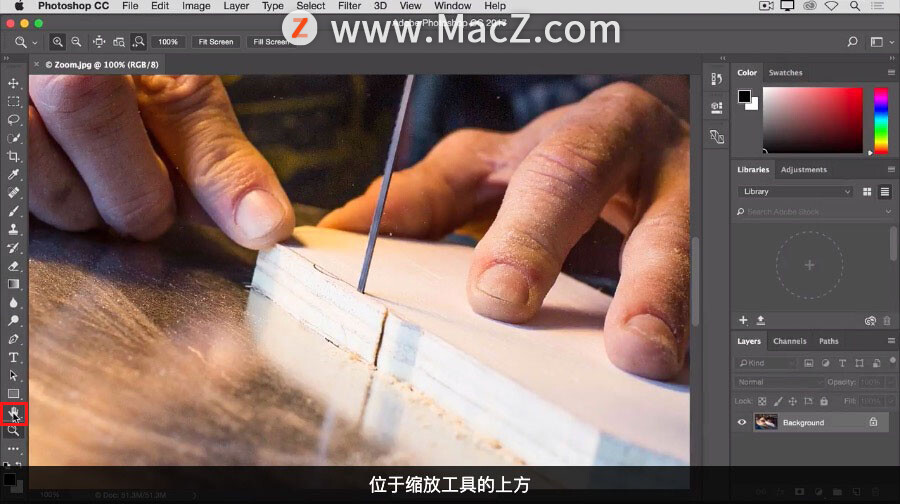
If I want to see a different part of the image at this zoom level, I need to move the image around in the document window, which is panning. This requires the use of another tool, the hand tool. I now go back to the tools panel and select the hand tool, above the scale tool.
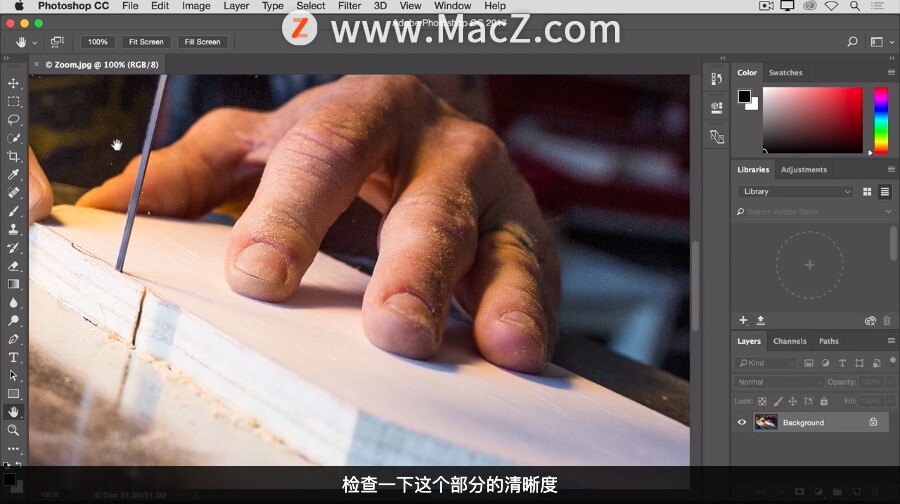
I then move the mouse over the image, notice my mouse is now a hand icon, click and drag the image, move the image where I need it, and release the mouse.

Checking the clarity of this part, now I want to revisit the whole image, in the options bar of the hand tool I can see the same "Fit Screen" option as the zoom tool.
Click "Fit Screen" so you can see the entire image again.
Now I will show another zoom method, instead of clicking the mouse constantly, you can zoom continuously by holding down the mouse on the image. Go back to the tools panel, select the zoom tool and click and hold the mouse in the image, so that the image will continue to zoom in and out.

If you zoom in to this extent, you can see the pixels in the image. Pixels are the building blocks of images in Photoshop. The size of pixels will affect the quality of printed images, so image resolution is a very important parameter.
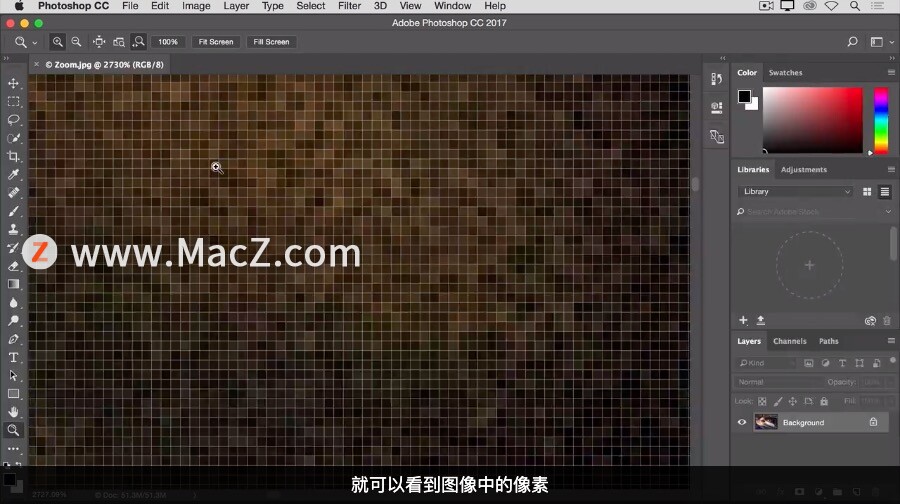
Especially for printing, I will introduce this in detail in the content of resizing images. Now click "Fit Screen" in the options bar to see the entire image again.
If you are using other tools, such as the brush tool, to paint a small area of the image, you don't want to switch from the brush tool to the zoom tool just to scale the image.
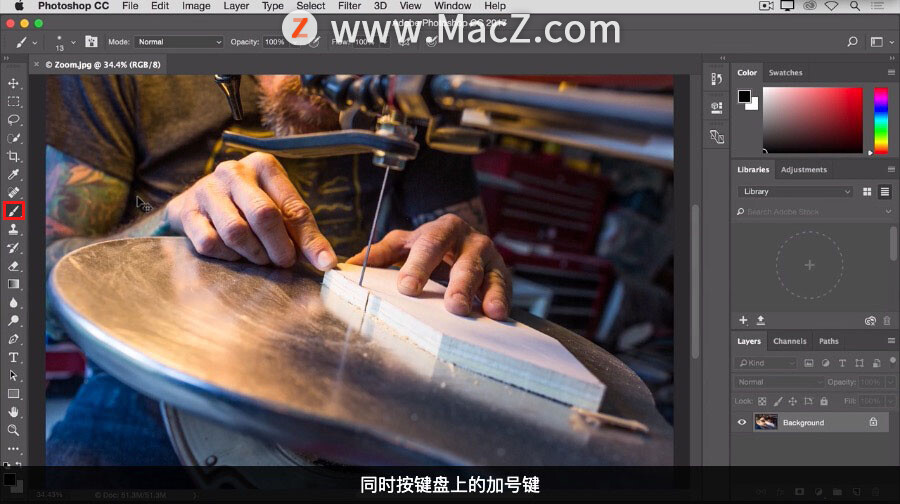
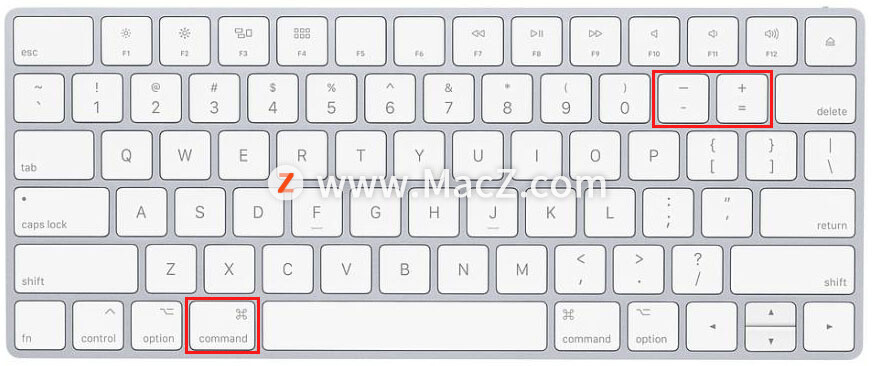
Then there is a shortcut that can replace the zoom tool, and that is to hold down the Command key while pressing the plus key on the keyboard. Each time you press it, you can zoom in a bit. If you want to shrink the image, you can hold down the Command key and press the minus key on your keyboard, which will make the image smaller.
Zoom and pan the image
The zoom tool is located in the tools panel. Toggle zoom in and zoom out modes in the options bar.
Also located in the Tools panel is the Hand tool, which allows you to pan around larger or zoomed-in images.
The above is the method of zooming and panning images in Photoshop shared by Xiaobian today