Android TV 开发与一般Android开发最大的区别在于焦点控制 , 用户在使用Android TV设备主要是通过遥控器操作app。焦点就是让用户知道的直接交互行为。
方式一:在xml文件中控制焦点走向
主要是几个属性的使用:
focusable:一个控件是否能够获取聚焦

nextFocusRight:按右键要走到的控件ID

nextFocusLeft:按左键要走到的控件ID

nextFocusUp:按上键要走到的控件ID

nextFocusDown:按下键要走到的控件ID

requestFocus:前提是focusable为true,强制设置获取焦点
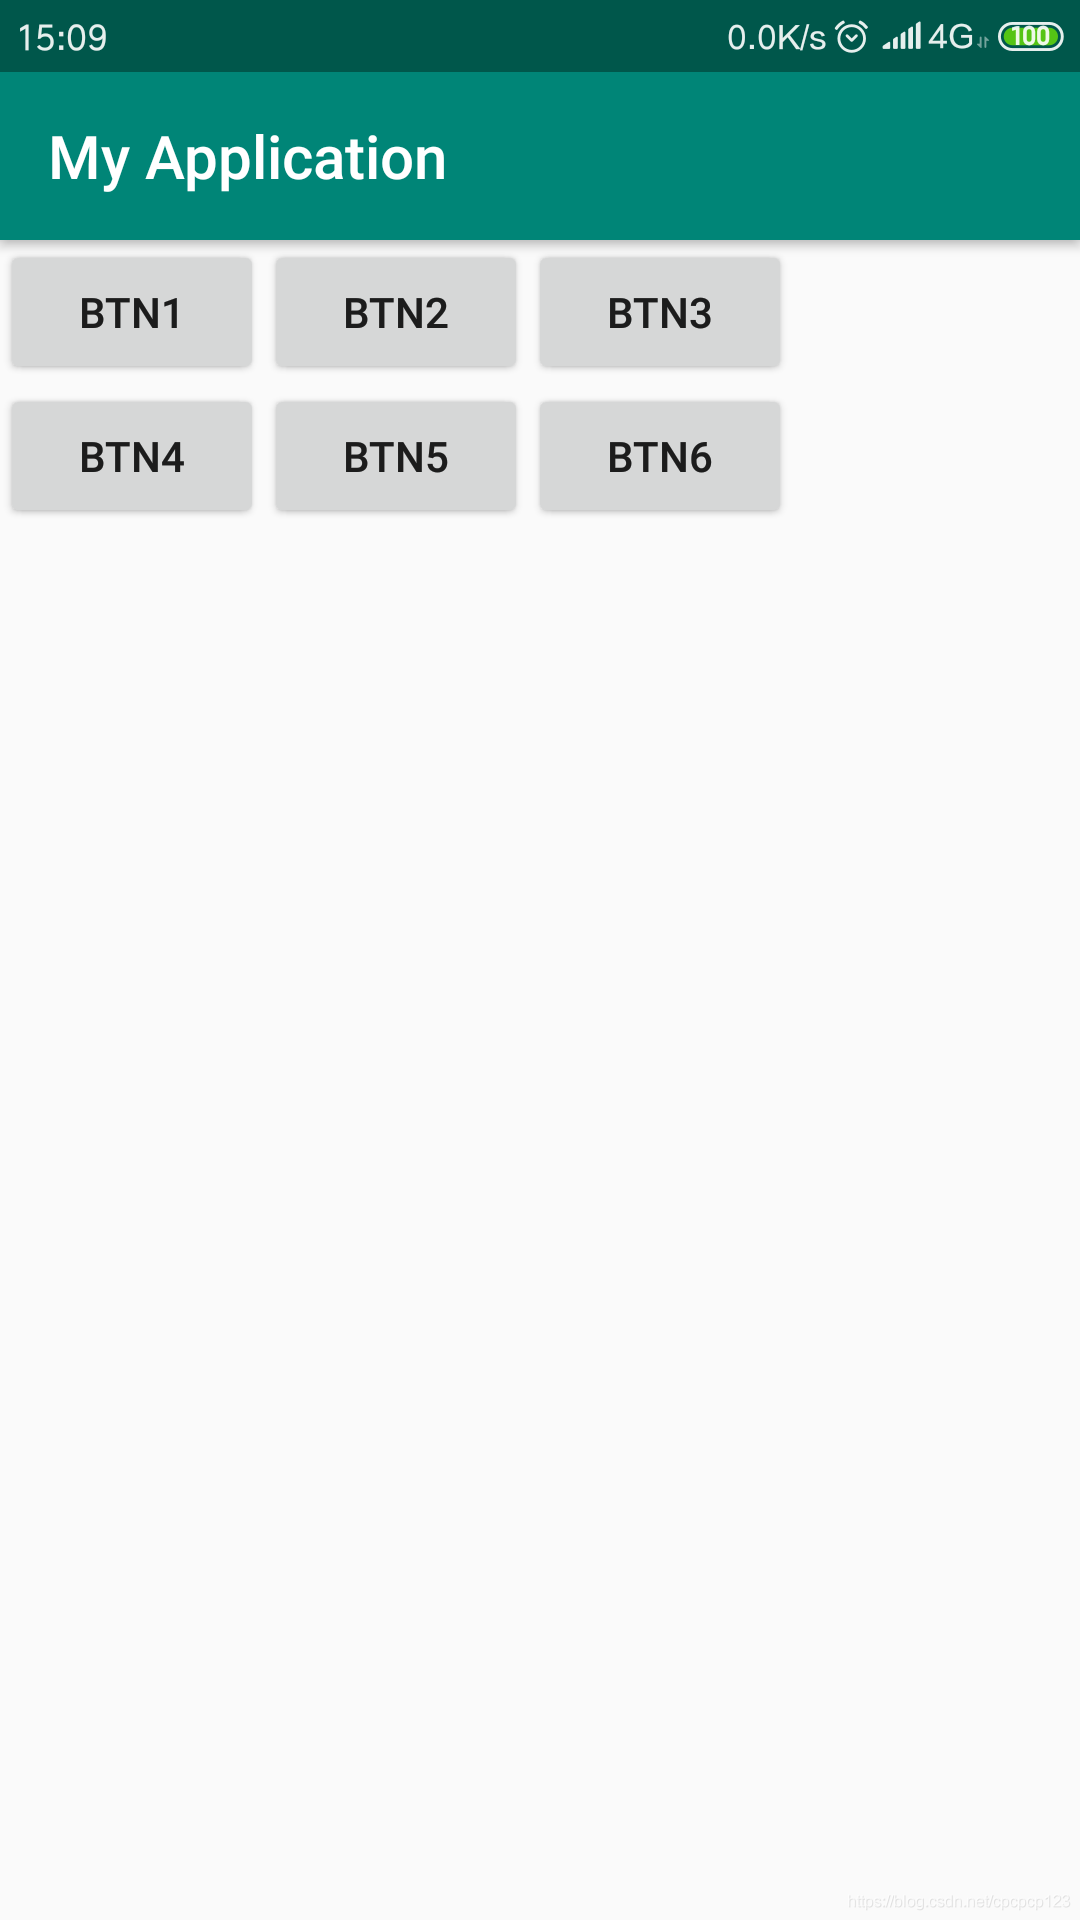
实验代码非常简单,六个按钮,来试验下焦点获取:
代码如下:
<?xml version="1.0" encoding="utf-8"?>
<RelativeLayout xmlns:android="http://schemas.android.com/apk/res/android"
    xmlns:app="http://schemas.android.com/apk/res-auto"
    xmlns:tools="http://schemas.android.com/tools"
    android:layout_width="match_parent"
    android:layout_height="match_parent">

    <Button
        android:id="@+id/btn1"
        android:layout_width="wrap_content"
        android:layout_height="wrap_content"
        android:focusable="true"
        android:nextFocusRight="@id/btn2"
        android:nextFocusDown="@id/btn4"
        android:text="btn1" />

    <Button
        android:id="@+id/btn2"
        android:layout_width="wrap_content"
        android:layout_height="wrap_content"
        android:layout_toRightOf="@id/btn1"
        android:nextFocusLeft="@id/btn1"
        android:nextFocusRight="@id/btn3"
        android:nextFocusDown="@id/btn5"
        android:text="btn2" />

    <Button
        android:id="@+id/btn3"
        android:layout_width="wrap_content"
        android:layout_height="wrap_content"
        android:layout_toRightOf="@id/btn2"
        android:nextFocusLeft="@id/btn2"
        android:nextFocusDown="@id/btn6"
        android:nextFocusRight="@id/btn4"
        android:text="btn3" />

    <Button
        android:id="@+id/btn4"
        android:layout_width="wrap_content"
        android:layout_height="wrap_content"
        android:layout_below="@id/btn1"
        android:nextFocusRight="@id/btn5"
        android:nextFocusUp="@id/btn1"
        android:nextFocusLeft="@id/btn3"
        android:text="btn4" />

    <Button
        android:id="@+id/btn5"
        android:layout_width="wrap_content"
        android:layout_height="wrap_content"
        android:layout_below="@id/btn1"
        android:layout_toRightOf="@id/btn4"
        android:nextFocusLeft="@id/btn4"
        android:nextFocusRight="@id/btn6"
        android:nextFocusUp="@id/btn2"
        android:text="btn5" />

    <Button
        android:id="@+id/btn6"
        android:layout_width="wrap_content"
        android:layout_height="wrap_content"
        android:layout_below="@id/btn3"
        android:layout_toRightOf="@id/btn5"
        android:nextFocusLeft="@id/btn5"
        android:nextFocusUp="@id/btn3"
        android:text="btn6" />

</RelativeLayout>
正常来说第一行的btn3点击右键是无法定位到btn4的按钮上,但是在xml中我们设置了
android:nextFocusLeft="@id/btn2"
android:nextFocusDown="@id/btn6"
android:nextFocusRight="@id/btn4"
这三个属性,使得btn3在按下键时移动到btn6,在按右键时焦点移动到btn4,这样就完成了焦点移动的控制。当然,也可以使用Java代码控制。
方式二:在Java中控制焦点走向
我们要监控按钮的焦点,其实和我们监控按钮的点击事件一样,需要实现几个listener,例如焦点的
OnFocusChangeListener、按键的OnKeyListener
例如我们想控制btn3的按键右边为btn4,那么需要设置
btn3.setNextFocusRightId(btn4.getId());即可
整体代码如下:
import androidx.appcompat.app.AppCompatActivity;
import android.os.Bundle;
import android.view.KeyEvent;
import android.view.View;
import android.view.animation.ScaleAnimation;
import android.widget.Button;
import android.widget.Toast;

public class MainActivity extends AppCompatActivity implements
        View.OnClickListener, View.OnFocusChangeListener, View.OnKeyListener {

    Button btn1;
    Button btn2;
    Button btn3;
    Button btn4;
    Button btn5;
    Button btn6;

    @Override
    protected void onCreate(Bundle savedInstanceState) {
        super.onCreate(savedInstanceState);
        setContentView(R.layout.activity_main);

        btn1 = findViewById(R.id.btn1);
        btn2 = findViewById(R.id.btn2);
        btn3 = findViewById(R.id.btn3);
        btn4 = findViewById(R.id.btn4);
        btn5 = findViewById(R.id.btn5);
        btn6 = findViewById(R.id.btn6);

        btn1.setOnClickListener(this);
        btn2.setOnClickListener(this);
        btn3.setOnClickListener(this);
        btn4.setOnClickListener(this);
        btn5.setOnClickListener(this);
        btn6.setOnClickListener(this);

        btn3.setNextFocusRightId(btn4.getId());
        btn4.setNextFocusLeftId(btn3.getId());

        btn3.setOnFocusChangeListener(this);
        btn4.setOnFocusChangeListener(this);

        btn1.setOnKeyListener(this);
        btn6.setOnKeyListener(this);

    }

    @Override
    public void onClick(View v) {
        int id = v.getId();
        if (id == R.id.btn1) {
            Toast.makeText(this, "btn1 click", Toast.LENGTH_SHORT).show();
        }
    }

    @Override
    public void onFocusChange(View v, boolean hasFocus) {
        ScaleAnimation animation = new ScaleAnimation(1, 1.5f, 1, 1.5f);
        animation.setDuration(500);
        if (hasFocus) {
            v.startAnimation(animation);
        }
    }

    @Override
    public boolean onKey(View v, int keyCode, KeyEvent event) {
        if (event.getAction() == KeyEvent.ACTION_DOWN) {
            int id = v.getId();
            if (id == R.id.btn1) {
                switch (keyCode) {
                    case KeyEvent.KEYCODE_DPAD_LEFT:
                        Toast.makeText(this, "btn1 无法向左", Toast.LENGTH_SHORT).show();
                        break;
                    default:
                        break;
                }
            } else if (id == R.id.btn6) {
                switch (keyCode) {
                    case KeyEvent.KEYCODE_DPAD_RIGHT:
                        Toast.makeText(this, "btn6 无法向右", Toast.LENGTH_SHORT).show();
                        break;
                    default:
                        break;
                }
            }
        }
        return false;
    }
}
对应的xml布局文件:
<?xml version="1.0" encoding="utf-8"?>
<RelativeLayout xmlns:android="http://schemas.android.com/apk/res/android"
    xmlns:app="http://schemas.android.com/apk/res-auto"
    xmlns:tools="http://schemas.android.com/tools"
    android:layout_width="match_parent"
    android:layout_height="match_parent">

    <Button
        android:id="@+id/btn1"
        android:layout_width="wrap_content"
        android:layout_height="wrap_content"
        android:focusable="true"
        android:text="btn1" />

    <Button
        android:id="@+id/btn2"
        android:layout_width="wrap_content"
        android:layout_height="wrap_content"
        android:layout_toRightOf="@id/btn1"
        android:focusable="true"
        android:text="btn2" />

    <Button
        android:id="@+id/btn3"
        android:layout_width="wrap_content"
        android:layout_height="wrap_content"
        android:layout_toRightOf="@id/btn2"
        android:focusable="true"
        android:text="btn3" />

    <Button
        android:id="@+id/btn4"
        android:layout_width="wrap_content"
        android:layout_height="wrap_content"
        android:layout_below="@id/btn1"
        android:focusable="true"
        android:text="btn4" />

    <Button
        android:id="@+id/btn5"
        android:layout_width="wrap_content"
        android:layout_height="wrap_content"
        android:layout_below="@id/btn1"
        android:layout_toRightOf="@id/btn4"
        android:focusable="true"
        android:text="btn5" />

    <Button
        android:id="@+id/btn6"
        android:layout_width="wrap_content"
        android:layout_height="wrap_content"
        android:layout_below="@id/btn3"
        android:layout_toRightOf="@id/btn5"
        android:focusable="true"
        android:text="btn6" />


</RelativeLayout>
其实很简单,和监听按钮的点击事件一样,只是需要我们自己控制好,各个按钮在获取焦点时,或者边界点击时我们想要达到的效果即可。
