LAMP=Linux+Apache(httpd)+Mysql(mariadb)+PHP
Apache HTTP 服务器 2.4 文档:http://httpd.apache.org/docs/2.4/
(1).实验环境
LAMP服务器:youxi1 192.168.5.101
测试主机:youxi2(CentOS7) 192.168.5.102
Windows 192.168.5.1
(2).安装与说明
CentOS6使用如下命令:
yum -y install httpd mysql mysql-server php php-mysql
CentOS7使用如下命令:
[root@youxi1 ~]# yum -y install httpd mariadb mariadb-server php php-mysql
httpd说明:httpd是Apache服务的主程序包,服务器端必须安装。httpd-devel是Apache开发程序包。httpd-manual是Apache手册文档,包含HTML格式的Apache计划的Apache User's Guide说明指南。httpd-tools是Apache相关工具包。
(3).开启服务进行测试
测试httpd和mariadb是否能正常启动,并设置开机自启
[root@youxi1 ~]# systemctl start httpd.service
[root@youxi1 ~]# systemctl enable httpd.service
Created symlink from /etc/systemd/system/multi-user.target.wants/httpd.service to /usr/lib/systemd/system/httpd.service.
[root@youxi1 ~]# systemctl start mariadb.service
[root@youxi1 ~]# systemctl enable mariadb.service
Created symlink from /etc/systemd/system/multi-user.target.wants/mariadb.service to /usr/lib/systemd/system/mariadb.service.
编写php测试文件
[root@youxi1 ~]# vim /var/www/html/index.php
<?php
        phpinfo();
?>
重启httpd
[root@youxi1 ~]# systemctl restart httpd.service
如果防火墙是打开的,还需将端口号加入防火墙中
[root@youxi1 ~]# firewall-cmd --permanent --zone=public --add-port=80/tcp
success
[root@youxi1 ~]# firewall-cmd --reload
success
之后Windows就可以在浏览器中查看了,结果如下: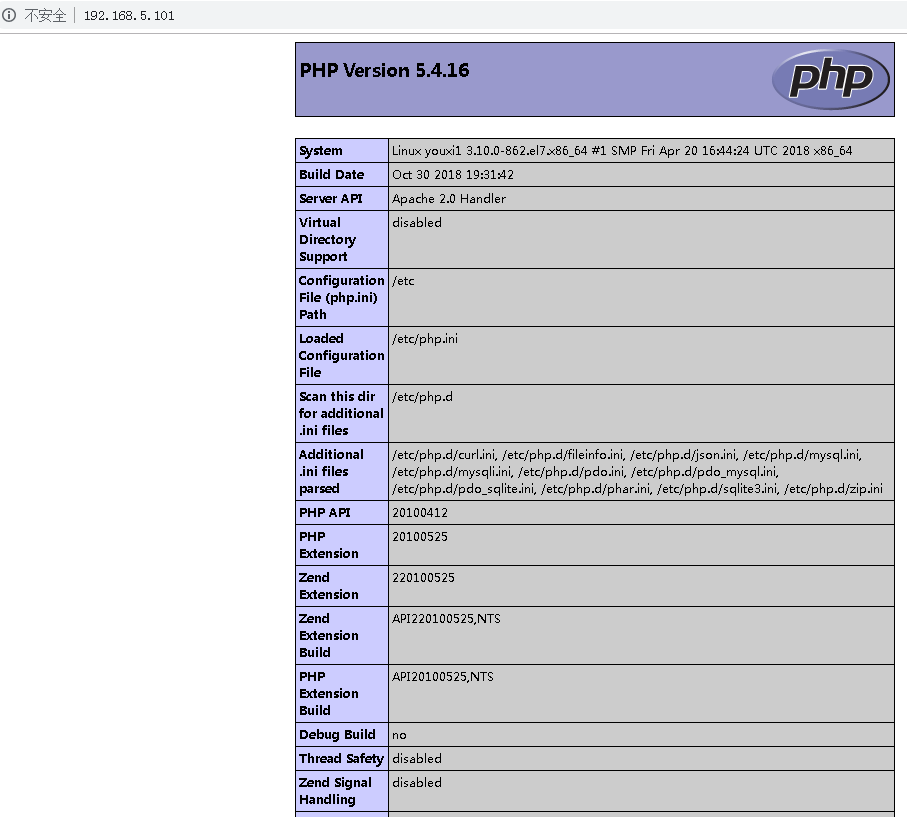
当然也可以使用Linux的elinks(需要安装),当然elinks只能简单查看
[root@youxi1 ~]# yum -y install elinks

(4).httpd主配置文件常用参数说明(2.4版本)
yum安装的httpd主要配置文件是/etc/httpd/conf/httpd.conf。其中比较常用的参数如下:
ServerRoot "/etc/httpd"  //httpd服务的根目录
Timeout 60  //超时时间,默认60秒。默认配置文件中没有,需手动添加
Listen 80  //监听的IP和端口,完整格式为[IP]:[port],IP省略则监听所有本地IP
Include conf.modules.d/*.conf  //conf.modules.d目录下的所有.conf文件都生效,该相对路径以httpd服务的根目录为参照
User apache  //以什么用户运行
Group apache  //以什么组运行
ServerAdmin root@localhost  //设置管理员email地址
#ServerName www.example.com:80  //服务区用于标识自身的主机名和端口号

DocumentRoot "/var/www/html"  //默认的主目录,至少存在一个目录设置相同的<Directory "[dir]">,否则将使用默认参数
<Directory "/var/www/html">  //一旦与DocumentRoot设置的目录相同,将使用内部设置的参数
Options Indexes FollowSymLinks  //当目录没有默认首页时,允许浏览目录结构。为了安全建议禁止浏览目录结构
AllowOverride None  //设置为None则忽略.htaccess
Require all granted  //支持所有访问,Require all denied表示拒绝所有访问
</Directory>

<IfModule dir_module>
DirectoryIndex index.html  //设置目录默认首页,我没改index.php也运行起来了,估计默认index都被扫描了
</IfModule>

LogLevel warn  //日志等级
AddDefaultCharset UTF-8  //支持的编码
IncludeOptional conf.d/*.conf  //conf.d目录下的所有.conf文件也属于有效配置文件,该相对路径以httpd服务的根目录为参照
与Require all granted相关的授权容器详细查看:http://httpd.apache.org/docs/2.4/mod/mod_authz_core.html#require
Require all granted 	//允许所有
Require all denied 	//拒绝所有
Require method http-method [http-method] ... 	//只允许特定的HTTP方法
Require user userid [ userid ] ... 	//只允许特定用户
Require group group-name [group-name] ... 	//只允许特定用户组
Require valid-user 	//只允许有效用户
另特别说明:
<RequireALL>
    Require ip 192.168.5.1  //只允许指定ip访问,空格分隔
    Require not ip 192.168.5.1  //不允许指定ip访问,空格分隔
</RequireALL>
有Require ip可以没有Require not ip。但有Require not ip就必须有Require ip,否则httpd服务报错。
(5).修改配置文件第一次尝试
目标:设置超时时间为60s,监听端口9988,邮箱改一下。默认主目录修改为/var/www/html/test,默认首页为index_test.html。
修改配置文件/etc/httpd/conf/httpd.conf的以下参数:
timeout 60    //添加
Listen 9988    //修改
ServerAdmin [email protected]    //修改,我这里随便写了
ServerName 192.168.5.101:9988    //可以添加,可以去除注释后修改
DocumentRoot "/var/www/html/test"    //修改

<Directory "/var/www/html/test">    //可以修改,可以新建
    Options Indexes FollowSymLinks  //如果没有默认首页,可以访问目录结构
    AllowOverride None
    Require all granted  //允许所有人访问
</Directory>

<IfModule dir_module>
    DirectoryIndex index_test.html    //修改
</IfModule>
接着取消默认的welcome页面,注释掉/etc/httpd/conf.d/welcome.conf配置文件的所有内容。
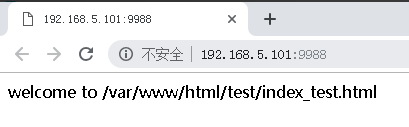
然后创建/var/www/html/test目录和目录下的首页index_test.html
[root@youxi1 ~]# mkdir -p /var/www/html/test
[root@youxi1 ~]# vim /var/www/html/test/index_test.html
welcome to /var/www/html/test/index_test.html
重新启动httpd服务
[root@youxi1 ~]# systemctl restart httpd.service
修改防火墙端口设置
[root@youxi1 ~]# firewall-cmd --permanent --zone=public --remove-port=80/tcp
success
[root@youxi1 ~]# firewall-cmd --permanent --zone=public --add-port=9988/tcp
success
[root@youxi1 ~]# firewall-cmd --reload
success
[root@youxi1 ~]# firewall-cmd --zone=public --list-ports
9988/tcp
最后查看了


(6).修改配置文件第二次尝试
目标:限制访问IP,不允许Windows访问
修改配置文件/etc/httpd/conf/httpd.conf的以下参数:
<Directory "/var/www/html/test">    //可以修改,可以新建
    Options Indexes FollowSymLinks  //如果没有默认首页,可以访问目录结构
    AllowOverride None
#    Require all granted  //注释掉
    <RequireALL>  //添加
        Require ip 192.168.5.1 192.168.5.131  //只允许指定的IP访问
        Require not ip 192.168.5.102  //不允许指定的IP访问
    </RequireALL>
</Directory>
重启httpd服务
[root@youxi1 ~]# systemctl restart httpd.service
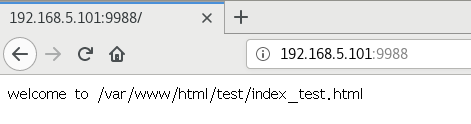
Windows(192.168.5.1)浏览器查看
youxi2(192.168.5.102)使用elinks查看

又加了一台CentOS7(192.168.5.131),桌面系统
(7).修改配置文件第三次尝试
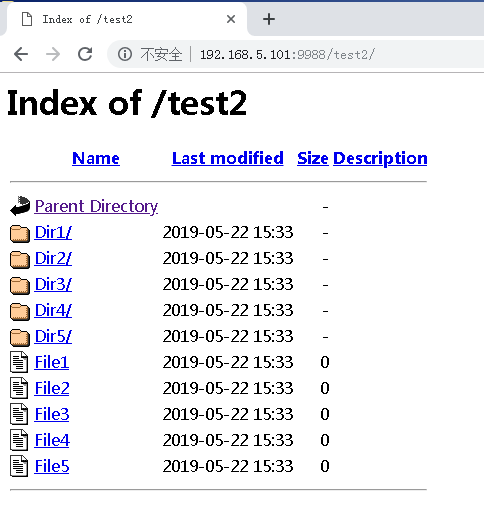
目标:引用主目录外的目录
修改配置文件/etc/httpd/conf/httpd.conf的以下参数:
Alias /test2/ "/test2/"  //添加别名
<Directory "/test2/">  //添加别名的参数
    Options Indexes FollowSymLinks
    AllowOverride None
    Require all granted
</Directory>
注意:<Directory "[dir]"></Directory>间的参数互不影响。
创建/test2/目录和测试文件与目录
[root@youxi1 ~]# mkdir /test2
[root@youxi1 ~]# touch /test2/File{1..5}
[root@youxi1 ~]# mkdir /test2/Dir{1..5}
[root@youxi1 ~]# ls /test2/
Dir1  Dir2  Dir3  Dir4  Dir5  File1  File2  File3  File4  File5
接着重启httpd服务
[root@youxi1 ~]# systemctl restart httpd.service
Windows(192.168.5.1)浏览器访问
youxi2(192.168.5.102)使用elinks访问

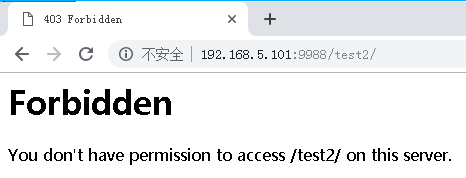
(8).修改配置文件第四次尝试
目标:禁止查看目录结构,并使用用户登录
修改配置文件/etc/httpd/conf/httpd.conf的以下参数:
Alias /test2/ "/test2/"
<Directory "/test2/">
#    Options Indexes FollowSymLinks  //注释掉,禁止查看目录结构
    AllowOverride None
#    Require all granted  //注释掉
    authtype basic  //指定认证类型为basic
    authname "my web site"  //认证信息
    authuserfile /etc/httpd/conf/user.passwd  //指定包含用户名和密码的文件
    require valid-user  //只允许有效用户登录
</Directory>
生成存放文件和密码的文件
[root@youxi1 ~]# htpasswd -cm /etc/httpd/conf/user.passwd youxi1
New password:
Re-type new password:
Adding password for user youxi1
[root@youxi1 ~]# htpasswd -m /etc/httpd/conf/user.passwd youxi2
New password:
Re-type new password:
Adding password for user youxi2
[root@youxi1 ~]# cat /etc/httpd/conf/user.passwd
youxi1:$apr1$7AIP0HXy$6wudl4S6Rybz7.T3S8BBv.
youxi2:$apr1$JHX3ZGwB$e5AmRlHr3DN3TUejBOsZ8/
注意:htpasswd命令-c选项是创建一个新的文件,所以除第一次使用外都不能使用,否则会覆盖文件内容。-m选项是使用MD5加密方法。
重启httpd服务
[root@youxi1 ~]# systemctl restart httpd.service
Windows(192.168.5.1)浏览器登录
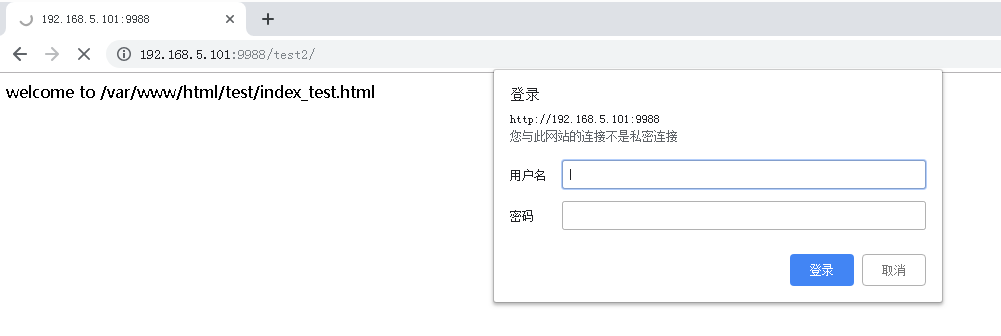
登录后(没有默认页面,也不能查看目录结构)