pytorch很好用,但是真实部署还是使用c++较多,因此需要用c++调用训练好的pytorch模型。参考官方示例https://github.com/apachecn/pytorch-doc-zh/blob/master/docs/1.0/cpp_export.md安装libtorch。但是官方示例中并没有使用真实的例子,且使用的是cpu版本的。
下面用一个真实的例子并用gpu,本示例的所有程序在https://github.com/zhangming8/pytorch-cpp-model
我使用的环境(没试过其他):ubuntu16.04, cuda9,采用源码安装的opencv3.4(https://blog.csdn.net/u010397980/article/details/89439515),libtorch(https://download.pytorch.org/libtorch/cu90/libtorch-shared-with-deps-latest.zip),python3,torch1.0.0。
1. 首先转化模型:
新建: vim create_model.py文件,内容如下,并执行下面的脚本:python3 create_model.py:
#coding:utf-8
import numpy as np
import os
import glob
import cv2
import shutil
import time
import torch
import torch.nn as nn

from mobilenetv2 import MobileNetV2


# 获取模型实例
model = MobileNetV2()
model.classifier = nn.Sequential(nn.Linear(1280, 8), nn.Sigmoid())
#model.load_state_dict(torch.load("latest.pt"))

img_size = 224
# 生成一个样本供网络前向传播 forward()
example = torch.rand(1, 3, img_size, img_size)

# 使用 torch.jit.trace 生成 torch.jit.ScriptModule 来跟踪
traced_script_module = torch.jit.trace(model, example)

img_list = ["test.jpg"]

s = time.time()
for i in img_list:
    img_org = cv2.imread(i)
    org_shape = img_org.shape[:-1]
    org_shape = org_shape[::-1]
    # process data
    img = cv2.resize(img_org, (img_size, img_size))
    img = img[:, :, ::-1].transpose(2, 0, 1)  # 1. BGR to RGB; 2. change hxwx3 to 3xhxw
    img = np.ascontiguousarray(img, dtype=np.float32)  # uint8 to float32
    img /= 255.0  # 0 - 255 to 0.0 - 1.0

    inputs = torch.from_numpy(img)
    inputs = inputs.unsqueeze(0)
    output = traced_script_module(inputs)
    print("output:", output)

traced_script_module.save("model_cpp.pt")
print("create c++ model done...")
mobilenetv2.py文件的内容如下:
import torch
import torch.nn as nn
import math

# A PyTorch implementation of MobileNet V2 architecture and pretrained model.
# from https://github.com/tonylins/pytorch-mobilenet-v2
# pretrained model can be downloaded from https://drive.google.com/file/d/1jlto6HRVD3ipNkAl1lNhDbkBp7HylaqR/view
# env: python3

def conv_bn(inp, oup, stride):
    return nn.Sequential(
        nn.Conv2d(inp, oup, 3, stride, 1, bias=False),
        nn.BatchNorm2d(oup),
        nn.ReLU6(inplace=True)
    )


def conv_1x1_bn(inp, oup):
    return nn.Sequential(
        nn.Conv2d(inp, oup, 1, 1, 0, bias=False),
        nn.BatchNorm2d(oup),
        nn.ReLU6(inplace=True)
    )


class InvertedResidual(nn.Module):
    def __init__(self, inp, oup, stride, expand_ratio):
        super(InvertedResidual, self).__init__()
        self.stride = stride
        assert stride in [1, 2]

        hidden_dim = round(inp * expand_ratio)
        self.use_res_connect = self.stride == 1 and inp == oup

        if expand_ratio == 1:
            self.conv = nn.Sequential(
                # dw
                nn.Conv2d(hidden_dim, hidden_dim, 3, stride, 1, groups=hidden_dim, bias=False),
                nn.BatchNorm2d(hidden_dim),
                nn.ReLU6(inplace=True),
                # pw-linear
                nn.Conv2d(hidden_dim, oup, 1, 1, 0, bias=False),
                nn.BatchNorm2d(oup),
            )
        else:
            self.conv = nn.Sequential(
                # pw
                nn.Conv2d(inp, hidden_dim, 1, 1, 0, bias=False),
                nn.BatchNorm2d(hidden_dim),
                nn.ReLU6(inplace=True),
                # dw
                nn.Conv2d(hidden_dim, hidden_dim, 3, stride, 1, groups=hidden_dim, bias=False),
                nn.BatchNorm2d(hidden_dim),
                nn.ReLU6(inplace=True),
                # pw-linear
                nn.Conv2d(hidden_dim, oup, 1, 1, 0, bias=False),
                nn.BatchNorm2d(oup),
            )

    def forward(self, x):
        if self.use_res_connect:
            return x + self.conv(x)
        else:
            return self.conv(x)


class MobileNetV2(nn.Module):
    def __init__(self, n_class=1000, input_size=224, width_mult=1.):
        super(MobileNetV2, self).__init__()
        block = InvertedResidual
        input_channel = 32
        last_channel = 1280
        interverted_residual_setting = [
            # t, c, n, s
            [1, 16, 1, 1],
            [6, 24, 2, 2],
            [6, 32, 3, 2],
            [6, 64, 4, 2],
            [6, 96, 3, 1],
            [6, 160, 3, 2],
            [6, 320, 1, 1],
        ]

        # building first layer
        assert input_size % 32 == 0
        input_channel = int(input_channel * width_mult)
        self.last_channel = int(last_channel * width_mult) if width_mult > 1.0 else last_channel
        self.features = [conv_bn(3, input_channel, 2)]
        # building inverted residual blocks
        for t, c, n, s in interverted_residual_setting:
            output_channel = int(c * width_mult)
            for i in range(n):
                if i == 0:
                    self.features.append(block(input_channel, output_channel, s, expand_ratio=t))
                else:
                    self.features.append(block(input_channel, output_channel, 1, expand_ratio=t))
                input_channel = output_channel
        # building last several layers
        self.features.append(conv_1x1_bn(input_channel, self.last_channel))
        # make it nn.Sequential
        self.features = nn.Sequential(*self.features)

        # building classifier
        self.classifier = nn.Sequential(
            nn.Dropout(0.2),
            nn.Linear(self.last_channel, n_class),
        )

        self._initialize_weights()

    def forward(self, x):
        x = self.features(x)
        #print("1 x.size()", x.size())  # bs,1280,7,7
        x = x.mean(3).mean(2)
        #print("2 x.size()", x.size())  # bs,1280
        x = self.classifier(x)
        #print("3 x.size()", x.size())  # bs,num_classes
        return x

    def _initialize_weights(self):
        for m in self.modules():
            if isinstance(m, nn.Conv2d):
                n = m.kernel_size[0] * m.kernel_size[1] * m.out_channels
                m.weight.data.normal_(0, math.sqrt(2. / n))
                if m.bias is not None:
                    m.bias.data.zero_()
            elif isinstance(m, nn.BatchNorm2d):
                m.weight.data.fill_(1)
                m.bias.data.zero_()
            elif isinstance(m, nn.Linear):
                n = m.weight.size(1)
                m.weight.data.normal_(0, 0.01)
                m.bias.data.zero_()


if __name__ == "__main__":
    img = torch.rand((2, 3, 224, 224))
    net = MobileNetV2(n_class=1000)
    print(net)
    state_dict = torch.load('finetune_weight/mobilenet_v2.pth.tar') # add map_location='cpu' if no gpu
    net.load_state_dict(state_dict)
    print("***"*50)
    pred = net(img)
    print(pred.size())

    '''
    normalize = transforms.Normalize(mean=[0.485, 0.456, 0.406],
                                 std=[0.229, 0.224, 0.225])

    input_size = 224
    train_dataset = datasets.ImageFolder(
        traindir,
        transforms.Compose([
            transforms.RandomResizedCrop(input_size, scale=(0.2, 1.0)),
            transforms.RandomHorizontalFlip(),
            transforms.ToTensor(),
            normalize,
        ]))

    train_loader = torch.utils.data.DataLoader(
        train_dataset, batch_size=batch_size, shuffle=True,
        num_workers=n_worker, pin_memory=True)

    val_loader = torch.utils.data.DataLoader(
        datasets.ImageFolder(valdir, transforms.Compose([
            transforms.Resize(int(input_size/0.875)),
            transforms.CenterCrop(input_size),
            transforms.ToTensor(),
            normalize,
        ])),
        batch_size=batch_size, shuffle=False,
        num_workers=n_worker, pin_memory=True)
    '''
从代码可以知道,该模型的输出为8个置信度为0-1的值(网络最后我用了一个sigmoid函数),当然你可以修改模型的结构产生其他输出。为了便于演示这个模型是随机初始化的,因此在实际中你需要加载已经训练好的模型再转,如使用model.load_state_dict(torch.load("latest.pt"))加载。
会生成一个mobilenetv2的model_cpp.pt文件,该文件是c++调用的模型。并输出8个结果,由于模型是采用的随机初始化,所以每个的值都不一样。这是python调用pytorch模型的结果。

2.新建一个predict-app.cpp文件
该文件主要用于调用pytorch模型。vim predict-app.cpp
注意修改model_path为模型model_cpp.pt的路径和测试图像的路径test_path,并在test_path中随便放几张.jpg的图像。
该cpp文件首先加载并初始化了model_path指定的模型,把模型放到gpu上,之后遍历test_path下面所有".jpg"图像,再对图像进行预处理,送进网络,并把最大概率对应的索引位置输出。可以参考注释
#include <torch/torch.h>
#include <ATen/ATen.h>
#include <torch/script.h>

#include <iostream>
#include <memory>
#include <string>
#include <chrono>

#include "opencv2/core.hpp"
#include "opencv2/highgui.hpp"
#include "opencv2/opencv.hpp"

using namespace cv;
using namespace std;
using namespace chrono;

#include <experimental/filesystem>
namespace fs = std::experimental::filesystem;

int main(int argc, const char* argv[]) {
    string model_path;
    if (argc == 2){
        model_path = argv[1];
    }
    else {
        model_path = "/home/xxxxxxxxx/model_cpp.pt";
    }
    cout << "using model:" << model_path << endl;
    string test_path = "/home/xxxxxxxxx/data/";

    // init model
    int img_size = 224;  // resize img to 224
    vector<torch::jit::IValue> inputs;  //def an input
    shared_ptr<torch::jit::script::Module> module = torch::jit::load(model_path);  //load model
    module->to(at::kCUDA);  // put model to gpu
    assert(module != nullptr);
    cout << "[INFO] init model done...\n";

    int i = 0;
    double t_start, t_end, t_cost;
    t_start = getTickCount(); // get now time

    Mat src, image, float_image;
    for (const auto &p : fs::directory_iterator(test_path)){ //遍历文件夹中的所有文件
        string s = p.path();  //get one file path
        string suffix = s.substr(s.find_last_of(".")+1);  //获取文件的格式(后缀)
        if (suffix != "jpg"){
            continue;
        }
        cout << i << "-------------------------" << endl;
        cout << p.path() << '\n';

        src = imread(s);  //读图
	// 图像预处理 注意需要和python训练时的预处理一致
        resize(src, image, Size(img_size, img_size));  // resize 图像
        cvtColor(image, image, CV_BGR2RGB);  // bgr -> rgb
	image.convertTo(float_image, CV_32F, 1.0 / 255);   //归一化到[0,1]区间
        //cout << float_image.at<Vec3f>(100,100)[1] << endl;  //输出一个像素点点值
        auto img_tensor = torch::CPU(torch::kFloat32).tensorFromBlob(float_image.data, {1, img_size, img_size, 3});   //将cv::Mat转成tensor,大小为1,224,224,3
        img_tensor = img_tensor.permute({0, 3, 1, 2});  //调换顺序变为torch输入的格式 1,3,224,224
        //img_tensor[0][0] = img_tensor[0][0].sub_(0.485).div_(0.229);  //减去均值,除以标准差
        //img_tensor[0][1] = img_tensor[0][1].sub_(0.456).div_(0.224);
        //img_tensor[0][2] = img_tensor[0][2].sub_(0.406).div_(0.225);

        auto img_var = torch::autograd::make_variable(img_tensor, false);  //不需要梯度
	inputs.emplace_back(img_var.to(at::kCUDA));  // 把预处理后的图像放入gpu
        torch::Tensor result = module->forward(inputs).toTensor();  //前向传播获取结果
        inputs.pop_back();
        cout << "result:" << result << endl;

        auto pred = result.argmax(1);
        cout << "max index:" << pred << endl;

	/*std::tuple<torch::Tensor,torch::Tensor> res_sort = result.sort(-1, true);
	torch::Tensor top_scores = get<0>(res_sort)[0];
	torch::Tensor top_idxs = get<1>(res_sort)[0].toType(torch::kInt32);
        auto top_scores_a = top_scores.accessor<float,1>();
	auto top_idxs_a = top_idxs.accessor<int,1>();
        for (int j = 0; j < 3; ++j) {
            int idx = top_idxs_a[j];
            cout << "top-" << j+1 << " index: " << idx << ", score: " << top_scores_a[j] << endl;
        }*/

        i++;
        if (i > 1000){
            break;
        }
    }
    t_end = getTickCount();
    t_cost = t_end - t_start;
    //t_cost = t_cost / getTickFrequency();
    printf("time cost: %4.f ms\n", t_cost/1000000.0);
    return 0;
}

/*
void Mycircle(){
    Point p = Point(320, 190); //圆的中心点
    int r= 50; //圆的半径
    Scalar color = Scalar(0, 255, 0);
    circle(src, p, r, color);
}
*/
3. 编译
默认opencv和libtorch都已经安装好了。
首先新建一个CMakeLists.txt文件,内容如下:vim CMakeLists.txt
cmake_minimum_required(VERSION 3.0 FATAL_ERROR)
project(custom_ops)

find_package(Torch REQUIRED)
find_package( OpenCV REQUIRED )
include_directories( ${OpenCV_INCLUDE_DIRS} )

add_executable(predict-app predict-app.cpp)
target_link_libraries(predict-app "${TORCH_LIBRARIES}" ${OpenCV_LIBS} stdc++fs)
set_property(TARGET predict-app PROPERTY CXX_STANDARD 11)
再依次执行:
mkdir build
cd build
cmake -DCMAKE_PREFIX_PATH=/media/DATA2/libtorch ..
(其中/media/DATA2/libtorch为你的libtorch的路径)
make
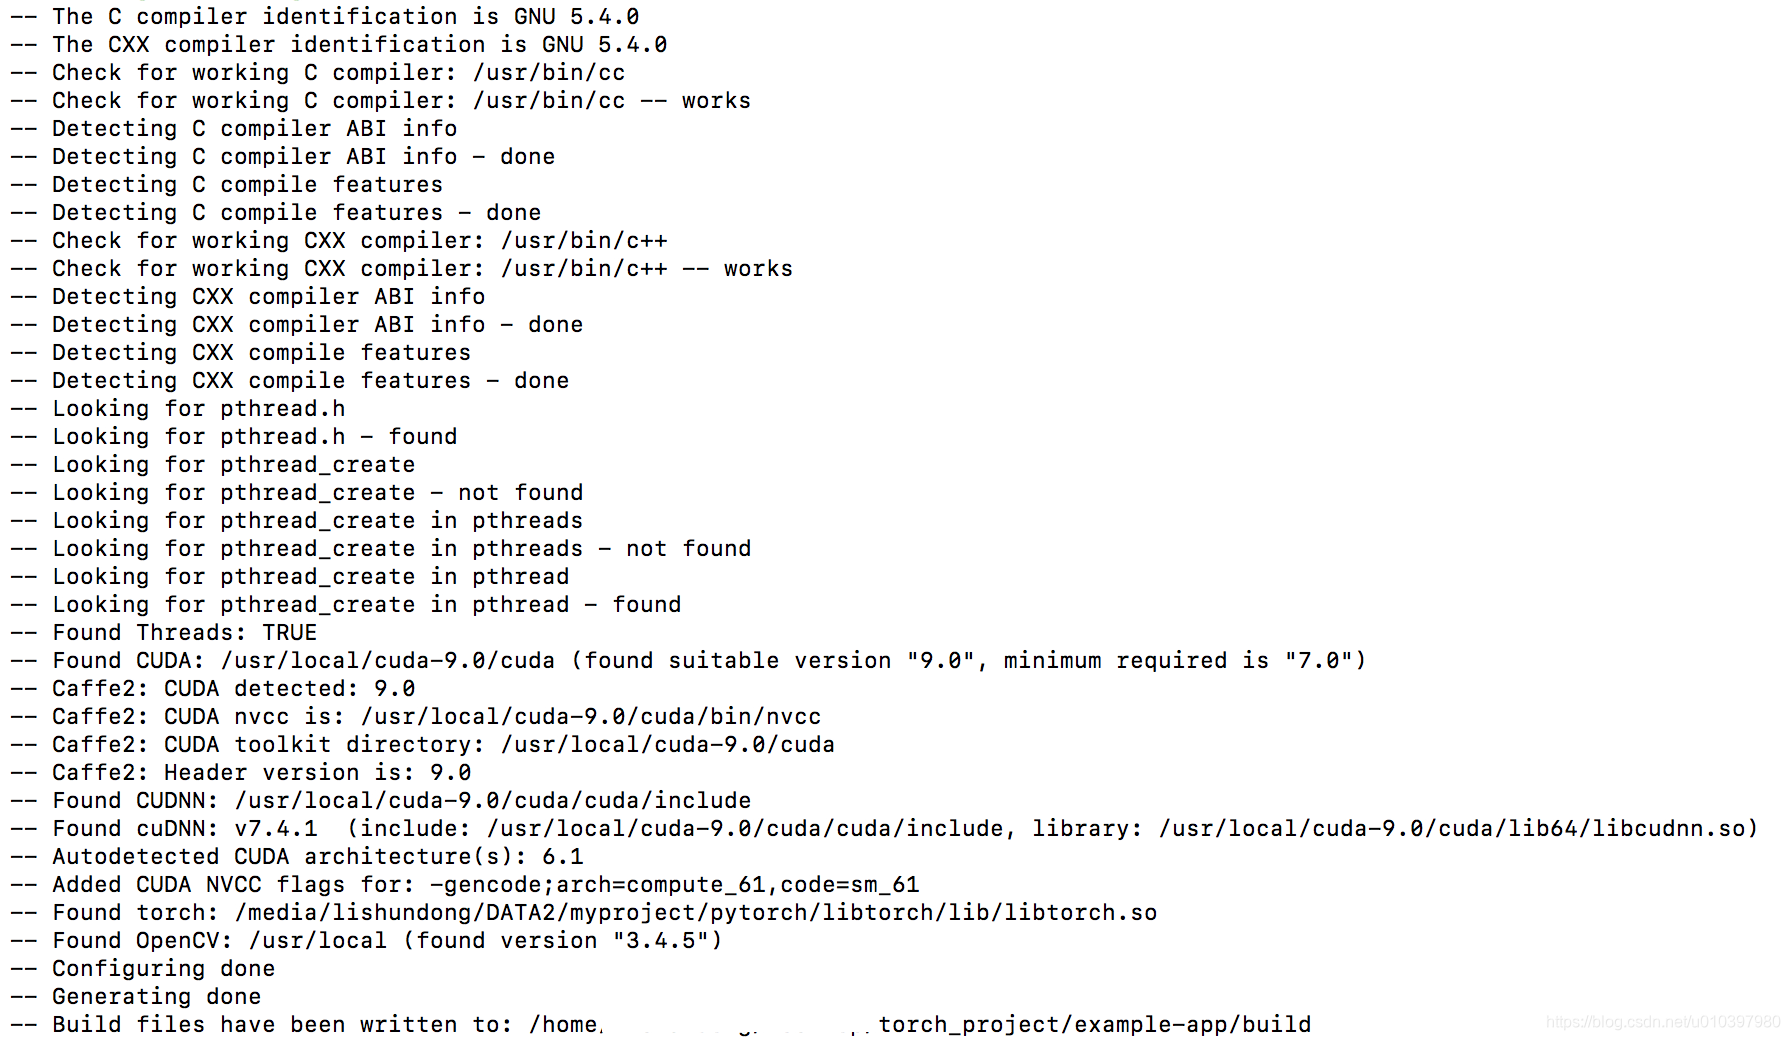
如果不出意外的话会出现以下界面:
以及

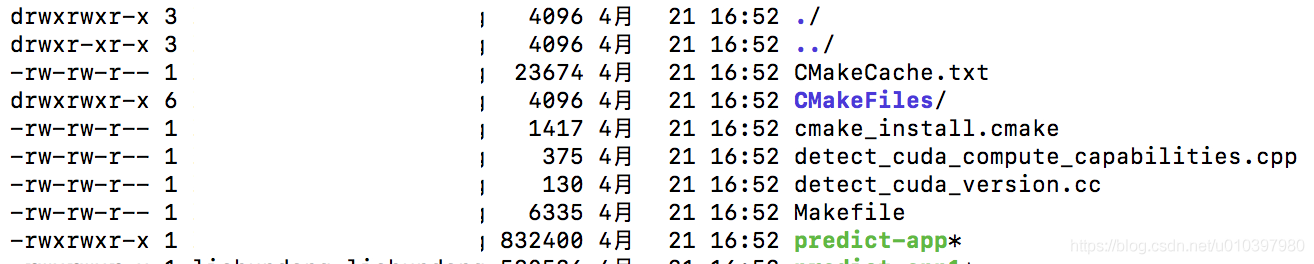
发现在build文件夹下生成了predict-app可执行文件,及其他文件:
最后执行./predict-app即可运行程序,界面如下所示:

发现使用c++的模型和使用python的模型结果输出是一样的(只要预处理没问题)。