Action 和 Reducer 的编写
我们可以先下载一个 Chrome 浏览器插件 "redux devtools",方便进行 redux 的调试。
添加后,就可以在浏览器的开发者工具中找到 redux 选项卡了,如下。
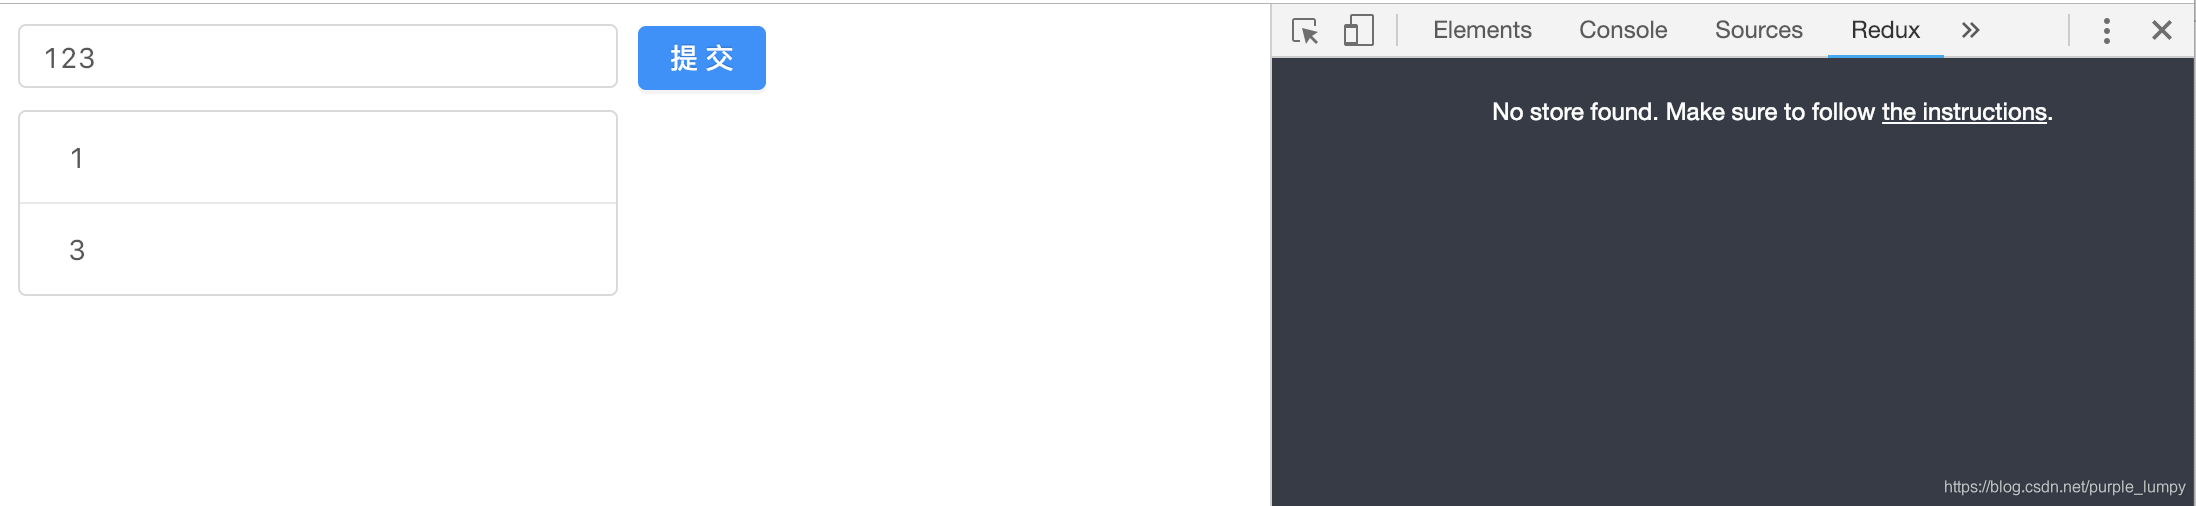
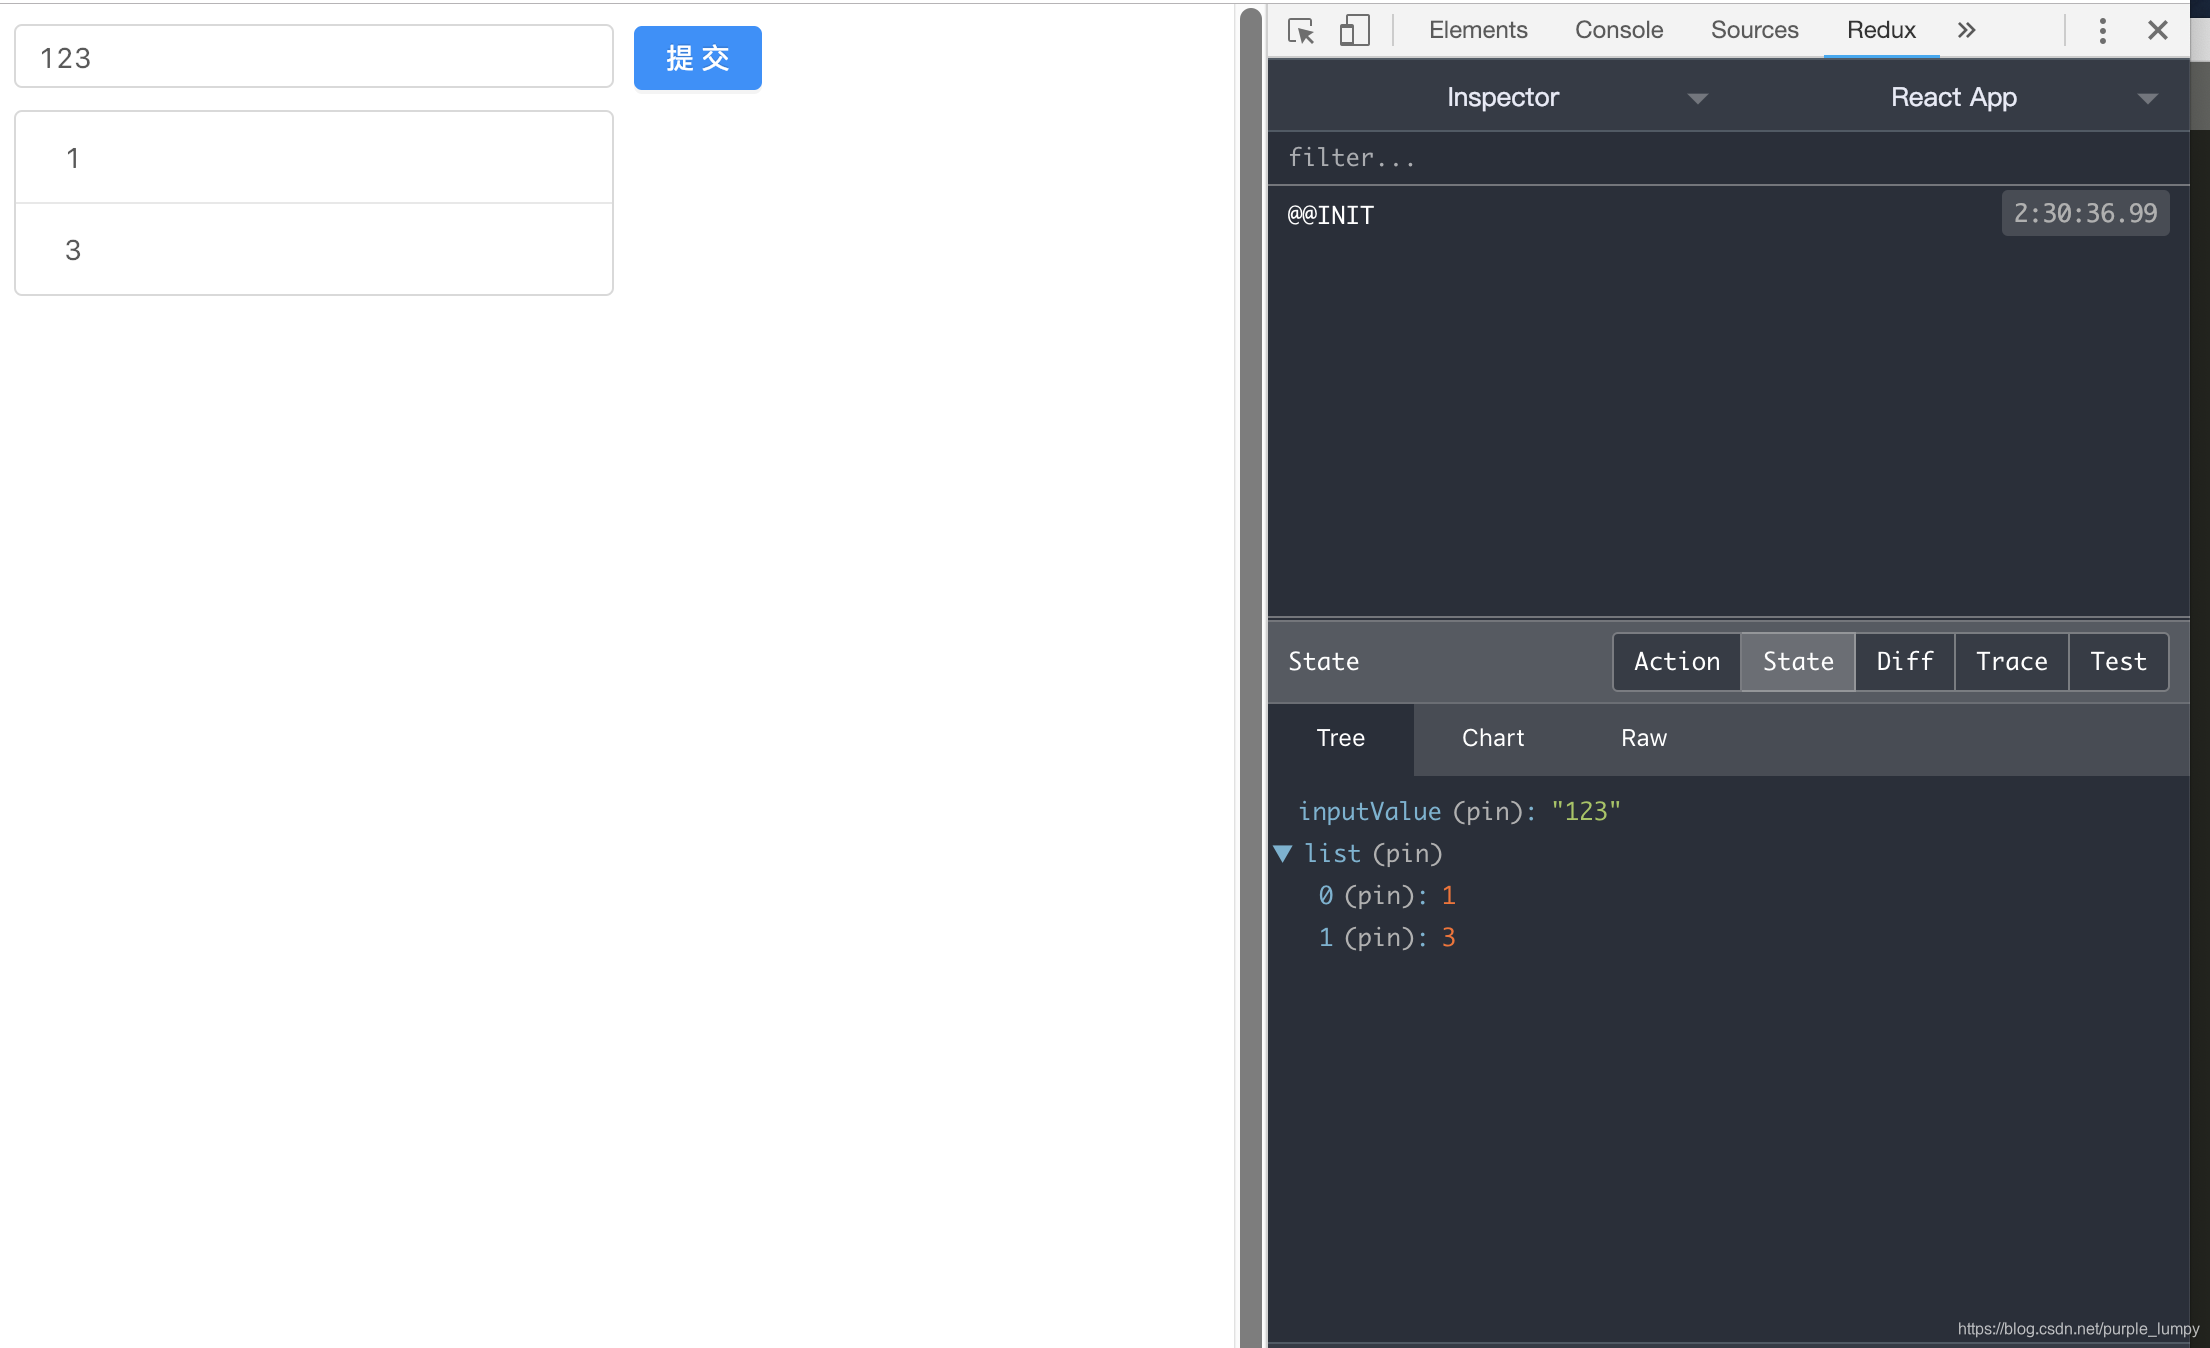
当然,这时会显示 “No store found”, 点击 the instructions 链接,然后它会告诉我们,只要在创建 store 的时候加上一行语句即可。然后页面上的redux 就有数据了。

好啦。
下面我们来实现一个功能。改变输入框中的内容,store 中的inputValue 也会改变。下面是页面。
首先,我们在组件中要触发一个事件,input 的change 事件,通过 store 的dispatch 函数,发送一个action,如下。
import React, {Component} from 'react';
import 'antd/dist/antd.css';
import { Input, Button, List } from 'antd';
import store from './store/index.js';

class BeautifulToDoList extends Component {
  constructor(props) {
    super(props);
    this.state = store.getState();
    this.handleInputChange = this.handleInputChange.bind(this);
  }

  render() {
    return (
      <div style={{marginTop: '10px',marginLeft: '10px'}}>
        <Input
          value={this.state.inputValue}
          placeholder="todo info"
          style={{width: 300, marginRight: '10px'}}
          onChange={this.handleInputChange}
        />
        <Button type="primary">提交</Button>
        <List
          style={{marginTop: '10px', width: '300px'}}
          bordered
          dataSource={this.state.list}
          renderItem={item => (<List.Item>{item}</List.Item>)}
        />
      </div>
    )
  }

  handleInputChange(e) {
    const action = {
      type: 'change_input_value',
      value: e.target.value
    };
    store.dispatch(action);
  }
}

export default BeautifulToDoList;
然后呢,store 自动将这个action 与 当前的store 中的数据,告诉reducer 。
接着,在reducer 中,我们获取到这个action ,做出相应处理,如下。
const defaultState = {
  inputValue: '123',
  list: [1,3]
};

// reducer 可以接受 state ,但是不能修改state
export default (state = defaultState, action) => {
  if (action.type === 'change_input_value') {
    const newState = JSON.parse(JSON.stringify(state));
    newState.inputValue = action.value;
    return newState;
  }
  console.log(state, action);
  return state;
}
注意:reducer 是不能修改state 的,因此,它要深拷贝state , 然后把新的 state 返回给store。
store 在接收到新的state 后会用它替换掉老的数据。
但是,此时,更改store 中内容,页面并不会变化。需要往 todolist 组件中加入代码
store.subscribe();上面的代码,是指本组件订阅store,当store 中的数据发送改变时,subscribe 里面的函数就会自动执行。
import React, {Component} from 'react';
import 'antd/dist/antd.css';
import { Input, Button, List } from 'antd';
import store from './store/index.js';

class BeautifulToDoList extends Component {
  constructor(props) {
    super(props);
    this.state = store.getState();
    this.handleInputChange = this.handleInputChange.bind(this);
    this.handleStoreChange = this.handleStoreChange.bind(this);
    store.subscribe(this.handleStoreChange);
  }

  render() {
    return (
      <div style={{marginTop: '10px',marginLeft: '10px'}}>
        <Input
          value={this.state.inputValue}
          placeholder="todo info"
          style={{width: 300, marginRight: '10px'}}
          onChange={this.handleInputChange}
        />
        <Button type="primary">提交</Button>
        <List
          style={{marginTop: '10px', width: '300px'}}
          bordered
          dataSource={this.state.list}
          renderItem={item => (<List.Item>{item}</List.Item>)}
        />
      </div>
    )
  }

  handleInputChange(e) {
    const action = {
      type: 'change_input_value',
      value: e.target.value
    };
    store.dispatch(action);
  }

  handleStoreChange() {
    this.setState(store.getState());
  }

}

export default BeautifulToDoList;
好啦。
下面就是实现一下,点击提交按钮,实现redux 中 List 新增input 中的内容,并在页面显示出来。
todolist 组件代码
import React, {Component} from 'react';
import 'antd/dist/antd.css';
import { Input, Button, List } from 'antd';
import store from './store/index.js';

class BeautifulToDoList extends Component {
  constructor(props) {
    super(props);
    this.state = store.getState();
    this.handleInputChange = this.handleInputChange.bind(this);
    this.handleStoreChange = this.handleStoreChange.bind(this);
    this.handleBtnClick = this.handleBtnClick.bind(this);
    store.subscribe(this.handleStoreChange);
  }

  render() {
    return (
      <div style={{marginTop: '10px',marginLeft: '10px'}}>
        <Input
          value={this.state.inputValue}
          placeholder="todo info"
          style={{width: 300, marginRight: '10px'}}
          onChange={this.handleInputChange}
        />
        <Button
          type="primary"
          onClick={this.handleBtnClick}
        >提交</Button>
        <List
          style={{marginTop: '10px', width: '300px'}}
          bordered
          dataSource={this.state.list}
          renderItem={item => (<List.Item>{item}</List.Item>)}
        />
      </div>
    )
  }

  handleInputChange(e) {
    const action = {
      type: 'change_input_value',
      value: e.target.value
    };
    store.dispatch(action);
  }

  handleStoreChange() {
    this.setState(store.getState());
  }

  handleBtnClick() {
    const action = {
      type: 'add_todo_item'
    };
    store.dispatch(action);
  }

}

export default BeautifulToDoList;
reducer.js 代码
const defaultState = {
  inputValue: '123',
  list: []
};

// reducer 可以接受 state ,但是不能修改state
export default (state = defaultState, action) => {
  if (action.type === 'change_input_value') {
    const newState = JSON.parse(JSON.stringify(state));
    newState.inputValue = action.value;
    return newState;
  }
  if (action.type === 'add_todo_item') {
    const newState = JSON.parse(JSON.stringify(state));
    newState.list.push(newState.inputValue);
    newState.inputValue = '';
    return newState;
  }
  return state;
}
最后,实现一下删除item 的功能。
下面是todolist 代码
import React, {Component} from 'react';
import 'antd/dist/antd.css';
import { Input, Button, List } from 'antd';
import store from './store/index.js';

class BeautifulToDoList extends Component {
  constructor(props) {
    super(props);
    this.state = store.getState();
    this.handleInputChange = this.handleInputChange.bind(this);
    this.handleStoreChange = this.handleStoreChange.bind(this);
    this.handleBtnClick = this.handleBtnClick.bind(this);
    store.subscribe(this.handleStoreChange);
  }

  render() {
    return (
      <div style={{marginTop: '10px',marginLeft: '10px'}}>
        <Input
          value={this.state.inputValue}
          placeholder="todo info"
          style={{width: 300, marginRight: '10px'}}
          onChange={this.handleInputChange}
        />
        <Button
          type="primary"
          onClick={this.handleBtnClick}
        >提交</Button>
        <List
          style={{marginTop: '10px', width: '300px'}}
          bordered
          dataSource={this.state.list}
          renderItem={(item, index) => (<List.Item onClick={this.handleItemClick.bind(this, index)}>{item}</List.Item>)}
        />
      </div>
    )
  }

  handleInputChange(e) {
    const action = {
      type: 'change_input_value',
      value: e.target.value
    };
    store.dispatch(action);
  }

  handleStoreChange() {
    this.setState(store.getState());
  }

  handleBtnClick() {
    const action = {
      type: 'add_todo_item'
    };
    store.dispatch(action);
  }

  handleItemClick(index) {
    const action = {
      type: 'delete_todo_item',
      index
    };
    store.dispatch(action);
  }

}

export default BeautifulToDoList;
下面是 reducer.js 代码
const defaultState = {
  inputValue: '123',
  list: []
};

// reducer 可以接受 state ,但是不能修改state
export default (state = defaultState, action) => {
  if (action.type === 'change_input_value') {
    const newState = JSON.parse(JSON.stringify(state));
    newState.inputValue = action.value;
    return newState;
  }
  if (action.type === 'add_todo_item') {
    const newState = JSON.parse(JSON.stringify(state));
    newState.list.push(newState.inputValue);
    newState.inputValue = '';
    return newState;
  }
  if (action.type === 'delete_todo_item') {
    const newState = JSON.parse(JSON.stringify(state));
    newState.list.splice(action.index, 1);
    return newState;
  }
  return state;
}
Done!