本文是这一系列文章的最后一篇,由于之前两篇文章已经对项目的环境配置和参数修改做了较为详细的介绍。因此,在本文中我们不再赘述上述部分,读者可以看一下之前的两篇文章。《手把手教你如何用objection detection API实现实时目标检测(一)》、《手把手教你如何用objection detection API实现实时目标检测(二)》。
上文我们已经根据训练图片进行模型训练,模型可以对输入的图片进行识别,那接下来,我们需要考虑能不能用视屏的形式进行检测呢?答案当然是可以的,我们可以通过调用摄像头采集视频,然后实时输出结果。
这一部分代码如下:
# coding: utf-8

# # Object Detection Demo
# Welcome to the object detection inference walkthrough!  This notebook will walk you step by step through the process of using a pre-trained model to detect objects in an image. Make sure to follow the [installation instructions](https://github.com/tensorflow/models/blob/master/research/object_detection/g3doc/installation.md) before you start.

# # Imports

# In[1]:

import numpy as np
import os
import six.moves.urllib as urllib
import sys
import tarfile
import tensorflow as tf
import zipfile

from collections import defaultdict
from io import StringIO
from matplotlib import pyplot as plt
from PIL import Image
import cv2

cap=cv2.VideoCapture(1)

if tf.__version__ < '1.4.0':
  raise ImportError('Please upgrade your tensorflow installation to v1.4.* or later!')


# This is needed since the notebook is stored in the object_detection folder.
sys.path.append("..")


# ## Object detection imports
# Here are the imports from the object detection module.

# In[3]:

from utils import label_map_util

from utils import visualization_utils as vis_util


# # Model preparation

# ## Variables
#
# Any model exported using the `export_inference_graph.py` tool can be loaded here simply by changing `PATH_TO_CKPT` to point to a new .pb file.
#
# By default we use an "SSD with Mobilenet" model here. See the [detection model zoo](https://github.com/tensorflow/models/blob/master/research/object_detection/g3doc/detection_model_zoo.md) for a list of other models that can be run out-of-the-box with varying speeds and accuracies.

# In[4]:

# What model to download.
MODEL_NAME = 'test'


# Path to frozen detection graph. This is the actual model that is used for the object detection.
PATH_TO_CKPT = MODEL_NAME + '/frozen_inference_graph.pb'

# List of the strings that is used to add correct label for each box.
PATH_TO_LABELS = os.path.join('test', 'mscoco_label_map.pbtxt')

NUM_CLASSES = 1


# ## Download Model

# In[ ]:


# ## Load a (frozen) Tensorflow model into memory.

# In[5]:

detection_graph = tf.Graph()
with detection_graph.as_default():
    od_graph_def = tf.GraphDef()
    with tf.gfile.GFile(PATH_TO_CKPT, 'rb') as fid:
        serialized_graph = fid.read()
        od_graph_def.ParseFromString(serialized_graph)
        tf.import_graph_def(od_graph_def, name='')


# ## Loading label map
# Label maps map indices to category names, so that when our convolution network predicts `5`, we know that this corresponds to `airplane`.  Here we use internal utility functions, but anything that returns a dictionary mapping integers to appropriate string labels would be fine

# In[6]:

label_map = label_map_util.load_labelmap(PATH_TO_LABELS)
categories = label_map_util.convert_label_map_to_categories(label_map, max_num_classes=NUM_CLASSES, use_display_name=True)
category_index = label_map_util.create_category_index(categories)


# ## Helper code

# In[7]:

def load_image_into_numpy_array(image):
    (im_width, im_height) = image.size
    return np.array(image.getdata()).reshape((im_height, im_width, 3)).astype(np.uint8)


# # Detection

# In[8]:

TEST_IMAGE_PATHS=[]
for filename in os.listdir(r"./test_images"):
    if filename.split('.')[-1]=='jpg':
        TEST_IMAGE_PATHS.append(os.path.join(os.path.join('test_images',filename)))
# Size, in inches, of the output images.
IMAGE_SIZE = (12, 8)


# In[9]:

with detection_graph.as_default():
    with tf.Session(graph=detection_graph) as sess:
        # Definite input and output Tensors for detection_graph
        image_tensor = detection_graph.get_tensor_by_name('image_tensor:0')
        # Each box represents a part of the image where a particular object was detected.
        detection_boxes = detection_graph.get_tensor_by_name('detection_boxes:0')
        # Each score represent how level of confidence for each of the objects.
        # Score is shown on the result image, together with the class label.
        detection_scores = detection_graph.get_tensor_by_name('detection_scores:0')
        detection_classes = detection_graph.get_tensor_by_name('detection_classes:0')
        num_detections = detection_graph.get_tensor_by_name('num_detections:0')
        while True:
            ret,image_np=cap.read()
            # Expand dimensions since the model expects images to have shape: [1, None, None, 3]
            image_np_expanded = np.expand_dims(image_np, axis=0)
            # Actual detection.
            (boxes, scores, classes, num) = sess.run([detection_boxes, detection_scores, detection_classes, num_detections],feed_dict={image_tensor: image_np_expanded})
            # Visualization of the results of a detection.
            vis_util.visualize_boxes_and_labels_on_image_array(image_np,np.squeeze(boxes),np.squeeze(classes).astype(np.int32),np.squeeze(scores),category_index,use_normalized_coordinates=True,line_thickness=8)
            cv2.imshow('object detection',cv2.resize(image_np,(800,600)))
            if cv2.waitKey(25) & 0xFF ==ord('q'):
                cv2.destroyAllWindows()
                break


# In[ ]:
这个代码调用了之前训练数据得到的模型和标签进行识别,这里我们重点需要注意的这一部分:
# Path to frozen detection graph. This is the actual model that is used for the object detection.
PATH_TO_CKPT = MODEL_NAME + '/frozen_inference_graph.pb'

# List of the strings that is used to add correct label for each box.
PATH_TO_LABELS = os.path.join('test', 'mscoco_label_map.pbtxt')
这一部分代码即是对模型和标签的调用部分,下面我们会对这一部分进行修改。
我们直接通过如下的批处理文件运行上面的代码即可:
python object_dectection_video.py
如果之前的配置都正确,在这里我们会输出一个对物体标注好的视频窗口,但是这个运行结果并不好,窗口只有一个label就是phone,这是因为我们之前训练的过程只选择了phone一个标签。博主的运行结果如下:
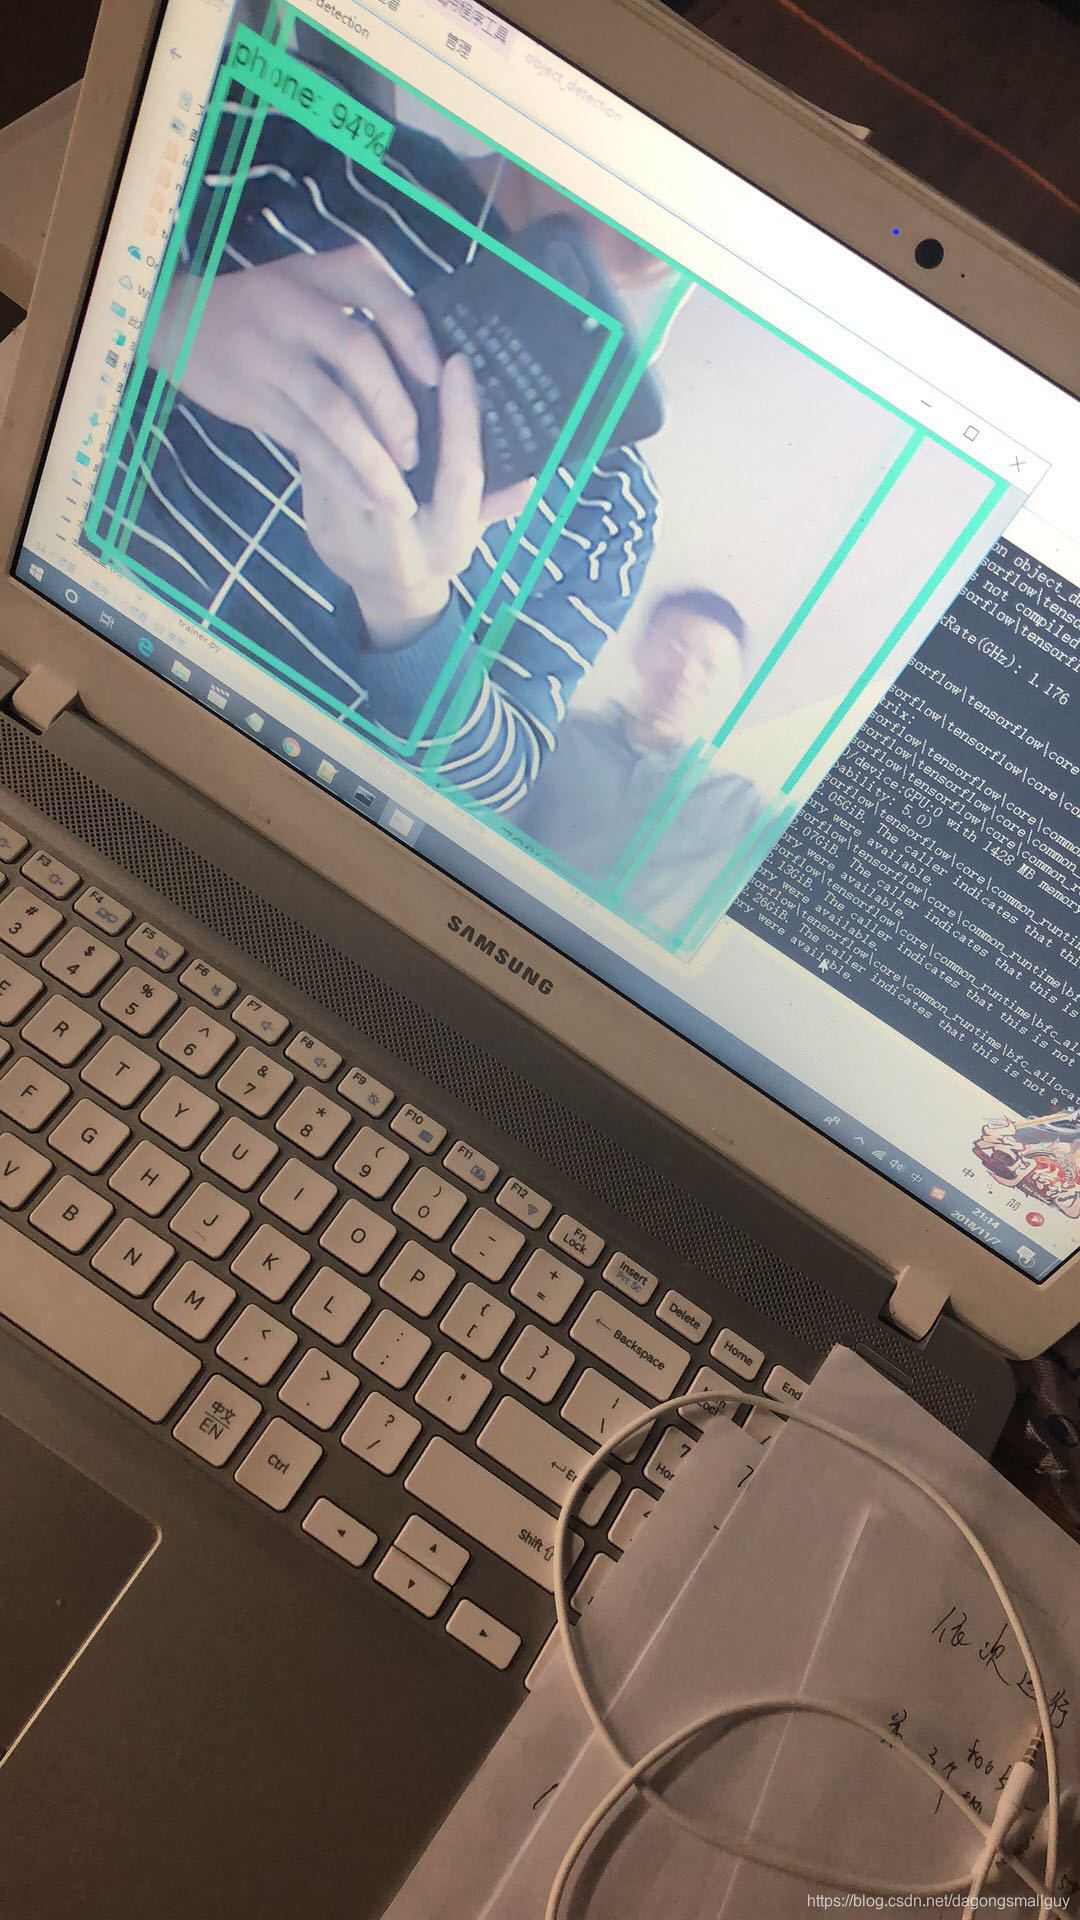
(第一次运行出结果有点激动,就瞎拍了一张图片,现在也懒得再回去拍视频, 大家将就看就行,其实还是可以很清楚的看出运行效果:图片中有多个标定框,所有人的标定框包括手机、人物都被标记为label,效果并不好)
针对运行结果我们总结出现的几个问题:1、只能进行一个类别的标记;2、物体的识别准确率很低。
其实这两个问题都是由于训练的次数不够以及训练集过小引起,因此我在这里考虑能不能用别人已经训练好的模型 代替我自己训练的模型,如果可以实现,那我们的识别效果不是可以取得大幅的提升吗??
因此,我下载了已经训练好的mscoco_label_map.pbtxt文件和与他对应的frozen_inference_graph.pb文件来代替之前我自己训练的模型,并将类别数目改成90。训练结果取得大幅进步:

模型对出现在镜头前的多个物体都进行了准确识别。
至此,本系列文章已经全部结束,希望大家可以从中有所收获,如果在看的时候有什么疑问可以评论问我哦。博主是一个刚接触这个方向的小白,这篇文章的描述肯定存在不少不合理不确切之处,也希望能和大家进行讨论学习。