版权声明:本文为博主原创文章,未经博主允许不得转载。 https://blog.csdn.net/xiangxiezhuren/article/details/82809532
1.介绍
Vue CLI 是一个基于 Vue.js 进行快速开发的完整系统,提供:
- 通过 @vue/cli 搭建交互式的项目脚手架。
- 通过 @vue/cli + @vue/cli-service-global 快速开始零配置原型开发。
- 一个运行时依赖 (@vue/cli-service),该依赖:
- 可升级;
- 基于 webpack 构建,并带有合理的默认配置;
- 可以通过项目内的配置文件进行配置;
- 可以通过插件进行扩展。
- 一个丰富的官方插件集合,集成了前端生态中最好的工具。
- 一套完全图形化的创建和管理 Vue.js 项目的用户界面。
2.安装
Node 版本要求
Vue CLI 需要 Node.js 8.9 或更高版本 (推荐 8.11.0+)。
可以使用下列任一命令安装这个新的包:
npm install -g @vue/cli
# OR
yarn global add @vue/cli
(注:mac下如果安装失败可以使用:sudo npm install -g @vue/cli)
lu:WebstormProjects lu$ sudo npm install -g @vue/cli
Password:
/usr/local/bin/vue -> /usr/local/lib/node_modules/@vue/cli/bin/vue.js

> [email protected] install /usr/local/lib/node_modules/@vue/cli/node_modules/fsevents
> node install

[fsevents] Success: "/usr/local/lib/node_modules/@vue/cli/node_modules/fsevents/lib/binding/Release/node-v51-darwin-x64/fse.node" is installed via remote

> [email protected] postinstall /usr/local/lib/node_modules/@vue/cli/node_modules/protobufjs
> node scripts/postinstall


> [email protected] postinstall /usr/local/lib/node_modules/@vue/cli/node_modules/nodemon
> node bin/postinstall || exit 0

Love nodemon? You can now support the project via the open collective:
 > https://opencollective.com/nodemon/donate

/usr/local/lib
└─┬ @vue/[email protected]
  ├─┬ @vue/[email protected]
  │ ├─┬ [email protected]
  │ │ ├── [email protected]
  │ │ ├─┬ [email protected]
  │ │ │ └── [email protected]
  │ │ └── [email protected]
  │ ├─┬ [email protected]
  │ │ └─┬ [email protected]
  │ │   ├── [email protected]
  │ │   ├── [email protected]
  │ │   ├── [email protected]
  │ │   └── [email protected]
  .................
  │ └── [email protected]
  ├── [email protected]
  ├─┬ [email protected]
  │ └── [email protected]
  └─┬ [email protected]
    └── [email protected]
安装之后,你就可以在命令行中访问 vue 命令。
你可以用这个命令来检查是否正确安装:
vue --version输出结果如下:
lu:WebstormProjects lu$ vue --version
3.0.3
3.创建项目
运行以下命令来创建一个新项目:
vue create interface你会被提示选取一个 preset。你可以选默认的包含了基本的 Babel + ESLint 设置的 preset,也可以选“手动选择特性”来选取需要的特性。
lu:WebstormProjects lu$ vue create interface

Vue CLI v3.0.3
? Please pick a preset: (Use arrow keys)
❯ default (babel, eslint)
  Manually select features
这个默认的设置非常适合快速创建一个新项目的原型,而手动设置则提供了更多的选项,它们是面向生产的项目更加需要的。
lu:WebstormProjects lu$ vue create interface

Vue CLI v3.0.3
? Please pick a preset: Manually select features
? Check the features needed for your project:
 ◉ Babel
 ◯ TypeScript
 ◯ Progressive Web App (PWA) Support
 ◉ Router
 ◉ Vuex
❯◉ CSS Pre-processors
 ◉ Linter / Formatter
 ◯ Unit Testing
 ◯ E2E Testing
当你选择后会出现上面图上的东西,这里你可以自由选择用哪些配置,按上下键选择,按空格键确定,所有的都选择好后,按enter键进行下一步,这里我在项目中选择了Babel、Router、Vuex、CSS Pre-processors、Linter / Formatter。
Vue CLI v3.0.3
? Please pick a preset: Manually select features
? Check the features needed for your project: Babel, Router, Vuex, CSS Pre-proce
ssors, Linter
? Use history mode for router? (Requires proper server setup for index fallback
in production) Yes
? Pick a CSS pre-processor (PostCSS, Autoprefixer and CSS Modules are supported
by default): Sass/SCSS
? Pick a linter / formatter config: Basic
? Pick additional lint features: Lint on save, Lint and fix on commit
? Where do you prefer placing config for Babel, PostCSS, ESLint, etc.? In packag
e.json
? Save this as a preset for future projects? Yes
? Save preset as: interface
上面就是一些配置的选择,你可以根据项目需要选择。
创建完成后会生成如下的项目结构:
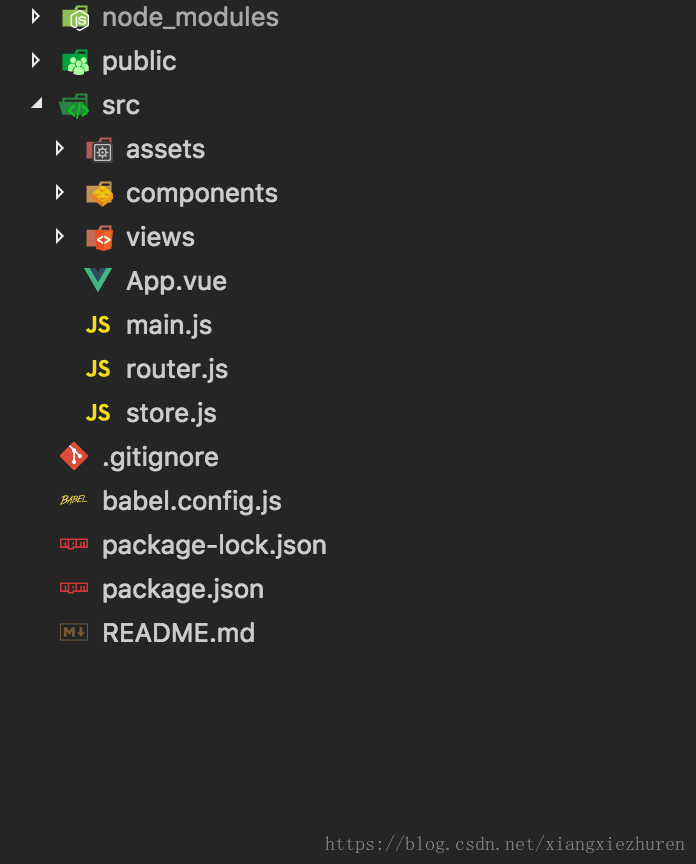
相比2.0精简了很多, 然后进入项目,启动服务:
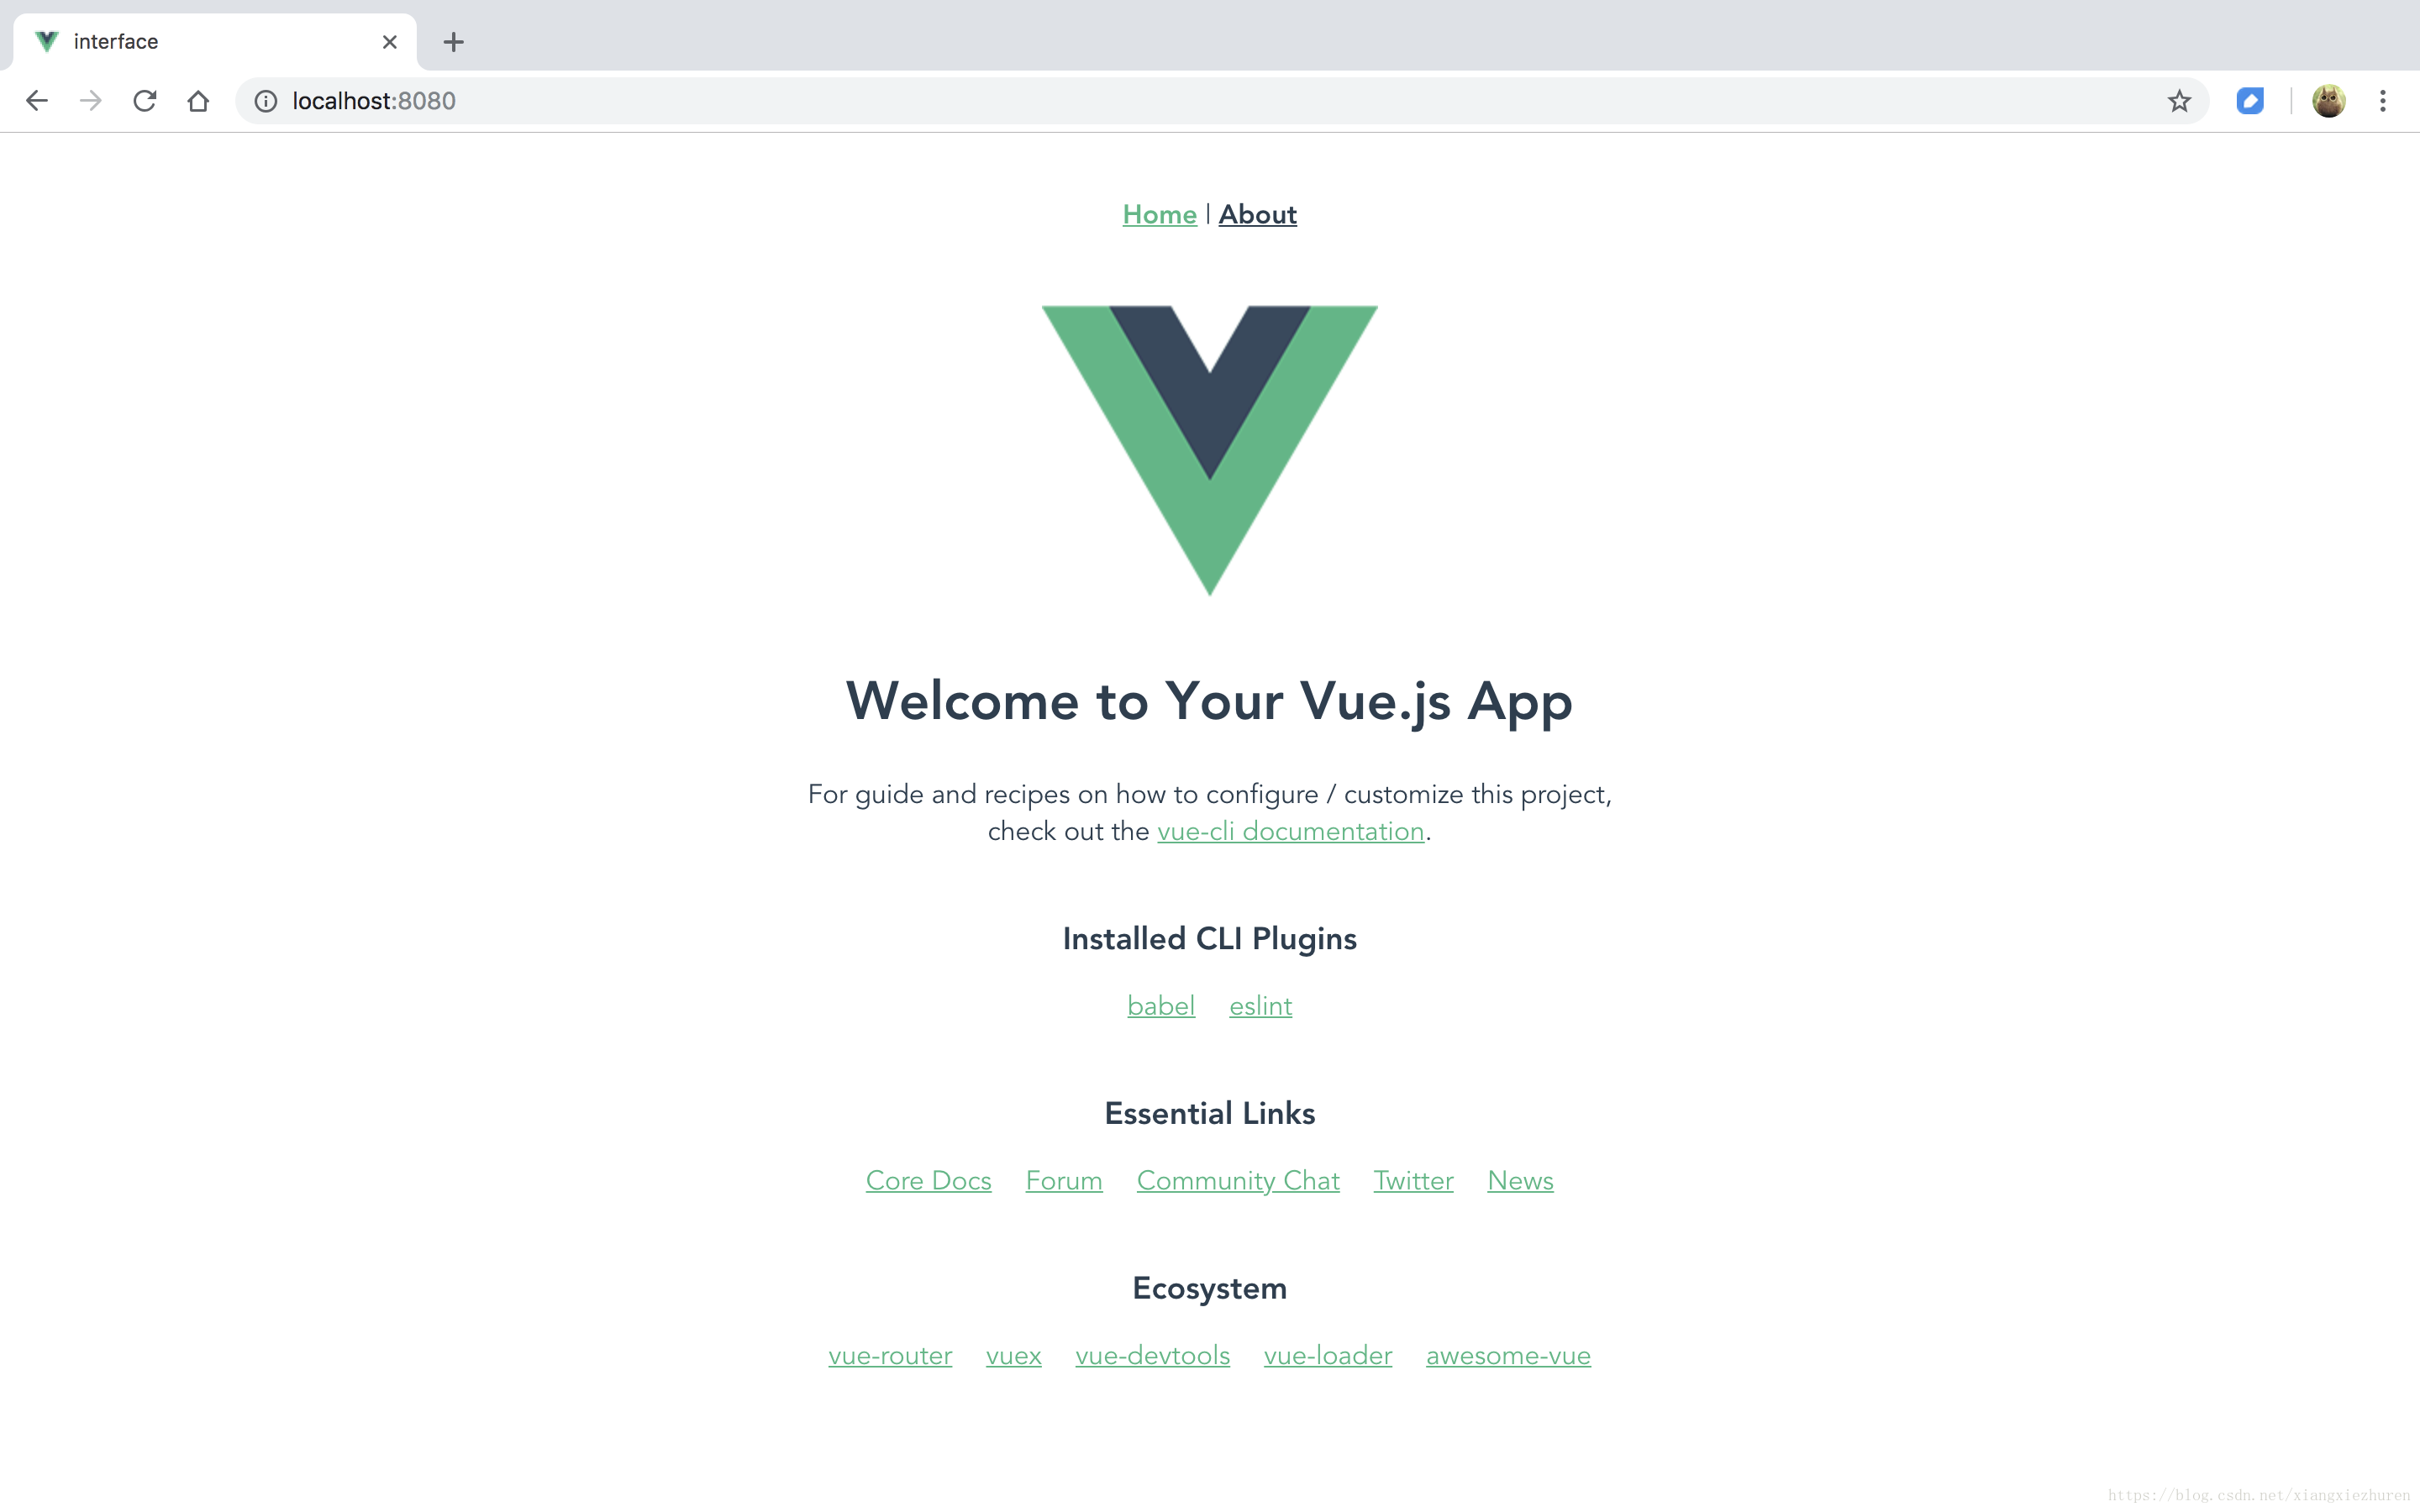
cd interface
npm run serve
启动如下页面:
4.项目配置
要进行项目的配置,需要在根目录下新建在根目录下创建vue.config.js,在该文件中可以进行项目的配置
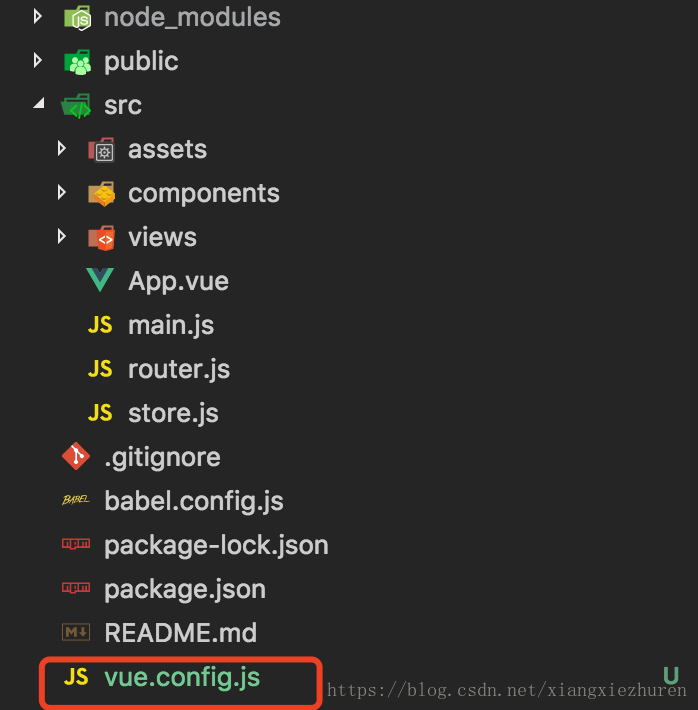
具体的配置项可以参考https://cli.vuejs.org/zh/config/
这里给出了简单的配置:
module.exports = {
    // 基本路径
    baseUrl: '/',
    // 输出文件目录
    outputDir: 'dist',
    // eslint-loader 是否在保存的时候检查
    lintOnSave: true,
    // use the full build with in-browser compiler?
    compiler: true,
    // webpack配置
    chainWebpack: () => {},
    configureWebpack: () => {},
    // vue-loader 配置项
    vueLoader: {},
    // 生产环境是否生成 sourceMap 文件
    productionSourceMap: true,
    // css相关配置
    css: {
        // 是否使用css分离插件 ExtractTextPlugin
        extract: true,
        // 开启 CSS source maps?
        sourceMap: false,
        // css预设器配置项
        loaderOptions: {},
        // 启用 CSS modules for all css / pre-processor files.
        modules: false
    },
    // use thread-loader for babel & TS in production build
    // enabled by default if the machine has more than 1 cores
    parallel: require('os').cpus().length > 1,
    // 是否启用dll
    dll: true,
    // PWA 插件相关配置
    pwa: {},
    // webpack-dev-server 相关配置
    devServer: {
        open: true,
        host: 'localhost',
        port: 8080,
        https: false,
        hotOnly: false,
        proxy: null, // 设置代理
        before: app => {}
    },
    // 第三方插件配置
    pluginOptions: {
        // ...
    }
}