VirtualBox
前言
VirtualBox is a powerful x86 and AMD64/Intel64 virtualization product for enterprise as well as home use. Not only is VirtualBox an extremely feature rich, high performance product for enterprise customers, it is also the only professional solution that is freely available as Open Source Software under the terms of the GNU General Public License (GPL) version 2. See “About VirtualBox” for an introduction.
Presently, VirtualBox runs on Windows, Linux, Macintosh, and Solaris hosts and supports a large number of guest operating systems including but not limited to Windows (NT 4.0, 2000, XP, Server 2003, Vista, Windows 7, Windows 8, Windows 10), DOS/Windows 3.x, Linux (2.4, 2.6, 3.x and 4.x), Solaris and OpenSolaris, OS/2, and OpenBSD.
VirtualBox is being actively developed with frequent releases and has an ever growing list of features, supported guest operating systems and platforms it runs on. VirtualBox is a community effort backed by a dedicated company: everyone is encouraged to contribute while Oracle ensures the product always meets professional quality criteria.
VirtualBox是一个强大的X86和AMD64/英特尔64虚拟化产品,为企业和家庭使用。VirtualBox不仅是面向企业客户的功能极其丰富、高性能的产品,而且是根据GNU通用公共许可证(GPL)版本2作为开放源码软件免费提供的唯一专业解决方案。请参阅“关于ValualBox”的介绍。
目前,VirtualBox运行在Windows、Linux、Macintosh和Solaris主机上,并支持大量客户操作系统,包括但不限于Windows(NT 4.0、2000、XP、Server 2003、Vista、Windows 7、Windows 8、Windows 10)、DOS/Windows 3.x、Linux(2.4、2.6、3.x和4.x)、Solarisd OpenSalARIS、OS/ 2和OpenBSD。
VirtualBox正在以频繁的发布进行积极的开发,并且具有不断增长的特性、支持的客户操作系统和它所运行的平台。VirtualBox是一个由专门的公司支持的社区工作:鼓励每个人都做出贡献,同时Oracle确保产品始终满足专业质量标准。
简而言之, VirtualBox是一款能在主机上创建并使用虚拟系统的免费开源软件.
安装教程
下载VirtualBox
VirtualBox下载点
windows下载地址
OS X下载地址
linux下载点
windows下安装
在安装成功之前或者之后, 记得开启主机的虚拟化功能.
第一步
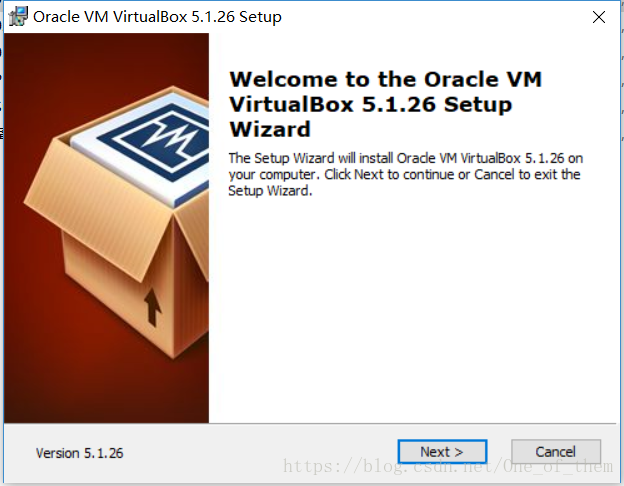
- 下载并打开VirtualBox安装包. 当前使用版本为:
VirtualBox-5.1.26-117224-Win.exe - 然后我们点击next, 进入下一步.
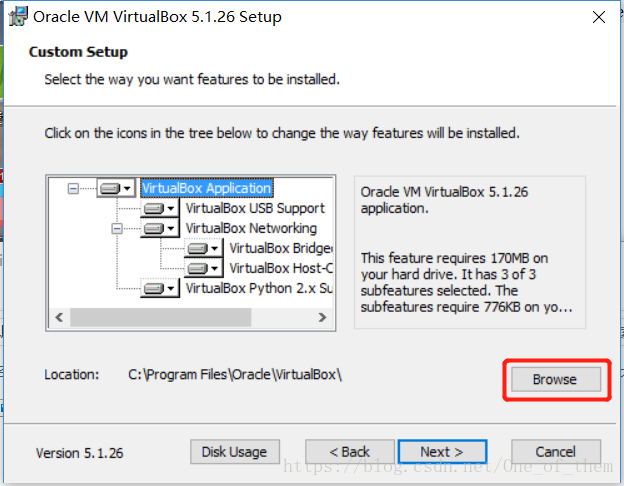
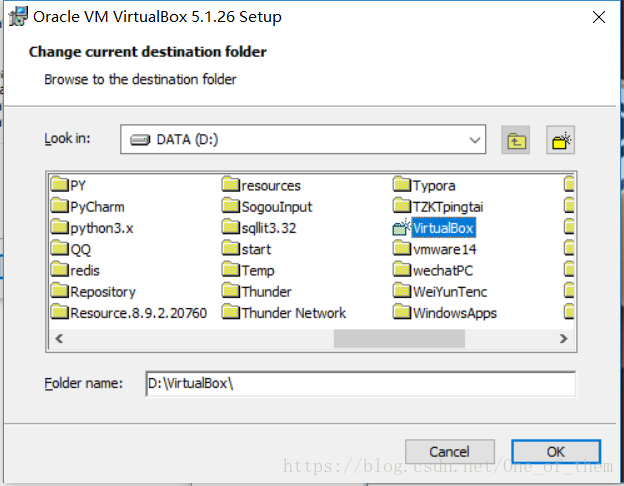
第二步
- 点击Browse, 选择一个路径为VirtualBox的安装路径, 这里最好不要安装在C盘(可在其他盘创建一个文件夹).
- 选择完成后点击OK, 然后再点击next进入下一步.
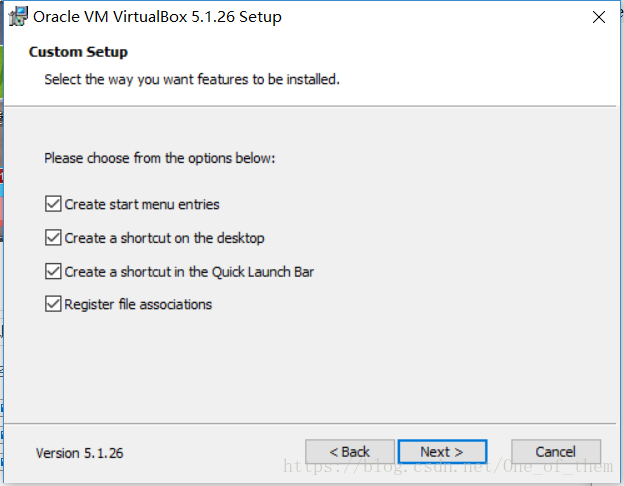
第三步
- 点击next进入下一步.
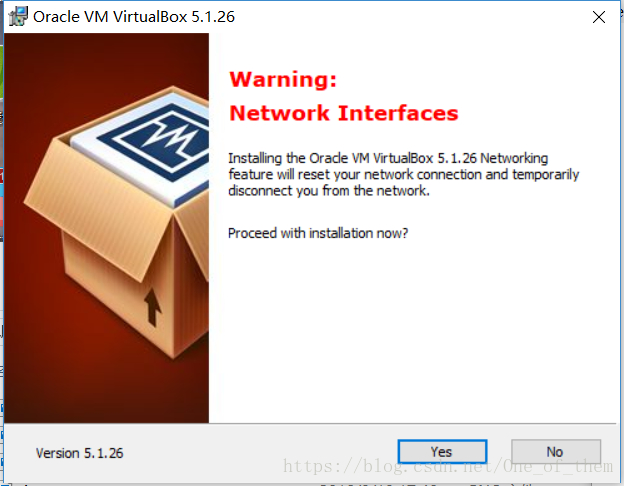
第四步
- 点击yes, 进入下一步.
第五步
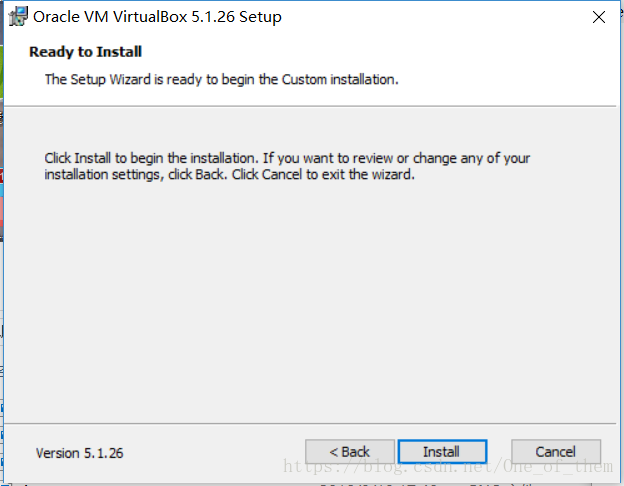
- 点击install, 进入安装.
- 如果在安装过程中出现弹窗, 点击yes或者安装就可以了.
- 如果在安装过程中出现弹窗, 点击yes或者安装就可以了.

第六步
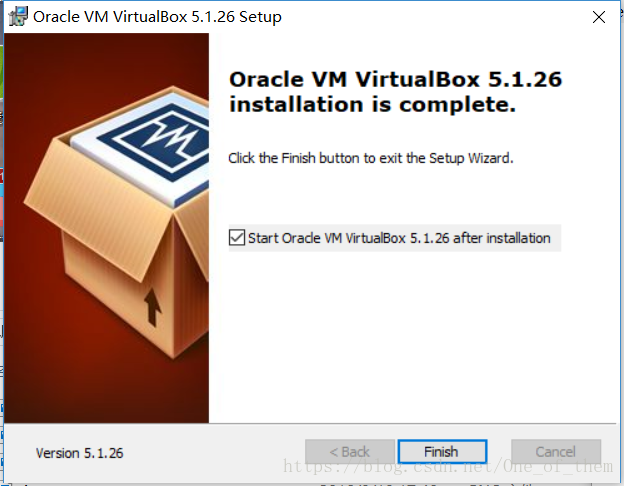
- 点击Finish完成安装.
VirtualBox简单配置
- 双击打开VirtualBox. 如有提示更新内容的弹窗, 可以选择性的关闭.
- 进入VirtualBox后, 在左上角有一行菜单栏, 点击"管理"->选择"全局设置"->选择"常规"->更改"默认虚拟电脑位置"的路径->点击"OK".
- 提示: "默认虚拟电脑位置"为虚拟系统存放位置, 强烈建议将路径改为非系统盘(系统盘为C盘)的其他盘下的文件路径. 这里我在D盘的VirtualBox中新建了一个xuni文件. eg: D:\VirtualBox\xuni
- 同上, 进入"全局设置"->选择左边选项中的"更新"->去掉"检查更新"的勾勾(即’√’)->点击"OK".
VirtualBox导入ubuntu1604
- 双击打开VirtualBox. 如有提示更新内容的弹窗, 可以选择性的关闭.
- 准备好我们使用的ubuntu1604系统.
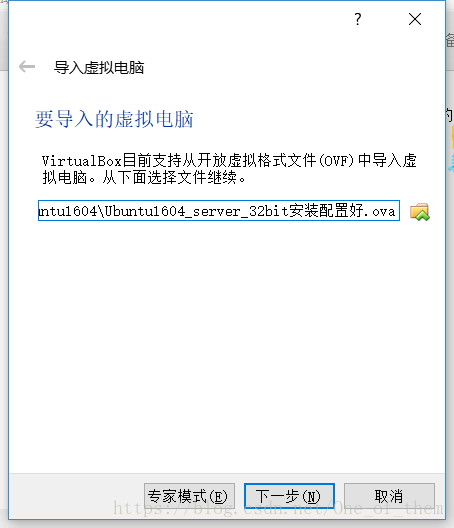
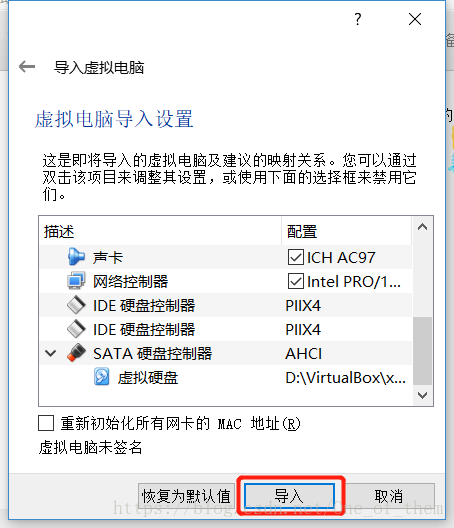
- 在左上角有一行菜单栏, 点击"管理"->选择"导入虚拟电脑"->然后找到我们已经准备好了的虚拟系统的路径->点击"下一步"->等待导入完成即可.
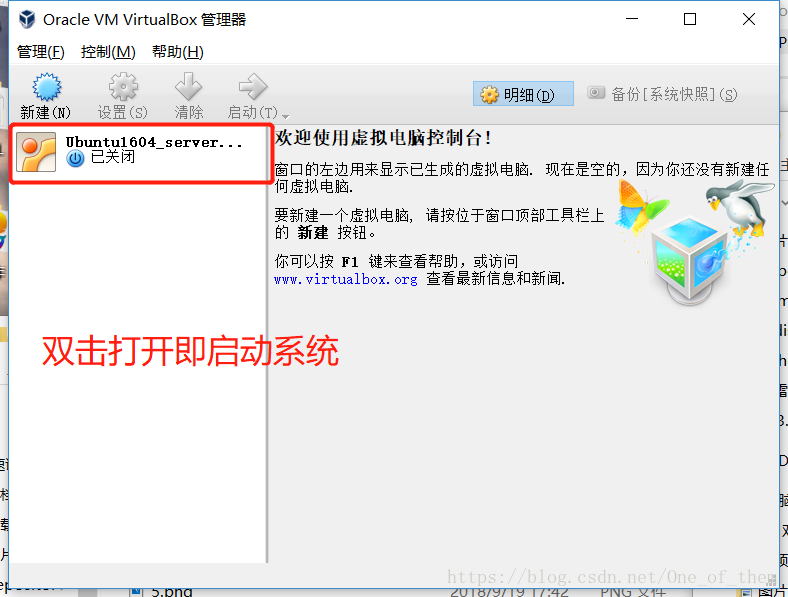
- 导入完成后, 主界面的左侧会有一个对应的选项存在(也就是我们导入的虚拟系统), 双击即可启动虚拟系统.
下面是流程图片.