React-Native给前端带来了新视野,可以使用web开发语言javascript来实现Native开发(ios/android),现在的前端能做的事情就更多了。
react-navigation的使用
react-native中使用导航器来实现native的路由功能,可是官网说的太简略了,唯一指出的一篇入门文档,还是英语。
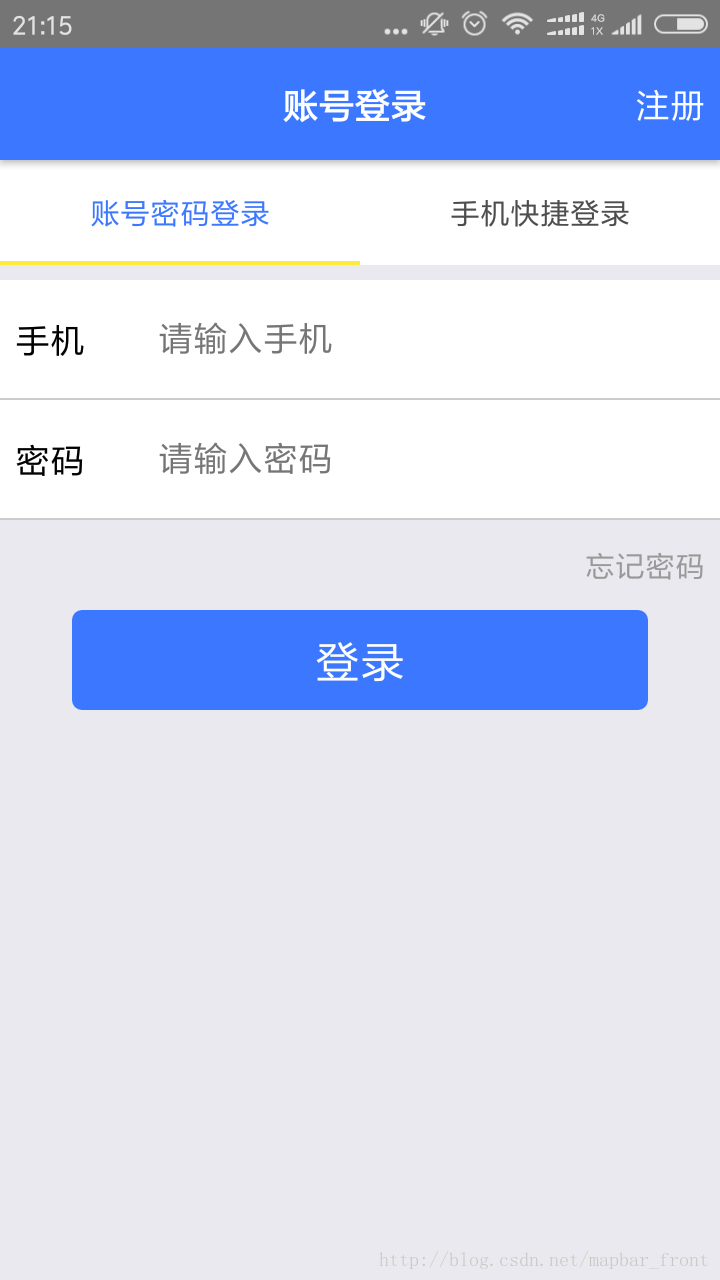
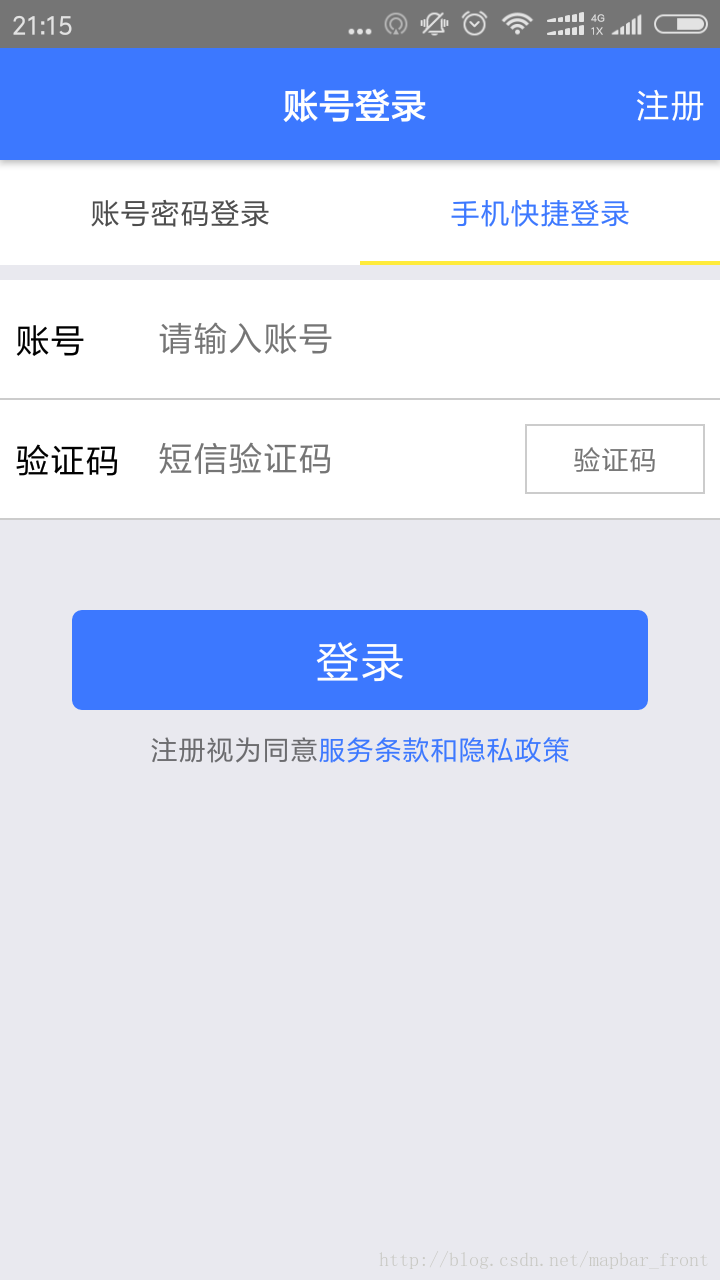
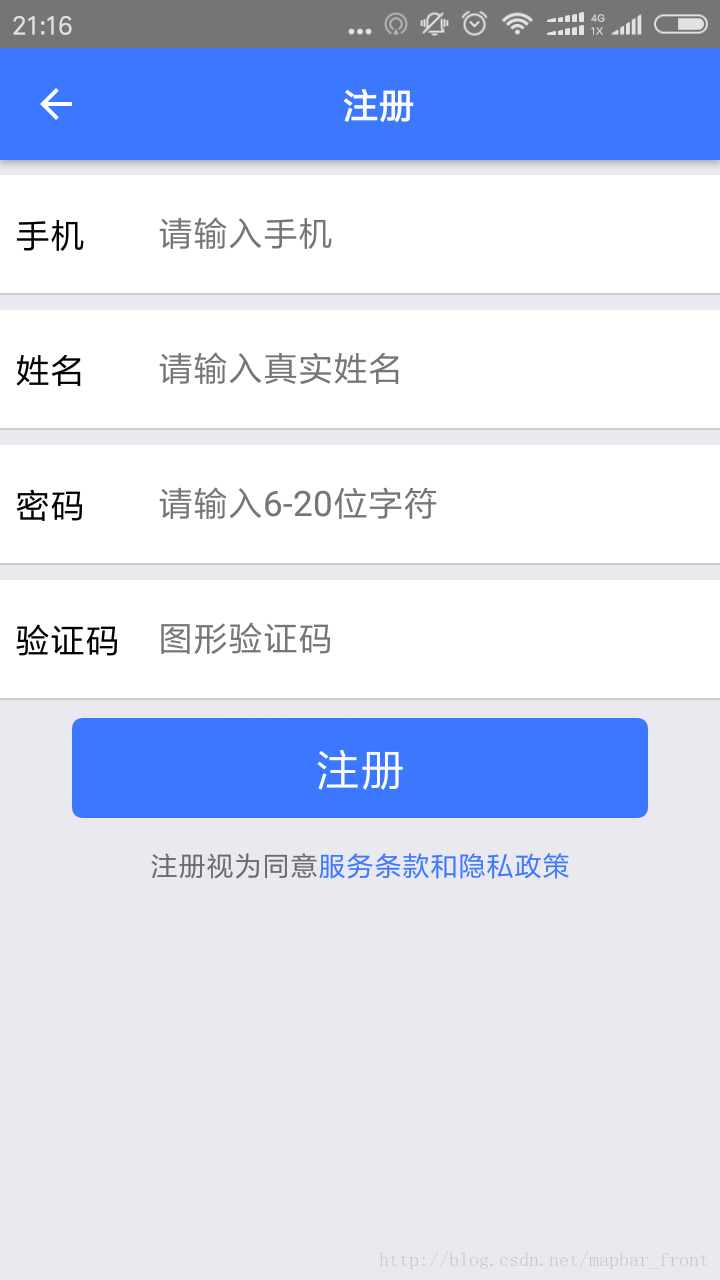
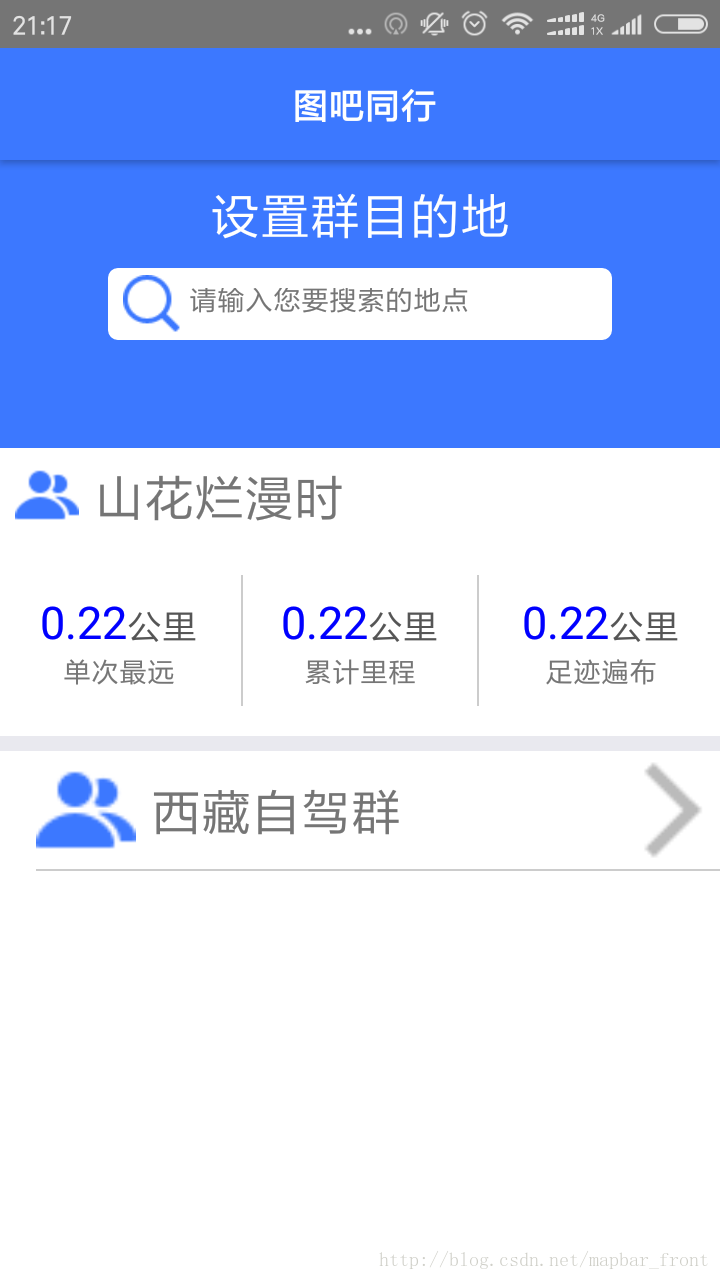
效果图示
基础知识
先吧react-navigation的基本知识做一个梳理,仅仅使用的是我们项目中常用的几个点。
首先,引入react-navigation
和引入其它模块的方式一样。先下载对应的依赖包。
npm install --save react-navigation
- 1
在项目中用到的地方引入。
import { StackNavigator,TabNavigator } from "react-navigation";
- 1
最后进行路由配置:
/**
 * @App:我的项目中简单的路由配置
 */
const MyApp = TabNavigator({
    Login:{
        screen:LoginScreen
   },
    OtherLogin:{
        screen:OtherLoginScreen
    }
},{
    tabBarOptions:{

        inactiveTintColor: '#000',
        activeTintColor: Env.color.mainColor,
        style:{
            backgroundColor:"#fff",
        },
        labelStyle:{
            fontSize: Env.screen.baseFontSize * 30
        }
    }
});
/**
 * 说明:App就是一个路由配置,StackNavigator的参数是一个对象。这个对象的属性代表路由,属性值代表路由对应的界面,也可以代表另外一个路由配置(MyApp不是一个界面,二是一个TabNavigator)。
 */
var App = StackNavigator({
    Login:{screen:MyApp},
    Register:{screen:RegisterScreen},
    Home: {
        screen:HomeScreen
    },
    Search: {
        screen:SearchScreen
    },
    SearchResult:{
        screen:SearchResultScreen
    },
    WatchMap:{
        screen:WatchMapScreen
    },
    Destination:{
        screen:DestinationScreen
    },
    SetPage:{
        screen:SetPageScreen
    },
    ChatPage:{
        screen:ChatPageScreen
    }
},{
    headerStyle:{
        height:0
    },
});
- 1
- 2
- 3
- 4
- 5
- 6
- 7
- 8
- 9
- 10
- 11
- 12
- 13
- 14
- 15
- 16
- 17
- 18
- 19
- 20
- 21
- 22
- 23
- 24
- 25
- 26
- 27
- 28
- 29
- 30
- 31
- 32
- 33
- 34
- 35
- 36
- 37
- 38
- 39
- 40
- 41
- 42
- 43
- 44
- 45
- 46
- 47
- 48
- 49
- 50
- 51
- 52
- 53
- 54
- 55
其次,react-navigation的 ‘TabNavigator‘ 和 ‘StackNavigator‘ 如何使用
StackNavigator:形成一个类似于‘栈‘这种数据结构的路由,一个新的界面加入,我们就push进去一个screen,如果退出,则使用pop() 的方式一步步回退到最顶层路由。
简单demo示例:
import React from 'react';
import {
  AppRegistry,
  Text,
} from 'react-native';
import { StackNavigator } from 'react-navigation';

class HomeScreen extends React.Component {
  static navigationOptions = {
    title: 'Welcome',
  };
  render() {
    return <Text>Hello, Navigation!</Text>;
  }
}

const SimpleApp = StackNavigator({
  Home: { screen: HomeScreen },
});

AppRegistry.registerComponent('SimpleApp', () => SimpleApp);
- 1
- 2
- 3
- 4
- 5
- 6
- 7
- 8
- 9
- 10
- 11
- 12
- 13
- 14
- 15
- 16
- 17
- 18
- 19
- 20
- 21
TabNavigator:同理,也能够进行这样的一个简单配置
import { TabNavigator } from "react-navigation";
//界面1
class RecentChatsScreen extends React.Component {
  render() {
    return <Text>List of recent chats</Text>
  }
}
//界面2
class AllContactsScreen extends React.Component {
  render() {
    return <Text>List of all contacts</Text>
  }
}
/**
 *@info:下面这样的配置。形成了一个tab界面,可以有点击切换的效果。
**/

const MainScreenNavigator = TabNavigator({
  Recent: { screen: RecentChatsScreen },
  All: { screen: AllContactsScreen },
});
- 1
- 2
- 3
- 4
- 5
- 6
- 7
- 8
- 9
- 10
- 11
- 12
- 13
- 14
- 15
- 16
- 17
- 18
- 19
- 20
- 21
- 22
再次,基本配置config
关于一个基本的tab切换,本身的样式很重要,在navigationOptions中进行配置。
//项目示例
export default class LoginScreen extends Component{
    constructor(props){
        super(props);
        _this = this;
    }
   //在一个Screen中,这里就是基本的配置,其中title就是你的导航器最上面的标题,headerRight代表你导航的右边是什么,headerStyle代表导航样式,headerTitleStyle代表导航标题的样式。
   //如果你的这个screen是一个tab页面,你还需要设定一个tabBarLabel,这个代表
    static navigationOptions = {
        title:"账号登录",
        headerRight:<TouchableOpacity onPress={()=>{
            _this.props.navigation.navigate('Register')
        }}><Text style={[estyle.font_base,estyle.font_color_white,estyle.marginRight]}>注册</Text></TouchableOpacity>,
        headerTintColor: Env.color.baseColor,

        headerStyle:{
            backgroundColor: Env.color.mainColor,
        },
        headerTitleStyle:{
            paddingLeft:Env.screen.baseFontSize * 250,
        },
        tabBarLabel:"账号密码登录",
    };

    render(){
        let _this = this;
        return (
            <View style={[estyle.fx1,estyle.paddingTop]}>
                <InputComponent them="手机" prompt="请输入手机"/>
                <InputComponent them="密码" prompt="请输入密码"/>
                <View style={[estyle.hegithLittle,estyle.clumnCenter,estyle.marginRight,{alignItems:'flex-end'}]}>
                    <Text style={[estyle.font_note,estyle.font_color_note]}>忘记密码</Text>
                </View>

                <View style={[estyle.hegithBase,estyle.rowCenter]}>
                    <BtnComponent style={[{width:Env.screen.width * 0.8,height:Env.screen.baseFontSize * 100}]} />
                </View>
            </View>
        )
    }
}
- 1
- 2
- 3
- 4
- 5
- 6
- 7
- 8
- 9
- 10
- 11
- 12
- 13
- 14
- 15
- 16
- 17
- 18
- 19
- 20
- 21
- 22
- 23
- 24
- 25
- 26
- 27
- 28
- 29
- 30
- 31
- 32
- 33
- 34
- 35
- 36
- 37
- 38
- 39
- 40
- 41
- 42
有时候,你可以能对tab界面的导航样式进行配置,可以在TabNavigator中进行基本的配置:
const MyApp = TabNavigator({
    Login:{
        screen:LoginScreen
   },
    OtherLogin:{
        screen:OtherLoginScreen
    }
},{
    //这个是关键配置,inactive代表非当前展示界面,active代表当前展示界面,style代表基本的样式,labelStyle代表一个tab界面字体的相关设置。
    tabBarOptions:{

        inactiveTintColor: '#000',
        activeTintColor: Env.color.mainColor,
        style:{
            backgroundColor:"#fff",
        },
        labelStyle:{
            fontSize: Env.screen.baseFontSize * 30
        }
    }
});
- 1
- 2
- 3
- 4
- 5
- 6
- 7
- 8
- 9
- 10
- 11
- 12
- 13
- 14
- 15
- 16
- 17
- 18
- 19
- 20
- 21
以上就是一个基本的配置,如果需要仔细研究,我的项目github地址
https://github.com/liwudi/we_travel_native.git
关于导航器的官网入门教程:
https://reactnavigation.org/docs/intro/