版权声明:本文为博主原创文章,未经博主允许不得转载。 https://blog.csdn.net/LJX_ahut/article/details/81978405
小菜鸟学习spring,最近在啃 Spring IN ACTION ,中文版书名为spring实战,本书被大多数人点赞和好评。为了提高学习效果,特此做一个简单的笔记以便温习回顾,如有错误或者您有更好的建议与意见烦请指正指导。
接续上文,spring环境已搭建完成,详情参考:https://blog.csdn.net/LJX_ahut/article/details/81974877
接下来记录bean的装配方式,bean的装配可选方案有以下三种
1.在xml文件中进行显式配置
2.在java中进行显式配置
3.隐式的bean发现机制和自动装配
在上一篇中的博文中,验证spring环境时采用的bean的装配方式就是第一种--xml文件显式配置,现在详细记录一下,首先新建一个Javabean,为了节省篇幅我就不粘贴get和set方法了,代码如下
package org.lujx.chapter1.knights;
public class Person {
	private String name;
	private int age;
	private String gender;
	public Person(String name, int age, String gender) {
		super();
		this.name = name;
		this.age = age;
		this.gender = gender;
	}
}
在application.xml中注册这个bean
<?xml version="1.0" encoding="UTF-8"?>
<beans xmlns="http://www.springframework.org/schema/beans"
	xmlns:xsi="http://www.w3.org/2001/XMLSchema-instance"
	xmlns:aop="http://www.springframework.org/schema/aop"
	xmlns:c="http://www.springframework.org/schema/c"
	xmlns:context="http://www.springframework.org/schema/context"
	xmlns:jee="http://www.springframework.org/schema/jee"
	xmlns:lang="http://www.springframework.org/schema/lang"
	xmlns:tx="http://www.springframework.org/schema/tx"
	xsi:schemaLocation="http://www.springframework.org/schema/beans http://www.springframework.org/schema/beans/spring-beans.xsd
		http://www.springframework.org/schema/aop http://www.springframework.org/schema/aop/spring-aop.xsd
		http://www.springframework.org/schema/context http://www.springframework.org/schema/context/spring-context.xsd
		http://www.springframework.org/schema/jee http://www.springframework.org/schema/jee/spring-jee.xsd
		http://www.springframework.org/schema/lang http://www.springframework.org/schema/lang/spring-lang.xsd
		http://www.springframework.org/schema/tx http://www.springframework.org/schema/tx/spring-tx.xsd">
	<bean id="person" class="org.lujx.chapter1.knights.Person">
	</bean>
</beans>
当然,此时如果在测试类中使用person实例,会发现此时获取到的属性值为null;因为在初始化bean时没有配置属性,如下图所示
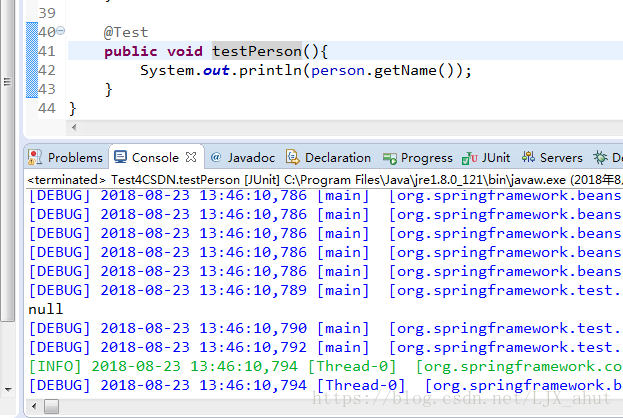
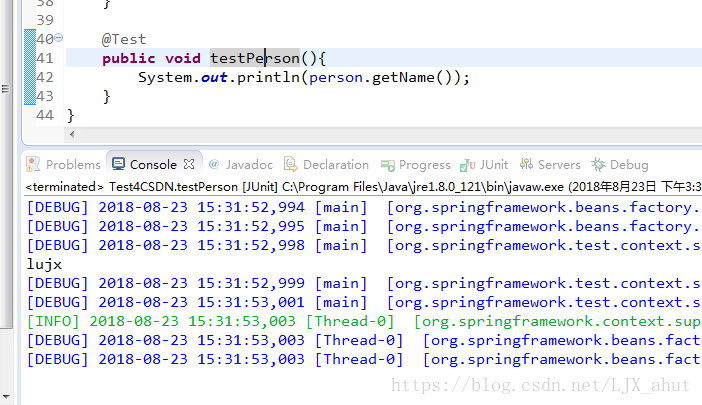
属性注入,修改配置为下图所示,property标签相当于set···()方法,例如<property name="name" value="lujx"/> 等价于public void setName(String name){this.name = name;}
	<bean id="person" class="org.lujx.chapter1.knights.Person">
		<property name="name" value="lujx"/>
		<property name="age" value="23"/>
		<property name="gender" value="male"/>
	</bean>
运行测试结果
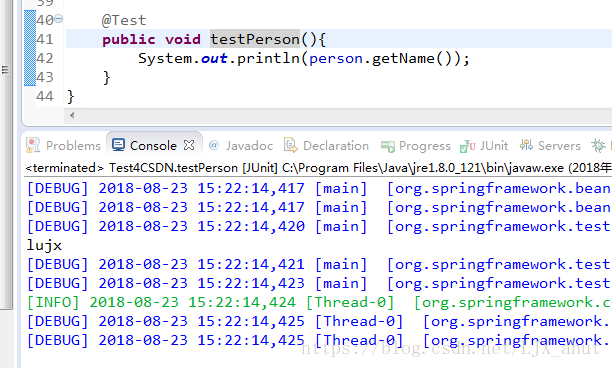
构造函数注入,修改配置为
<bean id="person" class="org.lujx.chapter1.knights.Person">
        <!--根据构造方法中的类型注入-->
		<constructor-arg type="java.lang.String" value="lujx" />
		<constructor-arg type="int" value="23" />
		<constructor-arg type="java.lang.String" value="male" />
</bean>
或者
<bean id="person" class="org.lujx.chapter1.knights.Person">
        <!--根据构造方法参数顺序注入-->
		<constructor-arg index="0" value="lujx" />
		<constructor-arg index="1" value="23" />
		<constructor-arg index="2" value="male" />
</bean>
或者
	<bean id="person" class="org.lujx.chapter1.knights.Person">
        <!--根据参数名注入-->
		<constructor-arg name="name" value="lujx" />
		<constructor-arg name="age" value="23" />
		<constructor-arg name="gender" value="male" />
	</bean>
结果