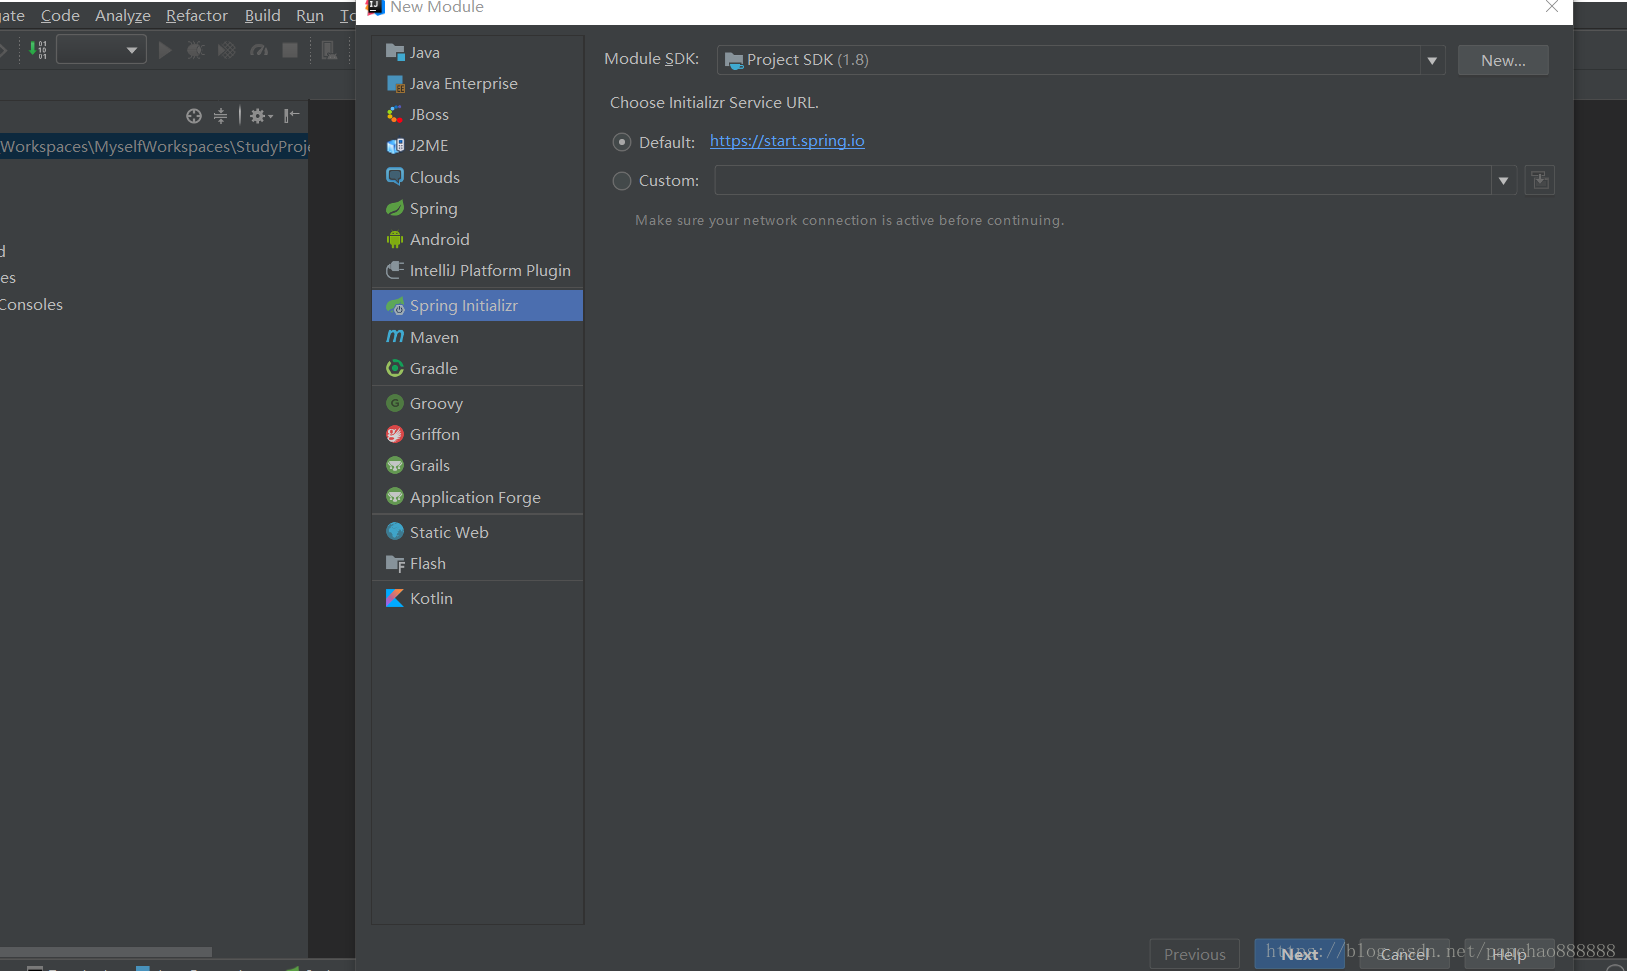
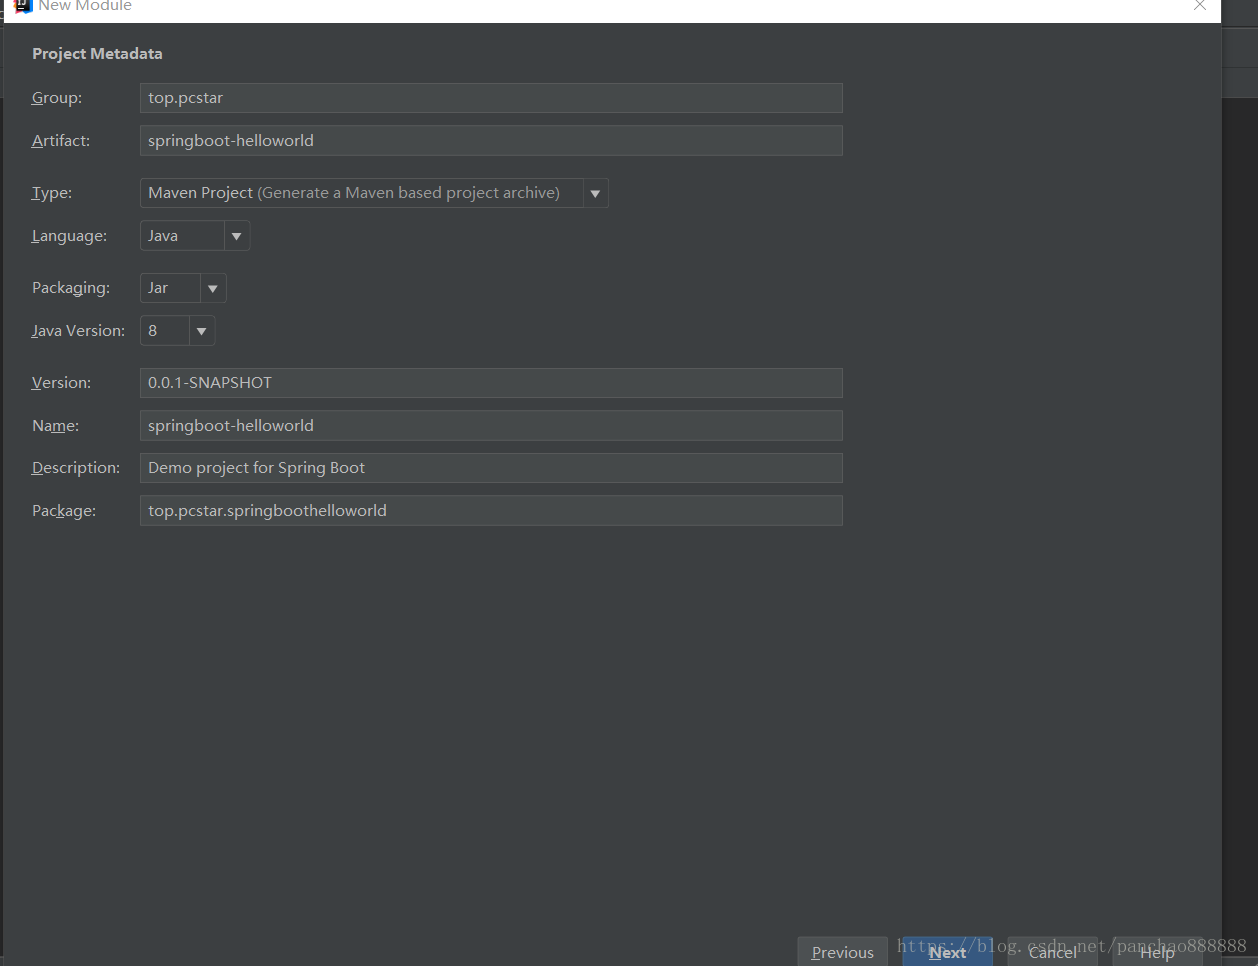
1. 创建一个Maven工程
创建一个名为”springboot-helloworld” 类型为Jar工程项目
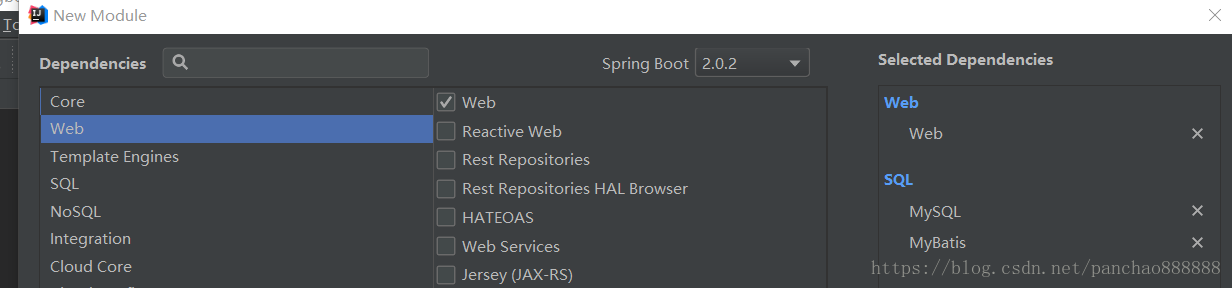
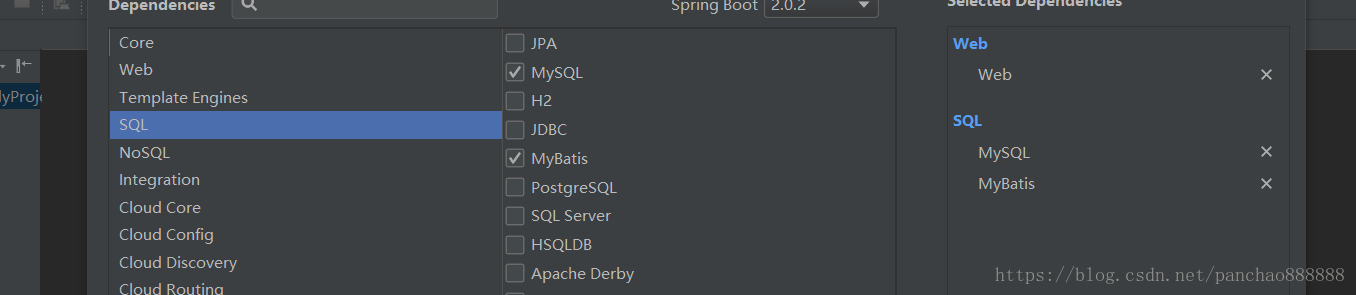

2. pom文件引入依赖
<parent>
    <groupId>org.springframework.boot</groupId>
    <artifactId>spring-boot-starter-parent</artifactId>
    <version>2.0.1.RELEASE</version>
    <relativePath/> <!-- lookup parent from repository -->
</parent>
<dependencies>
    <dependency>
        <groupId>org.springframework.boot</groupId>
        <artifactId>spring-boot-starter-web</artifactId>
    </dependency>

    <dependency>
        <groupId>mysql</groupId>
        <artifactId>mysql-connector-java</artifactId>
        <scope>runtime</scope>
    </dependency>
    <dependency>
        <groupId>org.springframework.boot</groupId>
        <artifactId>spring-boot-starter-test</artifactId>
        <scope>test</scope>
    </dependency>
</dependencies>
<build>
    <plugins>
        <plugin>
            <groupId>org.springframework.boot</groupId>
            <artifactId>spring-boot-maven-plugin</artifactId>
        </plugin>
    </plugins>
</build>
spring-boot-starter-parent作用:在pom.xml中引入spring-boot-start-parent,spring官方的解释叫什么stater poms,它可以提供dependency management,也就是说依赖管理,引入以后在申明其它dependency的时候就不需要version了,后面可以看到。
spring-boot-starter-web作用:springweb 核心组件。
spring-boot-maven-plugin作用:如果我们要直接Main启动spring,那么以下plugin必须要添加,否则是无法启动的。如果使用maven 的spring-boot:run的话是不需要此配置的。
3. 编写HelloWorld服务
创建package包名top.pcstar.springboothelloworld.controller(根据实际情况修改)
创建HelloController类,内容如下:
@RestController
@EnableAutoConfiguration
public class HelloController {
    @RequestMapping("/hello")
    public String index() {
        return "Hello World";
    }
    public static void main(String[] args) {
        SpringApplication.run(HelloController.class, args);
    }
}
4. @RestController
在类上加上注解@RestController表示修饰该Controller所有的方法返回JSON格式,直接可以编写
Restful接口;
@RestController = @Controller + @ResponseBody
5. @EnableAutoConfiguration
@EnableAutoConfiguration注解:作用在于让 Spring Boot根据应用所声明的依赖来对 Spring 框架进行自动配置;
@EnableAutoConfiguration注解告诉Spring Boot根据添加的jar依赖猜测你想如何配置Spring。由于spring-boot-starter-web添加了Tomcat和Spring MVC,所以auto-configuration将假定你正在开发一个web应用并相应地对Spring进行设置。
6. SpringApplication.run(HelloController.class, args);
标识为启动类,Spring Boot用它来启动项目
7. SpringBoot启动方式1
Spring Boot默认端口号为8080
@RestController
@EnableAutoConfiguration
public class HelloController {
    @RequestMapping("/hello")
    public String index() {
        return "Hello World!";
    }
    public static void main(String[] args) {
        SpringApplication.run(HelloController.class, args);
    }
}
启动主程序,打开浏览器访问 http://localhost:8080/hello ,可以看到页面输出Hello World
8. SpringBoot启动方式2
扫包范围:controller控制器包
@ComponentScan(basePackages = “top.pcstar.springboothelloworld.controller”)
/**
 * @Author: PanChao
 * @Description: 启动类
 * @Date: Created in 12:56 2018/5/29
 */
@EnableAutoConfiguration
@ComponentScan(basePackages = "top.pcstar.springboothelloworld.controller")
public class App {
    public static void main(String[] args) {
        SpringApplication.run(App.class, args);
    }
}
9. SpringBoot启动方式3
@SpringBootApplication作用:启动项目,整合常用注解,扫包作用,只能在当前同级包下
@SpringBootApplication=@SpringBootConfiguration + @EnableAutoConfiguration + @ComponentScan
package top.pcstar.springboothelloworld;

import org.springframework.boot.SpringApplication;
import org.springframework.boot.autoconfigure.SpringBootApplication;

/**
 * @Author: PanChao
 * @Description: 启动类
 * @Date: Created in 12:56 2018/5/29
 */
//@EnableAutoConfiguration
//@ComponentScan(basePackages = "top.pcstar.springboothelloworld.controller")
//@EntityScan("top.pcstar.springboothelloworld.entity")
//@EnableJpaRepositories("top.pcstar.springboothelloworld.dao")
@SpringBootApplication
public class App {
    public static void main(String[] args) {
        SpringApplication.run(App.class, args);
    }
}