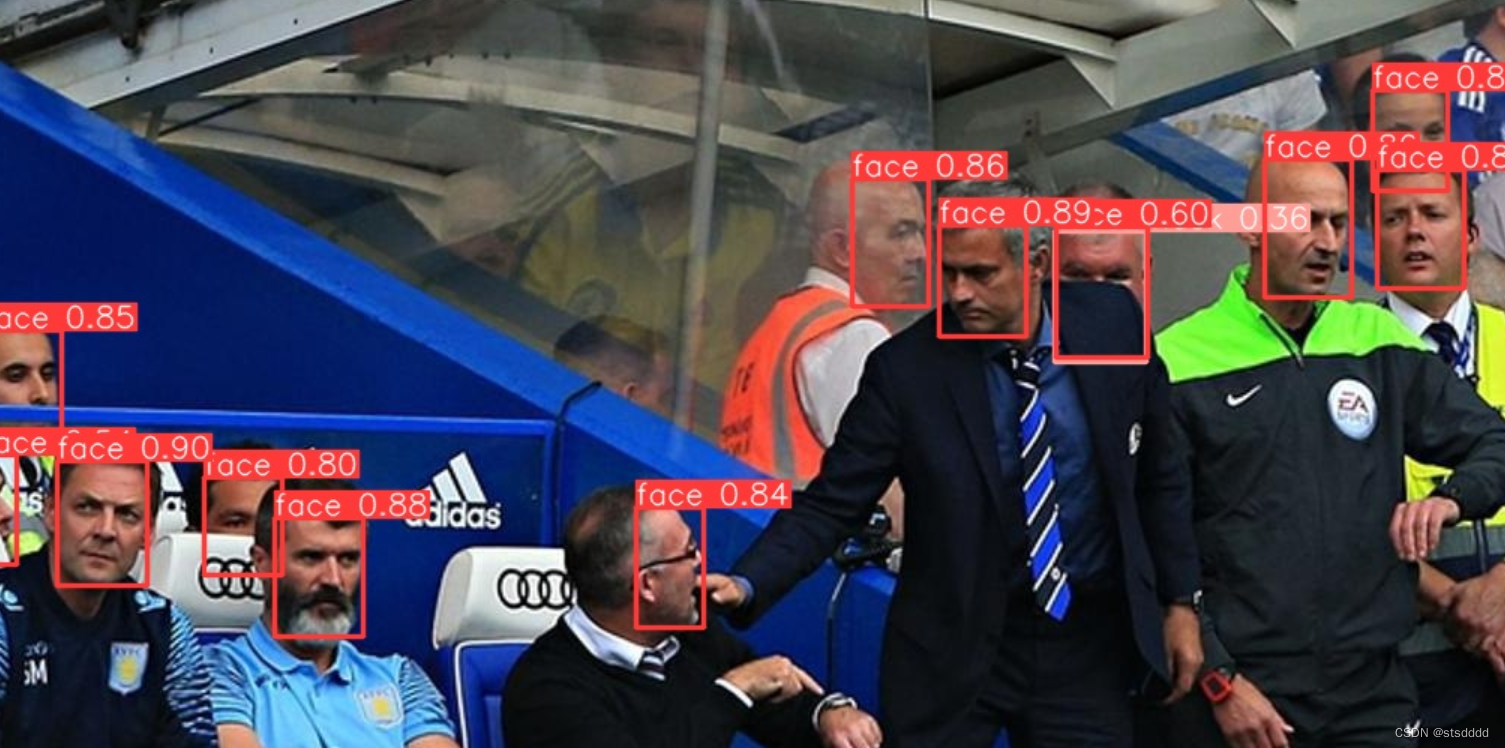
YOLOv5实现口罩和人脸检测
YOLOv5口罩模型和数据集下载:
1、口罩和人脸检测数据集
2、YOLOv5口罩和人脸检测模型
3、YOLOv5口罩和人脸检测模型+pyqt界面
4、yolov3口罩检测训练好的模型
python配置环境
首先安装好anaconda3后,在anaconda上面新建python3.8虚拟环境,打开anaconda终端,输入如下命令:
conda create -n py38 python=3.8	# py38是虚拟环境的名字,可以更改
conda activate py38	# 激活创建好的虚拟环境
pytorch安装
YOLOv5项目在CPU和GPU下均可运行,但是CPU运行速度很慢,当然使用已经训练好的模型用来测试得出结果,CPU也是可行的,如果需要自己重新训练数据集,最好还是得有一个可用的英伟达的显卡。
如果有显卡,需要确定支持的CUDA的版本,所以有显卡的可以安装GPU版本的Pytorch,只有CPU的直接安装CPU版本的pytorch。在anaconda中激活创建好的虚拟环境,执行对应版本的命令就可以:
# GPU版本pytorch安装命令
pip install torch==1.8.1+cu111 torchvision==0.9.1+cu111 torchaudio==0.8.1 -f https://download.pytorch.org/whl/torch_stable.html
# CPU版本pytorch安装命令
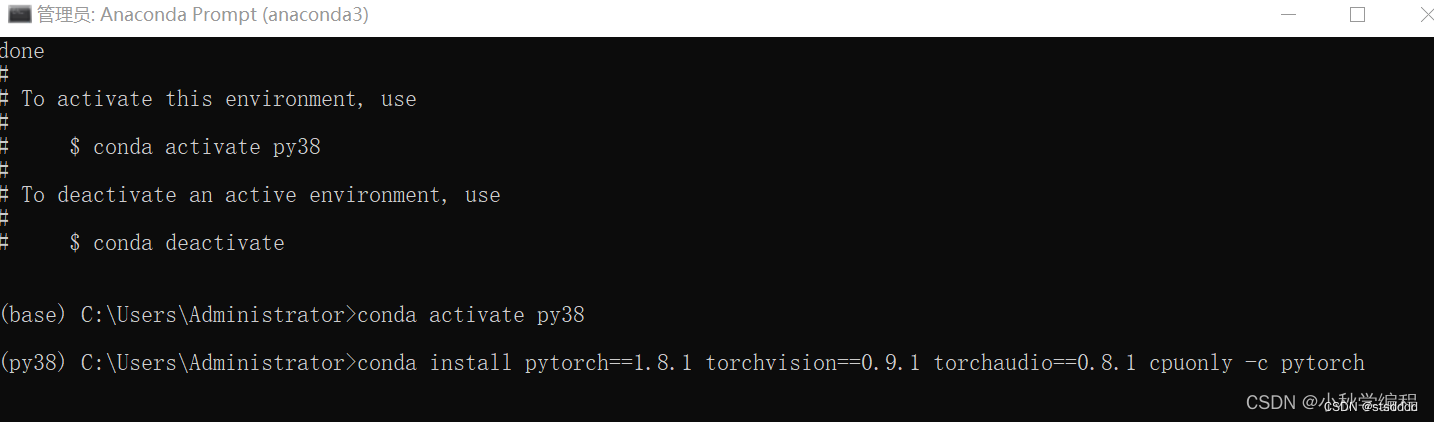
conda install pytorch==1.8.1 torchvision==0.9.1 torchaudio==0.8.1 cpuonly -c pytorch
执行命令后如下,需要激活虚拟环境后再安装,也就是安装在py38环境中:
安装YOLOv5环境
首先下载YOLOv5口罩和人脸检测模型;若需要pyqt界面,下载YOLOv5口罩和人脸检测模型+pyQT界面
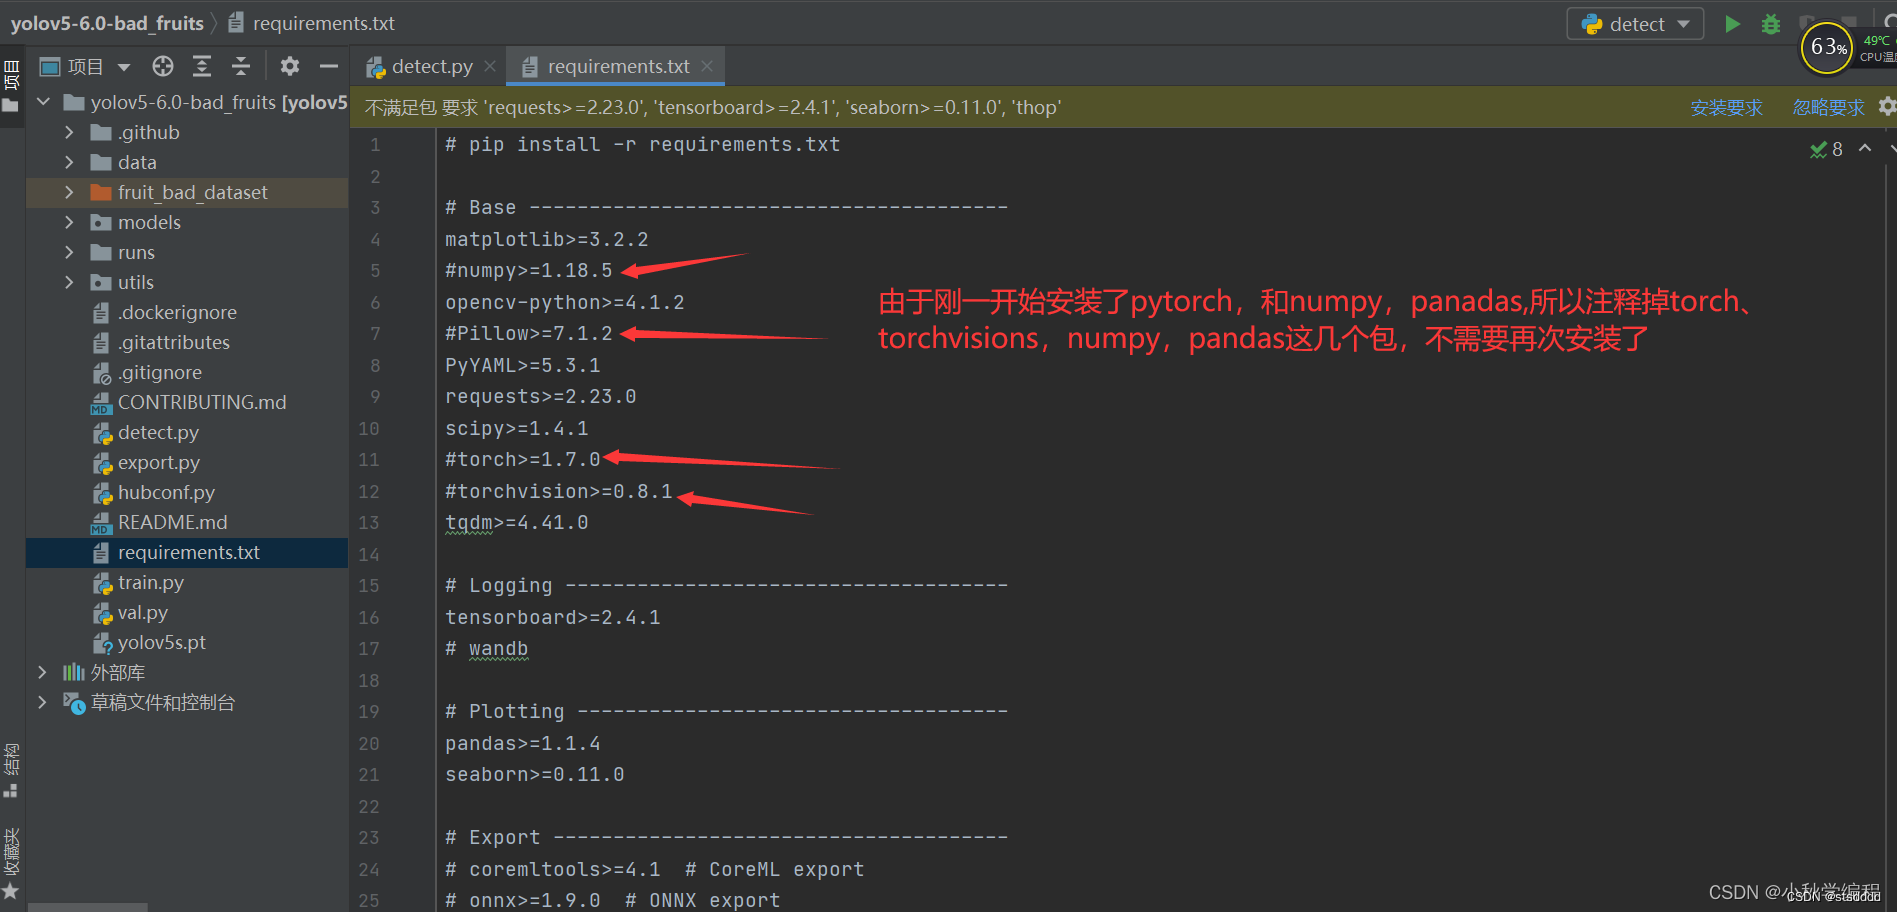
项目文件下有需要安装的依赖要求在requirements.txt文件中,我们在pycharm终端里面来安装其他依赖
在pycharm中打开项目文件夹下的requiremes.txt,注释掉已经安装好的包,此外还安装pyqt5用于可视化界面:
 接下来打来pycharm自带终端:
 输入命令:
输入命令:pip install -r requirements.txt 安装即可,pip install 也可以添加清华源安装加速,则输入:
 pip install -r requirements.txt  -i https://pypi.tuna.tsinghua.edu.cn/simple
 pip install pyqt5 -i https://pypi.tuna.tsinghua.edu.cn/simple

使用训练好的YOLov5口罩和人脸检测模型运行推理
训练好的口罩和人脸检测模型模型保存在runs/train下的文件夹中,包含YOLOv5s和YOLOv5m两种训练好的模型。
在pycharm终端中执行如下命令:
python detect.py --source play_phone-dataset/img/1.jpg --weights runs/train/play_phone-v5s/weights/best.pt
若需要在运行过程中展示图片,需要在输入命令行中加入参数--view-img
python detect.py --source play_phone-dataset/img/1.jpg --weights runs/train/play_phone-v5s/weights/best.pt --view-img
yolov5支可以检测图像、视频、批量图像检测以及调用自带摄像头或者USB摄像头,具体的使用方法如下:
 python detect.py --source 0  # 调用自带摄像头
                            file.jpg  # image
                            file.mp4  # video
                            path/  # directory目录
                            path/*.jpg  # glob所有图片
如检测视屏,需要将如下命令中的file.mp4换成自己的视屏文件路径即可:

python detect.py --source file.mp4 --weights runs/train/play_phone-v5s/weights/best.pt --view-img
如果需要调用电脑自带摄像头检测:
python detect.py --source 0 --weights runs/train/play_phone-v5s/weights/best.pt --view-img
批量检测图片则执行如下命令:
python detect.py --source play_phone-dataset/img --weights runs/train/play_phone-v5s/weights/best.pt
到此就完成了如何使用已经训练好的口罩和人脸检测模型模型来进行推理得到识别结果了,其他YOLOv5识别模型也是这种步骤来实现的。
口罩和人脸检测模型结果可视化: