文章目录
1.准备Linux机器
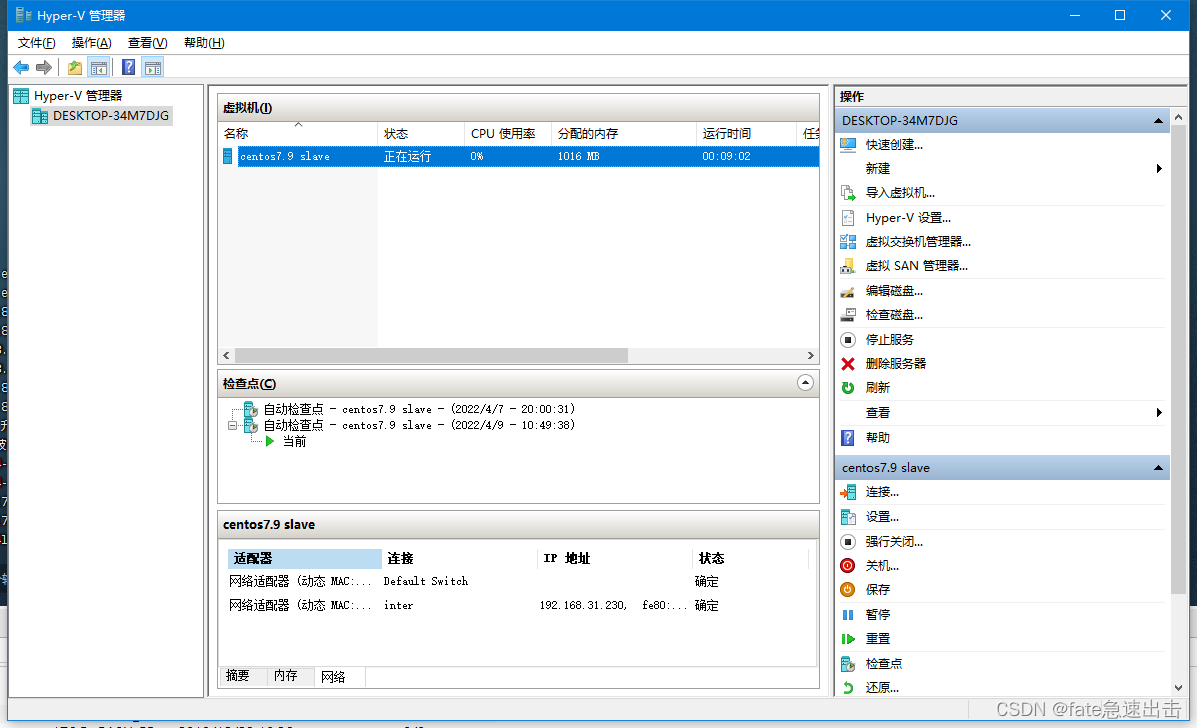
1.1准备一台虚拟机
- 我这边用的是新导入的本地虚拟机(centos7.9_2009)
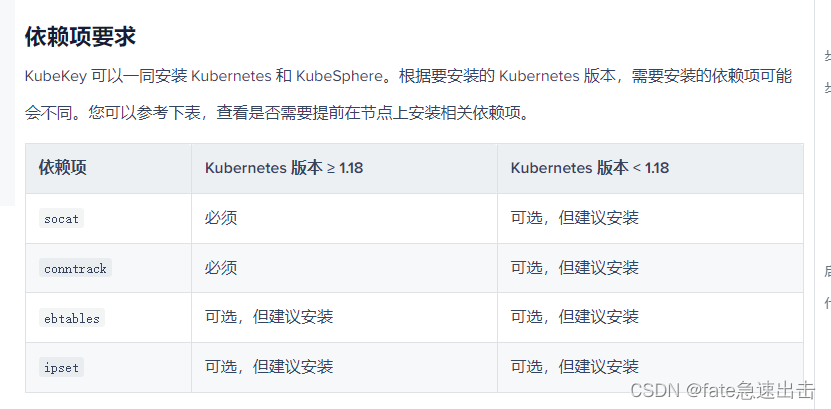
1.2安装必要依赖项
- 我这边先参考KubeSphere的文档为虚拟机装必备的依赖包 socat , conntrack
- KubeSphere地址
yum update
yum install -y curl
yum install -y socat
yum install -y vim
yum install -y conntrack
- 关闭swap交换分区, 关闭防火墙
swapoff -a
#查看防火墙状态
firewall-cmd --state
#CentOS 7.0默认使用的是firewall作为防火墙
#停止firewall
systemctl stop firewalld.service
#禁止防火墙开启启动
systemctl disable firewalld.service
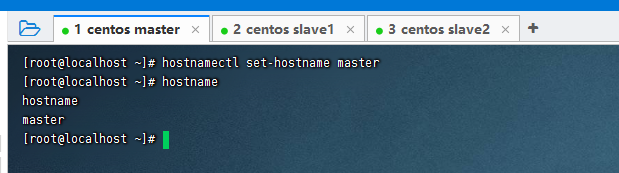
1.3导出上边配置的机器,然后再复制两台
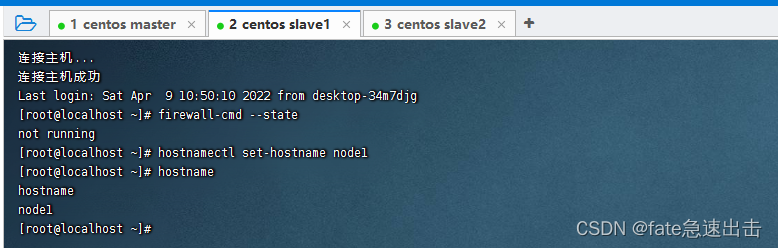
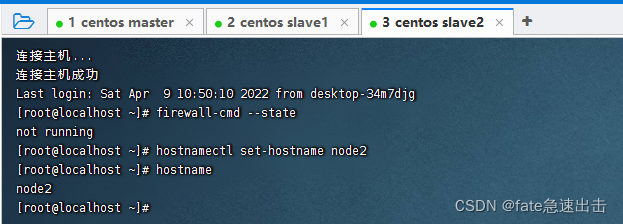
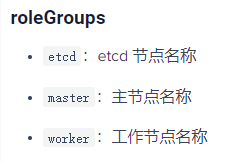
- 每个节点分别设置对应主机名
hostnamectl set-hostname master
hostnamectl set-hostname node1
hostnamectl set-hostname node2

1.4验证三台机器ssh 是否互通
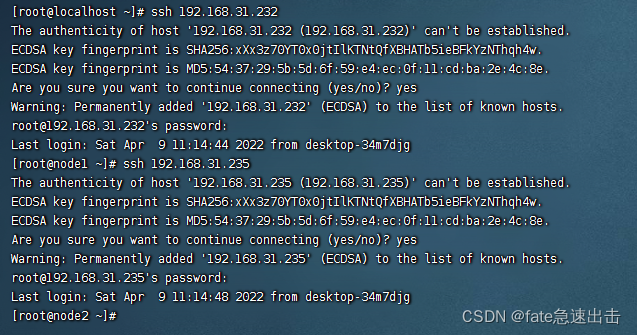
- 我这里是互通的, 可以继续执行以下操作
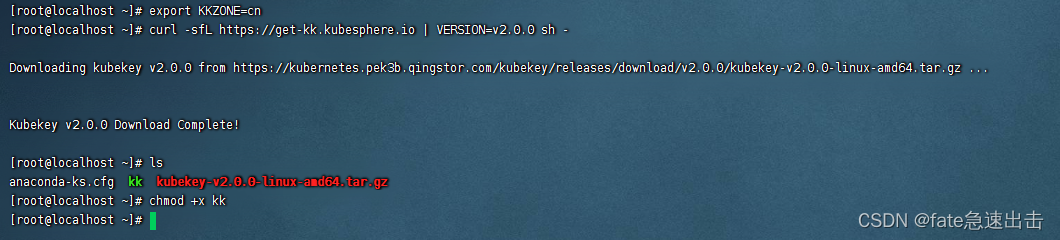
2.下载 KubeKey (master 节点执行即可)
- 先执行以下命令以确保您从正确的区域下载 KubeKey
export KKZONE=cn
- 执行以下命令下载 KubeKey:
curl -sfL https://get-kk.kubesphere.io | VERSION=v2.0.0 sh -
为 kk 添加可执行权限:
chmod +x kk
3.创建集群
3.1创建示例配置文件
./kk create config [–with-kubernetes version] [–with-kubesphere version] [(-f | --file) path]
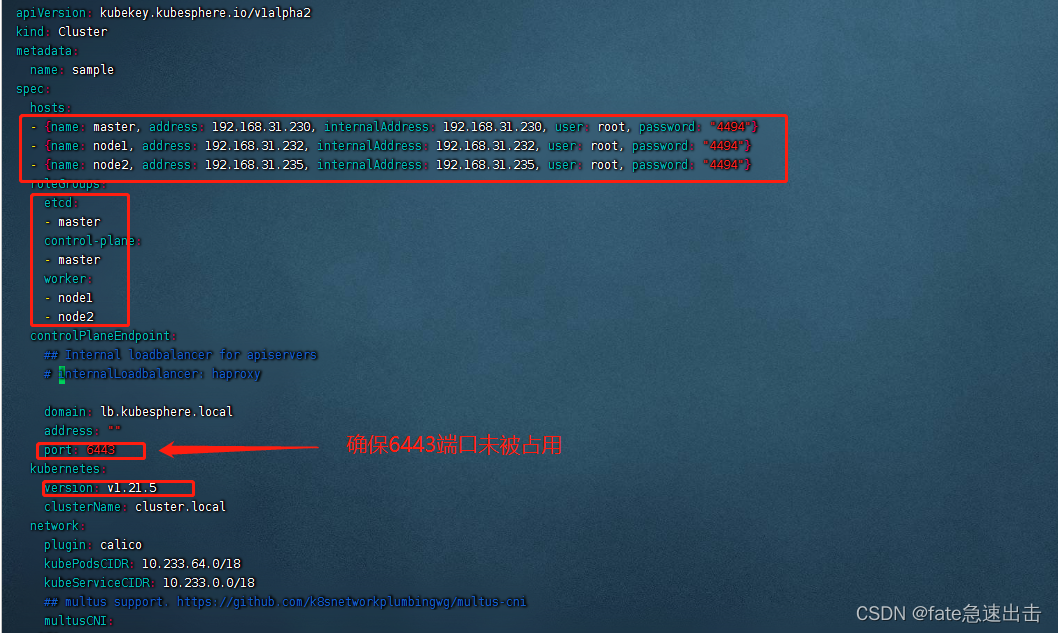
- 我这边用的kubernete版本是1.21.5,kubesphere 版本是3.2.1 ,落地文件名为k8s.yaml
./kk create config --with-kubernetes v1.21.5 --with-kubesphere v3.2.1 -f k8s.yaml
3.2编辑配置文件
vim k8s.yaml
4.使用配置文件创建集群
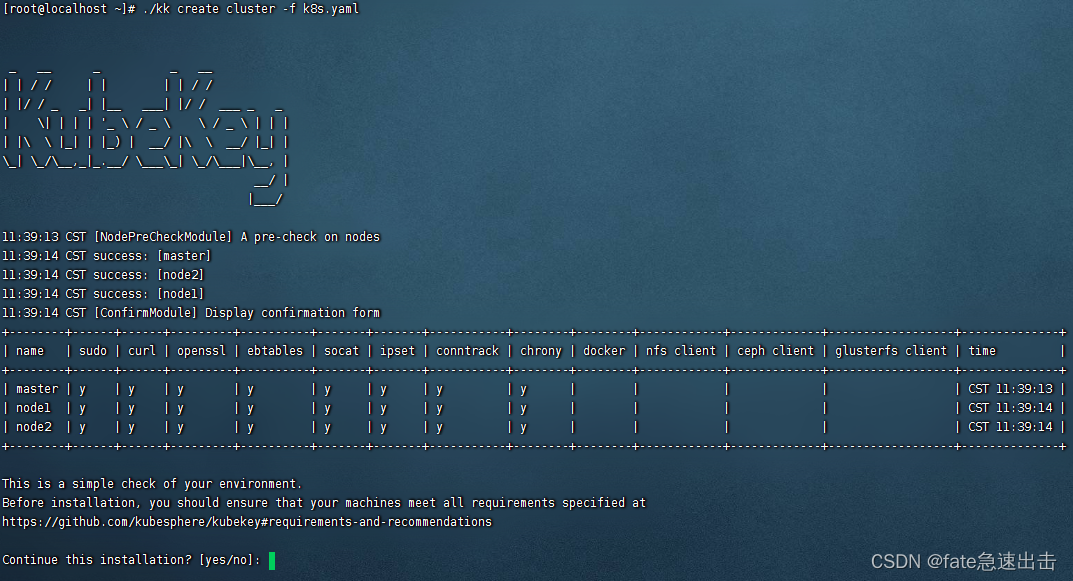
./kk create cluster -f k8s.yaml
- 安装完成后会看到下图这个日志打印
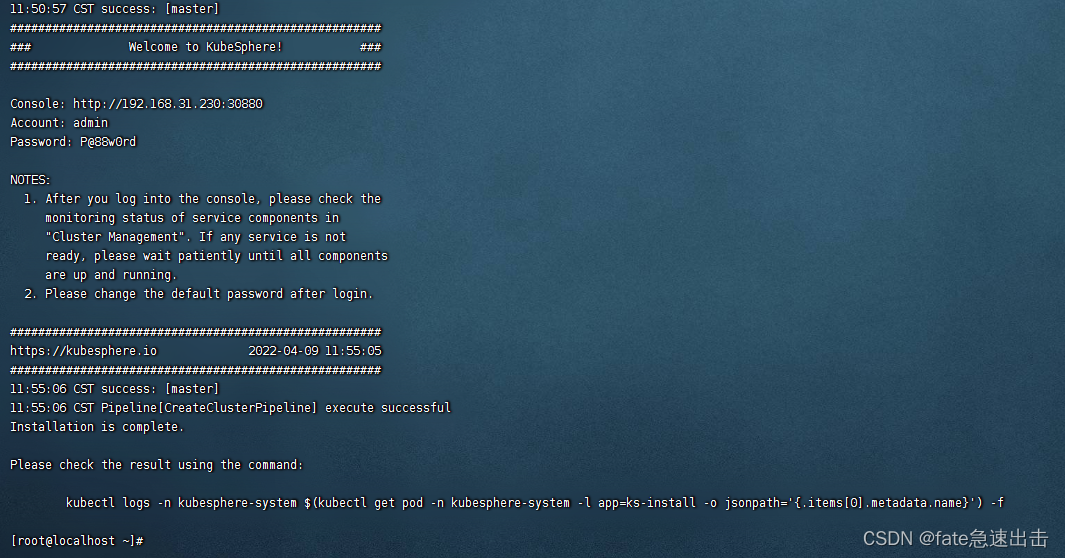
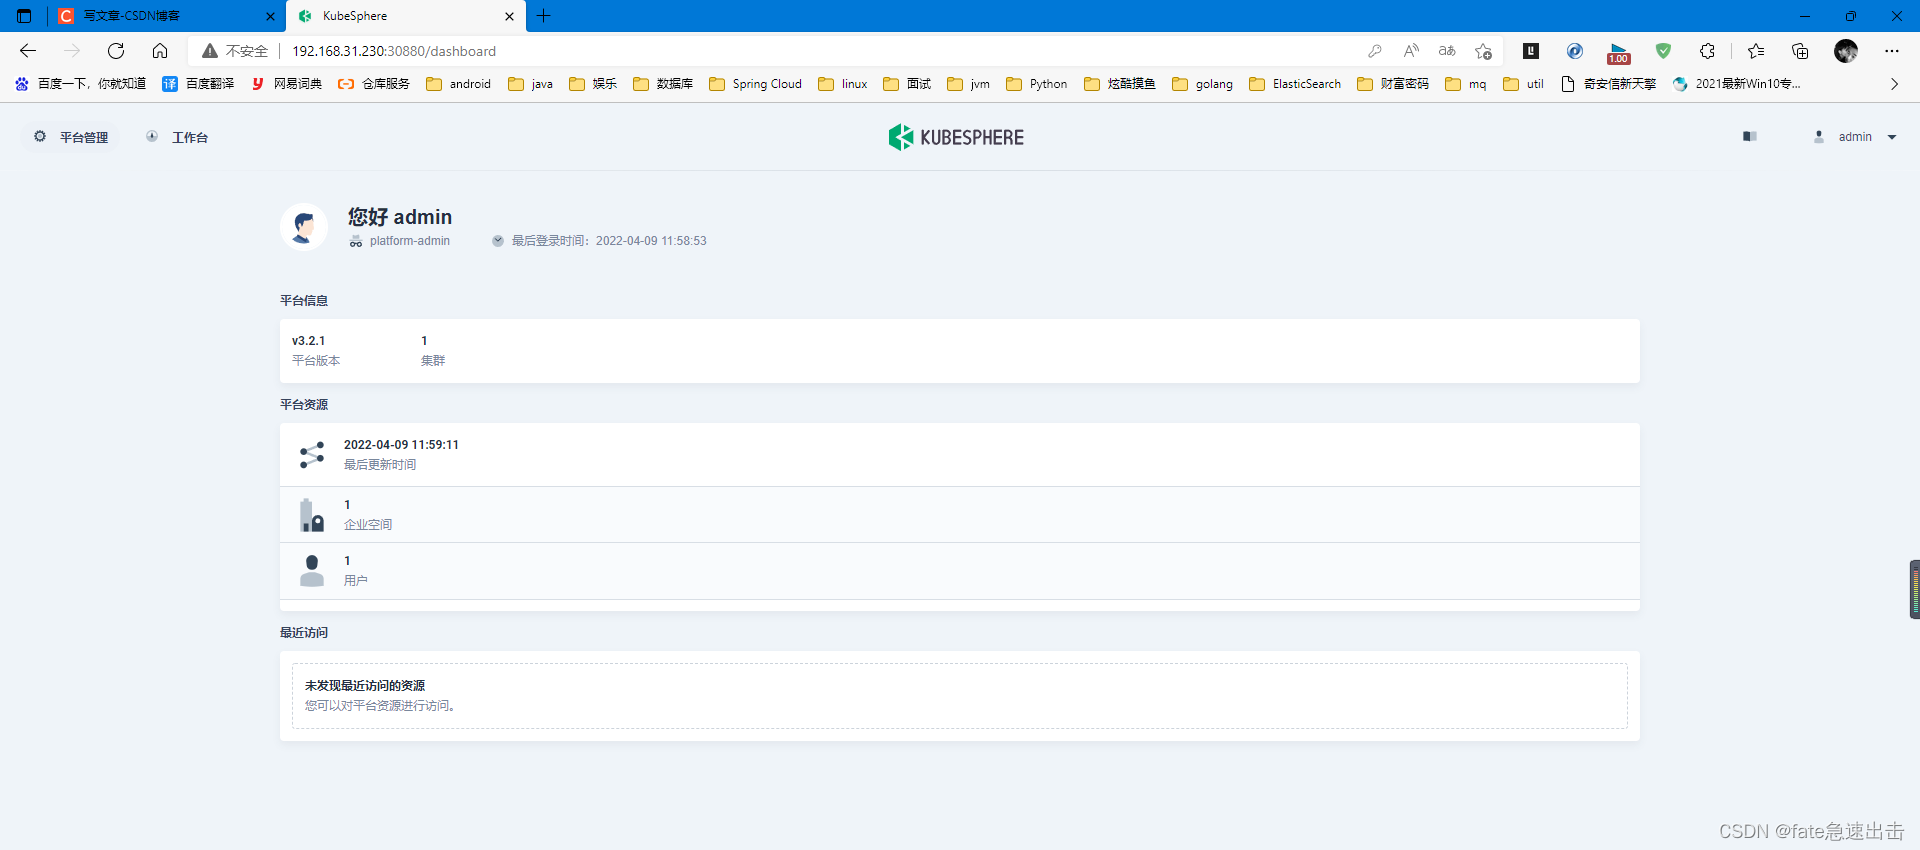
- 然后就可以可以通过 IP:30880 使用默认帐户和密码 (admin/P@88w0rd) 访问 KubeSphere 的 Web 控制台