Visual Studio Code使用Vue3
一、Mac安装Visual Studio Code
Mac安装Visual Studio Code参考博主下面这篇博客:
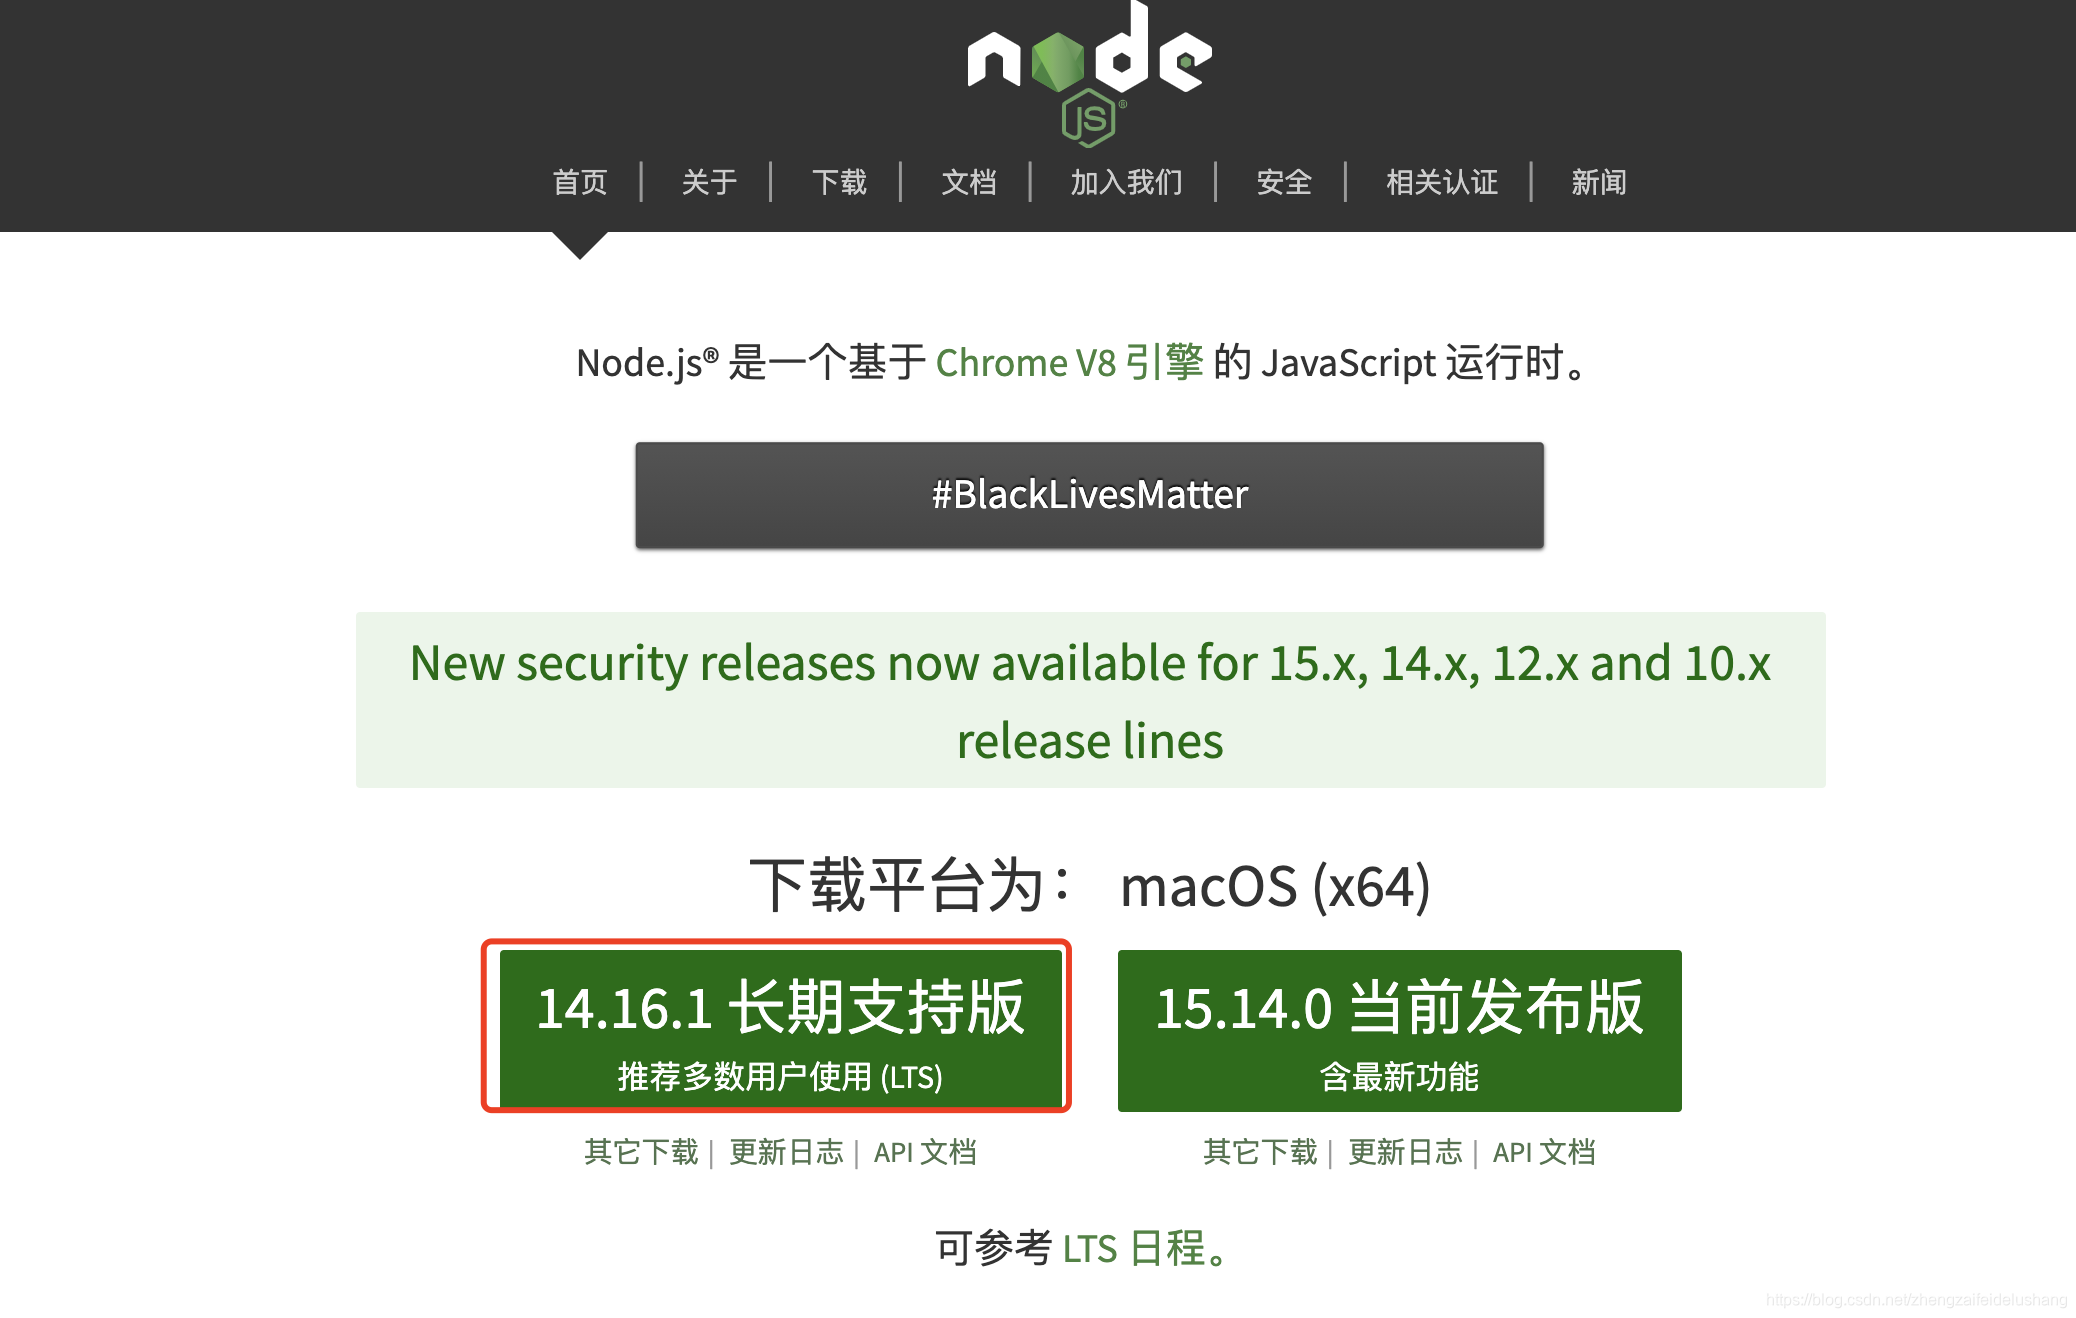
二、安装node.js
方式一:下载软件包安装
下载node.js:
https://nodejs.org/zh-cn/
方式二:使用brew安装
brew install node.j
node -v
v15.12.0
npm -v
7.6.3
三、安装淘宝npm镜像和vue脚手架
#安装npm镜像
npm i -g cnpm --registry=https://registry.npm.taobao.org

#安装脚手架
npm i -g vue-cli

#查看安装版本
vue -V
2.9.6
四、Vue CLI和Vue的区别
- 脚手架是一个基于Vue.js进行快速开发的完整系统,通过@vue/cli实现快速搭建标准化项目的脚手架。
- Vue版本不受脚手架VueCLI版本的影响,使用VueCLI构建项目过程,可以根据需求选择相应版本的Vue
- 查看VueCLI版本号
 vue -V
@vue/cli 5.0.4
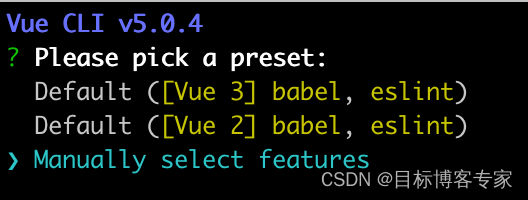
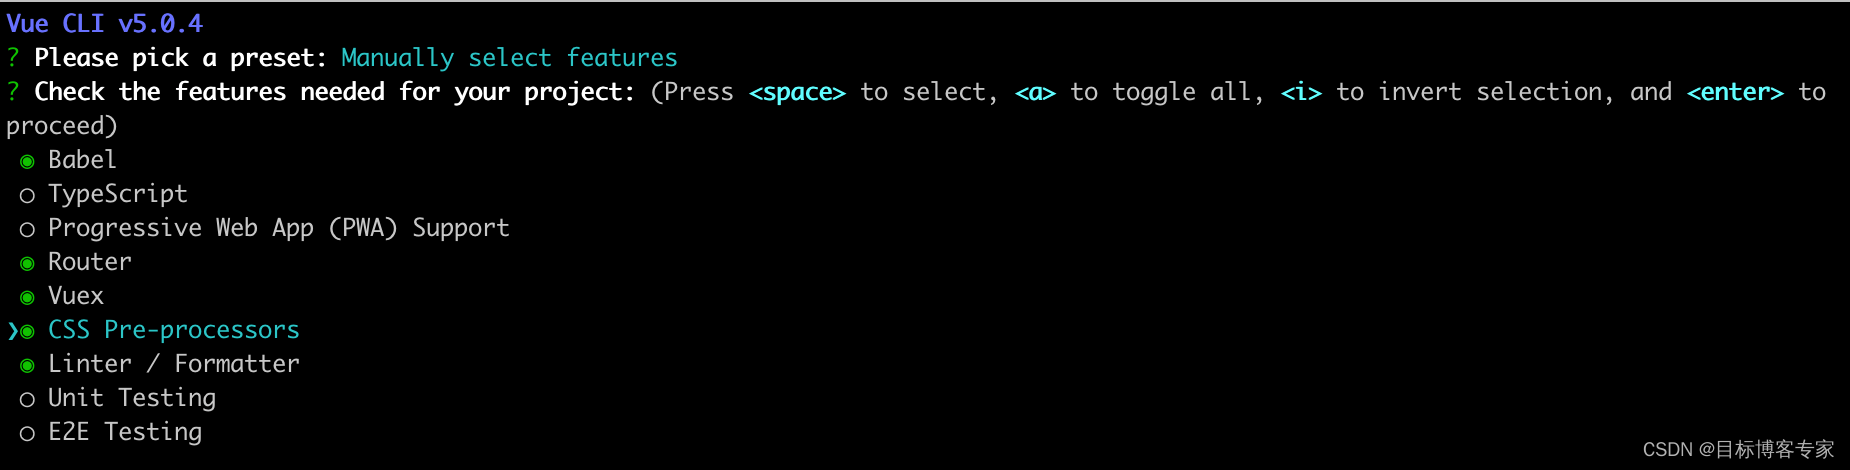
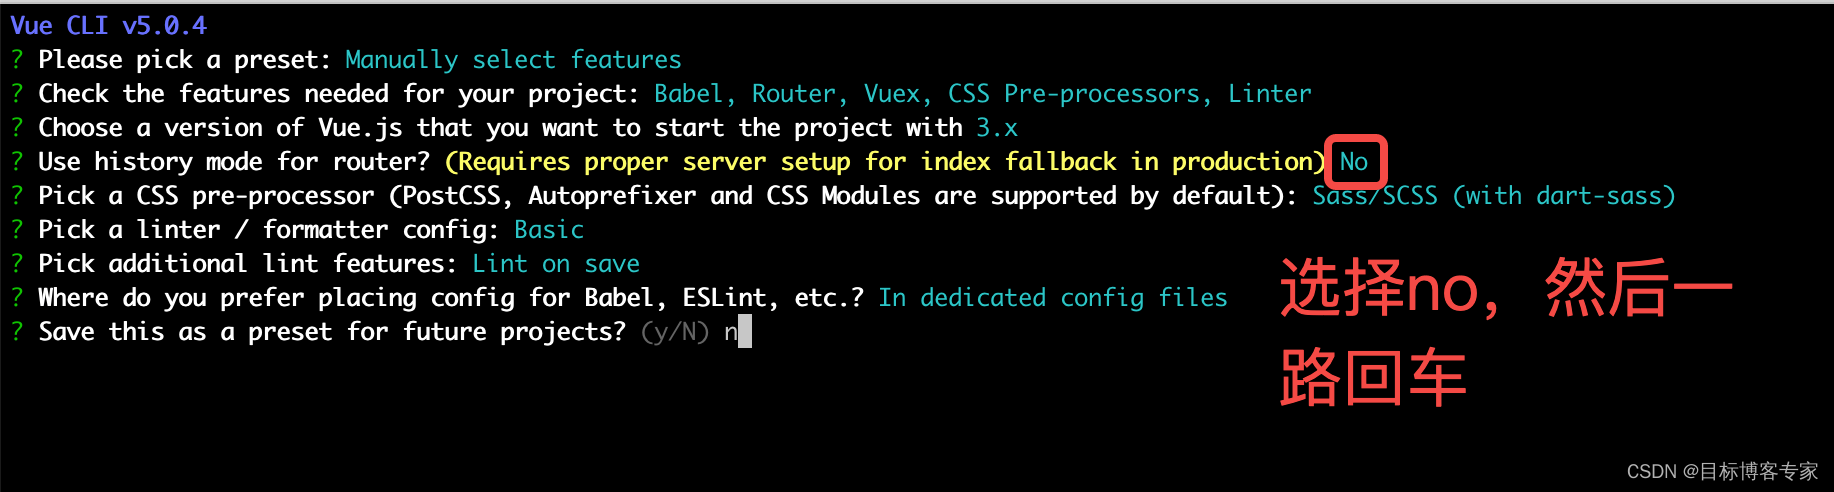
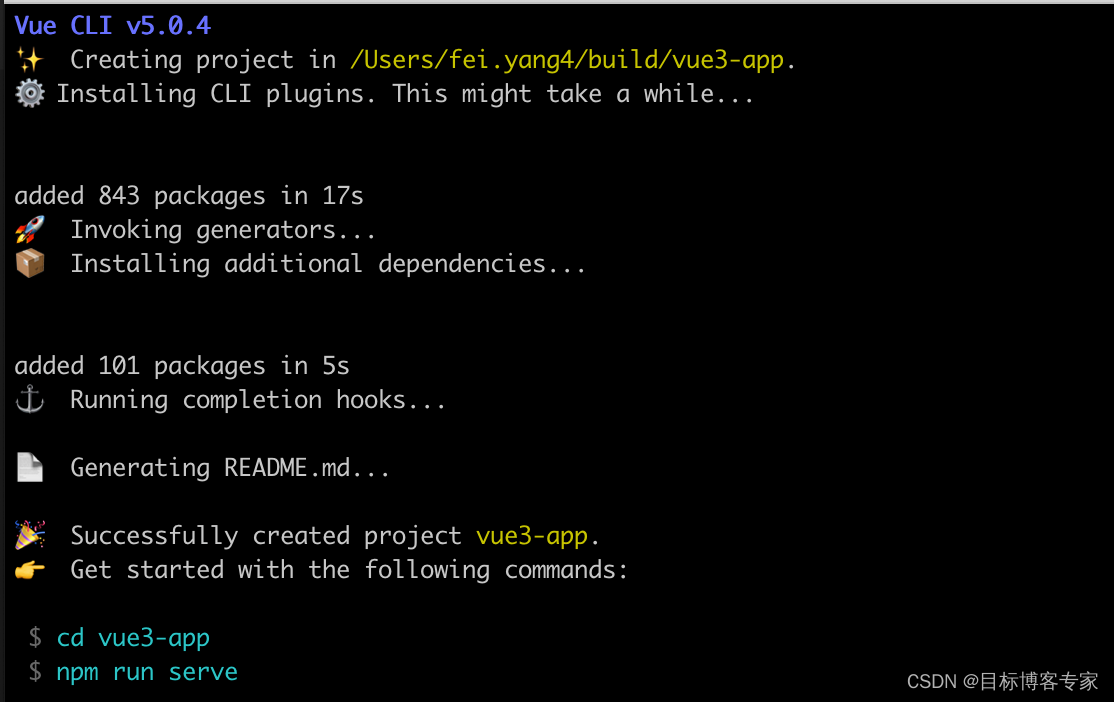
五、使用脚手架创建vue3项目
vue create vue3-app


安装完成
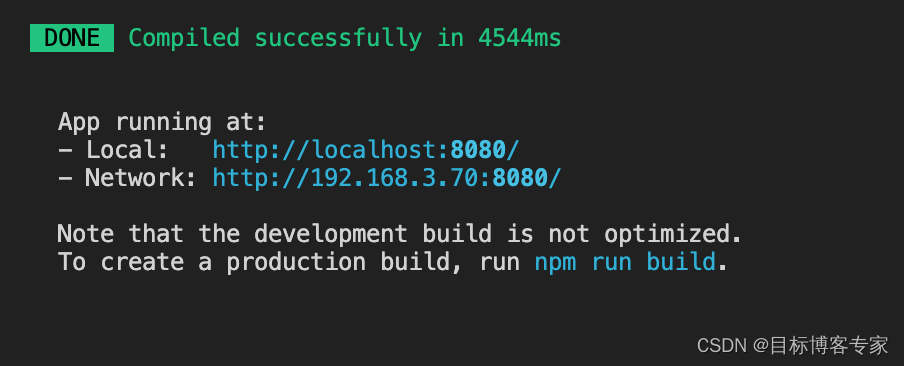
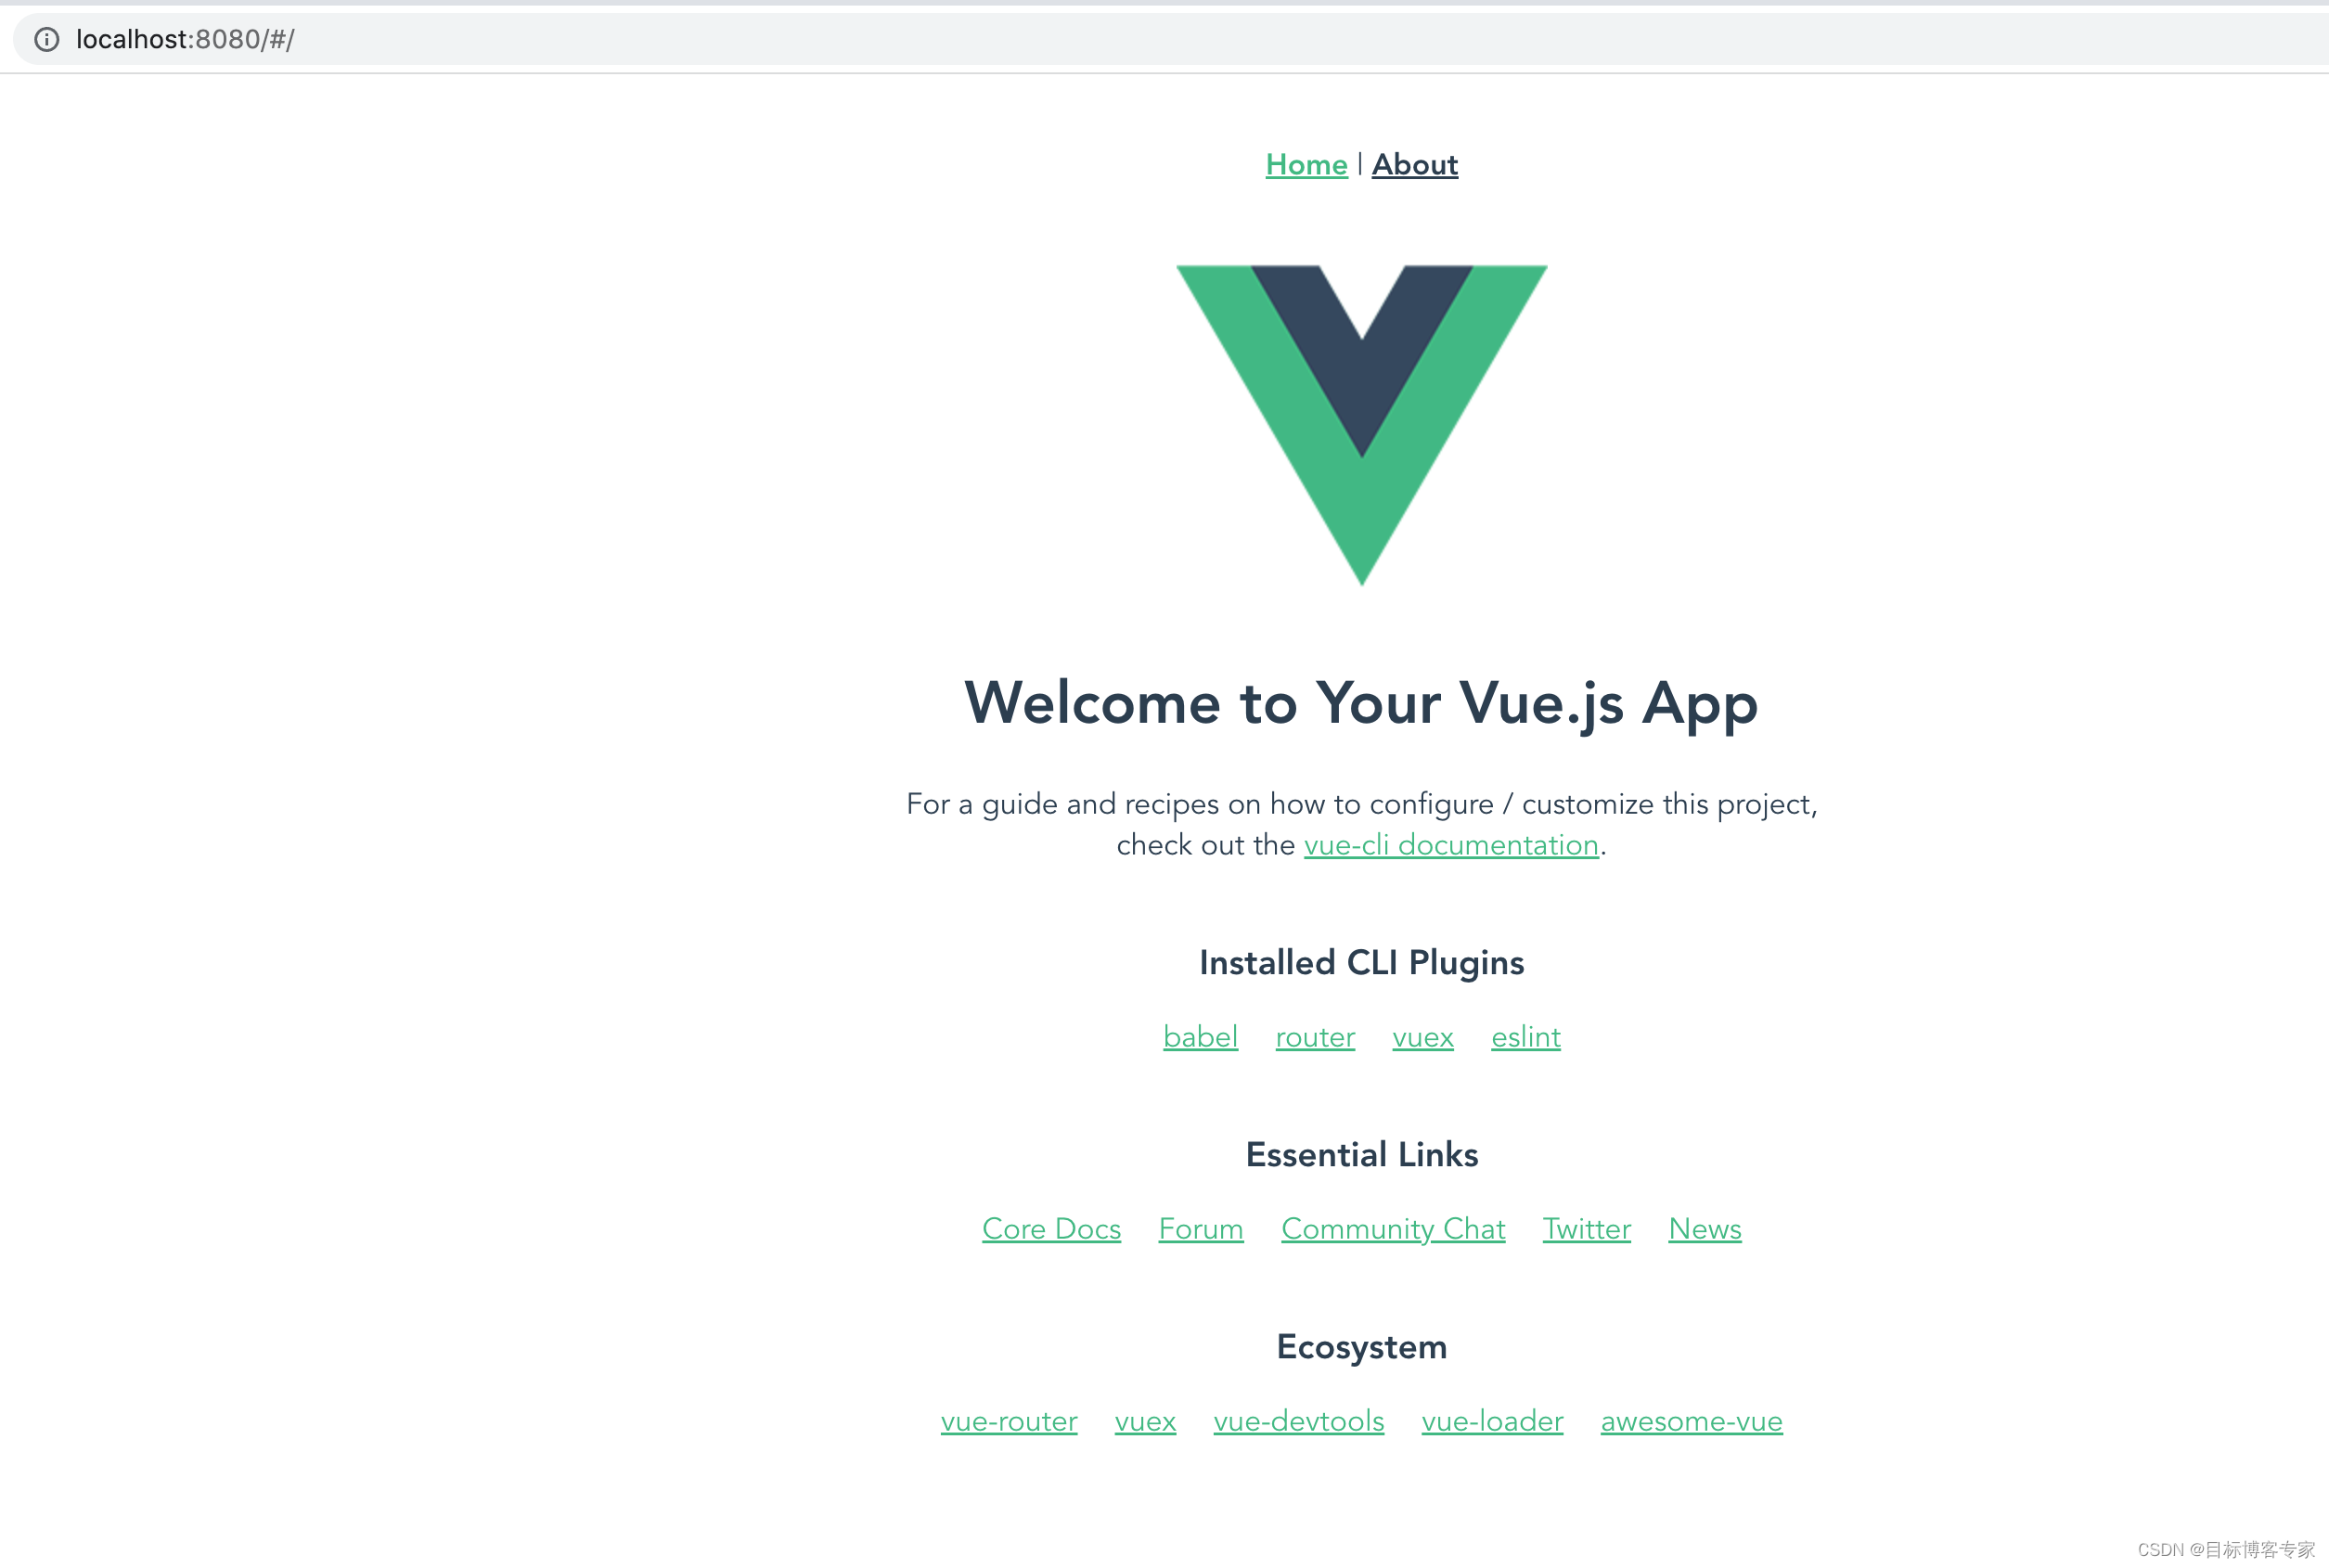
启动程序
npm run serve
六、VUE3目录结构说明
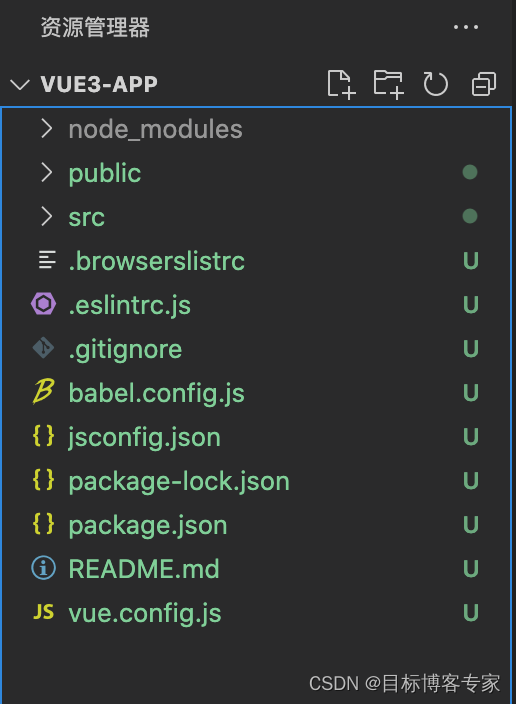
-
node_modules:依赖
-
public:静态资源,不会被项目编译
-
src:业务目录
-
components:组件
-
App.vue:根模块
-
views:页面
-
router:路由
-
package.json:项目依赖
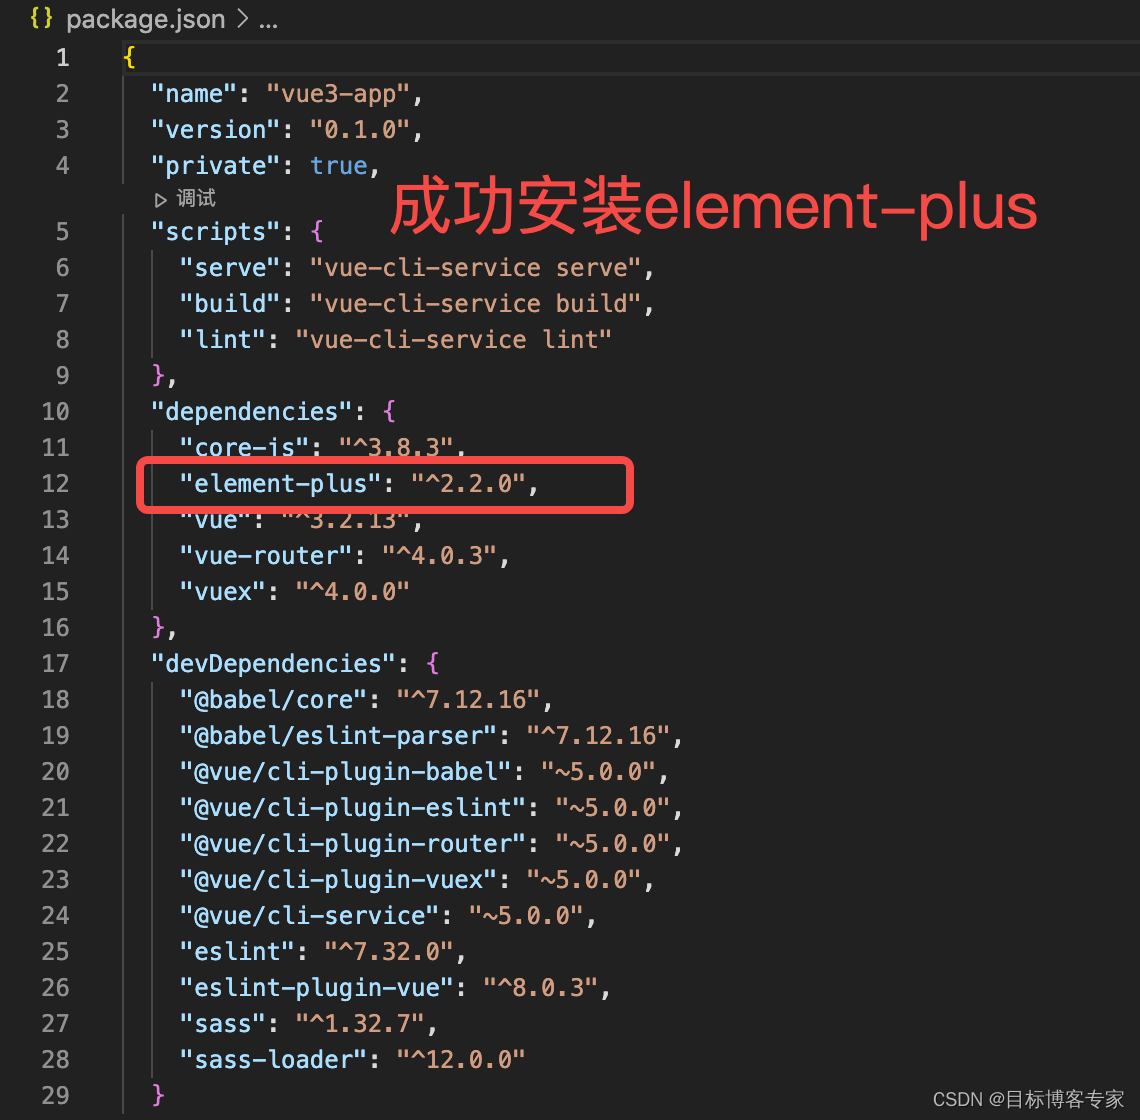
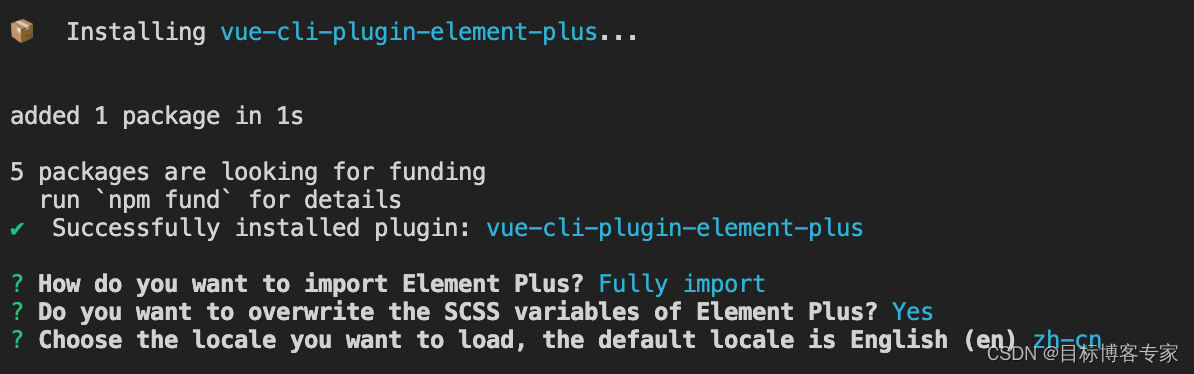
七、引入Element-plus
方式一:
npm install element-plus --save
查看package.json,确定是否成功安装element-plus:
方式二:
项目目录下使用下面的命令:
vue add element-plus
八、安装axios
npm install axios -S
九、封装axios
在src目录下新建一个request文件夹,在里面新建index.ts(或者.js)文件
import axios from 'axios'

// 创建一个 axios 实例
const service = axios.create({


	baseURL: '/api', // 所有的请求地址前缀部分
	timeout: 60000, // 请求超时时间毫秒
	withCredentials: true, // 异步请求携带cookie
	headers: {


		// 设置后端需要的传参类型
		'Content-Type': 'application/json',
		'token': 'your token',
		'X-Requested-With': 'XMLHttpRequest',
	},
})

// 添加请求拦截器
service.interceptors.request.use(
	function (config) {


		// 在发送请求之前做些什么
		return config
	},
	function (error) {


		// 对请求错误做些什么
		console.log(error)
		return Promise.reject(error)
	}
)

// 添加响应拦截器
service.interceptors.response.use(
	function (response) {


		console.log(response)
		// 2xx 范围内的状态码都会触发该函数。
		// 对响应数据做点什么
		// dataAxios 是 axios 返回数据中的 data
		const dataAxios = response.data
		// 这个状态码是和后端约定的
		const code = dataAxios.reset
		return dataAxios
	},
	function (error) {


		// 超出 2xx 范围的状态码都会触发该函数。
		// 对响应错误做点什么
		console.log(error)
		return Promise.reject(error)
	}
)

export default service
至此,完成准备工作,可以开发前后端项目了。