买了本《Boost 程序完全开发指南》才发现,里面的开发环境是Linux。。。尴尬
1.环境说明
本文使用的VS版本是Visual Studio Professional 2019,配置的boost库版本为Boost-v1.72.0,Windows10。
2.配置过程
2.1 下载Boost库
PS:Boost 源代码所在路径最好全英文,不要有空格、特殊字符、中文等。
Boost库官网:https://www.boost.org/
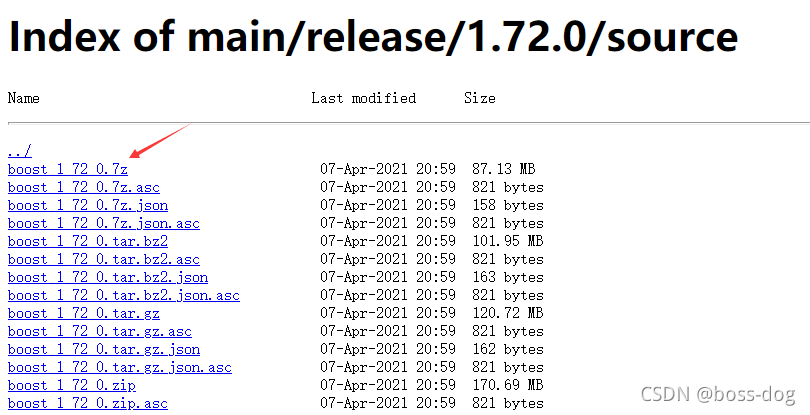
Boost-v1.72.0库源码包下载(选择第一个):https://boostorg.jfrog.io/artifactory/main/release/1.72.0/source/
(网上说低于1.7.0的版本可能在vs2019中支持不完善,编译或运行时发生不可预料的bug)
其他版本的boost源码包:https://www.boost.org/users/history/
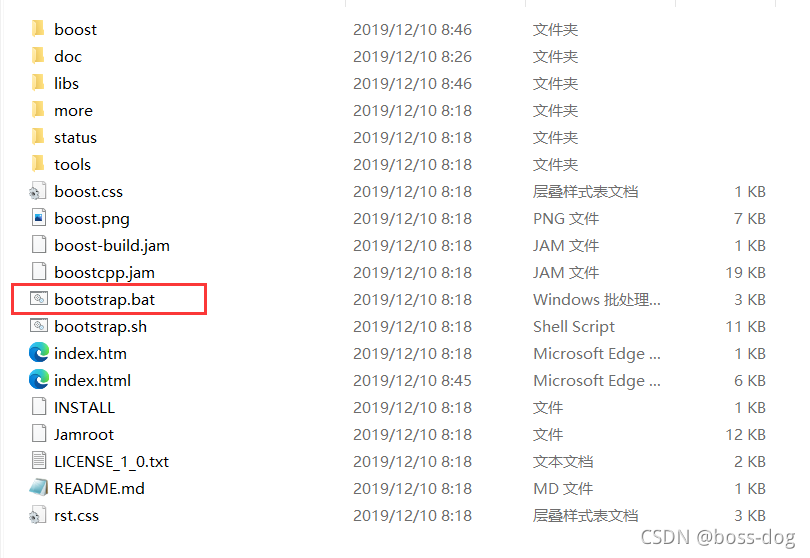
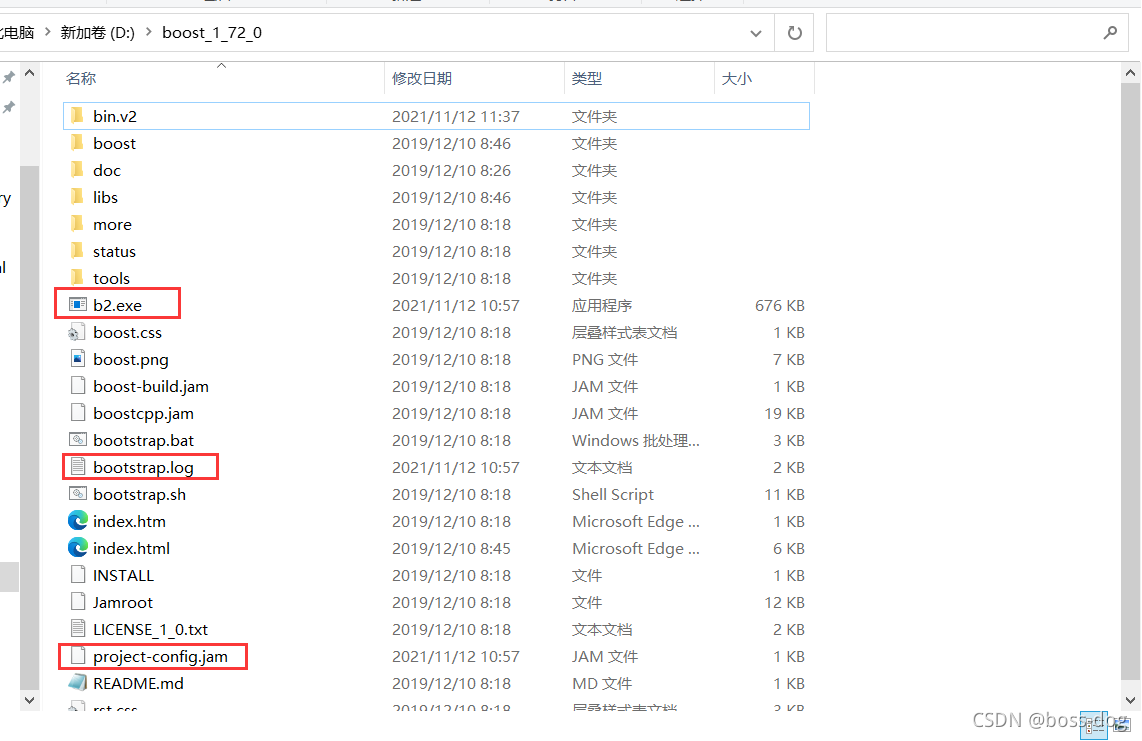
下载好Boost源码包后,解压,得到文件目录如下图,找到其中的bootstrap.bat文件:
2.2 使用VS编译Boost库
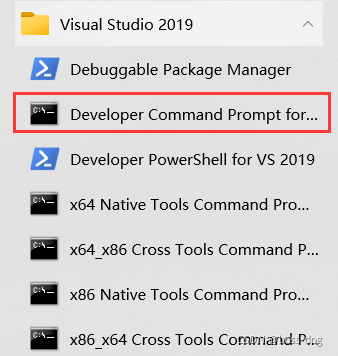
打开VS的命令行窗口:
在开始菜单的VS菜单项里打开“Developer Command Prompt for VS2019”,进入boost目录:
命令行窗口执行bootstrap.bat
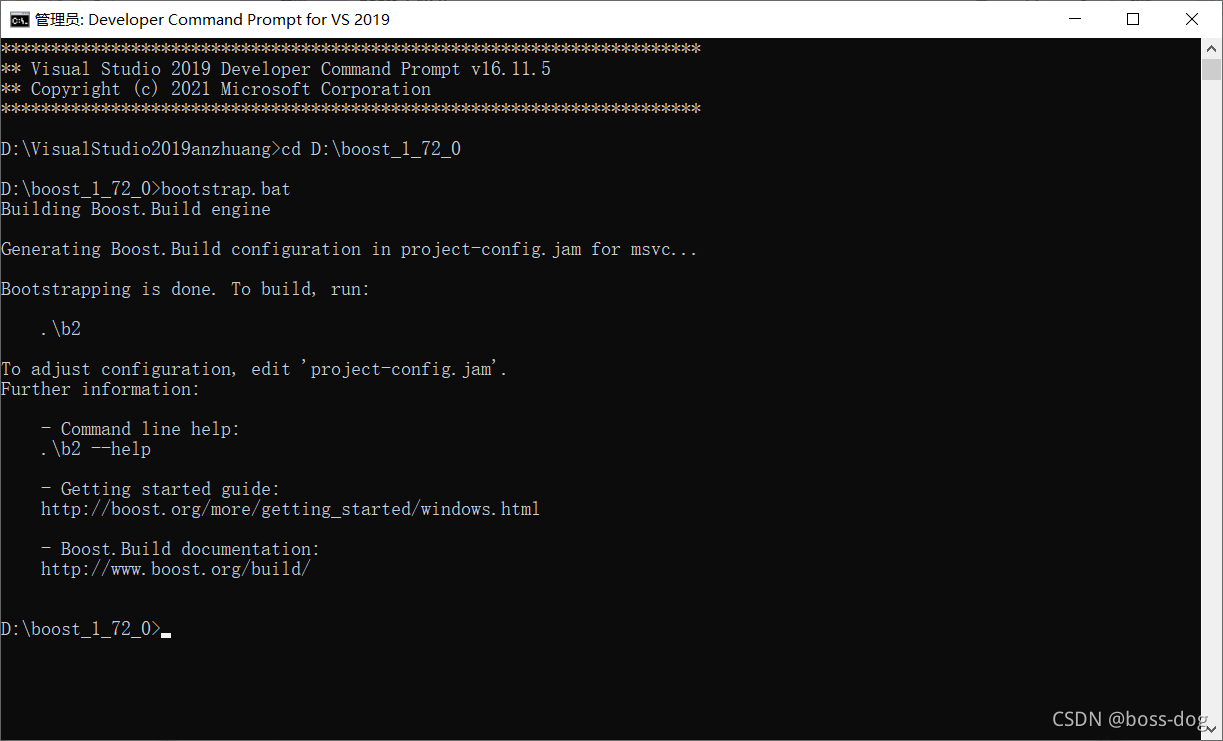
命令行运行bootstrap.bat后,会在根目录下生产b2.exe,b2.exe(bjam.exe是老版本,b2是bjam的升级版本),project-config.jam,bootstrap.log这几个文件:
继续在命令行窗口使用b2编译所需的boost库:
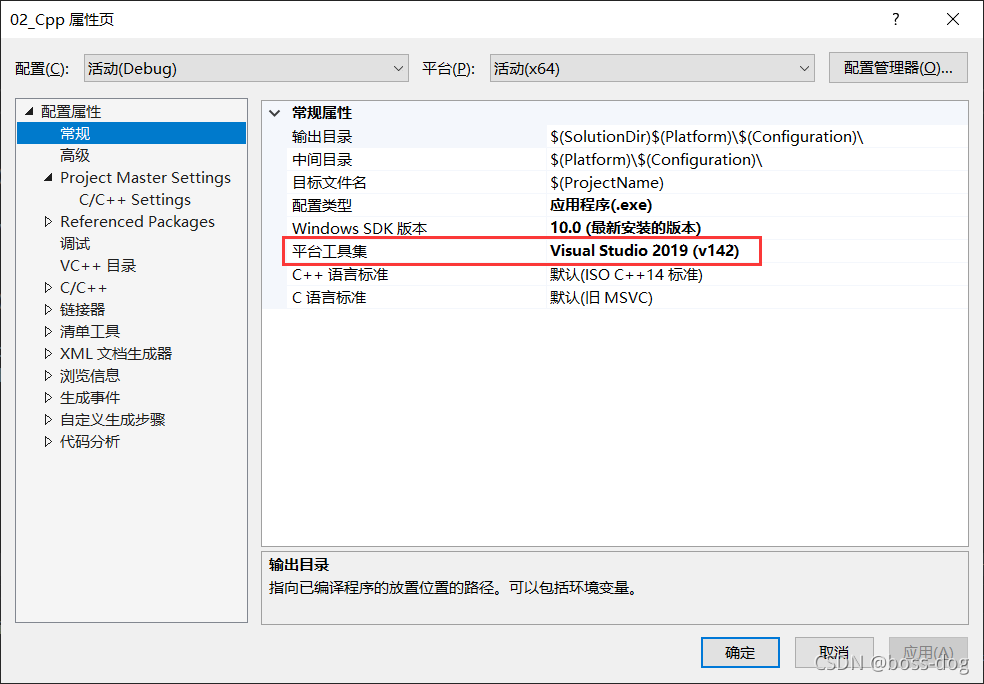
查看VS版本(即编译器版本)
打开任意VS工程:
PS:Boost库有个缺点就是过于庞大,使用者可以选择完成安装或者定制安装,可以选择哪些部分需要或不需要。但我刚开始接触Boost库,选择的是完成安装,所以编译的时间长一些。
以下也是安装的x64和x86的脚本代码。
(第3章 b2(bjam编译参数说明)中会详述编译的相关参数,大家根据自己的需求选择性编译)
依次生成x64和x86的脚本代码:
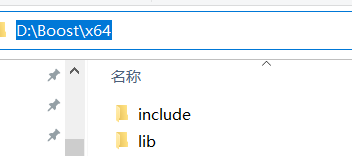
b2.exe install --prefix="D:\Boost\x64" --build-type=complete --toolset=msvc-14.2 threading=multi --build-type=complete address-model=64
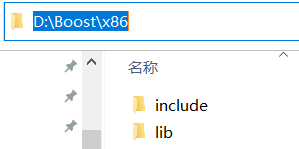
b2.exe install --prefix="D:\Boost\x86" --build-type=complete --toolset=msvc-14.2 threading=multi --build-type=complete address-model=32
编译完成之后去目标路径下查看:
3.b2(bjam编译参数说明)
- stage/install:stage表示只生成库,install还会生成包含头文件的include目录,但编译时间较长;默认是stage。
–stagedir/prefix:stage时使用stagedir,install时使用prefix,表示编译生成文件的路径。
b2 install --toolset=msvc-14.2 --without-python --prefix="E:\Learning\Boost" link=static runtime-link=shared threading=multi address-model=64
- –build-type:complete 编译所有boost库;默认complete。
b2 stage --toolset=msvc-14.2 --build-type=complete --stagedir="E:\Learning\Boost" link=static runtime-link=shared threading=multi address-model=64
- –without/with:选择不编译/编译哪些库。默认是全部编译。
查看boost包含库的命令是bjam --show-libraries
//boost::python lib
b2 stage --toolset=msvc-14.2  --with-python --stagedir="E:\Learning\Boost" link=static threading=multi address-model=64
-
–toolset:指定编译器,可选的如borland、gcc、msvc-14.2(VS2019)等。
-
link:生成动态链接库/静态链接库。
static只会生成lib文件。
shared会生成lib文件和dll文件。
b2 stage --toolset=msvc-14.2 --build-type=complete --stagedir="E:\Learning\Boost" link=shared runtime-link=shared threading=multi address-model=64
-
runtime-link:动态/静态链接C/C++运行时库。同样有shared和static两种方式。
-
threading:单/多线程编译。现在基本都是multi方式(多线程)了。
-
address-model:64位平台还是32位平台,不填就两种平台的库都会编译。
-
debug/release:debug版本,release版本,不填就两种版本的库都会编译。
b2 stage --toolset=msvc-14.2 --with-atomic --stagedir="E:\Learning\Boost" link=static threading=multi address-model=64 debug
4.Boost库的命名特点
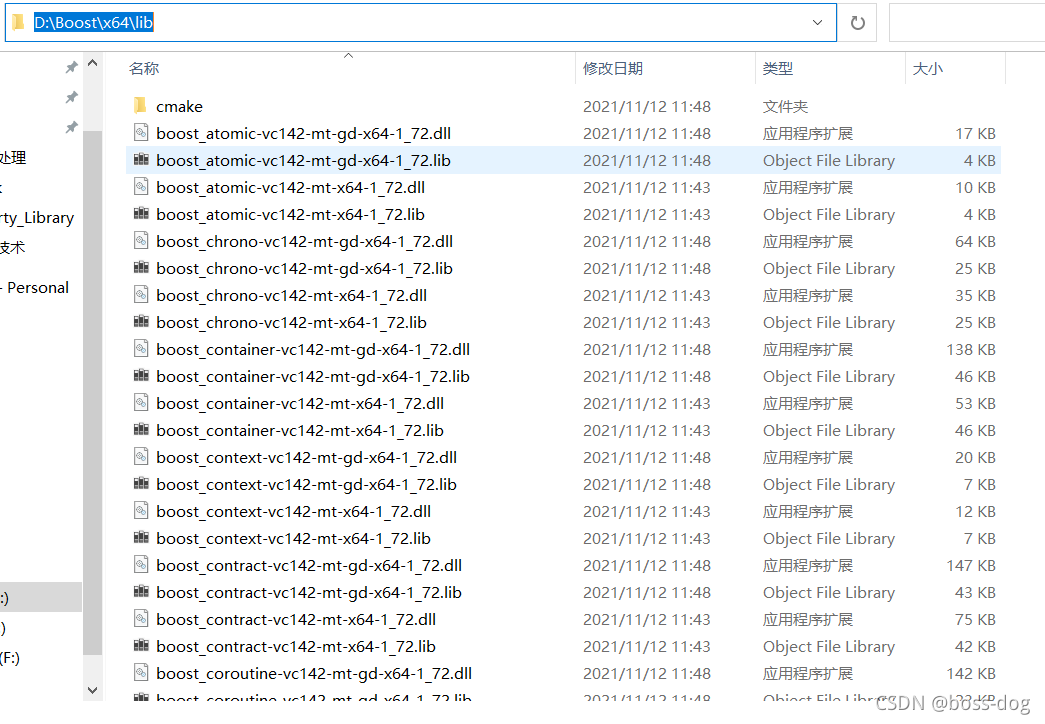
开头_库名称-编译器版本-[多线程]-[static版本][debug版本]-平台-版本号
- 开头:以“lib”开头的是“link=static”版本(静态链接库版本,没有dll),而直接以“boost”开头的是“link=shared”版本(动态链接库版本,包含lib和dll)。
- 库名称:其后的是boost库名称(比如date_time库)。
- 编译器的版本:与库名称之间以"-“而不是下划线”_"分隔(比如 -vc140)。
- [多线程]:有“mt”的为“threading=multi”版本,没有该项则是“threading=single”版本。
- [static版本]:有“s”的为“runtime-link=static”版本,没有该项则是“runtime-link=shared”版本。
- [debug版本]:有“gd”的为debug版本,没有的则是release版本。
- 平台:x64或x32
- 版本号:所有的库都含有boost库的版本号结尾
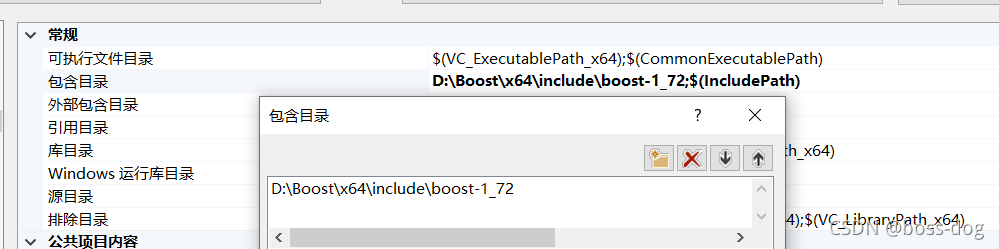
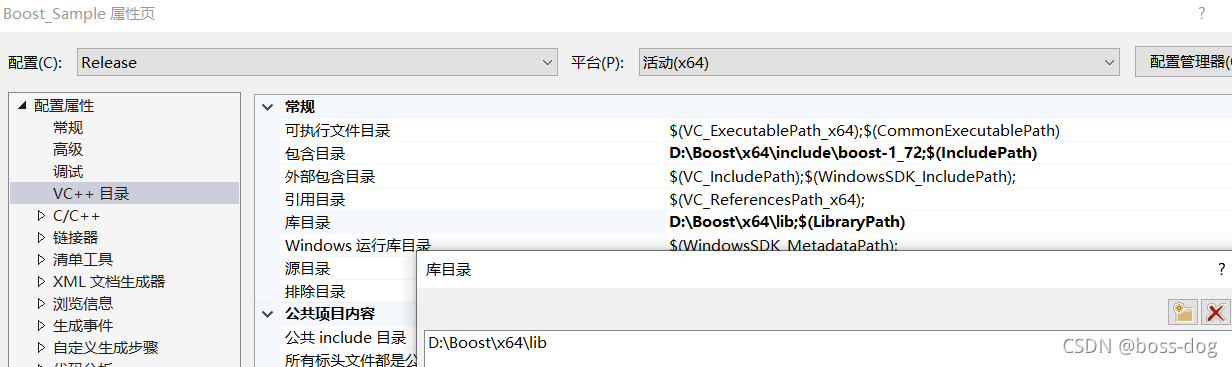
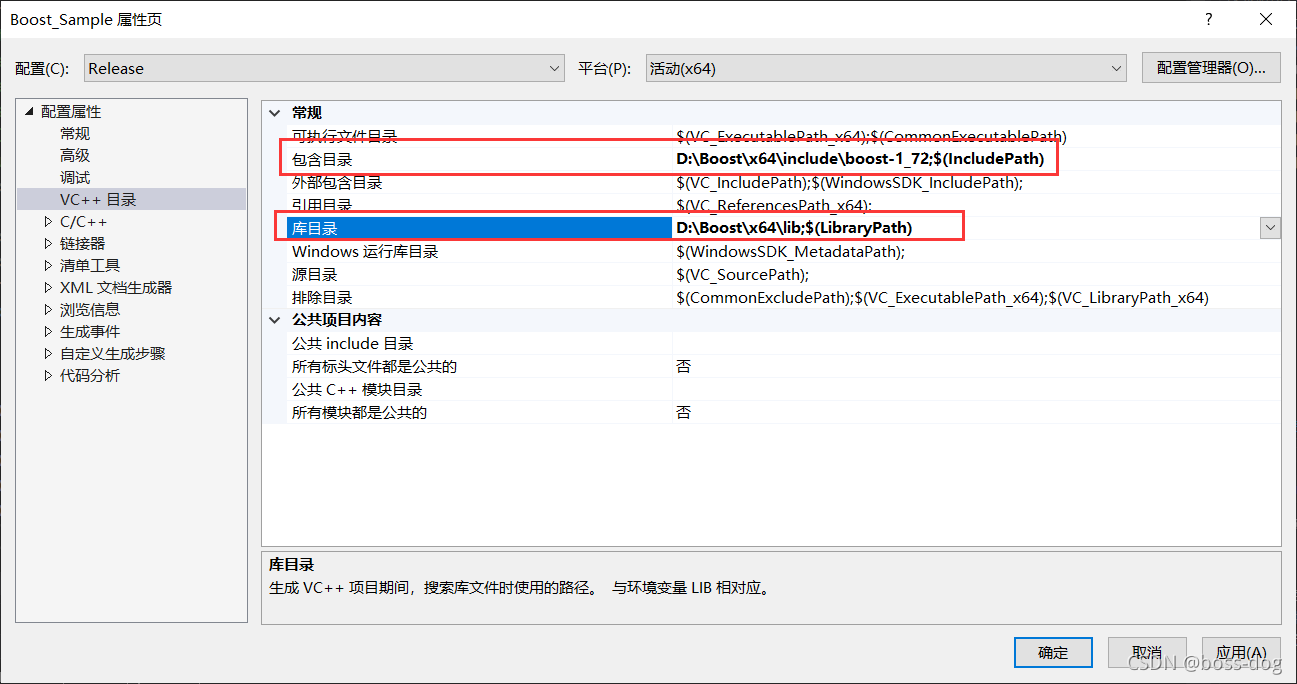
5.测试案例:VS工程的使用配置
打开VS2019新建一个工程
打开项目属性 -> VC++目录 -> 修改包含目录和库目录:
示例:
#include <boost/version.hpp>
#include <boost/config.hpp>
#include <iostream>
using namespace std;

int main()
{


	cout << BOOST_VERSION << endl;     //Boost版本号
	cout << BOOST_LIB_VERSION << endl; //Boost版本号
	cout << BOOST_PLATFORM << endl;    //操作系统
	cout << BOOST_COMPILER << endl;    //编译器
	cout << BOOST_STDLIB << endl;      //标准库
}
参考博客:
https://blog.csdn.net/youyicc/article/details/95959781
https://blog.csdn.net/jhsword/article/details/95061632
https://www.bilibili.com/video/BV1JE411A7sM?spm_id_from=333.999.0.0
https://www.cnblogs.com/lidabo/p/3782193.html