引入vue.js
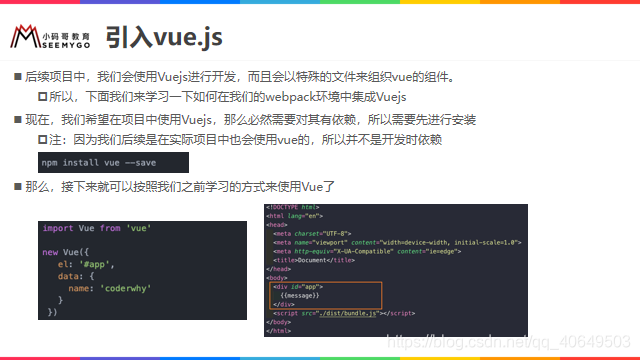
在指定文件下执行命令
npm install [email protected] --save
F:\IdeaProjects\LearnVuejs04-v2\01-webpack的使用\04-webpack配置vue>npm install [email protected] --save
npm WARN [email protected] requires a peer of webpack@^4.0.0 but none is installed. You must install peer dependencies yourself.
npm WARN [email protected] requires a peer of webpack@^4.0.0 but none is installed. You must install peer dependencies yourself.
npm WARN [email protected] No description
npm WARN [email protected] No repository field.
npm WARN optional SKIPPING OPTIONAL DEPENDENCY: [email protected] (node_modules\fsevents):
npm WARN notsup SKIPPING OPTIONAL DEPENDENCY: Unsupported platform for [email protected]: wanted {

    "os":"darwin","arch":"any"} (current: {

    "os":"win32","arch":"x64"})

+ [email protected]
updated 1 package in 17.419s

F:\IdeaProjects\LearnVuejs04-v2\01-webpack的使用\04-webpack配置vue>
打包项目-错误信息
运行时注意
1.runtime-only ->代码中,不可以有任何的template
2.runtime-compiler ->代码中,可以有template,因为有compiler可以用于编译template
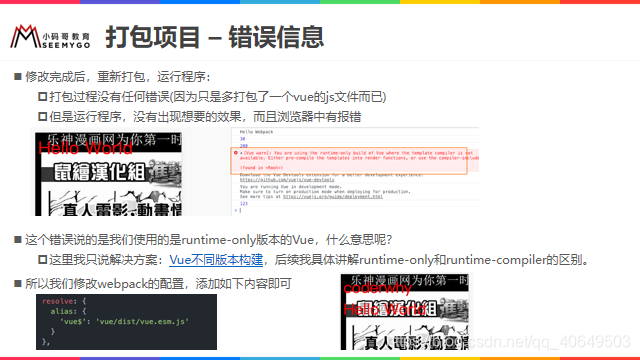
webpack.config.js中新增
  resolve: {


    // alias: 别名
    extensions: ['.js', '.css', '.vue'],
    alias: {


      'vue$': 'vue/dist/vue.esm.js'
    }
  }
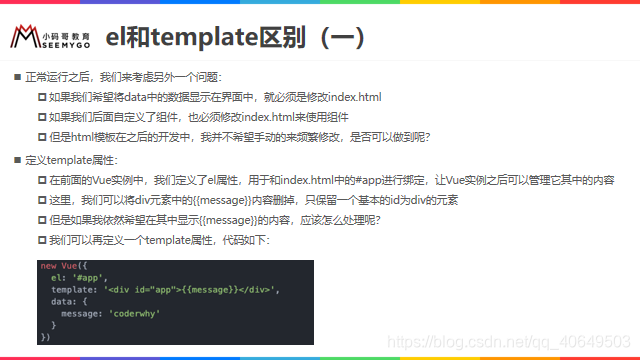
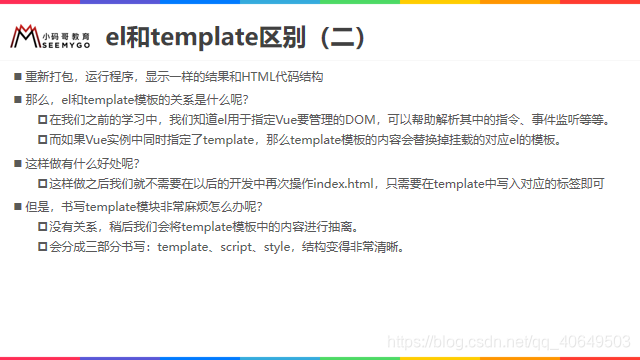
el和template区别
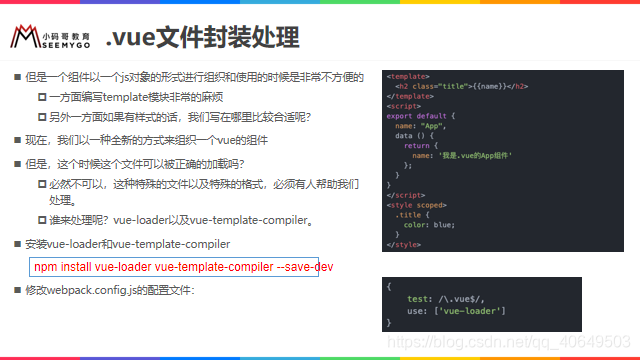
为了能够识别vue文件,先进行安装
npm install vue-loader vue-template-compiler --save-dev
然后进行配置文件webpack.config.js
      {


        test: /\.vue$/,
        use: ['vue-loader']
      }
出错试试改下版本
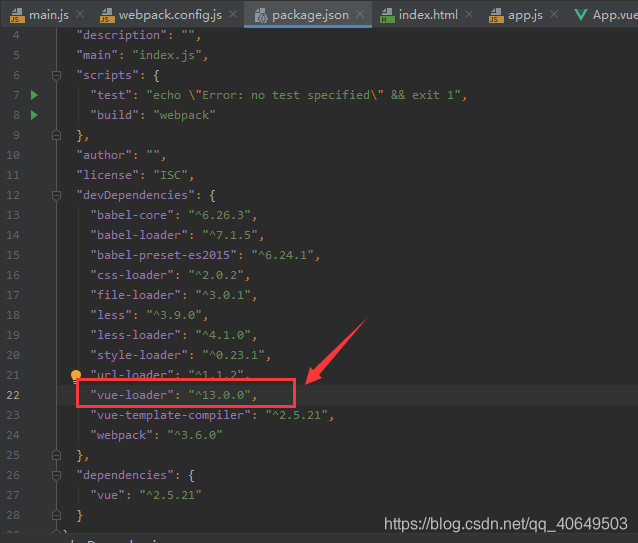
然后执行命令npm install
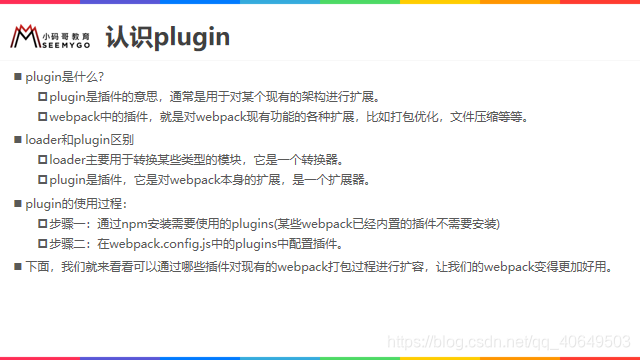
plugin
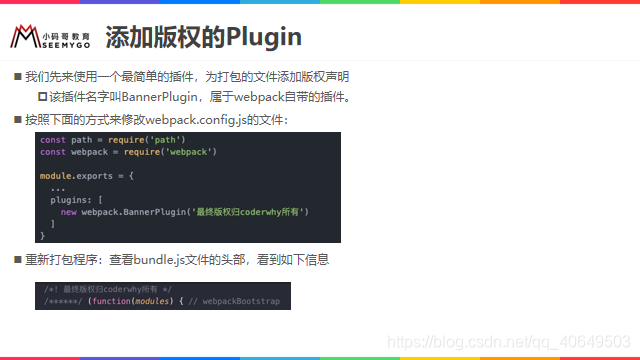
  plugins: [
      new webpack.BannerPlugin('最终版权归aaa所有'),
      new HtmlWebpackPlugin({


        template: 'index.html'
      }),
      new UglifyjsWebpackPlugin()
  ]
打包html的plugin
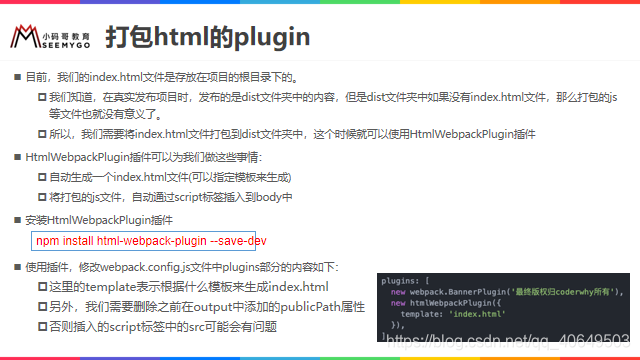
对应文件下执行
npm install html-webpack-plugin --save-dev
F:\IdeaProjects\LearnVuejs04-v2\01-webpack的使用\05-webpack的Plugin>npm install html-webpack-plugin --save-dev
修改webpack.config.js中的
新增
const HtmlWebpackPlugin = require('html-webpack-plugin')
js压缩的Plugin
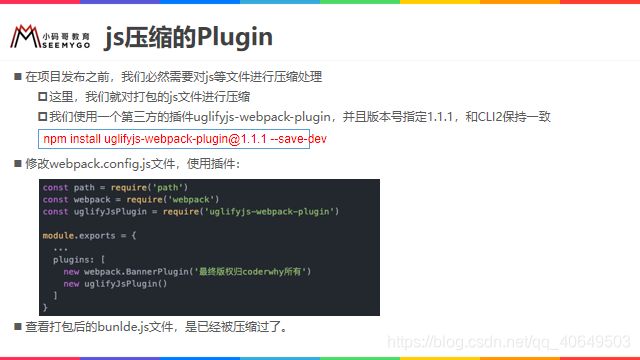
对应文件下执行
npm install [email protected] --save-dev
搭建本地服务器
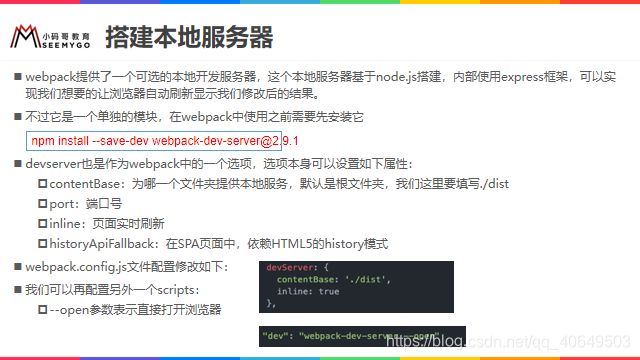
先进行安装
npm install --save-dev [email protected]
然后进行配置文件webpack.config.js
  devServer: {


    contentBase: './dist',
    inline: true
  }
package.json添加
"dev": "webpack-dev-server --open"
运行命令npm run dev