
前言
之前写过一篇,spring kafka 死信队列,这个文章是写的spring kafka的,该篇记录下基于spring cloud stream实现死信队列,方便以后用到的时候翻阅,有不对的地方或者需要改进的地方,还请各位提出。
RabbitMQ实现
环境搭建
还是老规矩使用docker-compose启动,下面先给出脚本,这是搭建了一个集群的方式。
version: "2"
services:
    rabbit1:
        image: rabbitmq:3.8.3-management
        hostname: rabbit1
        ports:
            - 5672:5672
            - 15672:15672
        environment:
            - RABBITMQ_DEFAULT_USER=guest
            - RABBITMQ_DEFAULT_PASS=guest

    rabbit2:
        image: rabbitmq:3.8.3-management
        hostname: rabbit2
        ports:
            - 5673:5672
            - 15673:15672
        environment:
            - CLUSTERED=true
            - CLUSTER_WITH=rabbit1
            - RAM_NODE=true
        links:
            - rabbit1

    rabbit3:
        image: rabbitmq:3.8.3-management
        hostname: rabbit3
        ports:
            - 5674:5672
        environment:
            - CLUSTERED=true
            - CLUSTER_WITH=rabbit1
        links:
            - rabbit1
            - rabbit2
docker-compose up -d
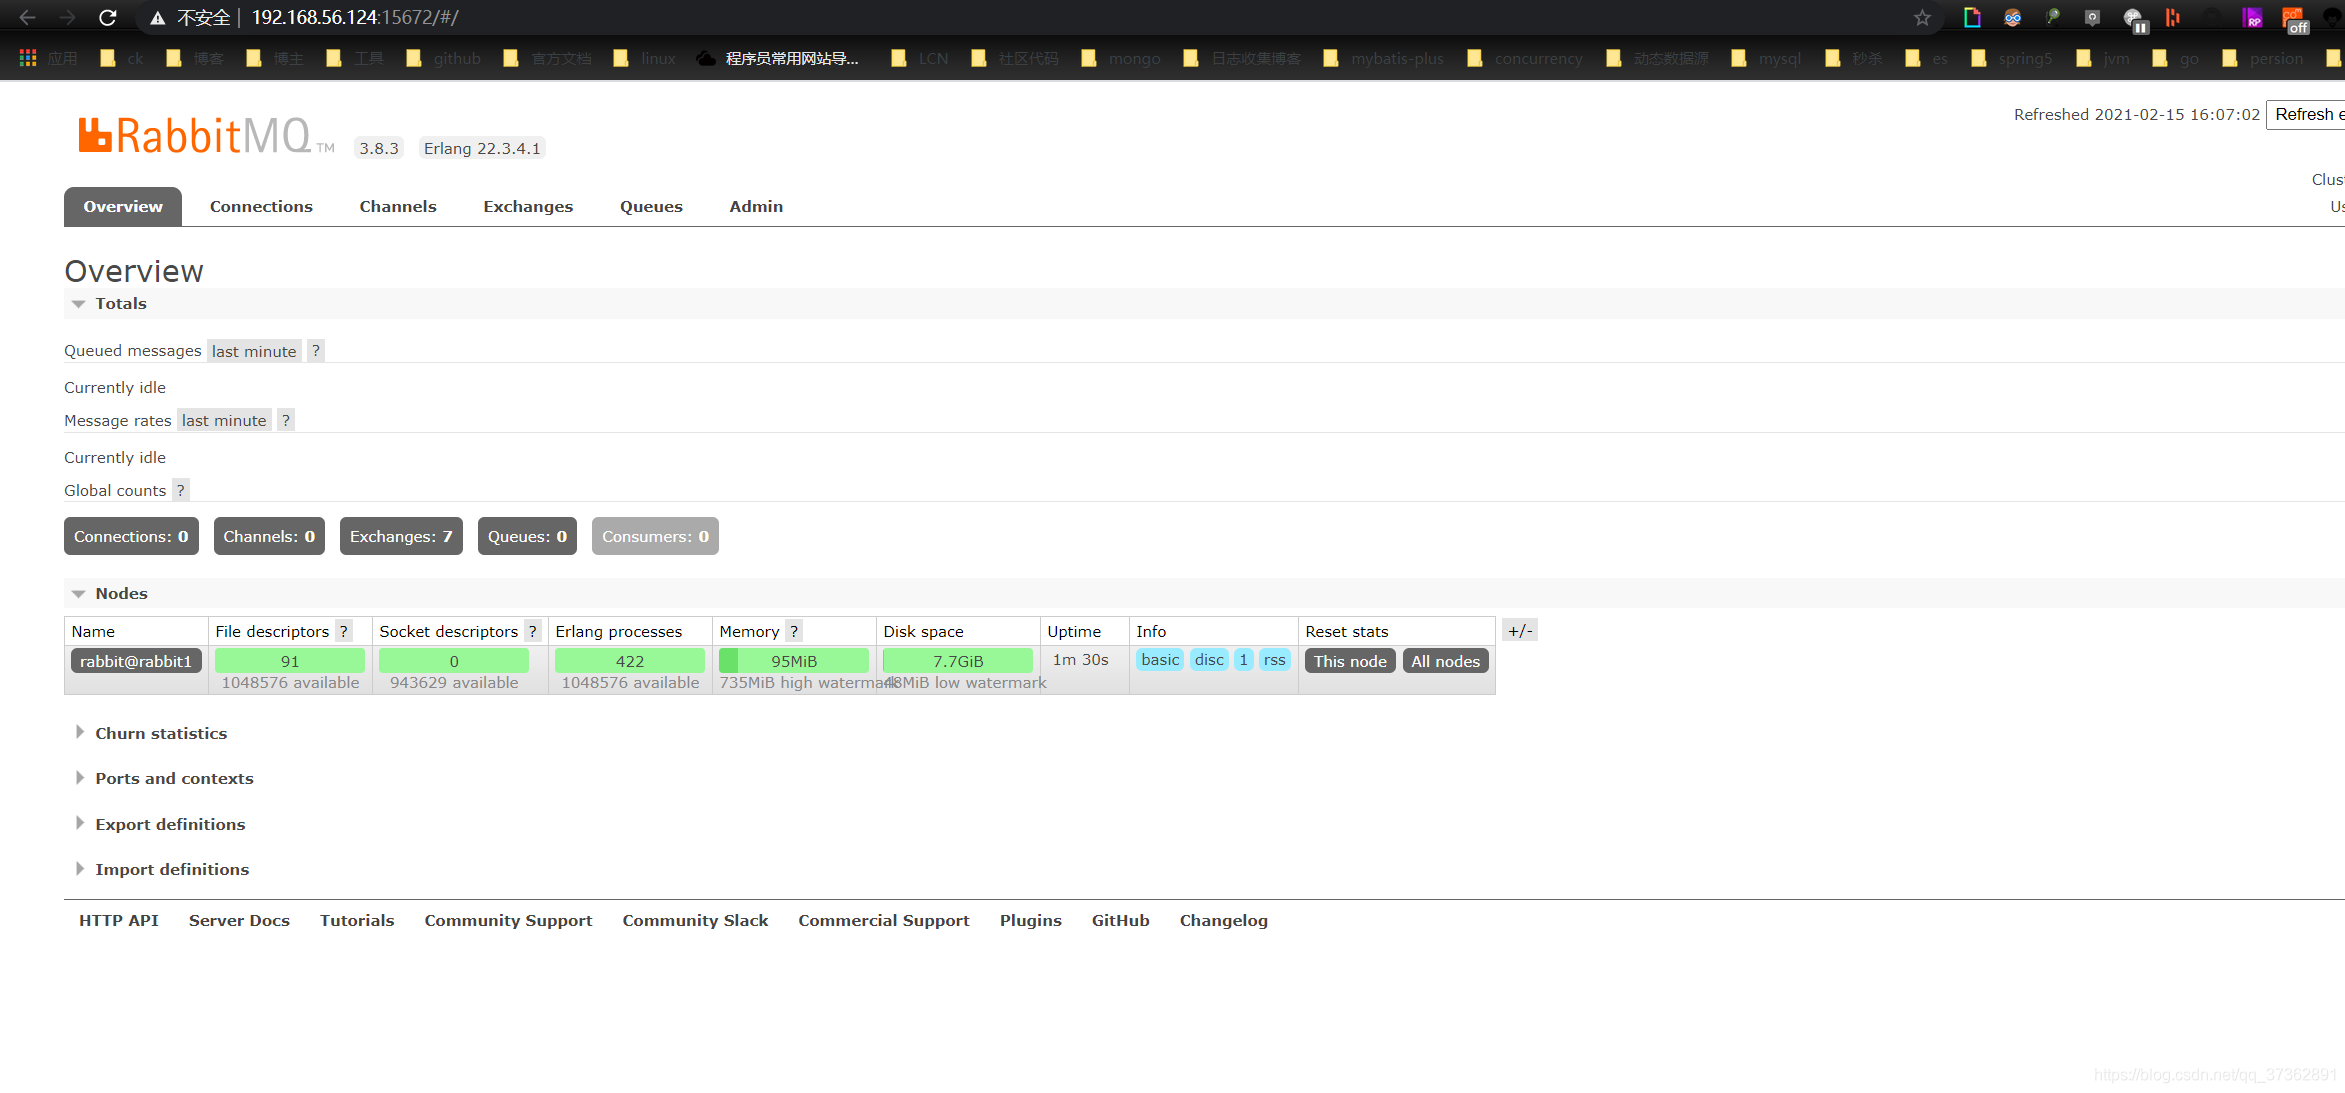
可以看到如下日志

我们通过主机ip + 15672访问,账号、用户名均为guest
代码演示
代码已经上传到github上面
- 演示
consumer的代码首先引入pom文件,如下所示:
		<dependency>
            <groupId>org.springframework.cloud</groupId>
            <artifactId>spring-cloud-starter-stream-rabbit</artifactId>
        </dependency>

        <dependency>
            <groupId>org.springframework.boot</groupId>
            <artifactId>spring-boot-starter-web</artifactId>
        </dependency>
- 创建一个
chanel的接口
public interface DLQExceptionChannel {
    String OUTPUT = "handler-dlq-topic-output";
    String INPUT = "handler-dlq-topic-input";

    @Output(OUTPUT)
    MessageChannel output();

    @Input(INPUT)
    SubscribableChannel input();
}
- 定义一个消费者的类
@Slf4j
@Component
@EnableBinding(DLQExceptionChannel.class)
public class DLQExceptionConsumer1 {


    @StreamListener(DLQExceptionChannel.INPUT)
    public void consume(String message) {


        log.info("接收消息:{}", message);
        throw new RuntimeException("消费异常");
    }
}
- 配置
application.yml文件
server:
  port: 9999
spring:
  rabbitmq:
    host: 192.168.56.124
    port: 5672
  cloud:
    stream:
      default:
        contentType: application/json
      bindings:
        handler-dlq-topic-input:
          destination: handler-dlq-topic
          group: handler-dlq
          consumer:
            max-attempts: 1  # 设置最大重试次数
      rabbit:
        bindings:
          example-topic-input:
            consumer:
              delayed-exchange: true
          handler-dlq-topic-input: #私信队列配置
            consumer:
              auto-bind-dlq: true
              dlq-ttl: 50000
              republish-to-dlq: true
- 演示
provider的代码,首先是pom文件
		<dependency>
            <groupId>org.springframework.cloud</groupId>
            <artifactId>spring-cloud-starter-stream-rabbit</artifactId>
        </dependency>

        <dependency>
            <groupId>org.springframework.boot</groupId>
            <artifactId>spring-boot-starter-web</artifactId>
        </dependency>
- 定义一个
channel,这个和上面的保持一样
public interface DLQExceptionChannel {


    String OUTPUT = "handler-dlq-topic-output";
    String INPUT = "handler-dlq-topic-input";

    @Output(OUTPUT)
    MessageChannel output();

    @Input(INPUT)
    SubscribableChannel input();
}
- 定义一个发送者类
@Slf4j
@EnableBinding(DLQExceptionChannel.class)
public class DLQExceptionMessageProducer1 {


    @Resource
    private DLQExceptionChannel channel;


    public void produce(String message) {


        log.info("发送消息:{}", message);
        channel.output().send(MessageBuilder.withPayload(message).build());
    }
}
- 定义一个
web访问的端点
   /**
     * 异常发送到DLQ私信队列
     *
     * @param message
     * @return
     */
    @GetMapping("/dlqException")
    public String dlqException(@RequestParam String message) {


        log.info("Send: " + message);
        dlqExceptionMessageProducer1.produce(message);
        return "ok";
    }
- 配置
application.yml文件
server:
  port: 8888
spring:
  rabbitmq:
    host: 192.168.56.124
    port: 5672
  cloud:
    stream:
      default:
        contentType: application/json
      bindings:
        handler-dlq-topic-output:
          destination: handler-dlq-topic
      rabbit:
        bindings:
          example-topic-output:
            producer:
               delayed-exchange: true
测试代码
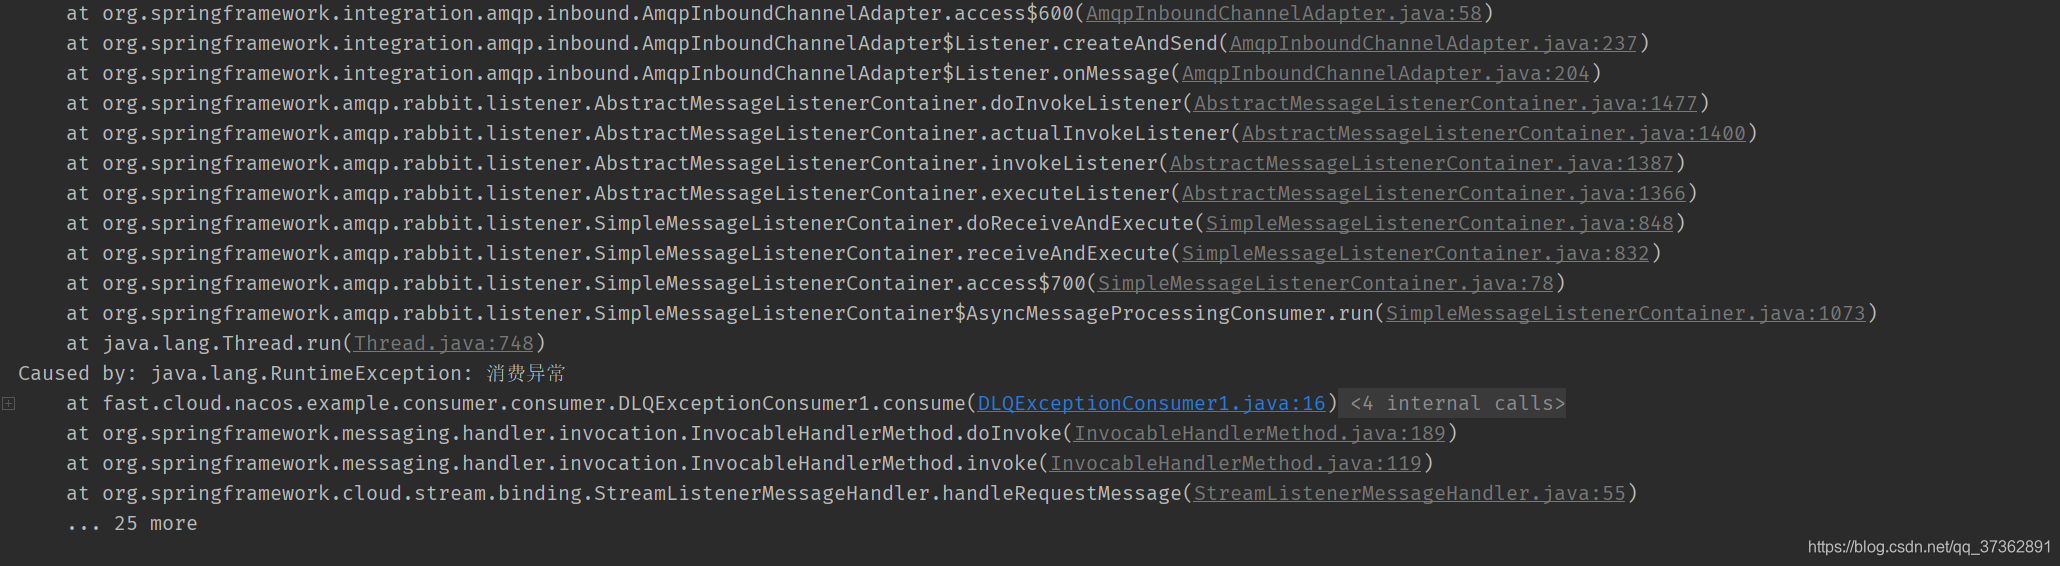
- 分别启动两个项目,通过访问
http://localhost:8888/dlqException?message=aaa,可以观察到消费者的控制台打印出异常日志
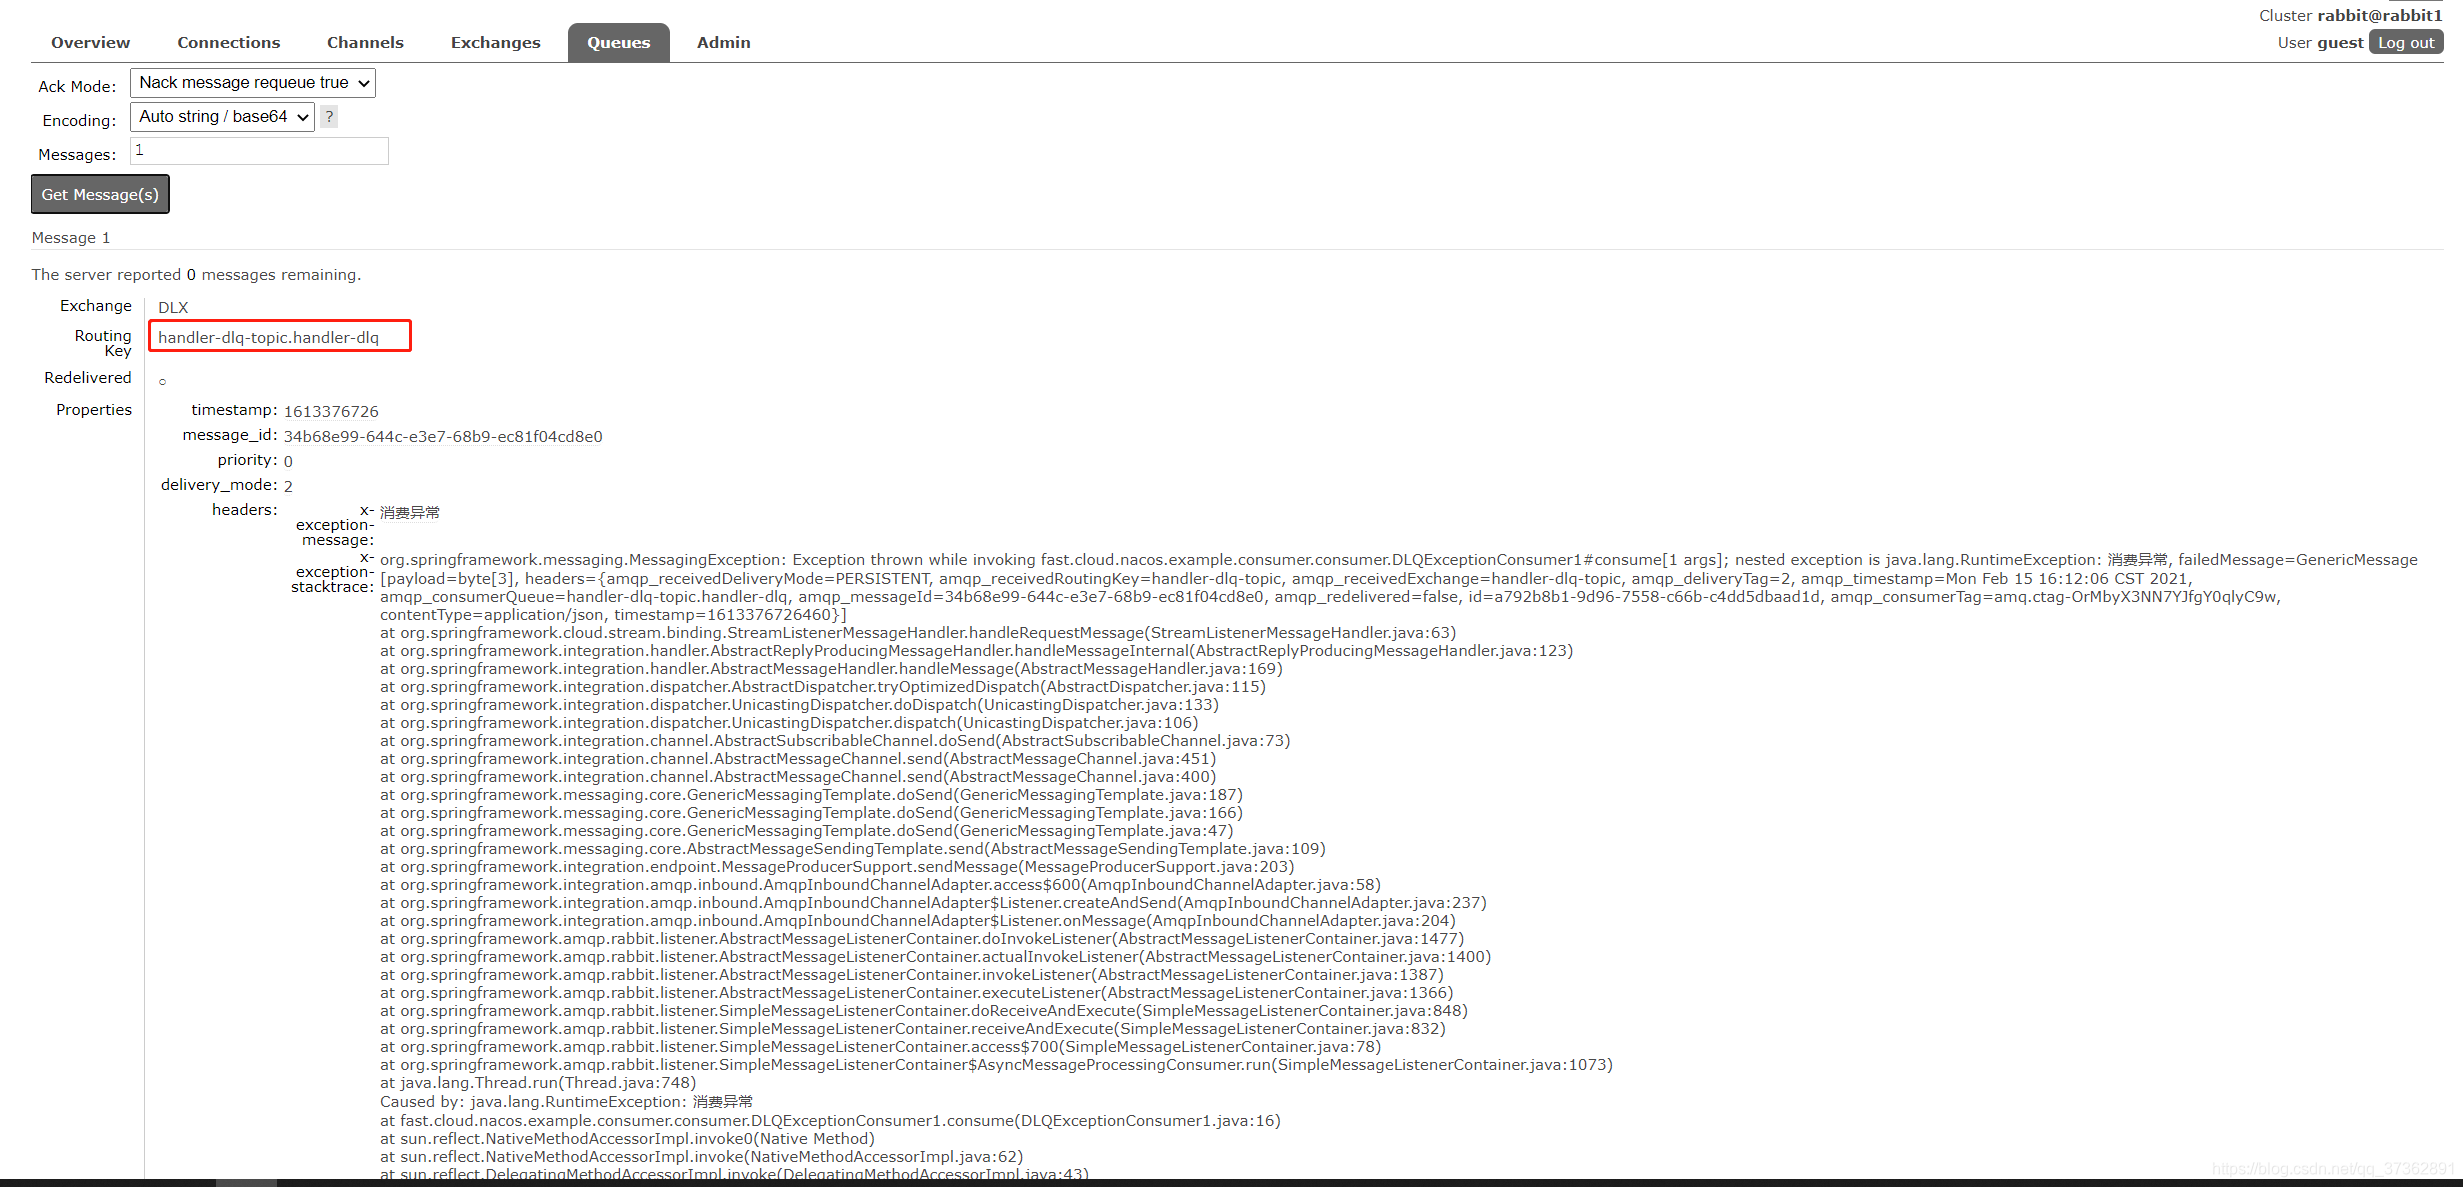
- 这个时候观察rabbtimq的管理页面,查看是否有死信消息发送到死信队列,可以观察到死信队列已经有消息了,证明测试成功了。
Kafka实现
环境搭建
搭建单机版kafka,docker-compose.yml文件如下:
version: '2'
services:
  zookeeper:
    image: wurstmeister/zookeeper   ## 镜像
    ports:
      - "2181:2181"                 ## 对外暴露的端口号
  kafka:
    image: wurstmeister/kafka       ## 镜像
    volumes:
        - /etc/localtime:/etc/localtime ## 挂载位置(kafka镜像和宿主机器之间时间保持一直)
    ports:
      - "9092:9092"
    environment:
      KAFKA_ADVERTISED_HOST_NAME: 192.168.56.124   ## 修改:宿主机IP
      KAFKA_ZOOKEEPER_CONNECT: 192.168.56.124:2181       ## 卡夫卡运行是基于zookeeper的
  kafka-manager:
    image: sheepkiller/kafka-manager                ## 镜像:开源的web管理kafka集群的界面
    environment:
        ZK_HOSTS: 192.168.56.124                    ## 修改:宿主机IP
    ports:
      - "9000:9000"
代码演示
代码已经上传到github上面
- 首先是
consumer代码,给出pom依赖
        <dependency>
            <groupId>org.springframework.cloud</groupId>
            <artifactId>spring-cloud-stream</artifactId>
        </dependency>
        <dependency>
            <groupId>org.springframework.cloud</groupId>
            <artifactId>spring-cloud-starter-stream-kafka</artifactId>
        </dependency>

        <dependency>
            <groupId>org.springframework.boot</groupId>
            <artifactId>spring-boot-starter-web</artifactId>
        </dependency>
- 定义一个
consumer类去消费,这里没有自定义channel,直接使用默认的。
@Slf4j
@EnableBinding(SpringStreamChannel.class)
public class SpringStreamMessageConsumer {


    @StreamListener(SpringStreamChannel.CONSUMER)
    public void consume(String message) {


        log.info("接收消息:{}", message);
    }
}
- 配置
application.yml文件
spring:
  cloud:
    stream:
      kafka:
        binder:
          brokers: 192.168.56.124:9092
        bindings:
          input:
            consumer:
              # When set to true, it enables DLQ behavior for the consumer. By default, messages that result in errors are forwarded to a topic named error.<destination>.<group>.
              # messages sent to the DLQ topic are enhanced with the following headers: x-original-topic, x-exception-message, and x-exception-stacktrace as byte[].
              # By default, a failed record is sent to the same partition number in the DLQ topic as the original record.
              enableDlq: true
              dlqName: custom-message-dlq
              keySerde: org.apache.kafka.common.serialization.Serdes$StringSerde
              valueSerde: com.boot.kafa.consumer.dlq.model.CustomMessageSerde
              autoCommitOnError: true
              autoCommitOffset: true
      bindings:
        input:
          group: kafka-streams-dlq-sample # must have group name
          destination: custom-message-topic
          useNativeDecoding: true
          consumer:
            maxAttempts: 3 # 当消息消费失败时,尝试消费该消息的最大次数(消息消费失败后,发布者会重新投递)。默认3
            backOffInitialInterval: 1000 # 消息消费失败后重试消费消息的初始化间隔时间。默认1s,即第一次重试消费会在1s后进行
            backOffMultiplier: 2 # 相邻两次重试之间的间隔时间的倍数。默认2,即第二次是第一次间隔时间的2倍,第三次是第二次的2倍
            backOffMaxInterval: 10000 # 下一次尝试重试的最大时间间隔,默认为10000ms,即10s。
server:
  port: 9999
- 生产者者的代码,首先给出
pom
<dependency>
            <groupId>org.springframework.cloud</groupId>
            <artifactId>spring-cloud-starter-stream-kafka</artifactId>
        </dependency>

        <dependency>
            <groupId>org.springframework.boot</groupId>
            <artifactId>spring-boot-starter-web</artifactId>
        </dependency>
- 自定义一个
channel
public interface OutputChannel {


    @Output("output2")
    MessageChannel output2();
}
- 定义一个web的访问端点
    @GetMapping("/produce")
    public void produce() {


        dlqMessageProducer.produce(CustomMessage.builder()
            .data("test")
            .count(1).build());
    }
- 配置
application.yml
spring:
  cloud:
    stream:
      kafka:
        binder:
          brokers: 192.168.56.124:9092
      bindings:
        output2:
          destination: custom-message-topic
          contentType: application/json
server:
  port: 8888
测试代码
-
启动两个项目,访问
http://localhost:8888/produce,看到日志报错
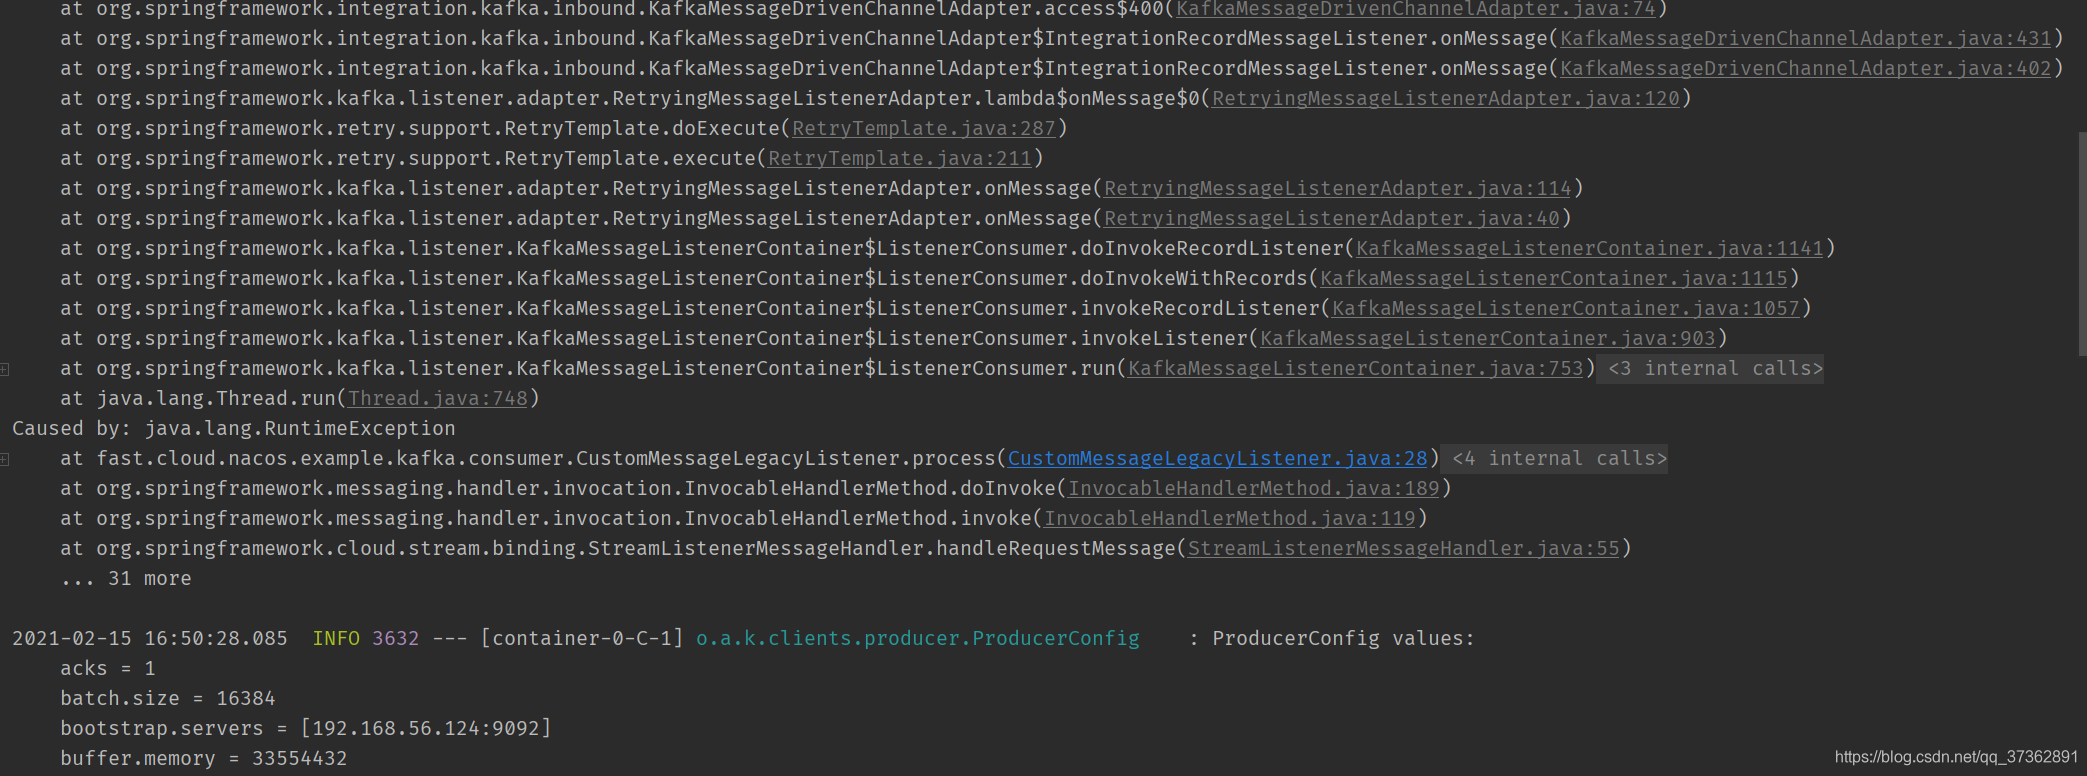
-
看下kafka是否生成死信消息
docker exec -it kafka_容器id /bin/bash
cd /opt/kafka/bin
./kafka-console-consumer.sh --bootstrap-server 192.168.56.124:9092 --topic custom-message-dlq

可以看到死信队列已经有消息,说明测试成功。