垂直Layout
我们想到的第一直觉肯定是ViewGroup,自定义一个ViewGroup通常包含onMeasure(测量),onLayout(布局)。
onMeasure
onMeasure是一个父往子依次measure的过程。当我们要画一个竖直的Layout.我们应该得到下图:
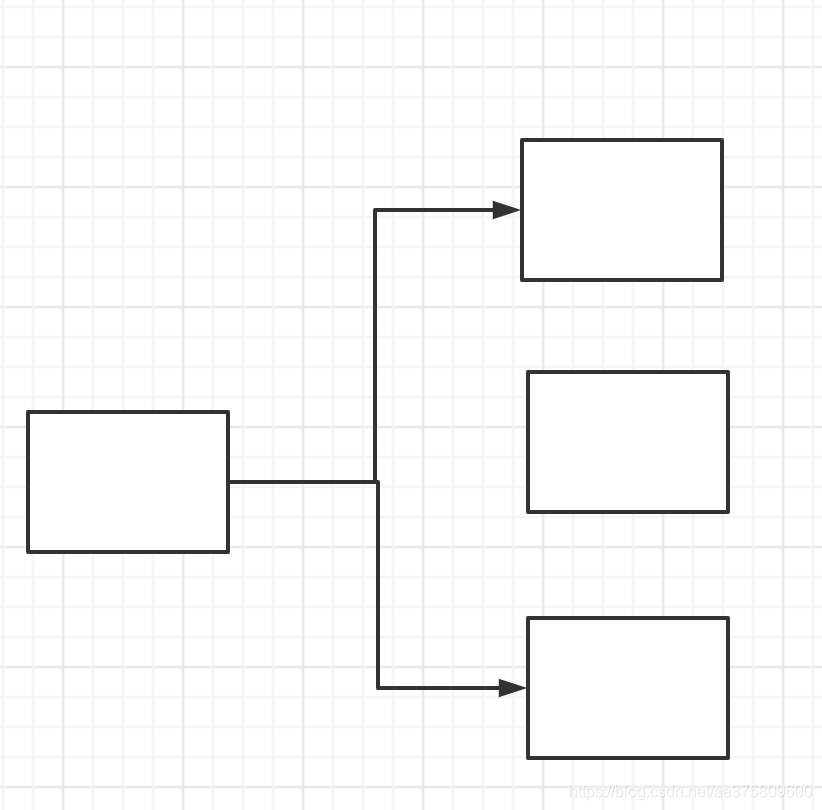
父控件的高度是子控件的高度和。设自定义viewgroup有三个EditText
<FrameLayout xmlns:android="http://schemas.android.com/apk/res/android"
    xmlns:app="http://schemas.android.com/apk/res-auto"
    xmlns:tools="http://schemas.android.com/tools"
    android:layout_width="match_parent"
    android:layout_height="match_parent"
    tools:context=".MainActivity">

    <com.jhzl.customview.VerticalLayout
        android:layout_width="wrap_content"
        android:layout_height="wrap_content"
        android:background="@color/black"
        android:layout_gravity="center">

        <EditText
            android:background="@android:color/holo_red_dark"
            android:text="hahah"
            android:layout_width="200dp"
            android:layout_height="100dp"/>


        <EditText
            android:background="@android:color/holo_green_dark"
            android:text="hahah"
            android:layout_width="200dp"
            android:layout_height="100dp"/>

        <EditText
            android:background="@android:color/holo_blue_dark"
            android:text="hahah"
            android:layout_width="200dp"
            android:layout_height="100dp"/>
    </com.jhzl.customview.VerticalLayout>

</FrameLayout>
此时我们应该复写VerticalLayout的onMeasure了
 @Override
    protected void onMeasure(int widthMeasureSpec, int heightMeasureSpec) {


        int totalHeight = 0;
        int totalWidth = 0;
        for (int i = 0; i < getChildCount(); i++) {


            View child = getChildAt(i);
            measureChild(child, widthMeasureSpec, heightMeasureSpec);
            //计算总共高度
            totalHeight = child.getMeasuredHeight() + totalHeight;
            //取最大的子view的宽度
            totalWidth = Math.max(child.getMeasuredWidth(), totalWidth);
        }
        float xmlMaxWidth = getResources().getDimension(R.dimen.dp250);
        float xmlMaxHeight = getResources().getDimension(R.dimen.dp100);
        Log.d(TAG,"xmlMaxWidth = "+xmlMaxWidth+"   xmlMaxHeight = "+xmlMaxHeight+"     totalWidth = "+(totalWidth)+"  totalHeight = "+totalHeight);
        setMeasuredDimension(totalWidth,totalHeight);
    }
实验打印结果:
xmlMaxWidth = 656.25   xmlMaxHeight = 262.5     totalWidth = 656  totalHeight = 789
 xmlMaxWidth = 656.25   xmlMaxHeight = 262.5     totalWidth = 656  totalHeight = 789
实验UI效果:
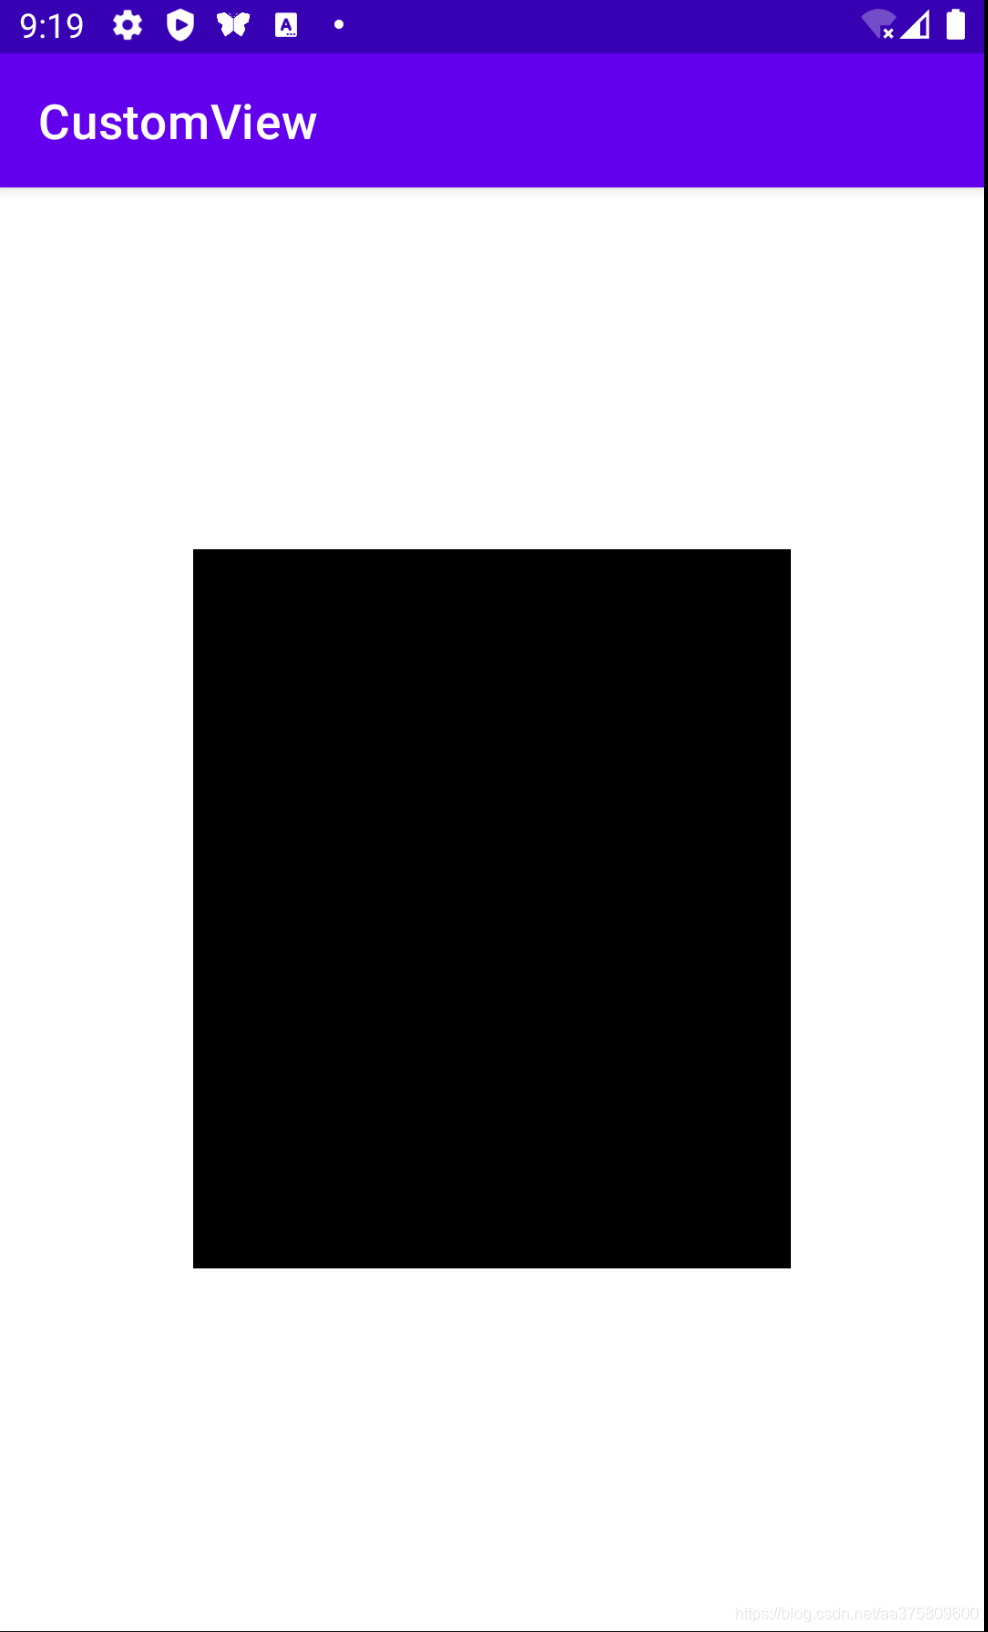
是黑的,这是因为我们还没有onLayout。好了,接下来我们来看一下怎么layout.
onLayout
测量完了,我们就可以根据测量的高度,来计算布局相应的位置啦。按照最初的设想,我们是要做垂直的Layout.那也就是子布局高度的想加:
    @Override
    protected void onLayout(boolean changed, int l, int t, int r, int b) {


        int curTop = 0;
        for (int i = 0; i < getChildCount(); i++) {


            View child = getChildAt(i);
            child.layout(0,curTop,child.getMeasuredWidth(),curTop+child.getMeasuredHeight());
            curTop = curTop + child.getMeasuredHeight();
        }
    }
另外需要补充的知识点是,这里用的是MeasureHeight和MeasureWidth,为什么不用getHeight和getWidth呢,因为Measure开头的都是在onMeasure之后赋值的,而getHeight和getWidth则是在onLayout之后才有值。
接下来可以看实验结果了:
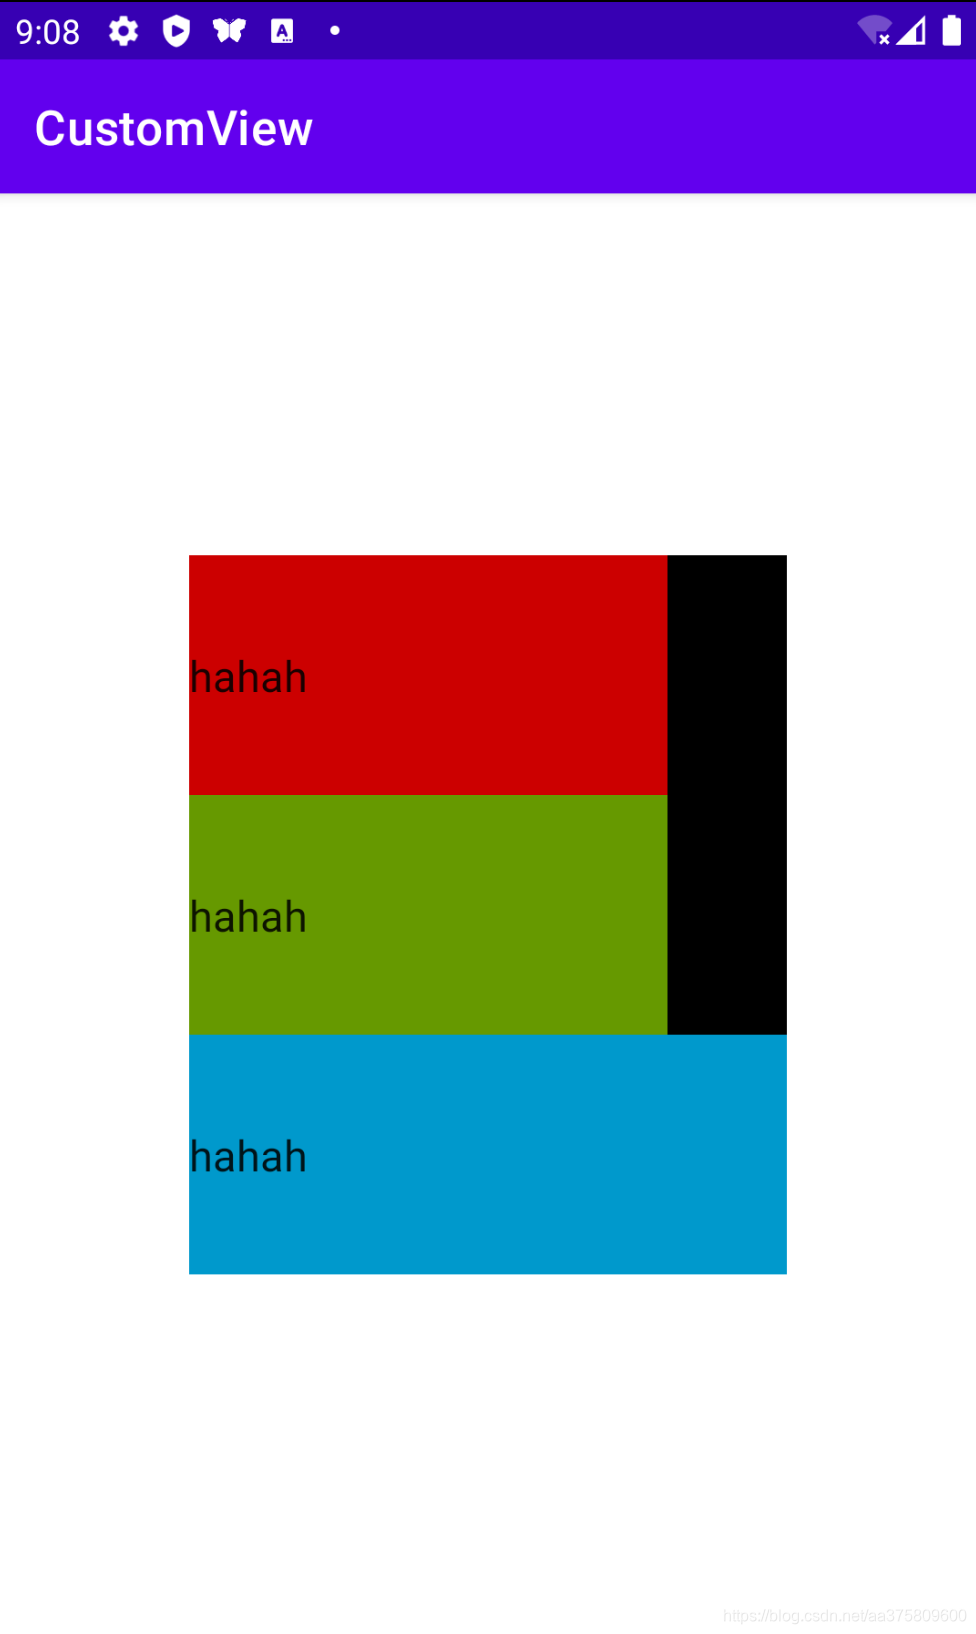
View被正常的layout到了界面上。