从互联网上获取数据
从大多数应用程序获取互联网上的数据是必要的。 幸运的是,Dart和Flutter为这类工作提供了工具!
路线
- 使用http包发出网络请求
- 将响应转换为自定义Dart对象
- 用Flutter获取并显示数据
1.使用http包发出网络请求
http包提供了从互联网获取数据的最简单方法。
在这个例子中,我们将使用http.get方法从JSONPlaceholder REST API获取示例文章。
Future<http.Response> fetchPost() {
  return http.get('https://jsonplaceholder.typicode.com/posts/1');
}http.get方法返回一个包含Response的Future。
- Future是与异步操作一起工作的核心Dart类。 它用于表示未来某个时间可能会出现的潜在价值或错误。
- http.Response类包含从成功的http调用收到的数据。
2.将响应转换为自定义Dart对象
虽然提出网络请求很容易,但使用原始Future<http.Response>并不方便。 为了让我们的生活更轻松,我们可以将http.Response转换为我们自己的Dart对象。
创建一个Post类
首先,我们需要创建一个Post类,其中包含来自我们网络请求的数据。 它还将包含一个工厂构造函数,允许我们从json创建一个Post。
手动转换JSON只是一种选择。 有关更多信息,请参阅关于JSON和序列化的完整文章。
class Post {
  final int userId;
  final int id;
  final String title;
  final String body;

  Post({this.userId, this.id, this.title, this.body});

  factory Post.fromJson(Map<String, dynamic> json) {
    return new Post(
      userId: json['userId'],
      id: json['id'],
      title: json['title'],
      body: json['body'],
    );
  }
}
将http.Response转换为Post
现在,我们将更新fetchPost函数以返回Future<Post>。 为此,我们需要:
- 使用dart:convert包将响应正文转换为json Map
- 使用fromJson工厂函数将json Map转换为Post。
Future<Post> fetchPost() async {
  final response = await http.get('https://jsonplaceholder.typicode.com/posts/1');
  final responseJson = json.decode(response.body);

  return new Post.fromJson(responseJson);
}
万岁! 现在我们有一个功能,我们可以调用从互联网上获取Post!
3.用Flutter获取并显示数据
为了获取数据并将其显示在屏幕上,我们可以使用FutureBuilder小部件! Flutter附带FutureBuilder部件,可以轻松处理异步数据源。
我们必须提供两个参数:
使用的Future。 在我们的例子中,我们将调用我们的fetchPost()函数。
一个builder函数,告诉Flutter渲染什么,取决于Future的状态:加载,成功或错误。
new FutureBuilder<Post>(
  future: fetchPost(),
  builder: (context, snapshot) {
    if (snapshot.hasData) {
      return new Text(snapshot.data.title);
    } else if (snapshot.hasError) {
      return new Text("${snapshot.error}");
    }

    // By default, show a loading spinner
    return new CircularProgressIndicator();
  },
);
完整例子
import 'dart:async';
import 'dart:convert';

import 'package:flutter/material.dart';
import 'package:http/http.dart' as http;

Future<Post> fetchPost() async {
  final response =
      await http.get('https://jsonplaceholder.typicode.com/posts/1');
  final responseJson = json.decode(response.body);

  return new Post.fromJson(responseJson);
}

class Post {
  final int userId;
  final int id;
  final String title;
  final String body;

  Post({this.userId, this.id, this.title, this.body});

  factory Post.fromJson(Map<String, dynamic> json) {
    return new Post(
      userId: json['userId'],
      id: json['id'],
      title: json['title'],
      body: json['body'],
    );
  }
}

void main() => runApp(new MyApp());

class MyApp extends StatelessWidget {
  @override
  Widget build(BuildContext context) {
    return new MaterialApp(
      title: 'Fetch Data Example',
      theme: new ThemeData(
        primarySwatch: Colors.blue,
      ),
      home: new Scaffold(
        appBar: new AppBar(
          title: new Text('Fetch Data Example'),
        ),
        body: new Center(
          child: new FutureBuilder<Post>(
            future: fetchPost(),
            builder: (context, snapshot) {
              if (snapshot.hasData) {
                return new Text(snapshot.data.title);
              } else if (snapshot.hasError) {
                return new Text("${snapshot.error}");
              }

              // By default, show a loading spinner
              return new CircularProgressIndicator();
            },
          ),
        ),
      ),
    );
  }
}
进行认证请求
为了从许多Web服务获取数据,您需要提供授权。 有很多方法可以做到这一点,但也许最常见的方法是使用Authorization HTTP标头。
添加授权头部信息
http包提供了一种方便的方法来为请求添加请求头。 您还可以利用dart:io软件包来处理常见的HttpHeaders。
Future<http.Response> fetchPost() {
  return http.get(
    'https://jsonplaceholder.typicode.com/posts/1',
    // Send authorization headers to your backend
    headers: {HttpHeaders.AUTHORIZATION: "Basic your_api_token_here"},
  );
}
完整例子
这个例子建立在Internet抓取数据的配方上。
import 'dart:async';
import 'dart:convert';
import 'dart:io';
import 'package:http/http.dart' as http;
Future<Post> fetchPost() async {
final response = await http.get(
'https://jsonplaceholder.typicode.com/posts/1',
headers: {HttpHeaders.AUTHORIZATION: "Basic your_api_token_here"},
);
final json = json.decode(response.body);
return new Post.fromJson(json);
}
class Post {
final int userId;
final int id;
final String title;
final String body;
Post({this.userId, this.id, this.title, this.body});
factory Post.fromJson(Map<String, dynamic> json) {
return new Post(
userId: json['userId'],
id: json['id'],
title: json['title'],
body: json['body'],
);
}
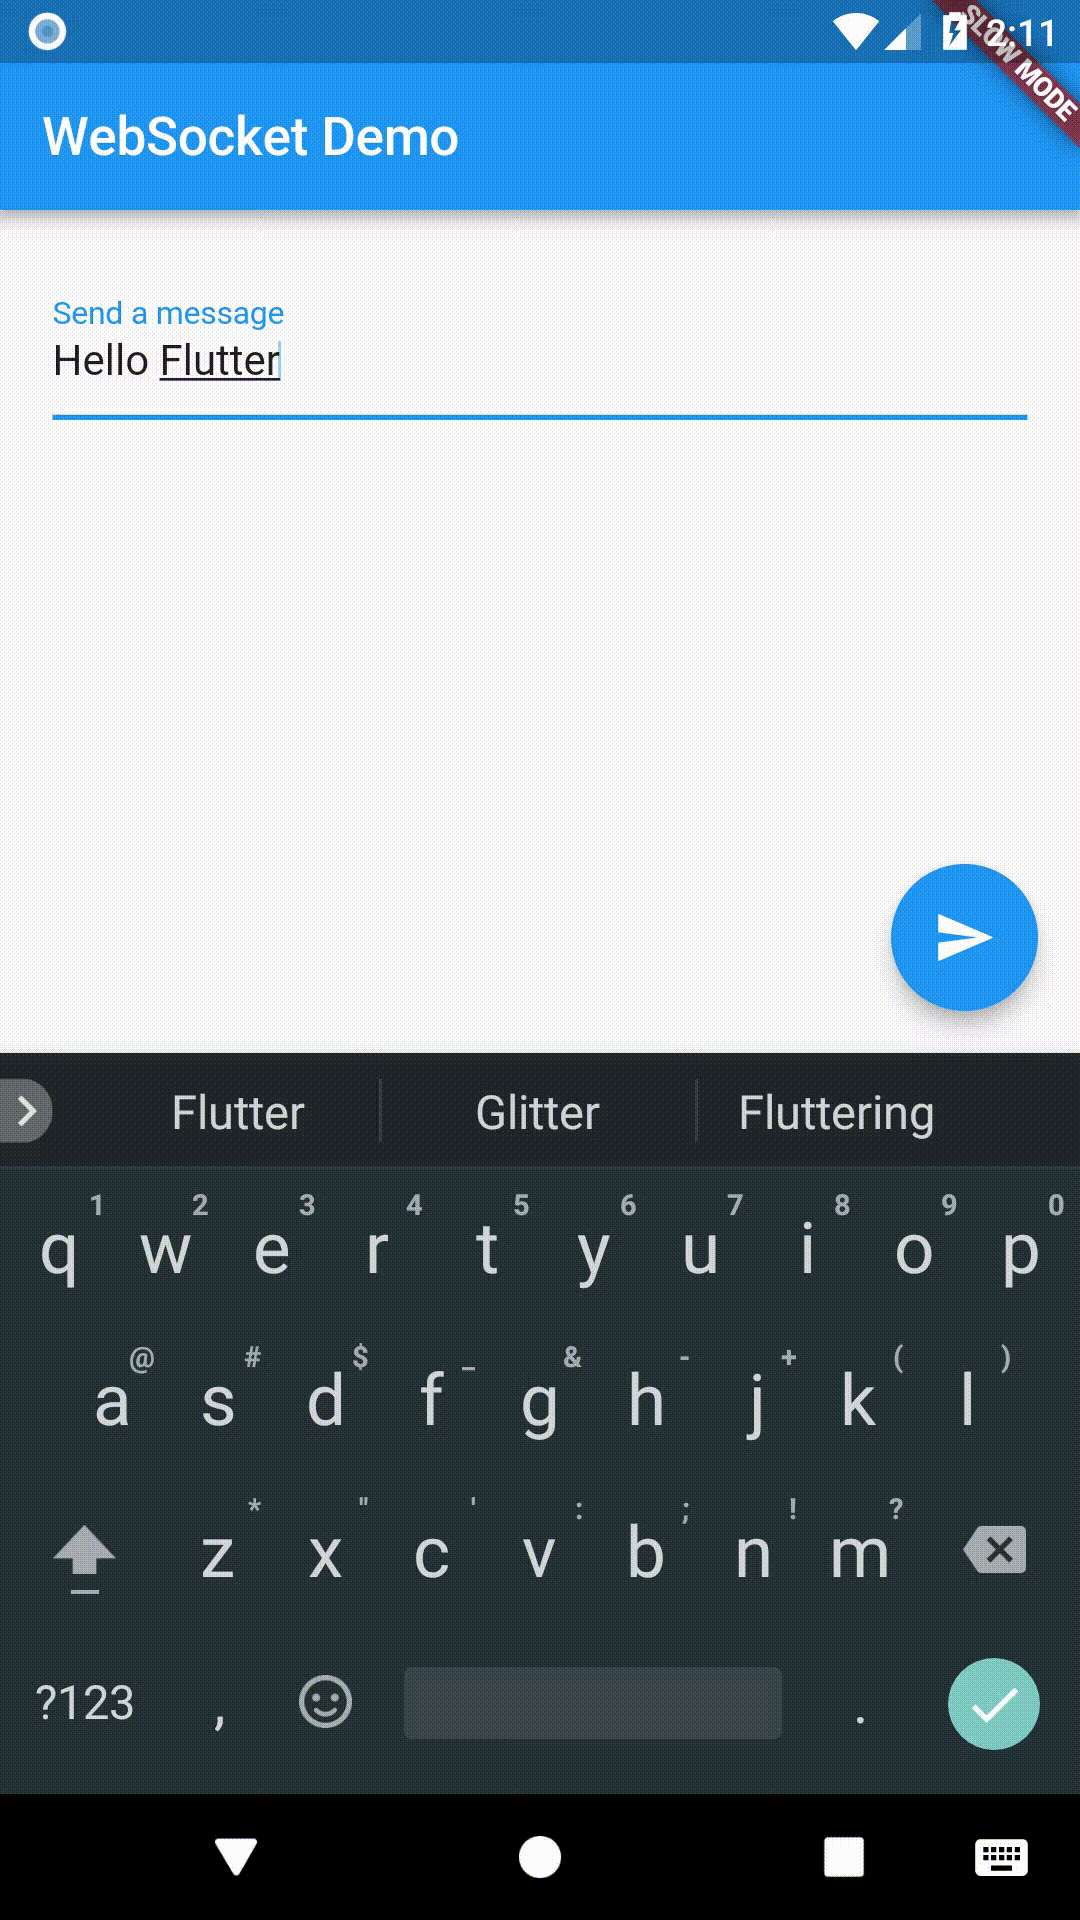
}使用WebSockets
除了正常的HTTP请求外,我们还可以使用WebSockets连接到服务器。 WebSocket允许与服务器进行双向通信而无需轮询。
在这个例子中,我们将连接到由websocket.org提供的测试服务器。 服务器将简单地发回我们发送给它的相同消息!
路线
- 连接到WebSocket服务器
- 监听来自服务器的消息
- 将数据发送到服务器
- 关闭WebSocket连接
1.连接到WebSocket服务器
web_socket_channel包提供了我们需要连接到WebSocket服务器的工具。
该软件包提供了一个WebSocketChannel,它允许我们既监听来自服务器的消息,又将消息推送到服务器。
在Flutter中,我们可以创建一个连接到服务器的WebSocketChannel:
final channel = new IOWebSocketChannel.connect('ws://echo.websocket.org');2.监听来自服务器的消息
现在我们建立了连接,我们可以收听来自服务器的消息。
在我们发送消息给测试服务器之后,它会发回相同的消息。
我们如何听取消息并显示它们? 在这个例子中,我们将使用StreamBuilder部件来侦听新消息和一个Text 部件来显示它们。
new StreamBuilder(
  stream: widget.channel.stream,
  builder: (context, snapshot) {
    return new Text(snapshot.hasData ? '${snapshot.data}' : '');
  },
);
这个怎么用?
WebSocketChannel从服务器提供消息Stream 。
Stream类是dart:async包的基础部分。 它提供了一种方法来侦听来自数据源的异步事件。 与将返回单个异步响应的Future不同,Stream类可以随着时间的推移传递许多事件。
StreamBuilder部件将连接到Stream,并在每次接收到事件时使用给定的builder函数请求Flutter重建!
3.将数据发送到服务器
为了将数据发送到服务器,我们将消息add到由WebSocketChannel提供的sink接收器。
channel.sink.add('Hello!');这个怎么用
WebSocketChannel提供了一个StreamSink来将消息推送到服务器。
StreamSink类提供了将同步或异步事件添加到数据源的一般方法。
4.关闭WebSocket连接
在我们完成使用WebSocket之后,我们将要关闭连接! 为此,我们可以关闭sink。
channel.sink.close();完整例子
import 'package:flutter/foundation.dart';
import 'package:web_socket_channel/io.dart';
import 'package:flutter/material.dart';
import 'package:web_socket_channel/web_socket_channel.dart';

void main() => runApp(new MyApp());

class MyApp extends StatelessWidget {
  @override
  Widget build(BuildContext context) {
    final title = 'WebSocket Demo';
    return new MaterialApp(
      title: title,
      home: new MyHomePage(
        title: title,
        channel: new IOWebSocketChannel.connect('ws://echo.websocket.org'),
      ),
    );
  }
}

class MyHomePage extends StatefulWidget {
  final String title;
  final WebSocketChannel channel;

  MyHomePage({Key key, @required this.title, @required this.channel})
      : super(key: key);

  @override
  _MyHomePageState createState() => new _MyHomePageState();
}

class _MyHomePageState extends State<MyHomePage> {
  TextEditingController _controller = new TextEditingController();

  @override
  Widget build(BuildContext context) {
    return new Scaffold(
      appBar: new AppBar(
        title: new Text(widget.title),
      ),
      body: new Padding(
        padding: const EdgeInsets.all(20.0),
        child: new Column(
          crossAxisAlignment: CrossAxisAlignment.start,
          children: <Widget>[
            new Form(
              child: new TextFormField(
                controller: _controller,
                decoration: new InputDecoration(labelText: 'Send a message'),
              ),
            ),
            new StreamBuilder(
              stream: widget.channel.stream,
              builder: (context, snapshot) {
                return new Padding(
                  padding: const EdgeInsets.symmetric(vertical: 24.0),
                  child: new Text(snapshot.hasData ? '${snapshot.data}' : ''),
                );
              },
            )
          ],
        ),
      ),
      floatingActionButton: new FloatingActionButton(
        onPressed: _sendMessage,
        tooltip: 'Send message',
        child: new Icon(Icons.send),
      ), // This trailing comma makes auto-formatting nicer for build methods.
    );
  }

  void _sendMessage() {
    if (_controller.text.isNotEmpty) {
      widget.channel.sink.add(_controller.text);
    }
  }

  @override
  void dispose() {
    widget.channel.sink.close();
    super.dispose();
  }
}