一、前言
今天分享一个简单的角色移动脚本,主要用到碰撞器和刚体组件,代码简单易懂,复用性、扩展性较强,跟我一起来看看吧。
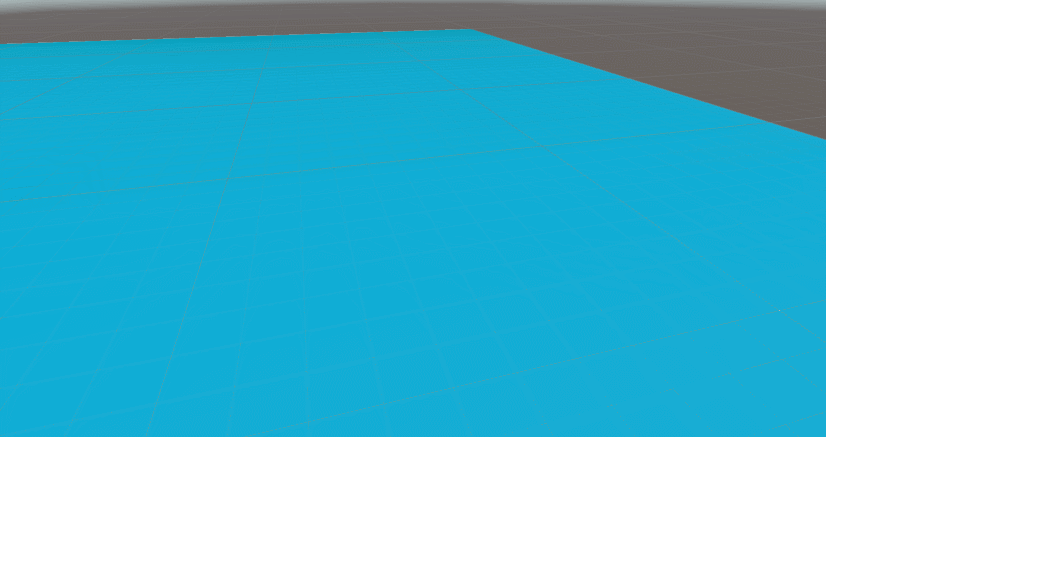
二、效果图
三、代码
using UnityEngine;

public class RunTest1 : MonoBehaviour
{
    public float forwardSpeed;          //前进的速度
    public float backwardSpeed;         //后退的速度
    public float rotateSpeed;           //旋转速度
    private Vector3 velocity;

    void FixedUpdate()
    {
    	//获取到横轴 前后 的输入 也就是键盘W 和S的输入
        float h = Input.GetAxis("Horizontal");
        //获取到纵轴 左右 的输入 也就是键盘A 和D的输入
        float v = Input.GetAxis("Vertical");
        //从上下键的输入,获取到Z轴的输入量
        velocity = new Vector3(0, 0, v);
        //将世界坐标转化为本地坐标
        velocity = transform.TransformDirection(velocity);
        //判断是前进还是后退
        if (v > 0.1)
        {
            velocity *= forwardSpeed;
        }
        else
        {
            velocity *= backwardSpeed;
        }
        //移动自身坐标
        transform.localPosition += velocity * Time.fixedDeltaTime;
        //旋转角度
        transform.Rotate(0, h * rotateSpeed, 0);
    }
}
四、实现步骤
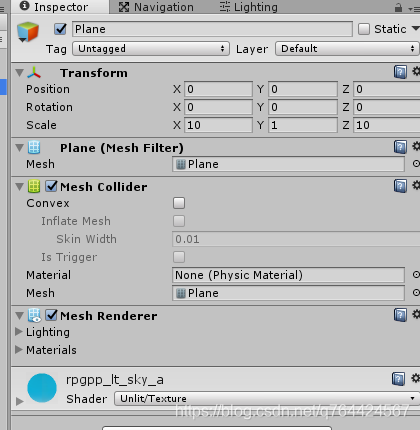
1.首先我们先设计场景
在场景中新建一个Plane,设置一下宽度和长度
2.新建一个Capsule,假设这个是主角
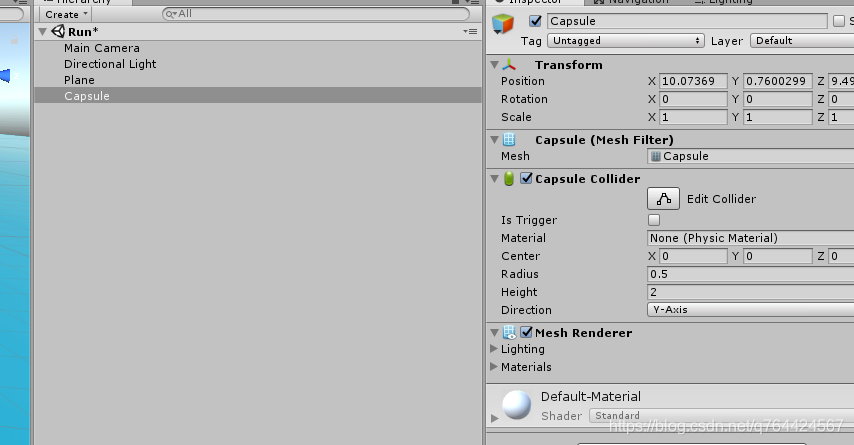
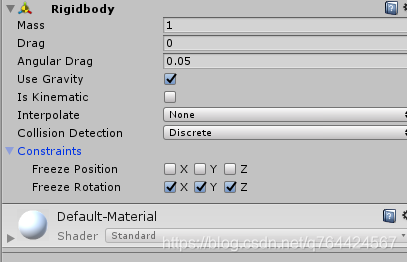
添加刚体组件,锁定XYZ的旋转
3.设置摄像机的跟随
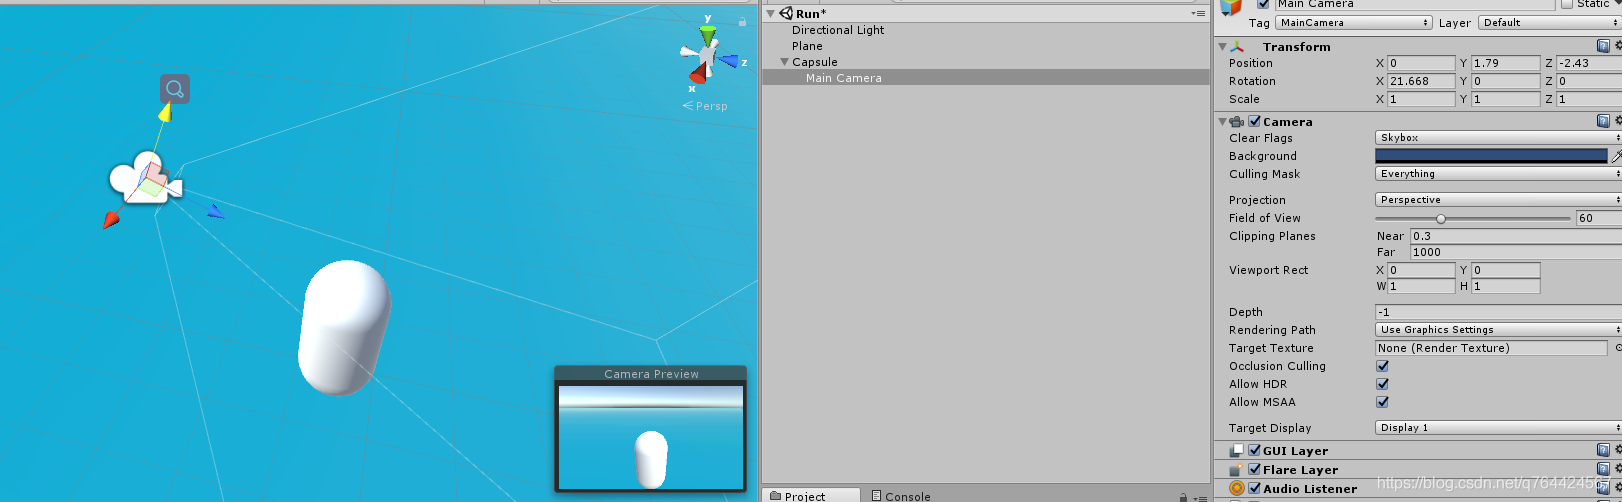
直接设置成Capsule的子对象,简单粗暴,然后再设置一下位置旋转角度
4.编写RunTest.cs脚本
using UnityEngine;

public class RunTest1 : MonoBehaviour
{
    public float forwardSpeed;          //前进的速度
    public float backwardSpeed;         //后退的速度
    public float rotateSpeed;           //旋转速度
    private Vector3 velocity;

    void FixedUpdate()
    {
        float h = Input.GetAxis("Horizontal");
        float v = Input.GetAxis("Vertical");

        velocity = new Vector3(0, 0, v);
        velocity = transform.TransformDirection(velocity);
        if (v > 0.1)
        {
            velocity *= forwardSpeed;
        }
        else
        {
            velocity *= backwardSpeed;
        }
        transform.localPosition += velocity * Time.fixedDeltaTime;
        transform.Rotate(0, h * rotateSpeed, 0);
    }
}
5.将脚本赋给Capsule对象
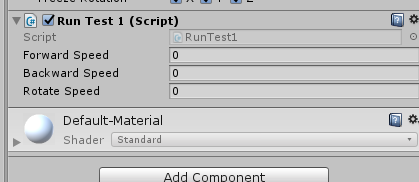
设置参数

5.运行
开始快乐的玩耍把

