需求分析:
在一个背景图上(optional) 进行绘制,可以使用圆形刷子或画矩形,也可以使用圆形橡皮;圆形刷子或橡皮可以调整半径;
可以保存结果图以及前景图(即去除掉背景);
本程序可以用于为图像制作mask,因此也对“将mask作用于图像”进行了实现;
所需库:
import os
import sys
import cv2
import numpy as np
完整源码及注释:
"""
绘图工具
基于一张背景图(optional),绘制圆形或矩形,并可保存完整图及前景图;
可以选择前景图的保存模式(详见saveForeground函数的mode参数)

按键说明:
    按键'm':切换绘图模式,绘制圆形或者矩形
    按键'+','-':增加或减小圆形的半径
    案件'e':打开或关闭橡皮模式
    按键'q':退出
"""
import os
import sys
import cv2
import numpy as np

class Painter:
    def __init__(self, img_size=(1080, 1920, 3), mode='circle', background=None, circle_radius=20, win_name='my Drawing Board', save_path=None, color=(1,1,255), show_all_layers=False):
        """
        :param img_size:画板大小,若指定background则忽略此参数
        :param mode: 'circle'画圆点,'rectangle'画矩形
        :param background: 画板的背景图片地址
        :param circle_radius:‘circle'模式下圆形的半径
        :param win_name:窗口名
        :param save_path:绘图结果保存地址
        :param color:画笔颜色
        :param show_all_layers:是否显示前景图层以及前景辅助图层
        """
        # (1)基本信息
        self.mode = mode
        self.win_name = win_name
        self.save_path = save_path
        self.brush_color = color
        self.eraser_color = (1,1,1)
        self.circle_radius = circle_radius
        self.show_all_layers = show_all_layers
        # (2)图层
        self.layer_back = cv2.imread(background) if background is not None else np.zeros(img_size, dtype=np.uint8) # 背景图层
        self.layer_fore_0 = np.zeros(self.layer_back.shape, dtype=np.uint8)    # 前景图层
        self.layer_fore_1 = np.zeros(self.layer_back.shape, dtype=np.uint8)    # 前景暂留图层(用于显示但是不作为最终前景图片的辅助图层)
        # (3)状态信息
        self.eraser = False  # 是否使用橡皮功能
        self.switch_fromCircle = False  # 是否刚刚结束circle或eraser模式
        self.click = False   # 鼠标是否产生了一次“按下—松开”的click过程
        self.drawing = False # 是否处于绘制状态
        self.x0, self.y0 = -1, -1   # (rectangle模式)记录鼠标按下时的起始位置,即矩形的起始顶点
        self.x1, self.y1 = -1, -1   # (rectangle模式)记录上一次鼠标的位置,即当前矩形的终止顶点
        self.x2, self.y2 = -1, -1   # (circle模式)记录"circle"模式且未绘制状态下,鼠标上次的位置

    # 鼠标事件
    def mouseEvent(self, event, x, y, flag, param):
        # (0)清除上一次circle或eraser遗留的痕迹
        if self.switch_fromCircle:
            cv2.circle(self.layer_fore_1, (self.x2, self.y2), radius=self.circle_radius, color=(0,0,0), thickness=-1)
            self.switch_fromCircle = False
        # (1)鼠标左键按下事件——开启绘图状态
        if event == cv2.EVENT_LBUTTONDOWN:
            self.drawing = True
            self.x0, self.y0 = x, y
            self.x1, self.y1 = x, y
            self.x2, self.y2 = -1, -1
        # (2)鼠标移动事件——绘图
        elif event == cv2.EVENT_MOUSEMOVE:
            # (2.1)绘制模式
            if self.drawing:
                # 使用橡皮
                if self.eraser:
                    cv2.circle(self.layer_fore_0, (x, y), radius=self.circle_radius, color=(0,0,0), thickness=-1)
                    self.layer_fore_1 = np.zeros(shape=self.layer_fore_1.shape, dtype=np.uint8)  # 清空layer_fore_1
                    cv2.circle(self.layer_fore_1, (x, y), radius=self.circle_radius, color=self.eraser_color, thickness=-1)
                    self.x2, self.y2 = x, y
                # 绘制圆形
                elif self.mode == 'circle':
                    cv2.circle(self.layer_fore_1, (x, y), radius=self.circle_radius, color=self.brush_color, thickness=-1)
                # 绘制矩形
                elif self.mode == 'rectangle':
                    cv2.rectangle(self.layer_fore_1, (self.x0, self.y0), (self.x1, self.y1), color=(0, 0, 0), thickness=-1) # 用全黑矩形覆盖上一的矩形
                    cv2.rectangle(self.layer_fore_1, (self.x0, self.y0), (x, y), color=self.brush_color, thickness=-1)    # 绘制新的矩形
                    self.x1, self.y1 = x, y
                # 鲁棒性
                else:
                    print("绘图模式错误!")
                    sys.exit(0)
            # (2.2)显示橡皮
            elif self.eraser:
                self.layer_fore_1 = np.zeros(shape=self.layer_fore_1.shape, dtype=np.uint8) # 清空layer_fore_1
                cv2.circle(self.layer_fore_1, (x, y), radius=self.circle_radius, color=self.eraser_color, thickness=-1)
                self.x2, self.y2 = x, y
            # (2.3)显示圆形画笔
            elif self.mode == 'circle': # 未处于绘制状态,且“circle”模式下,需显示circle的效果
                cv2.circle(self.layer_fore_1, (self.x2, self.y2), radius=self.circle_radius, color=(0, 0, 0), thickness=-1)
                cv2.circle(self.layer_fore_1, (x, y), radius=self.circle_radius, color=self.brush_color, thickness=-1)
                self.x2, self.y2 = x, y
        # (3)鼠标左键抬起事件——结束绘图状态
        elif event == cv2.EVENT_LBUTTONUP:
            self.drawing = False
            self.click = True
            # if self.mode == 'circle':

    # 前景图像保存
    def saveForeground(self, save_path, mode='raw'):
        """
        当使用background时,保存前景图像
        :param save_path: 前景图像保存地址
        :param mode:模式,'raw'按原前景图存,'black_mask'则按黑白格式存(被画的地方为黑,其余地方为白),'white_mask'相反
        :return:
        """
        if mode=='raw':
            fore = self.layer_fore_0
        elif mode=='black_mask':
            fore = np.zeros(shape=self.layer_back.shape, dtype=np.uint8)   # 初始化为全黑
            fore[(self.layer_fore_0[:,:]==np.array([0,0,0])).all(axis=2)] = np.array([255,255,255]) # 未被画的地方设为全白
        elif mode=='white_mask':
            fore = np.zeros(shape=self.layer_back.shape, dtype=np.uint8)   # 初始化为全黑
            fore[(self.layer_fore_0[:, :] != np.array([0, 0, 0])).any(axis=2)] = np.array([255, 255, 255])  # 被画的地方设为全白
        else:
            print("模式错误!")
            sys.exit(0)
        cv2.imwrite(save_path, fore)

    # 将mask作用到图像上
    @staticmethod
    def useMask(img_mask, img_in, img_out, color_masked=(0, 0, 0)):
        """
        :param img_mask:mask图像地址
        :param img_in: 原图像目录或地址
        :param img_out: 结果图目录或地址
        :param color_masked: (B,G,R)待处理图片(img_in),对应到mask图片(img_mask)中颜色为color_masked的部分被mask(即color设为全零)
        """
        def useOnOneImg(img_inpath, img_outpath):
            img = cv2.imread(img_inpath)
            mask = (imgMask[:,:]==np.array(color_masked)).all(axis=2)
            img[mask] = np.array([0,0,0])
            # cv2.imshow('img', img)
            # cv2.waitKey()
            cv2.imwrite(img_outpath, img)
        # Process
        imgMask = cv2.imread(img_mask)
        if os.path.isfile(img_in):
            useOnOneImg(img_in, img_out)
        else:
            if not os.path.exists(img_out):
                os.makedirs(img_out)
            for file in os.listdir(img_in):
                if file.endswith('jpg') or file.endswith('.png'):
                    useOnOneImg(img_inpath=os.path.join(img_in, file),
                                img_outpath=os.path.join(img_out, file))

    # 将img2叠加到img1上,其中仅取img2中颜色为color_list中的部分
    @staticmethod
    def imgsMerge(img1, img2, color_list):
        mask = np.zeros(shape=img1.shape, dtype=bool)
        for color in color_list:
            curr_mask = (img2[:,:]==np.array(color)).all(axis=2)  # shape(w,h)
            curr_mask = curr_mask[..., np.newaxis]  # shape(w,h,1)
            curr_mask = np.repeat(curr_mask, repeats=3, axis=-1) # shape(w,h,3)
            mask = mask | curr_mask
        np.copyto(dst=img1, src=img2, where=mask)

    # 主程序
    def main(self):
        cv2.namedWindow(self.win_name, cv2.WINDOW_NORMAL)
        cv2.setMouseCallback(self.win_name, self.mouseEvent) # 鼠标事件回调函数
        while True:
            # (1)前景图与背景图的叠加
            if self.click:  # 每进行一次click(左键按下并松开),则将辅助前景图层(fore_1)绘制的内容复制到前景图层(fore_0)中
                mask = (self.layer_fore_1[:, :] == np.array(self.brush_color)).all(axis=2)
                self.layer_fore_0[mask] = self.layer_fore_1[mask]
                self.click = False
            img_tmp = self.layer_back.copy()   # 这里需要进行copy,否则两者指向的是同一对象
            self.imgsMerge(img_tmp, self.layer_fore_0, color_list=[self.brush_color])
            self.imgsMerge(img_tmp, self.layer_fore_1, color_list=[self.brush_color, self.eraser_color])
            # np.copyto(dst=img_tmp, src=self.layer_fore_0, where=((self.layer_fore_0[:, :] == np.array(self.brush_color)).all(axis=2)[..., np.newaxis]))
            # np.copyto(dst=img_tmp, src=self.layer_fore_1, where=((self.layer_fore_1[:, :] == np.array(self.brush_color)) | (self.layer_fore_1[:, :] == np.array(self.eraser_color))))
            cv2.imshow(self.win_name, img_tmp)
            if self.show_all_layers:
                cv2.namedWindow('layer_fore_0', cv2.WINDOW_NORMAL)
                cv2.imshow('layer_fore_0', self.layer_fore_0)
                cv2.namedWindow('layer_fore_1', cv2.WINDOW_NORMAL)
                cv2.imshow('layer_fore_1', self.layer_fore_1)

            # (2)键盘响应
            key = cv2.waitKey(1)
            if key == ord('m'): # 按下"M"切换绘图模式
                print("The mode is changed")
                self.switch_fromCircle = True if self.mode=='circle' else False
                self.mode = 'circle' if self.mode=='rectangle' else 'rectangle'
            elif key == ord('+'):
                self.circle_radius += 1
            elif key == ord('-'):
                self.circle_radius -= 1
                if self.mode=='circle'or self.eraser:   # 此段解决问题:圆圈缩小的同时,会在layer_fore_1上留下外圈的bug
                    self.layer_fore_1 = np.zeros(shape=self.layer_fore_1.shape, dtype=np.uint8)  # 清空layer_fore_1
                    color = self.eraser_color if self.eraser else self.brush_color
                    cv2.circle(self.layer_fore_1, (self.x2, self.y2), radius=self.circle_radius, color=color, thickness=-1)
            elif key == ord('e'):
                self.switch_fromCircle = True if self.eraser==True else False
                self.eraser = not self.eraser
            elif key == ord('q'):
                print("The windows are destroyed")
                break
        if self.save_path:
            cv2.imwrite(self.save_path, img_tmp)
        cv2.destroyAllWindows()
使用示例
    painter = Painter(img_size=(1080, 1920, 3),
                      mode='circle',
                      background=r'xxx.jpg',
                      circle_radius=50,
                      save_path=None,
                      color=(0,0,255),
                      show_all_layers=False)
    painter.main()
    # painter.saveForeground(save_path='fore.jpg',
    #                        mode='black_mask')
    # painter.useMask(img_mask=r'fore.jpg',
    #                 img_in=r'xxx\image',
    #                 img_out=r'xxx\image_masked')
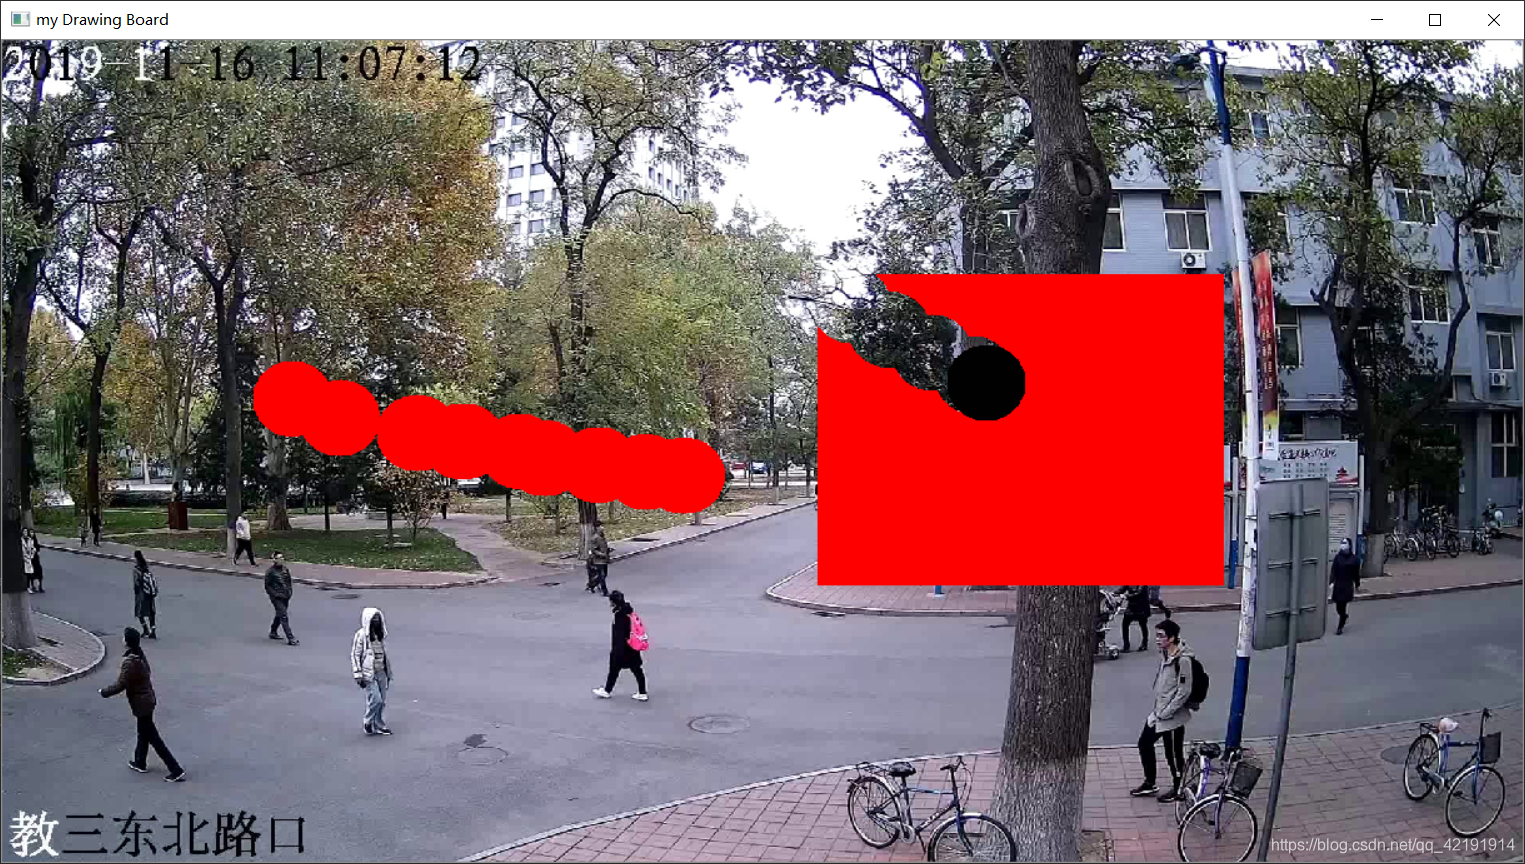
效果示例